When I was working on my card H is for Harvest, I really wanted a Nestabilities long rectangle set. I only have the standard, large rectangle set so I set out to see if I could somehow repurpose it into a long rectangle. It only took me a couple of tries and I think it worked like a champ. I’ll be doing this again and again until I actually do have the long rectangle set. After I used this technique, I thought there might be a few others who would like to try it. I made another long rectangle and took a lot of pictures so y’all could see for yourselves. Remember, you can zoom in on all the pics by clicking on them.
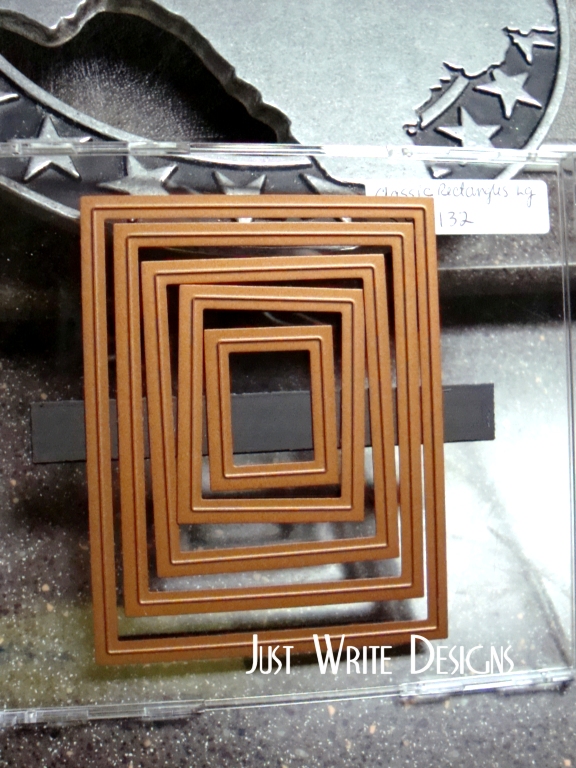
This is the rectangle set I have. For this tutorial, I’ll be using the second smallest rectangle (it measures approx. 2″ h x 1.5″ w). The card stock I’m using is ivory and I cut it to measure about 3.5″ L x 2″ h. It’s probably important to note that I use an original Sizzix machine with one white cutting plate and the magnetic adapter. I also have a clear acrylic cutting plate that I place over the die when I cut. If you’re using a different machine, you may have to adjust how you do this. This also works perfectly using a Big Shot…simply have the edge of your top cutting plate back from the left edge of the die. It won’t cut where the plate isn’t.
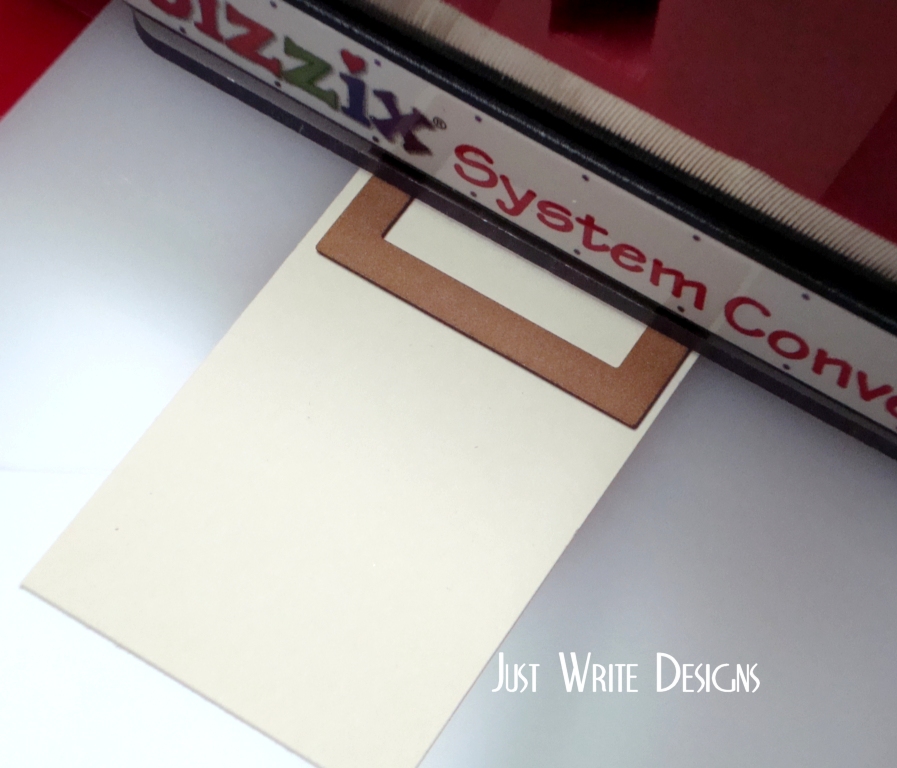
1. First, place the rectangle, cutting side down onto the card stock, very close to the right edge as shown.
2. Push the cutting plate into the machine, but leave the last 1/2″ closest to the center of the card stock, out of the machine. We don’t want to cut this edge.
3. Remove the die, carefully place the embossing mat under it and emboss as usual, remembering to not emboss the last center 1/2″.
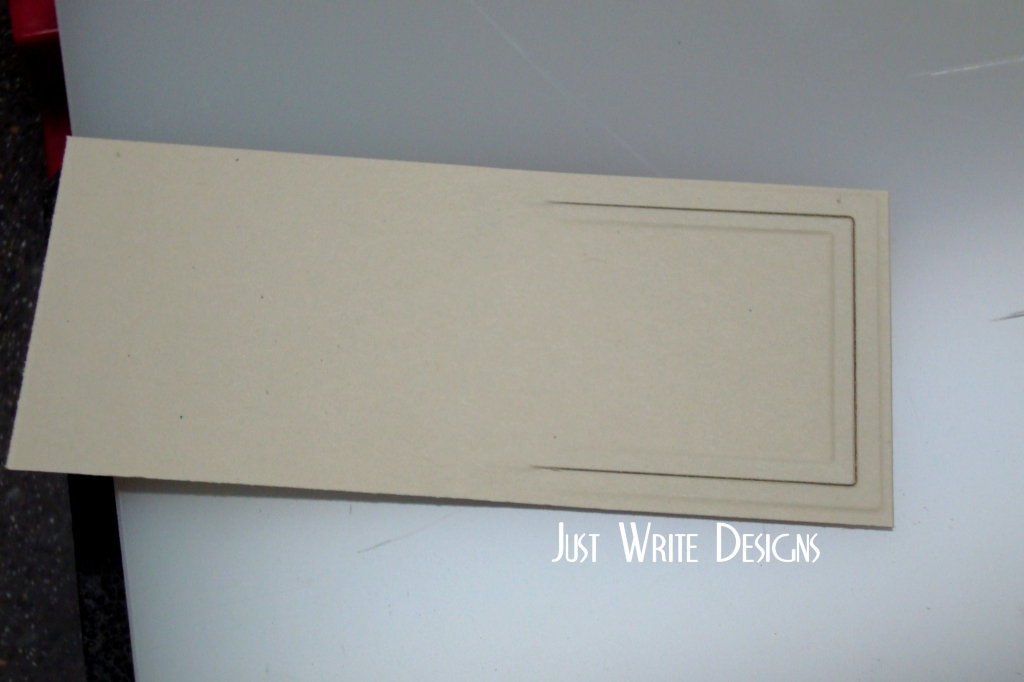
4. Remove the die from the card stock. This is what the back side should like with only the right half cut and embossed.
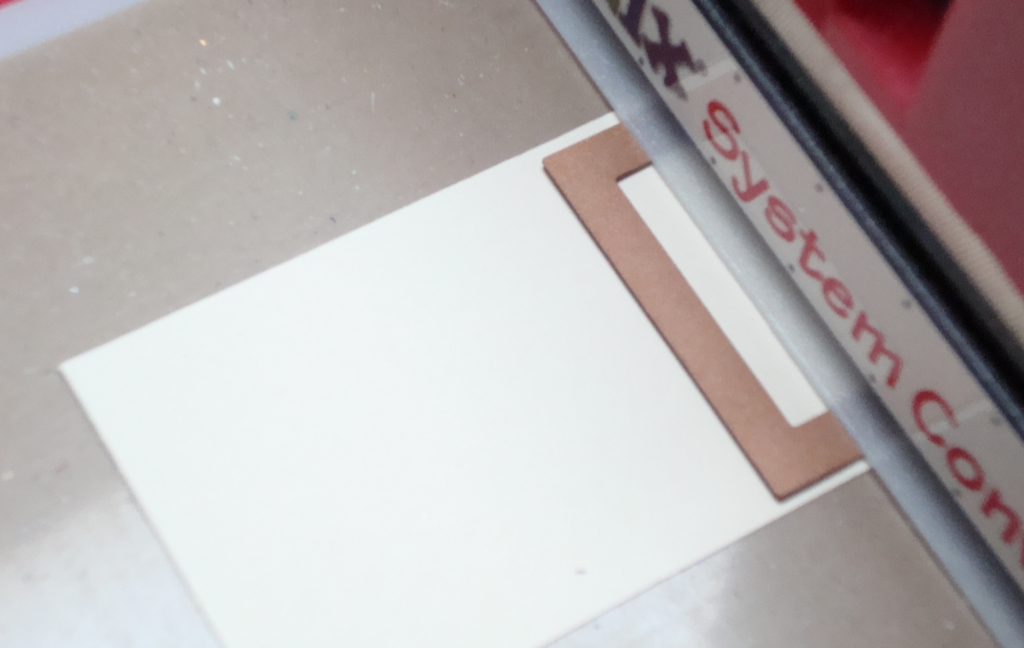
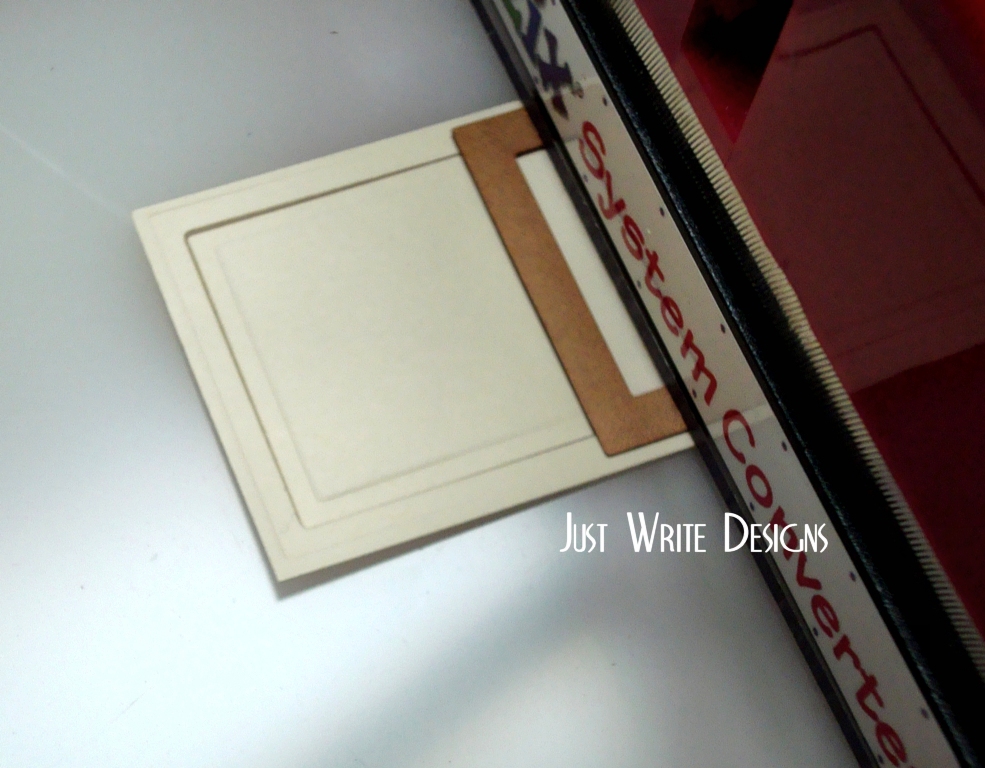
5. Turn the half cut card stock around. Place the die on the uncut half, very near the edge as before. Take care to line up the edges of the die with the already cut edges.
6. Place the cutting pad with the die in the machine, as before. Again, leave the last 1/2″ in the center out of the machine. We do not want to cut this part.
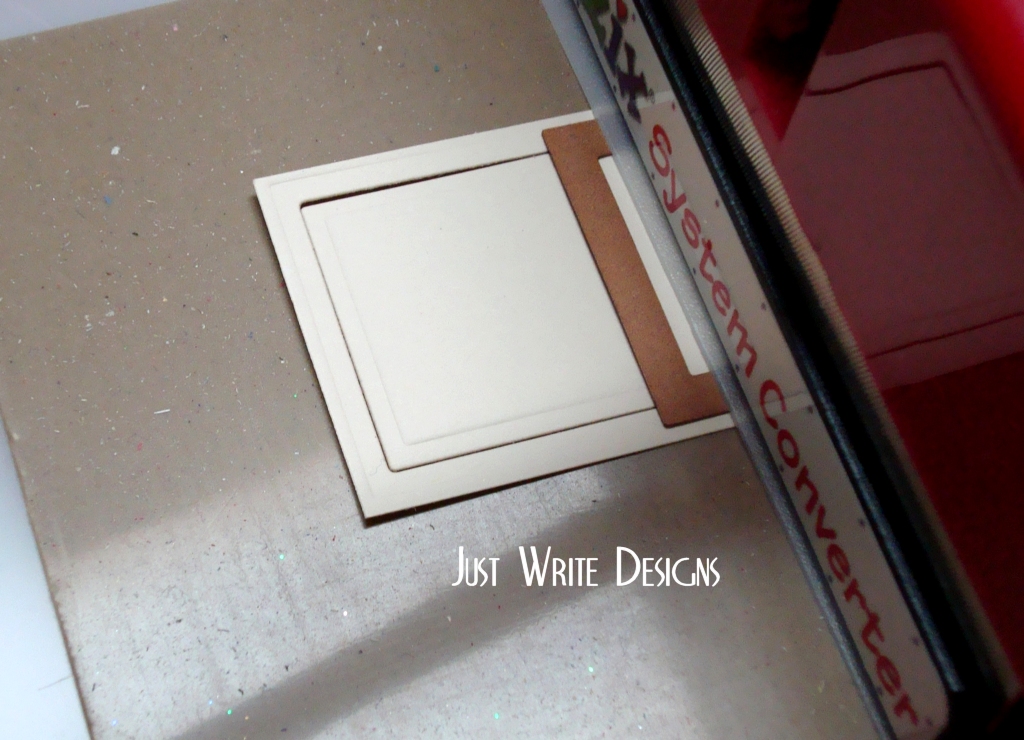
7. Carefully place embossing mat underneath and emboss as before. Remember not to emboss the last 1/2″ in the center.
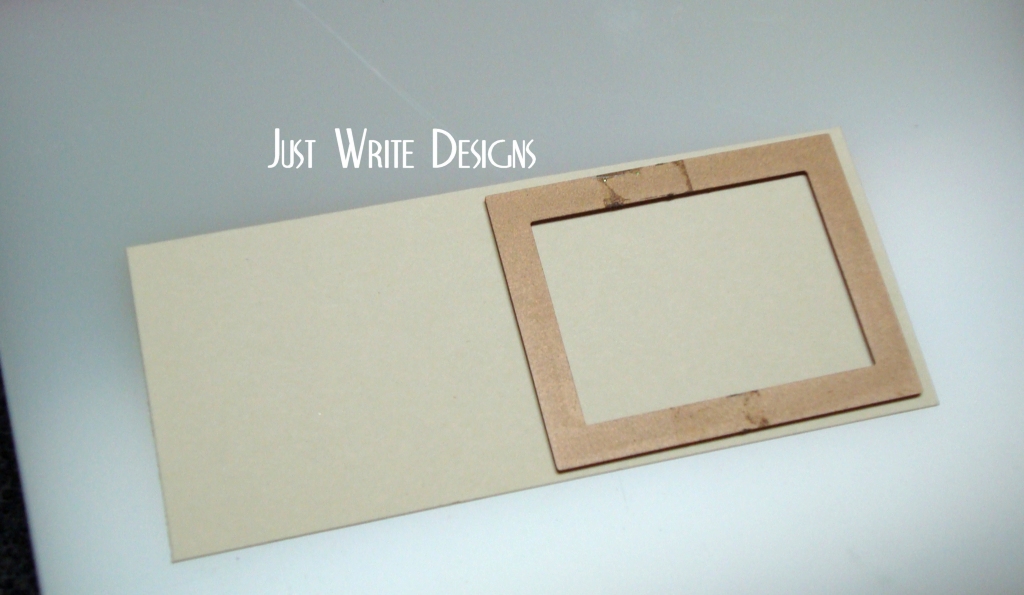
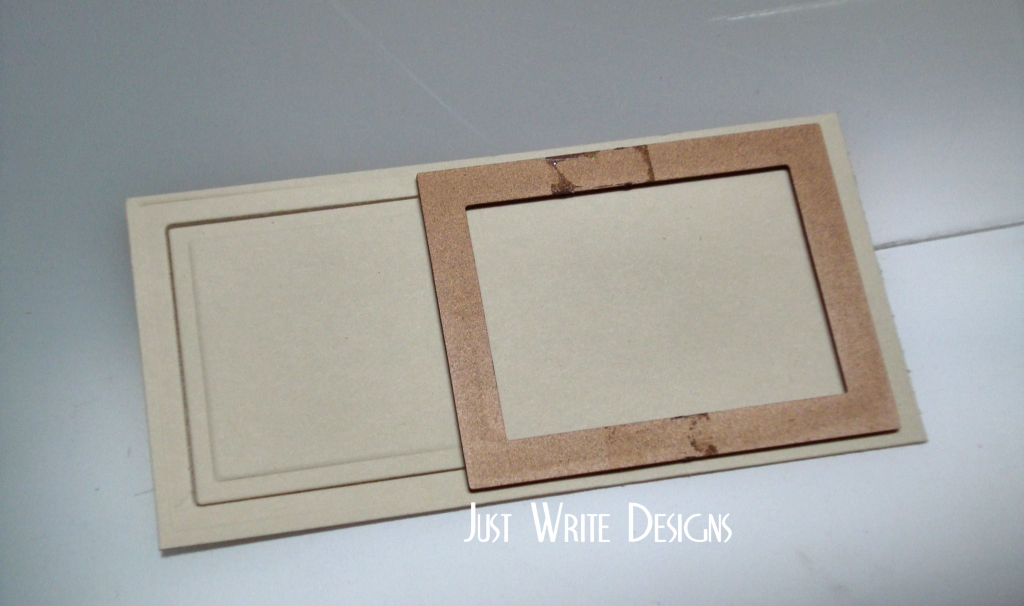
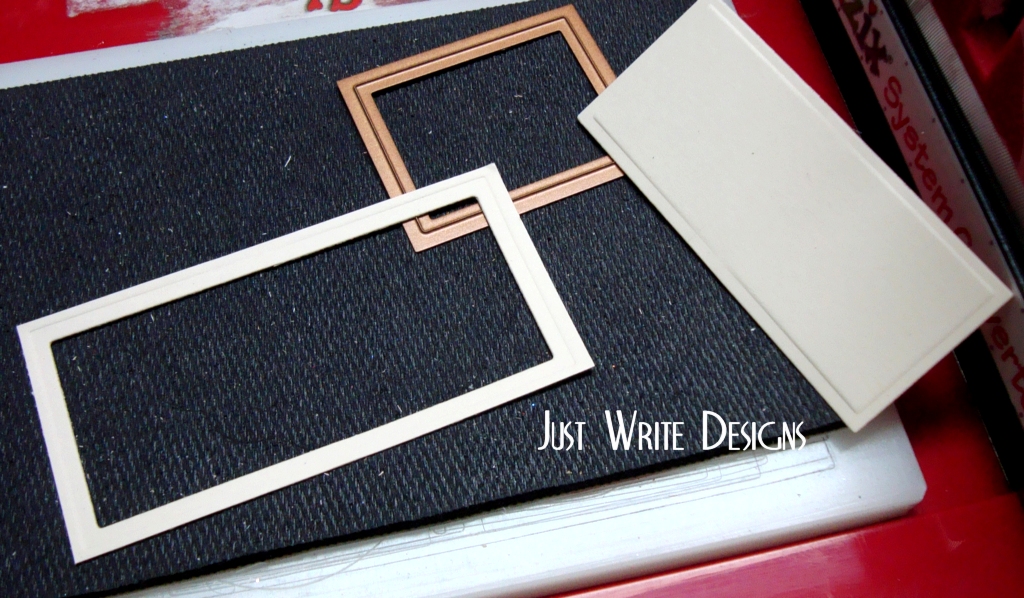
8. That’s it! Here’s the finished product. My new long rectangle measures just over 3″ L x 1 5/8″ H. The leftover frame is also fun to use.
I’ve done this technique using many different die shapes. As long as the die is symmetrical, it has worked. This technique also works if you want to shorten the size of your die cut.

Fantastic tutorial!! I will have to try this… I use my rectangles to make squares, but have never made them bigger!
hugs, Jami
Thanks for sharing.I will have to try this.
Thanks for sharing this! I too have longed for those rectangles and am excited to see a tutorial on how to make do with what I already have!! I will definately be using your idea!
Great idea, Julie. Thanks for the step by step and for sharing your discovery.
Julie, what a great tutorial on being a good steward of our resources!!! I have the regular rectangles too and I am glad to see the pics of this. Your challenge card is fab, by the way!!!
Fabulous idea, Julie! Thanks for sharing!!
Smiles,Deena
Pingback:The Write Stuff » Blog Archive » Welcome to the March ODBD Blog Hop!
thank you for this – I have limited funds so to be able to do something like this is just awesome.
Pingback:The Write Stuff » Blog Archive » April ISC Day 2
Wonderful way of showing showing how to use what we have! Thank you, Julie! Do you find there is more “control” by using the red sizzix machine? Thanks for sharing your talent and skills!
Pingback:The Write Stuff » Blog Archive » Fishing Dad
First off- gorgeous card and ATC’s- you never disappoint! What a fantastic idea- I do not have the long rectangle dies and have come across occasions where they would be perfect. Thanks for the great picture tutorial! Genious!
Pingback:The Write Stuff » Blog Archive » Nautical Course
Julie, how awesome!! I’ve been wanting longer rectangles so badly. I hope I can figure out how to do this. Thanks SO MUCH for sharing this technique!!!
Awesome collage ! I think I have an upcoming project that your idea might just be perfect for. Thanks for sharing !!!
Pingback:The Write Stuff » Blog Archive » Dare to Get Dirty Week Continues!!
Pingback:The Write Stuff » Blog Archive » Fly Away DDIC33
I don’t know how I missed this. TFS.
Pingback:The Write Stuff » Blog Archive » Do Not Worry IC252
Thank you SO much!! I am blown away – I don’t know how you think of these things but I’m so glad you did!
Pingback:He Shall Be Called
Pingback:ODBD May Release Blog Hop!
Pingback:Family Quilt
Pingback:ODBD September Release Blog Hop!
Pingback:ODBD October Release Blog Hop!
Pingback:Star Ornament
Pingback:H is for Harvest
Pingback:Snowflake Ornament
Pingback:Who’s Tha Man??
Love this idea. I’m always trying to make my supplies work harder. I’ve used die cut baubles to make doilies but never thought to try elongating squares or other shapes. I bet you could make some fancy shapes too using this method. Must hop off and play! 🙂
Pingback:On Father’s Day
Brilliant! Thanks for the tutorial!
Pingback:ODBD July Release Blog Hop!
Pingback:Smooth Sailing Wooden Ship
Pingback:Witch Decor
Pingback:Give Thanks
Pingback:Sympathy Lily
Pingback:Autumn Lake
Pingback:Framed Crocus
Pingback:Mapped Together
Pingback:With Sympathy
Thanks for the great tutorial Julie.
Pingback:Rose Bushes
Pingback:ODBD June Release Blog Hop!
Pingback:Old Fashioned Hello
Pingback:Christmas Candle
Pingback:ODBD October Mid Month Recap
Pingback:SSCB #22 Sentiments
Pingback:Autumn Scarecrow
Pingback:Framed Leaves