![]()
Welcome to the Serendipity February Blog Hop! We are showing off some beautiful new dies & images! If you arrived here from Jenny’s Blog , you are in the right place..if not, you may want to head over there first.
The Prize – One $20 gift code will go to one random commenter from the blogs. So be sure to visit all the blogs because you don’t know which one the winner will be drawn from.
For a second chance to win – like us on Facebook and share the ad about the hop. One person who does both will be selected to win a second $20 gift certificate. If you already like us on FB all you have to do is share the ad with a friend. Click on the “share” link under the photo.
Visitors can leave comments through Feb 16 and the winner will be announced on Mary’s blog on Feb 17.
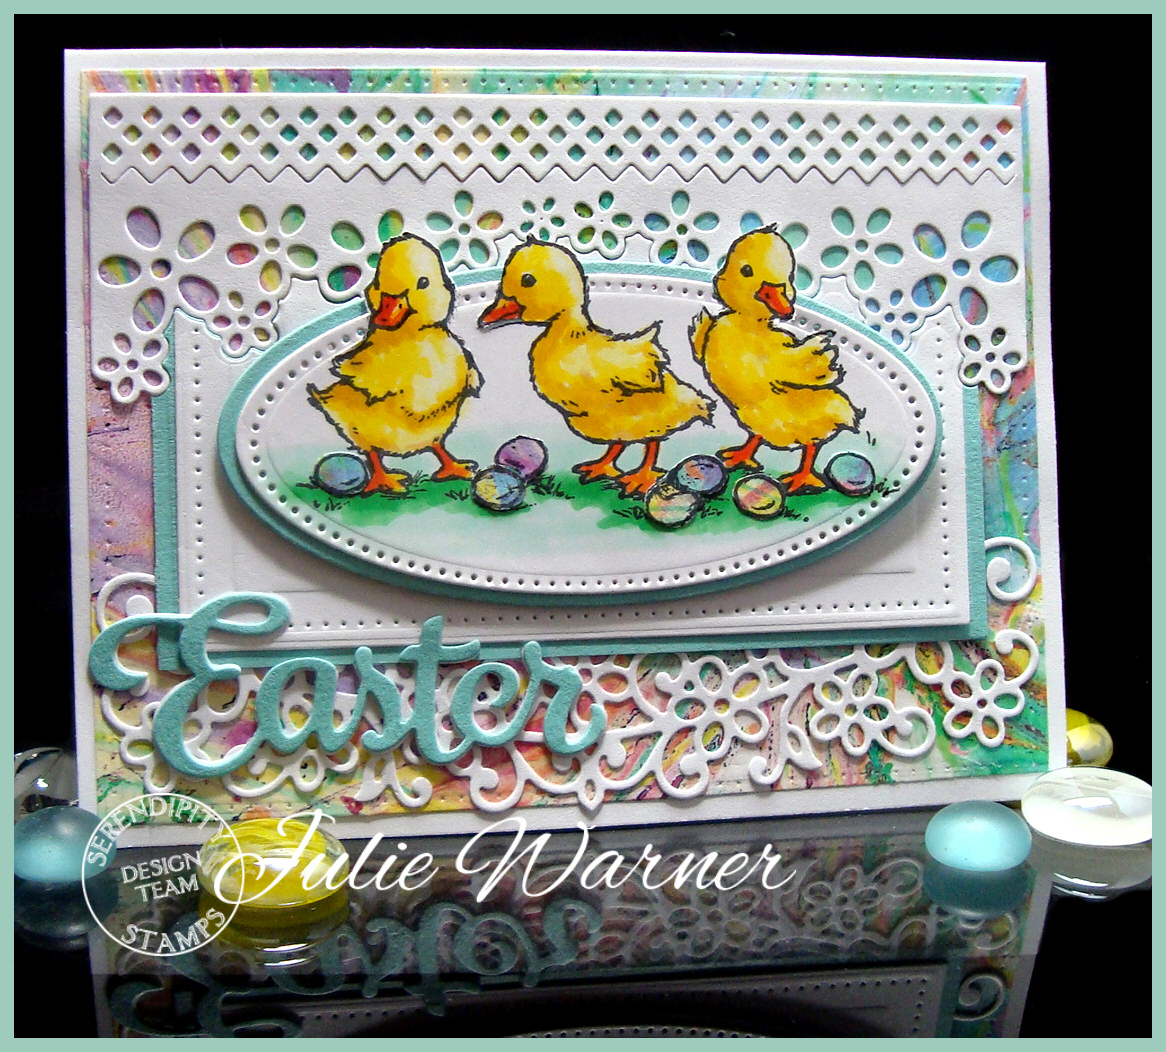
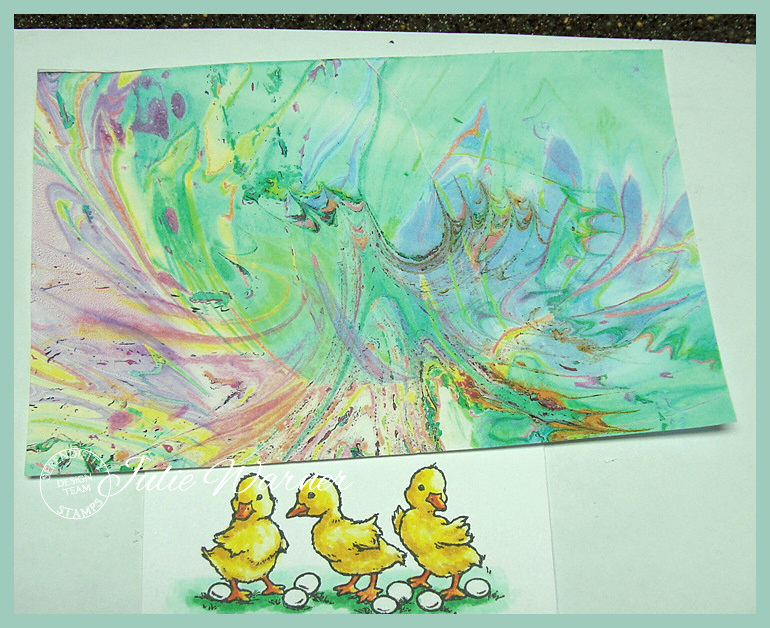
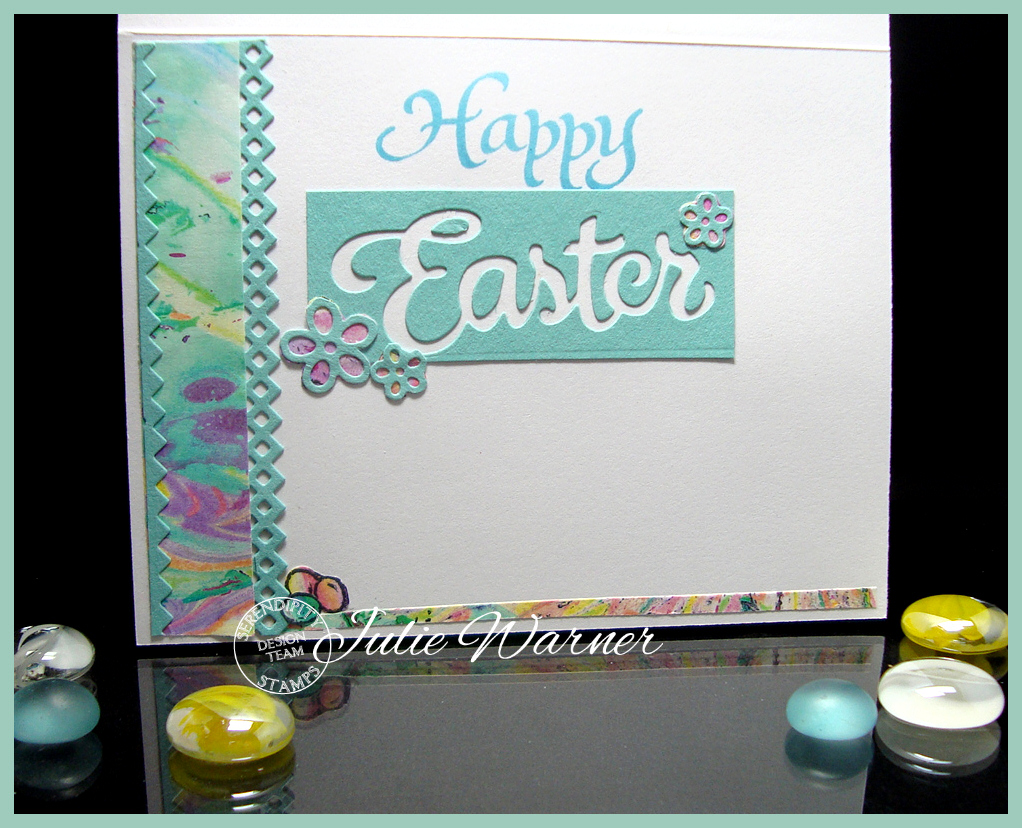
My first card features the gorgeous new Daisy Garden die & Daisy Border die along with the wonderful Easter die. I paired them with the sweet little Three Ducks image. Recently, Mary (Serendipity Stamps owner) and I had a little discussion about marbled paper. I have quite a stash of paper I hand marbled a long time ago and since every piece is one of a kind, I made color copies to use and I came across one of my favorite pieces so I used it for this card. Here’s a look at the copy before I cut it and used it. I thought the colors would be wonderful for an Easter card.
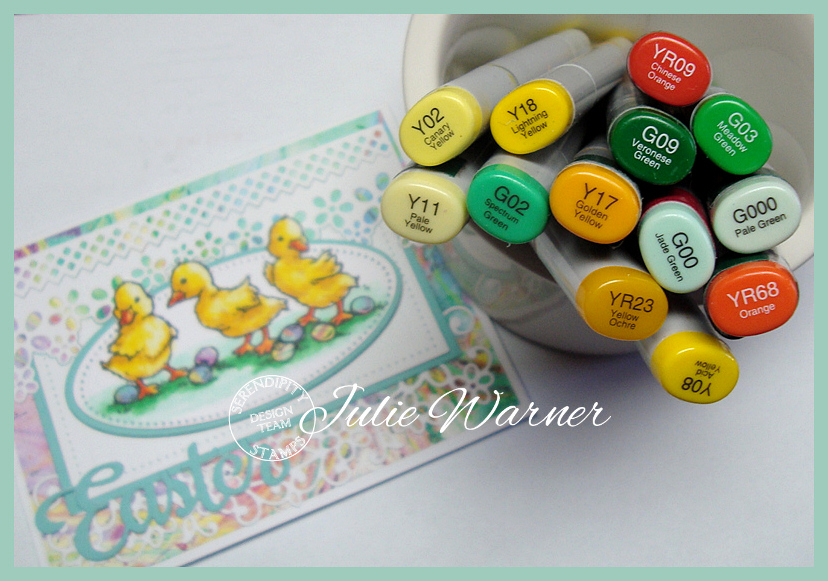
In order to die cut the ducks, I had to do a little out of the box technique (tutorial HERE). The top part was a little trickier…when I die cut the Daisy Garden die, I lined up the die to determine where to cut the pierced rectangle out of the remainder. I did it this way because I wanted the marbled paper to show through the Daisy Garden die and I didn’t want to have to hand cut it. I did the same with the turquoise layer. Worked perfectly! I paper pieced the little Easter eggs on the image out of some more of the marbled paper. Here are the Copics I used.
And on the inside, I used a little of the left over marbled paper and the leftover negative of the die cut Easter.
Supplies:
| Stamps: Serendipity Stamps – Three Ducks, Happy Christmas (Happy on inside) |
| Paper: X-Press It white, turquoise, copy of hand marbled paper |
| Ink: Memento tuxedo black, Colorbox sea crystal chalk ink (inside) |
| Accessories: Serendipity Daisy Garden die, Daisy Border die & Easter die, Spellbinders pierced rectangle, radiant rectangle (pieced long oval), & mega oval dies, Copic markers |
My second & third cards, I actually started for challenges on Splitcoast but didn’t finish right away so here they are! Promise, I wasn’t trying to be an overachiever!
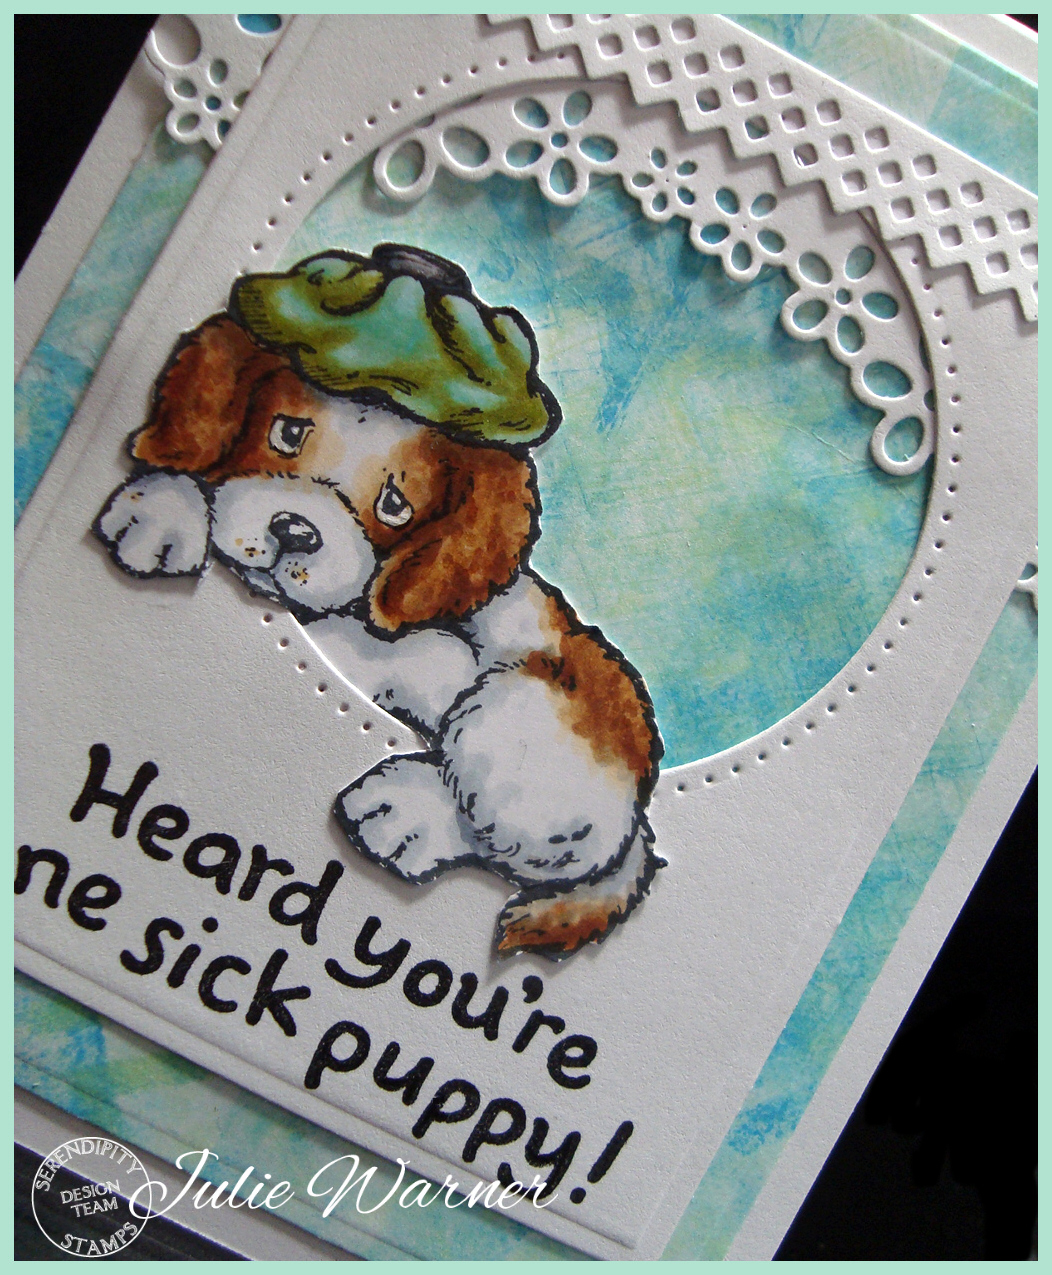

I love this cute little Sick Puppy image. After stamping and coloring him, I had an idea to cut him out and have him perched in a window opening. I die cut the white panel w/ a rectangle die then cut the pierced circle and placed the puppy on the edge and added the greeting below him.
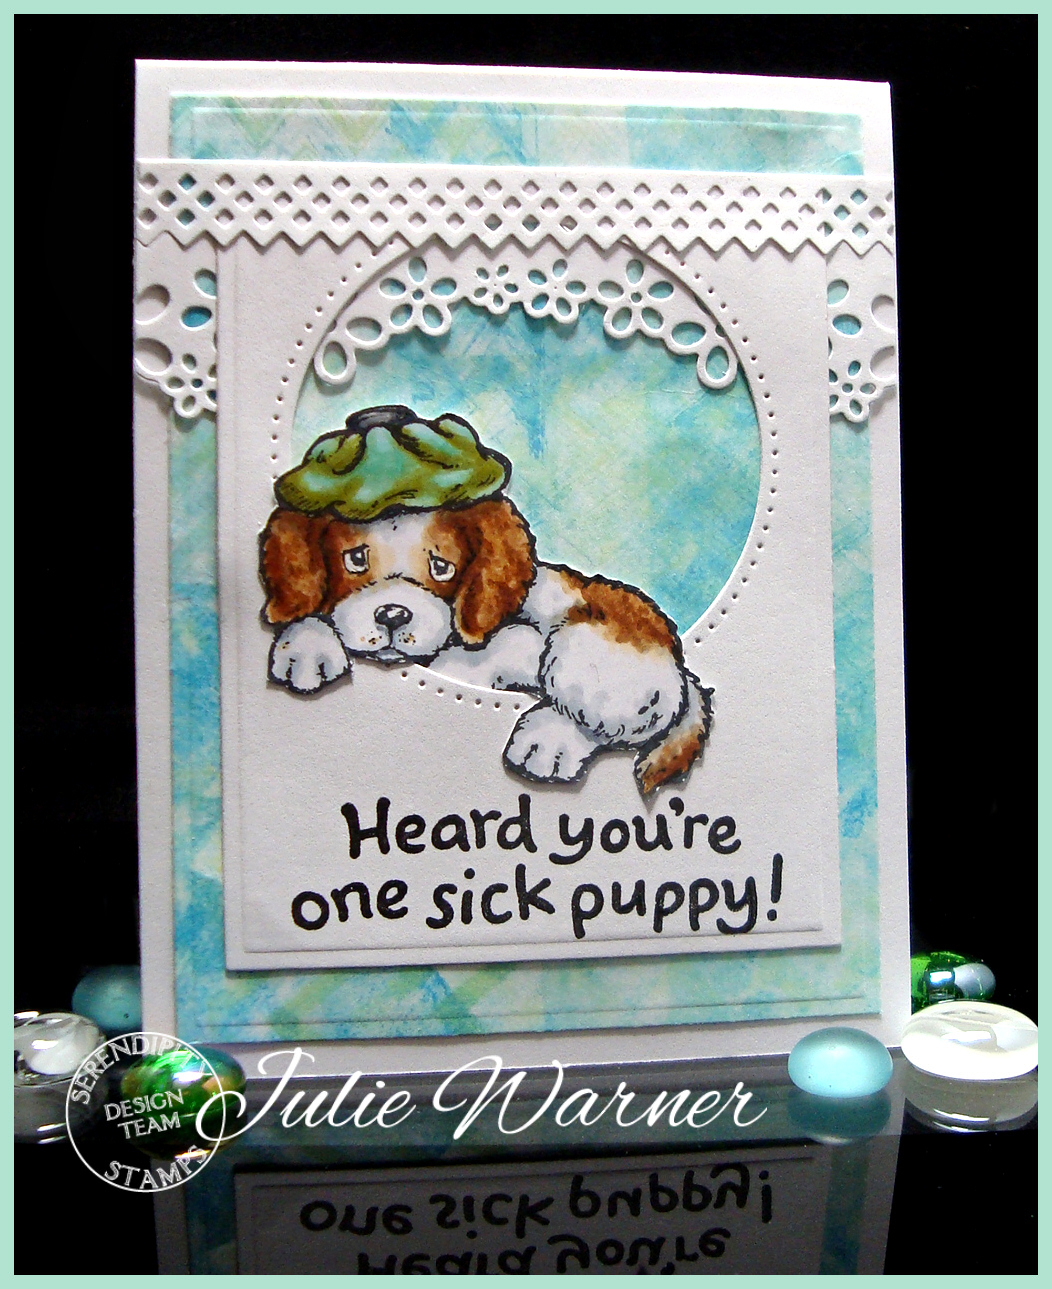
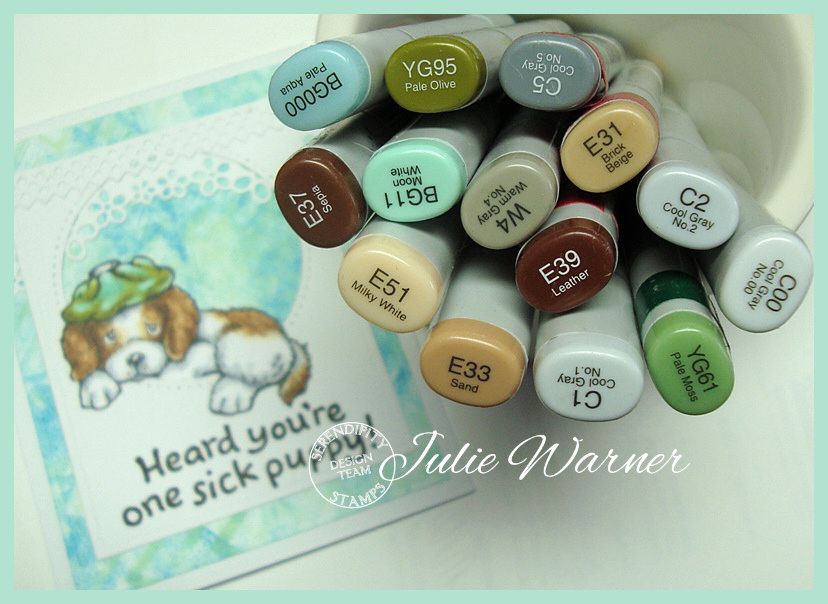
A Daisy Garden die was added, half on, half under the top. The background is a mono print background I made a while back (tutorials HERE and HERE). These are the Copics I used.
Supplies:
| Stamps: Serendipity Stamps – Sick Puppy, Heard You’re One Sick Puppy |
| Paper: X-Press It white, mono print background |
| Ink: Memento tuxedo black, Versafine onyx (greeting) |
| Accessories: Serendipity Daisy Garden die, Spellbinders A2 matting basics A & B, pieced circle dies, Copic markers |
For the last card, I had to stick it on the end because I made it for my hubby for Valentine’s Day. He has a feed that shows the beginning of my blog posts on his home page, so if it’s on top, he’ll see it before I want him to.
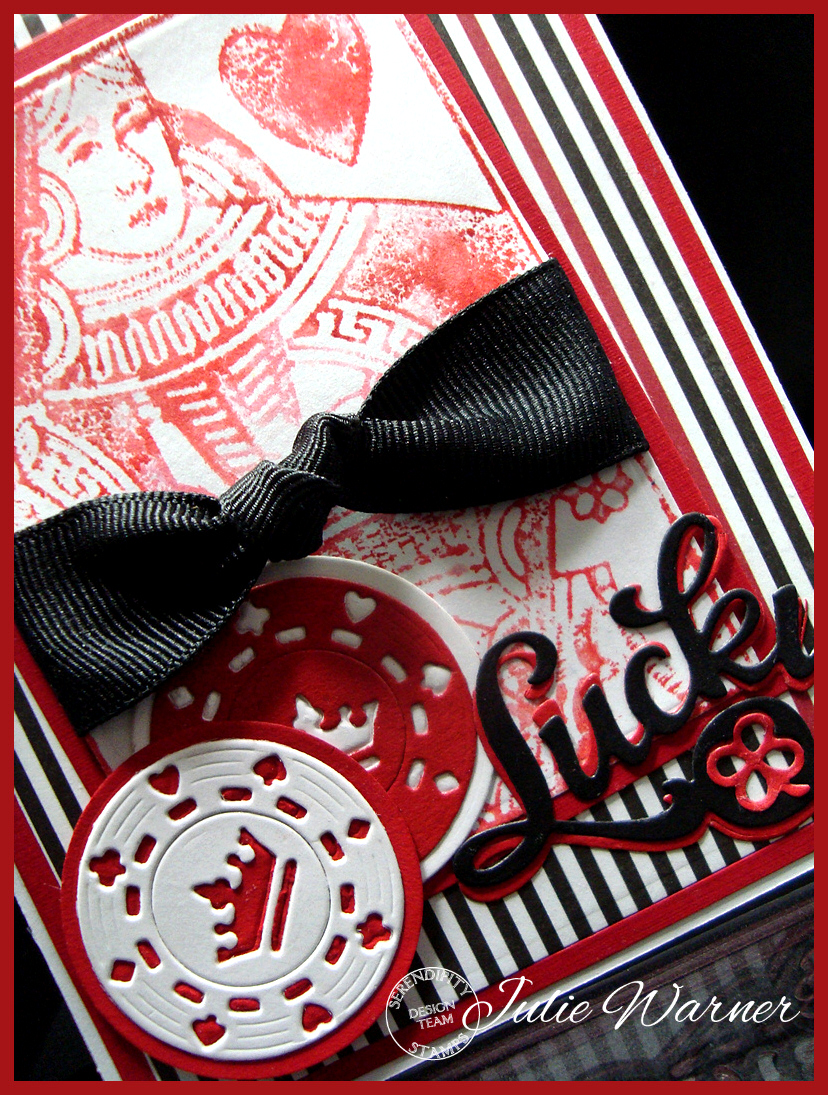
I had the hardest time with this one..I love the dies, but I couldn’t figure out what to put with them. Then on Monday, there was a challenge to use your embossing folders to “stamp” an image. I had this Queen of Hearts embossing folder so I inked it and “stamped” it onto white. No embossing, just used it to stamp.
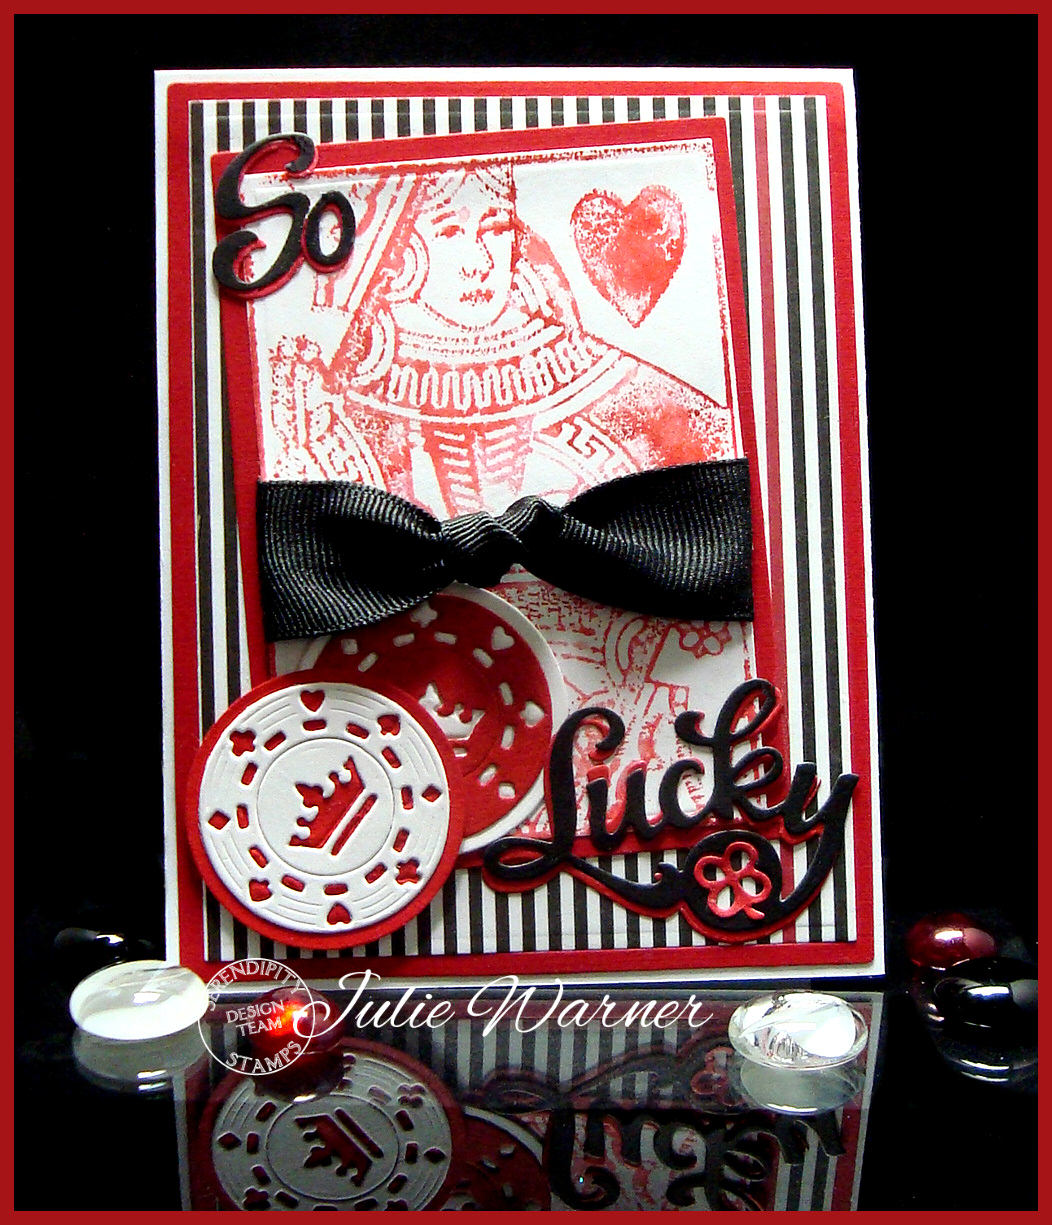
I added the layered Poker Chips die cuts, the Lucky die, and I cut apart the S from the Sweet die and a trimmed “a” from the Imagine die to make my So word. Here’s a look at the inside.
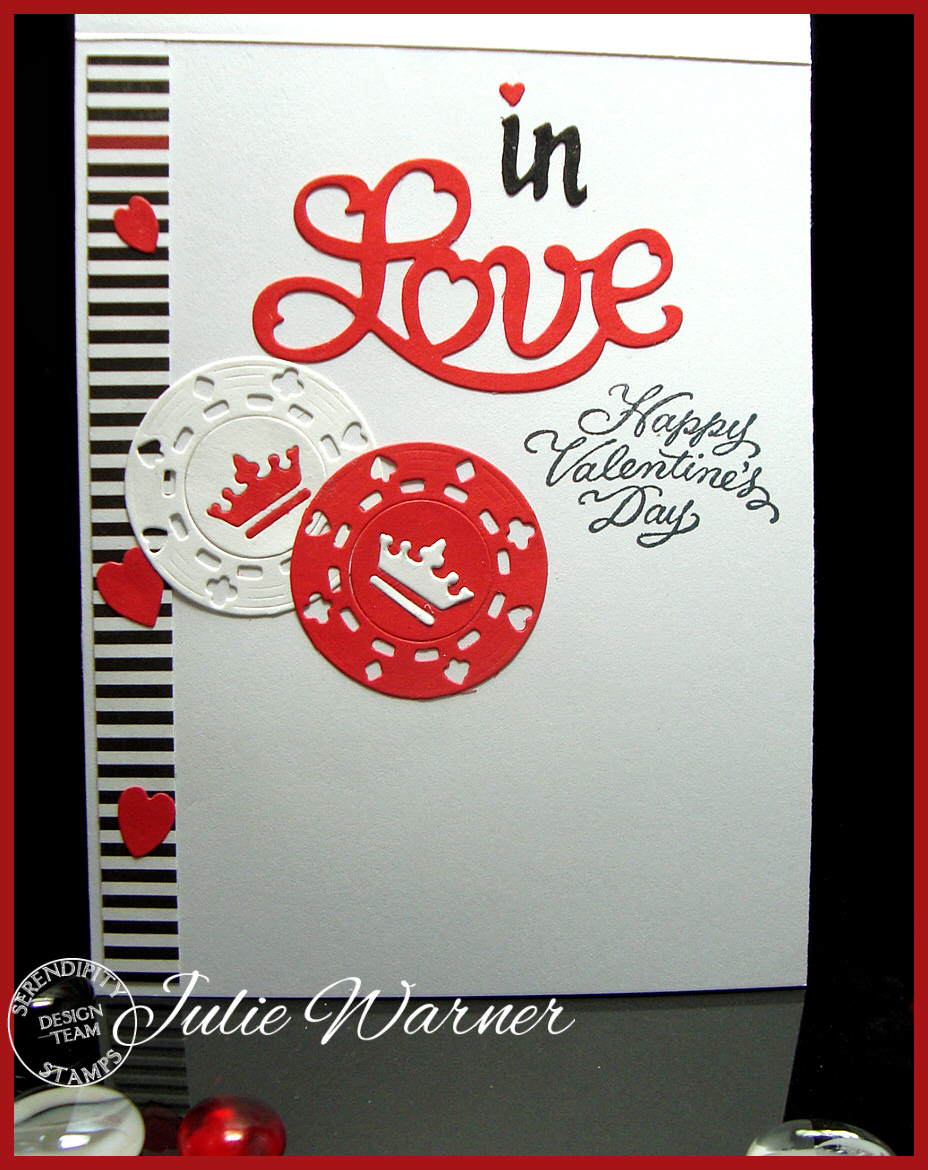
I used the IN also from the Imagine die combined with the Love die, more poker chips and Happy Valentine’s Day.
| Stamps: Serendipity Stamps – Happy Valentine’s Day II |
| Paper: X-Press It white, red linen, black, dp (Glitz- Black & White) |
| Ink: Memento tuxedo black, Distress ink barn door, worn lipstick (to ink the embossing folder) |
| Accessories: Serendipity Poker Chips die, Lucky die, Sweet die, Imagine die, Love die, Spellbinders A2 matting basics A & B, black grosgrain ribbon, Cuttlebug Queen of Hearts embossing folder (Love is in the Air set) |
Thanks so much for stopping by! Now, you’ll need to hop on over to Karen’s Blog. Please be sure to visit and comment on all the team blogs to increase your chances to win! Here’s the order in case you get lost.
- Mary’s Blog
- Marybeth Lopez
- Miriam Napier
- Vickie Zimmer
- Jeanne Jachna
- Jenny Gropp
- Julie Warner (you are here
- Karen Amidon
Thanks so much for stopping by!