Happy ist Day of November! Can you believe it’s already November? For today’s Free For All Challenge (F4A193) on Splitcoast, the subject is Falling Fruit. So I checked just to be certain and a pumpkin is a fruit, so there you go! This is a pretty easy card…I stamped the pumpkin w/ sunflowers twice (so I could cut out an extra sunflower), and colored them w/ Copics. Originally I was going to cut out the entire pumpkin, but I changed my mind and only cut out the left side. I embossed the right side w/ a rectangle die and die cut the white frame to put on top. I had the rusty brown strip left over so I put it behind and I liked the way it showed thru the cut out part. The greeting was stamped on the 5.50 x 4.25 card front and I was all done!
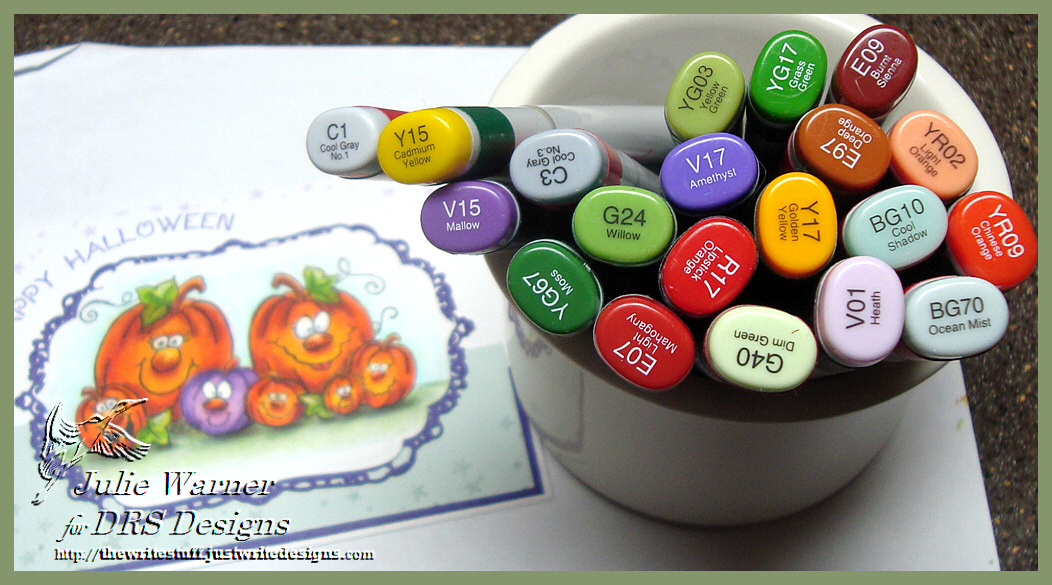
These are the Copics I used:

Thanks so much for stopping by!

Supplies:
| Stamps: DRS Designs – Pumpkin w/ Leaves, 1 Line Happy Thanksgiving |
| Paper: Neenah white, rust |
| Ink: Memento tuxedo black |
| Accessories: Copic markers, Spellbinders rectangles & bracket border dies |