Welcome to the Our Daily Bread designs November release! We have some fabulous images, dies & papers this month and I know you’ll NEED these in your collection!
Three randomly selected winners will each receive a $15 gift certificate to the ODBD Store, to be used toward the purchase of ODBD Stamps found in the “stamps column” of the website just for commenting on the Design Team cards! You have until November 2, 2014 at 9:00 p.m. EST to leave your comments on the Designers Blogs for a chance to win! The Winners will be posted on the ODBD Blog on November 3rd, so be sure to check back there to see if you won!

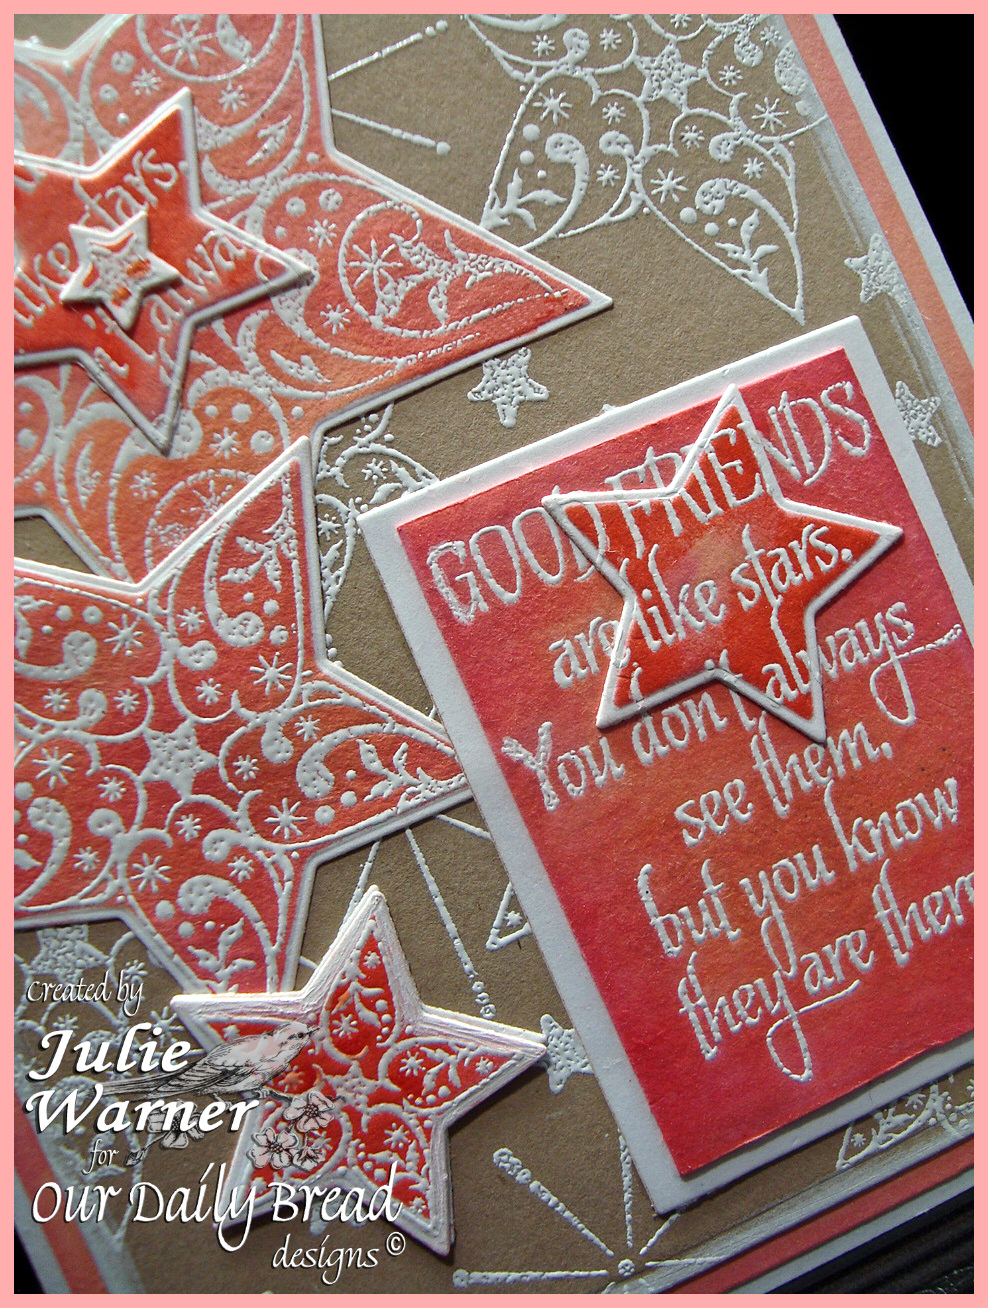
On my first card, I used the fabulous Shine On with the coordinating Sparkling Stars dies. I’m seeing lots of uses for these in my future! I paired it with just the star pennant from Patriotic Pennant set and the coordinating Pennant Row dies along with paper from the Winter Collection 2014. I wanted the images to really sparkle so I used a red glitter powder on silver metallic paper and a silver glitter powder on the red shimmer paper then die cut all the stars, pennants and greeting. I die cut the largest star out of the Winter paper and attached the largest red star behind it. I had die cut one silver star using the largest die then made a frame out of it by cutting the next largest star inside. But I also used some tiny scissors to trim away a bit more from inside the frame before I nested it inside the background with all the other stars on top.

The greeting was die cut using the smaller pennant die, but I cut it to the mid point, turned the die around and cut the other half to get the flag points on both sides. I also had to do a little out of the box on the star at the top to keep from cutting it off. For the pennant row, I actually die cut it first and since I only wanted the star flag, I inked just one and stamped it inside each triangle while the die was still in place, removed the die, then sprinkled on the powder and heat embossed it. Since they are clear stamps, it was easy to see where to stamp it.
Supplies:
Stamps: Our Daily Bread designs – Shine On, Patriotic Pennants
|
| Paper: metallic silver, shimmer red, ODBD Winter Collection 2014 paper, |
| Ink: Encore ultimate metallic silver, Colorbox berrylicisous chalk ink |
| Accessories: ODBD Sparkling Stars dies, ODBD Pennant, Pennant Row dies, Spellbinders A2 matting basics A & B dies, firecracker embossing powder, Aegean silver embossing powder |

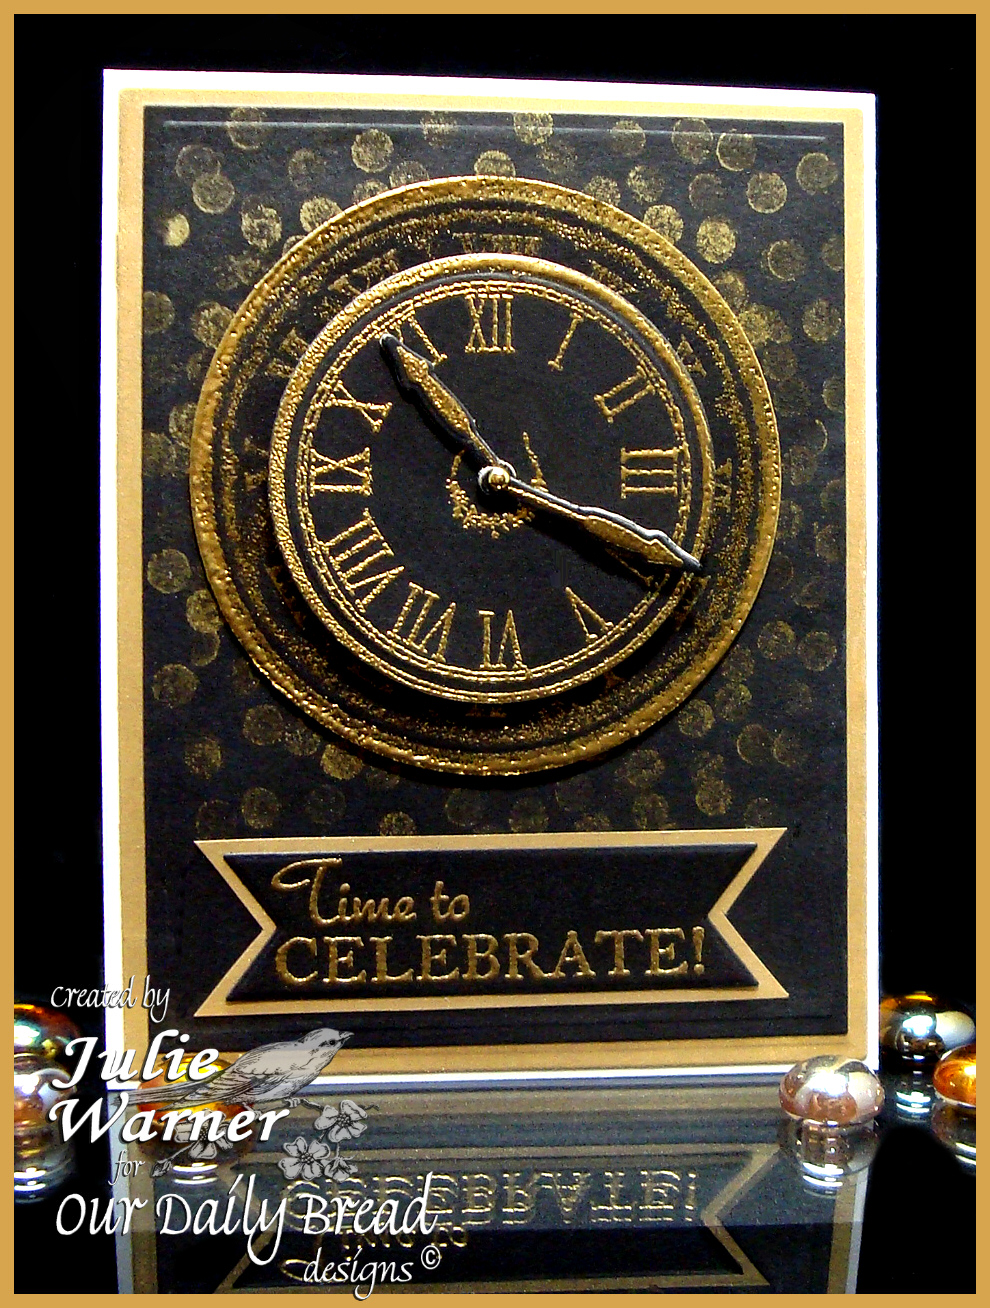
For my second card, I used the Snowflake Stars set along with dies from the Splendorous Stars, Shining Star, Flourished Star Pattern Background along with the Antique Labels & Borders for the greeting and some paper from the Christmas Paper 2014 collection. As Kelley said when she first debuted these dies to the team, you can make a gorgeous card with very little effort…just die cut everything and attach to your card!

I wanted just a bit of sparkle (can’t have too much sparkle for the holidays), so I heat embossed the Snowflake Stars with a glittery, silver mixed embossing powder before die cutting them. It’s not an overpowering sparkle but it goes so well with this lovely Christmas 2014 paper. This particular pattern has an ivory tint to the background so I used a pale ivory paper for my stars and background. I also used the powder for the greeting which was die cut with the Antique Label die and I used a mint blue Copic to add the border. A few extra little stars were die cut and attached on top of the stars in the background die cut.

Supplies:
Thanks so much for stopping by!

Please be sure to visit all of the DT blogs and comment so you’ll be entered to win!