• Tag Archives Stencil
  • Happiest Day


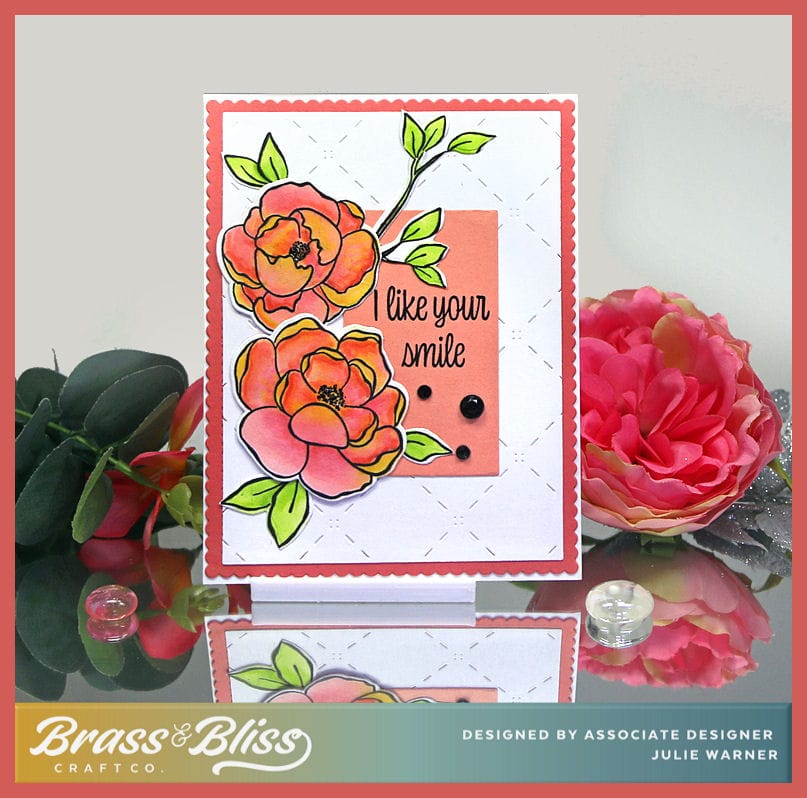
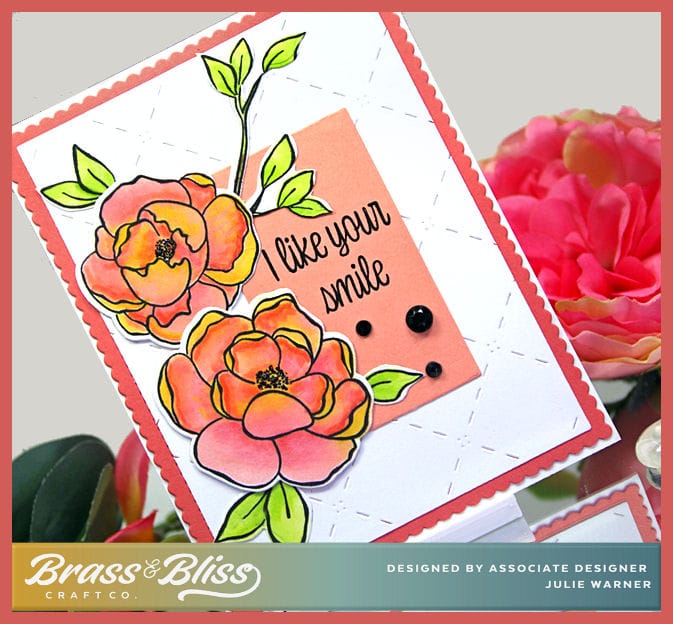
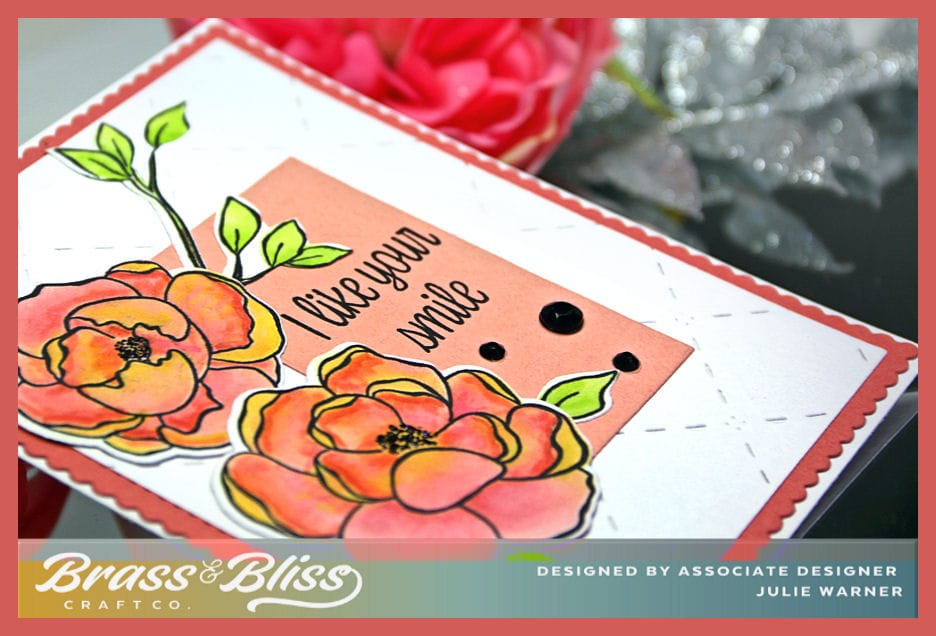
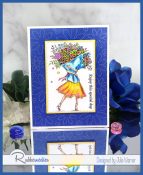
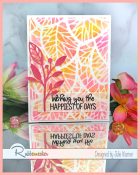
    An easy, colorful card to wish someone a happy day. The stencil used on the background was not only sponged for the color, but I actually embossed w/ it. Check out the mini tutorial to see how.


    It’s my turn to host the Splitcoast Featured Stamper Challenge (FS847) so a big congrats to Imke, the newest Featured Stamper! Imke has such a lovely gallery & after much browsing, I chose THIS card to case. I liked the colors & layout so I kept those, but I used different images, dies & instead of emboss resist, I used a stencil for my background.

    My card was pretty simple. After placing the stencil on a piece of white card I had already die cut, I sponged on the various yellow-orange & pink inks. I wanted a little sparkle so I spritzed on some transparent sparkle/shine spray. After die cutting the dk pink leaf branch, I spritzed it, as well. The greeting was heat embossed onto a die cut piece of translucent vellum.

    Here’s the fun part in a mini tutorial. I also used the stencil to emboss the background. This is how I did it:

    I used my Big Shot to demonstrate this so it would easy to see. I opened the first tab on the platform, placed the bottom plate on Tab 1. Then I placed the thin embossing mat w/ the stenciled paper on top. I lined up the stencil where it needed to go, then put a thin plastic shim on top.

    I’m holding it sideways so you can see it’s fairly thin. The final layer in the sandwich is the clear top plate.

    After running it thru, this is what I got. You can really feel & see the embossed lines in person. I also did a plain piece of white so you could see it better. It’s important to note, that the sandwich needs to lie flat & although it doesn’t seem like there’s a lot of pressure on it, it will be enough. Any more & you could break your stencil. You might also try misting your paper lightly for a good impression.

    The leaf branch was popped up just bit & the glue tape was strategically placed so it would not show thru the vellum.

    Thanks so much for stopping by!


    Supplies:

    Stamps: Rubbernecker Stamps: Hugs Your Way set
     Paper:  Staples 110# white, translucent vellum
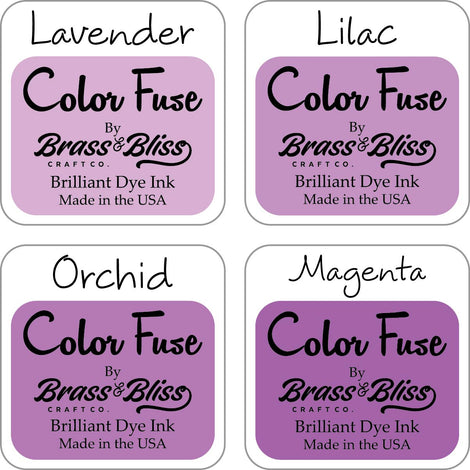
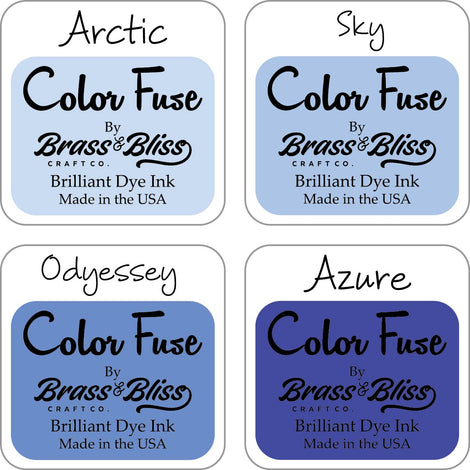
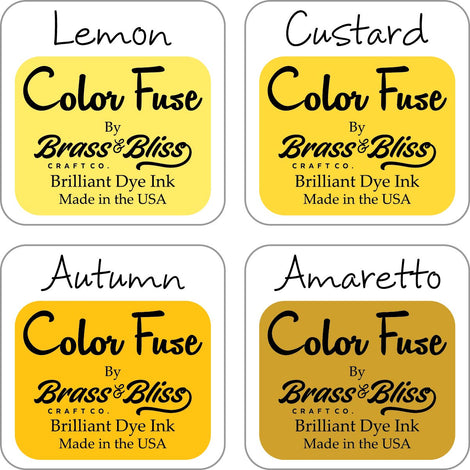
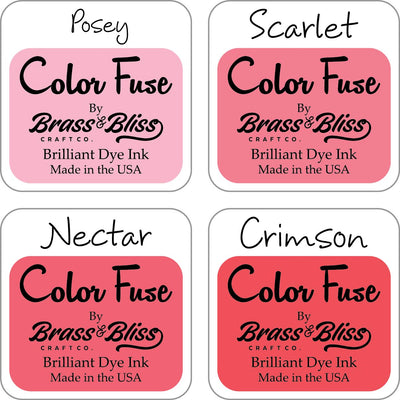
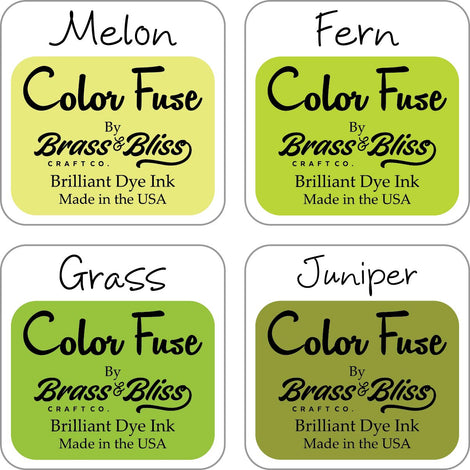
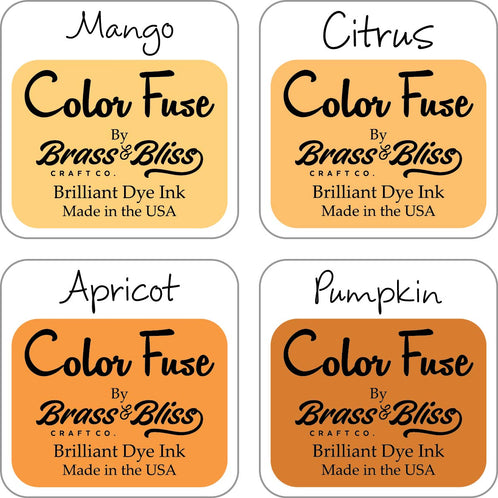
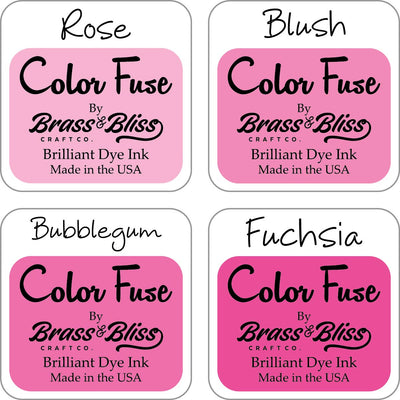
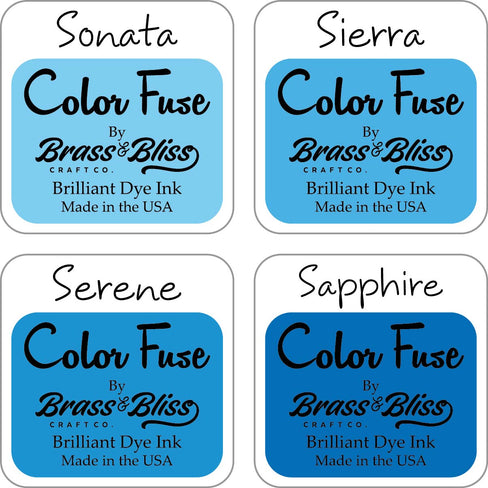
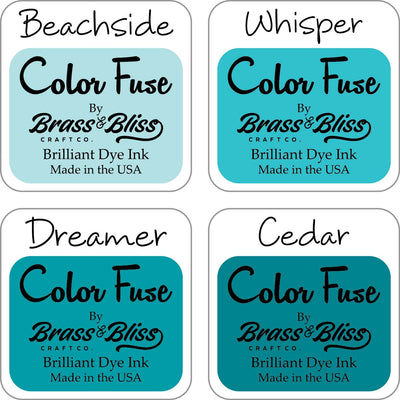
    Ink: VersaClair nocturne, Rubbernecker Stamps: Color Fuse ink set #2, set #5
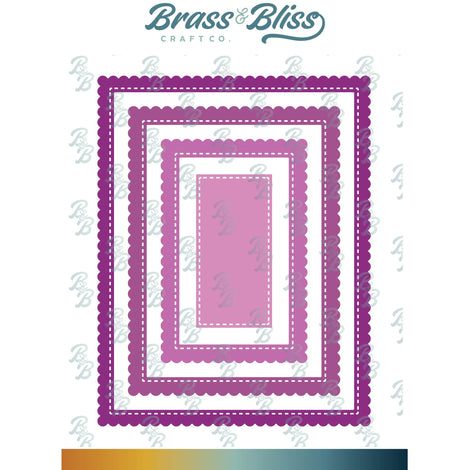
    Accessories:  Rubbernecker Stamps: Rectangle Stitch, Mini Slimline Stitch,  Open Greenery #1, dies, Veined Leaves Stencil,  MISTI, clear embossing powder


    You might also like:


  • Pink Marigolds


    Pink Marigolds birthday card w/ a stenciled panel & fancy die cut edge. Not hard to make & sure to make a special birthday girl smile.

    It’s my turn to host the Featured Stamper Challenge (FS845), so a big congrats to Susan! She has such a wonderful gallery & I chose THIS card to case. I liked the flower peeking out from under the top layer & the stenciling so I kept those. But I used different images, dies & colors & made mine a birthday card.

    After stenciling the white panel, I die cut just the right edge w/ a fancy rectangle die then cut the left off straight. I placed a piece of turquoise just under the right edge & trimmed around it.  The flowers were all colored & die cut then placed under the stenciled panel. A larger turquoise panel was attached to the card front than the flowers & stenciled layer. I thought it needed a greeting but since I’d already put the card together, I used a small stamped & die cut birthday greeting. I didn’t want to take a chance on messing up if I stamped right onto the stenciled layer.


    The die cut greeting was popped up just a bit.

    Here are the Copics I used:

    Thanks so much for stopping by!

    Supplies:

    Stamps: Rubbernecker Stamps – Birthday Phrases w/ Flower, Happy Birthday Lg/Sm
    Paper:  Staples 110# white, turquoise, X-Press It 
    Ink: Memento tuxedo black, Rubbernecker Stamps – Color Fuse ink set #9
    Accessories:  Rubbernecker Stamps :  Nested Rectangle w/ Square holes, Elegant Marigold, Decorative Rectangle, Happy Birthday Lg/Sm dies, Circled Paver stencil,  MISTI,  Crossover II , Copic markers, rhinestones


    You might also like:


  • Rose Wreath


    A thank you card w/ a lovely rose wreath..so easy to add color w/ the matching 4 pt stencil, & coordinating die. You’ll love the pretty new spring paper, too.

    A big congrats to Erin, the newest Featured Stamper (FS841)! She has such a lovely little gallery & I chose THIS card to case. I kept the pretty wreath & most of the colors, but made mine a thank you card, used a stamped wreath & designer paper for the background instead of a lattice.

    My rose wreath was stamped first w/ Memento & I left it in the Misti. I used the 4 part stencil to sponge the color in on the roses & leaves then I overstamped it w/ Versaclair nocturne to get the very dark outline. I knew the Versaclair might smear if I stamped it first, so that’s why I added it last. After it was die cut, I added dimensional foam to the back of it. I also elevated the sage green panel a bit after I stamped the greeting onto it.

    The lovely paper was cut into a frame using 2 sizes of the stitched rectangles & I also added 2 layers of heavy card behind it to lift it up. Some stickies was added to the flower centers & little berries around the wreath.

    Thanks so much for stopping by!


    Supplies:

    Stamps: Rubbernecker Stamps: Floral Wreath set
     Paper:  Staples 110# white, sage green, dp (Rubbernecker Stamps: Welcome Spring paper pad)
    Ink: Memento tuxedo black,VersaClair nocturne, Rubbernecker Stamps: Color Fuse ink  set #4, set #10, set #12
    Accessories:  Rubbernecker Stamps: Rectangle Stitch, Floral Wreath dies,Floral Wreath 4 pt Stencil,  MISTI, stickles


    You might also like: