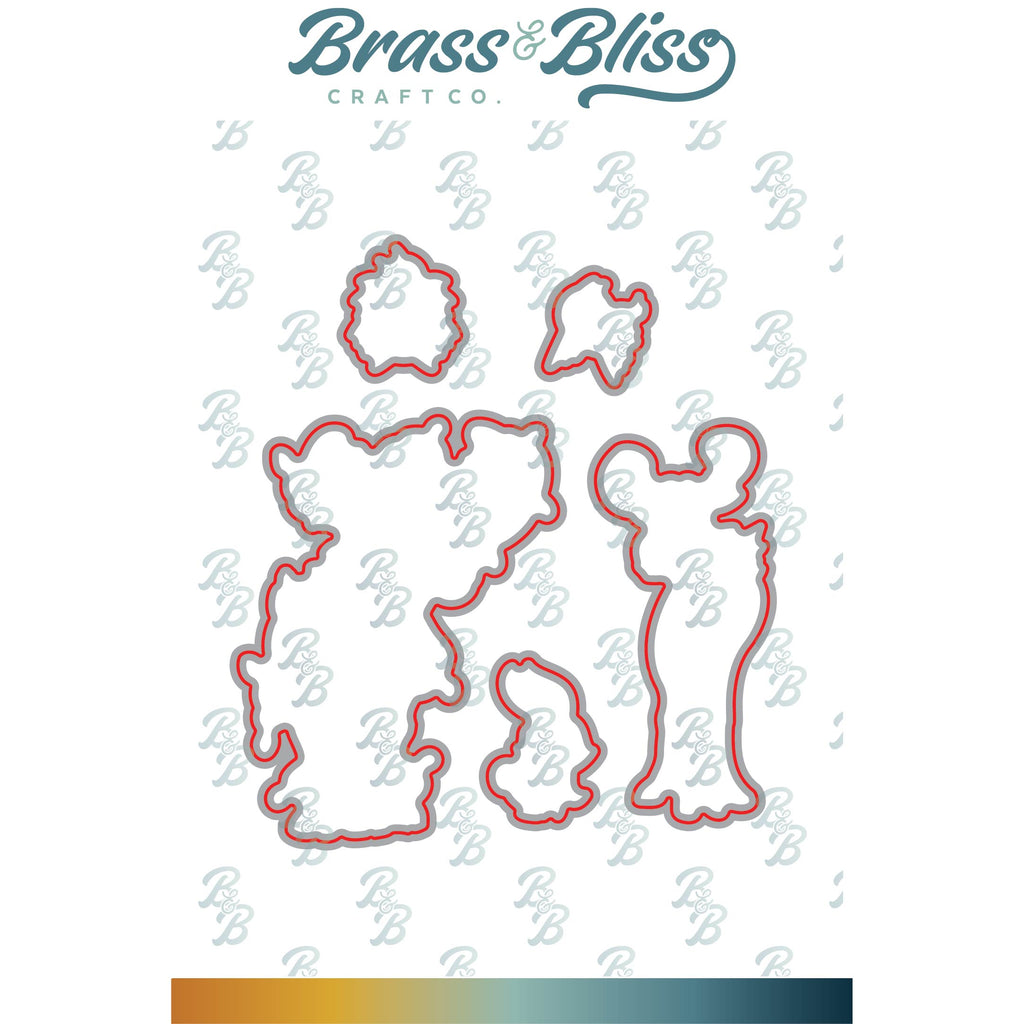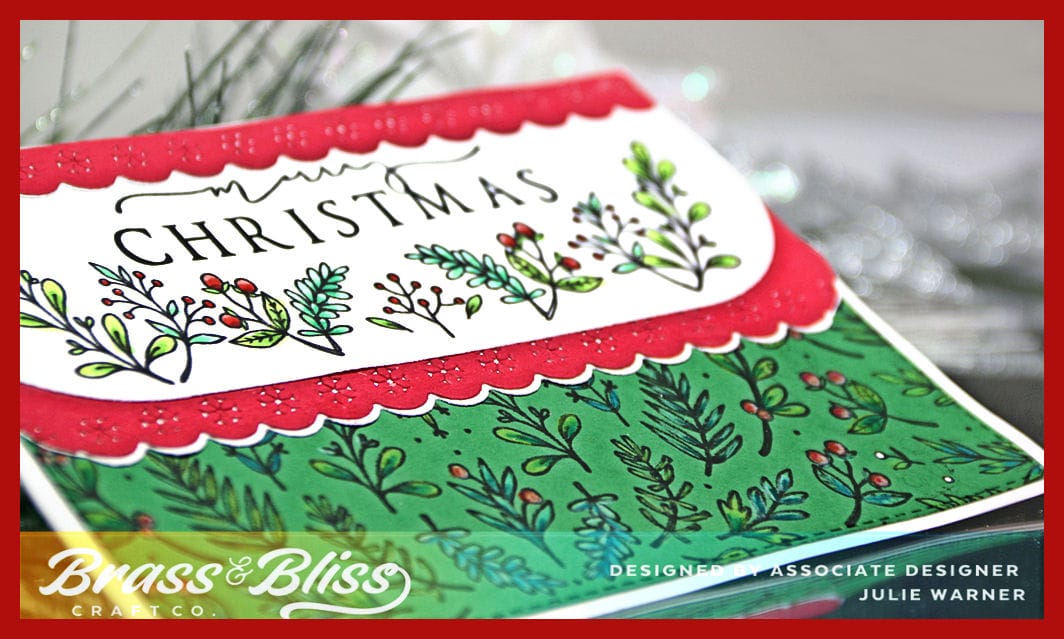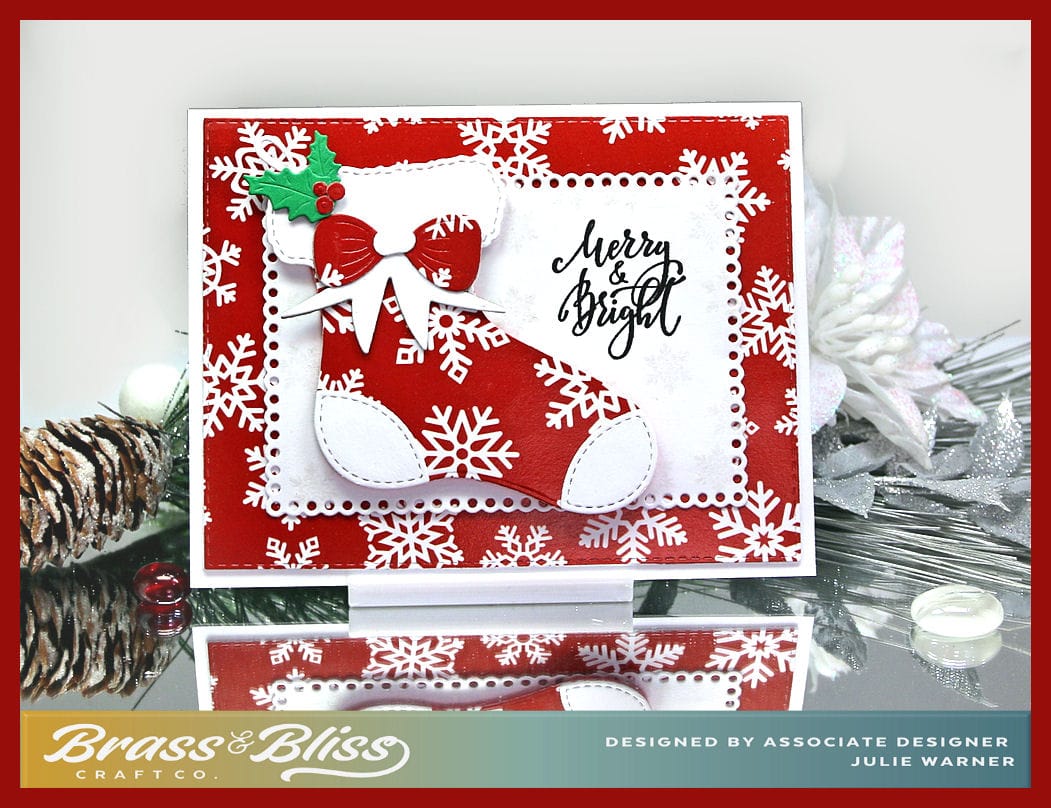

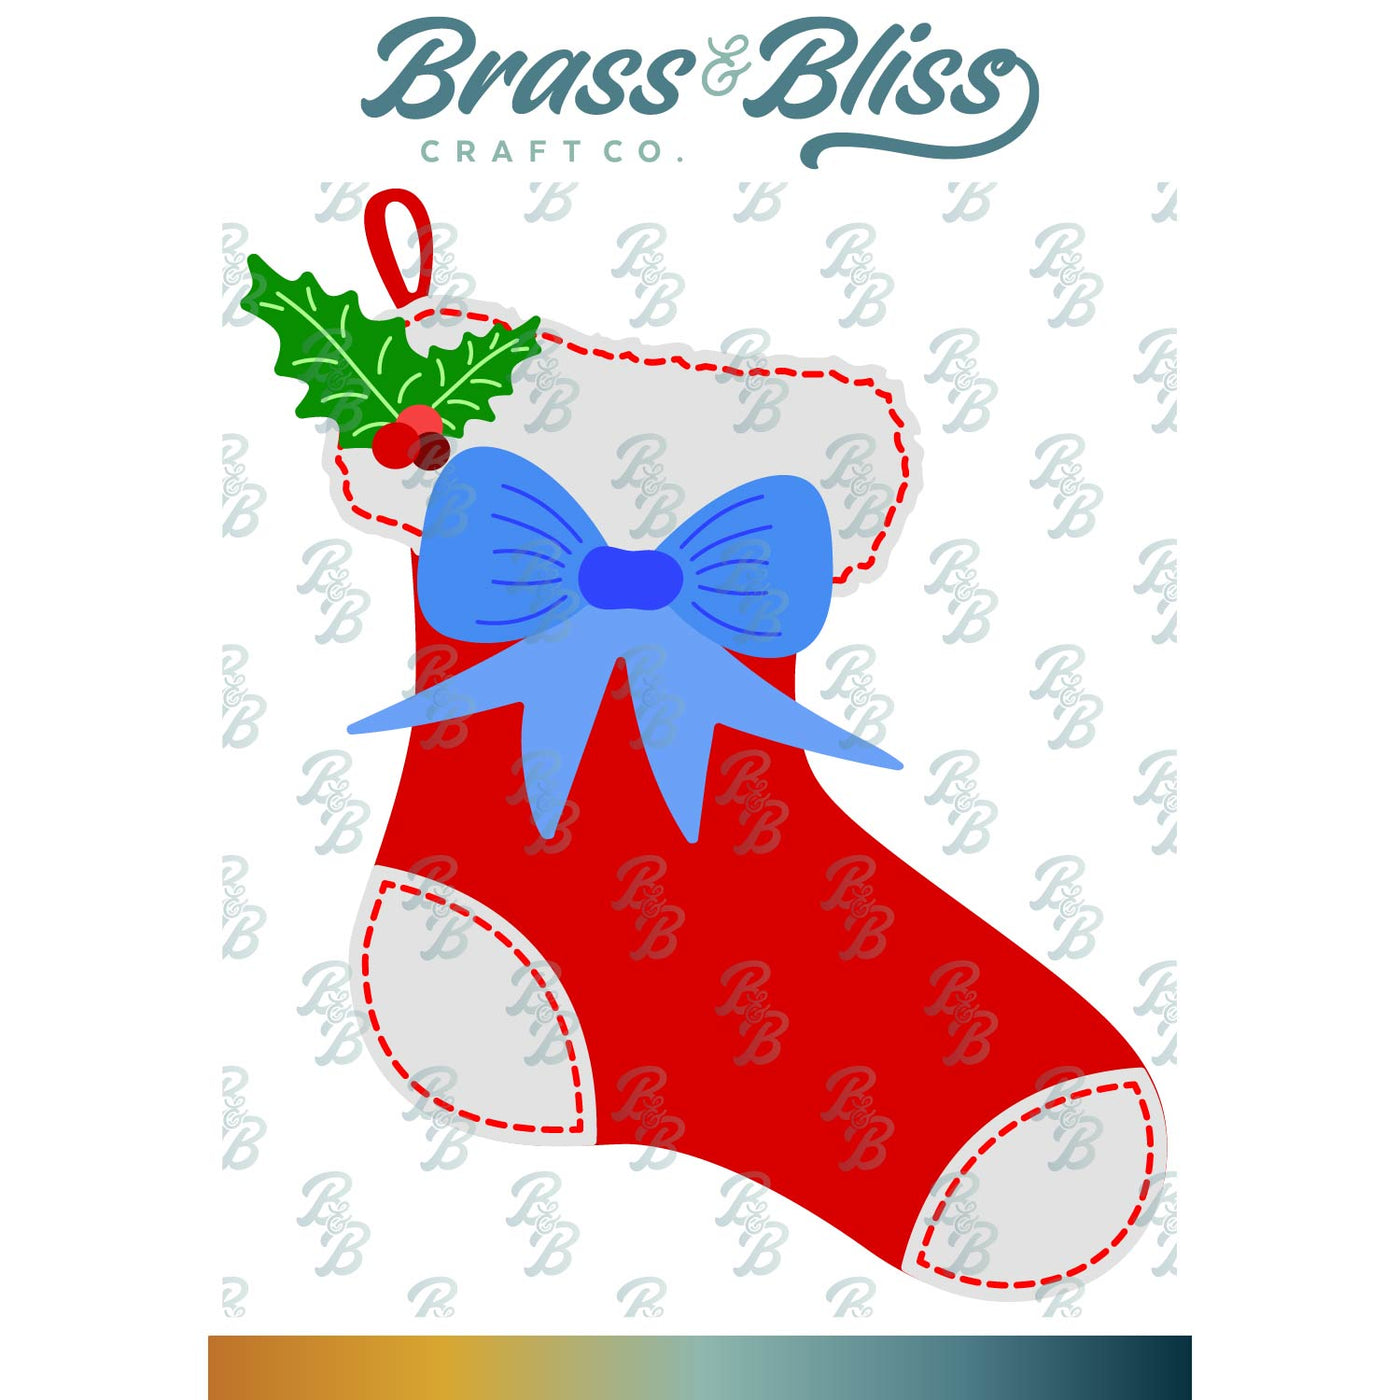
A fun, easy to make Christmas card using a wonderful stocking die cut and pretty snowflake paper. Die cut this sweet stocking out of different papers to change it up and this would be easy to make a bunch of cards in a hurry.
For the Inspiration Challenge we are visiting Over the Moon & their Pinterest Board. I was inspired by THIS red & white Christmas stocking,

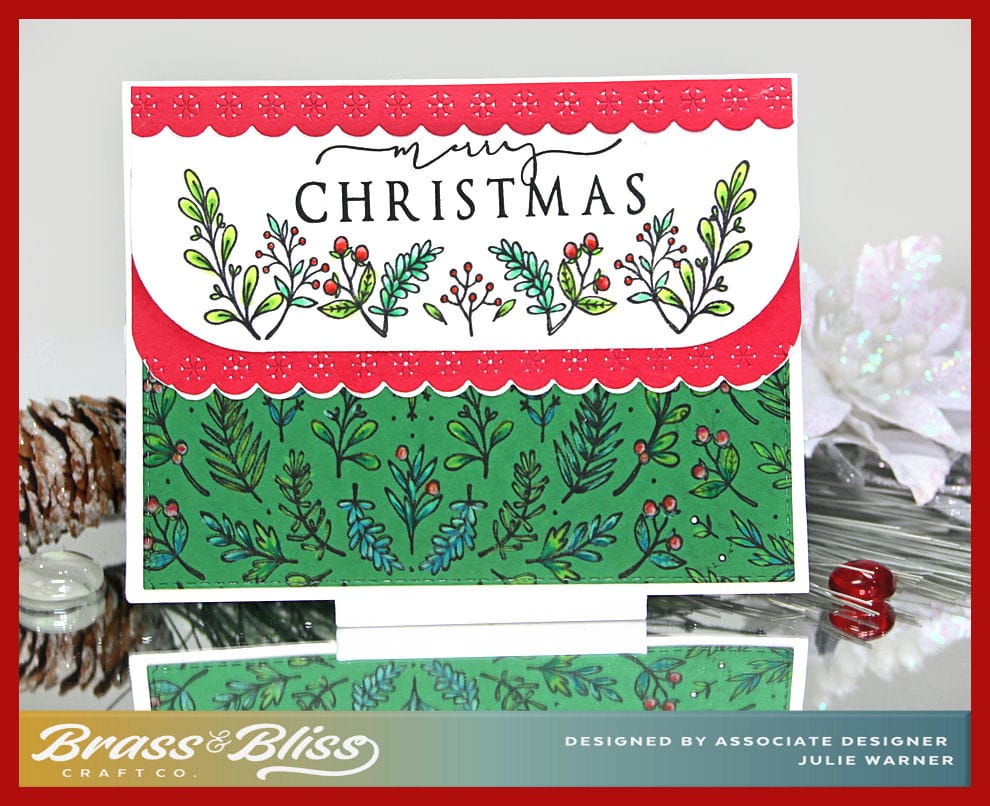
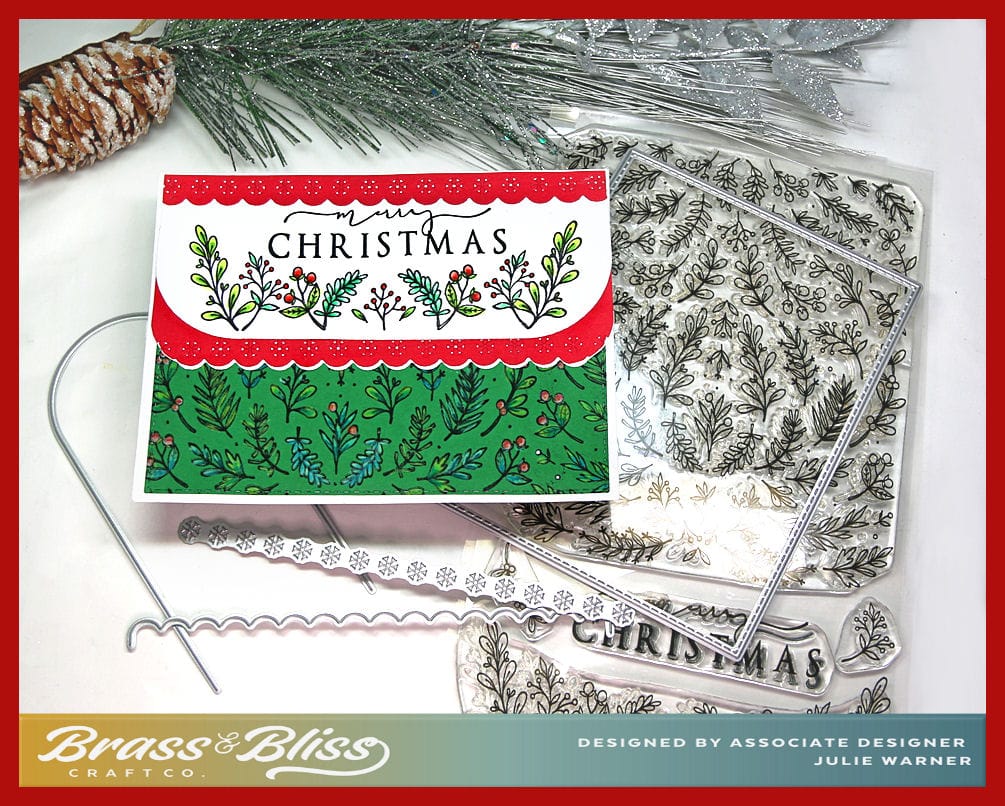
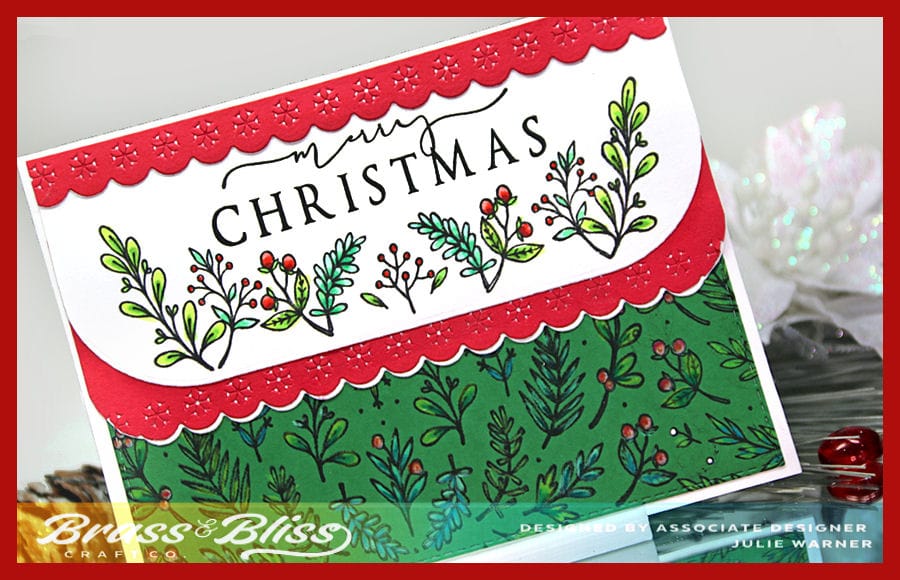
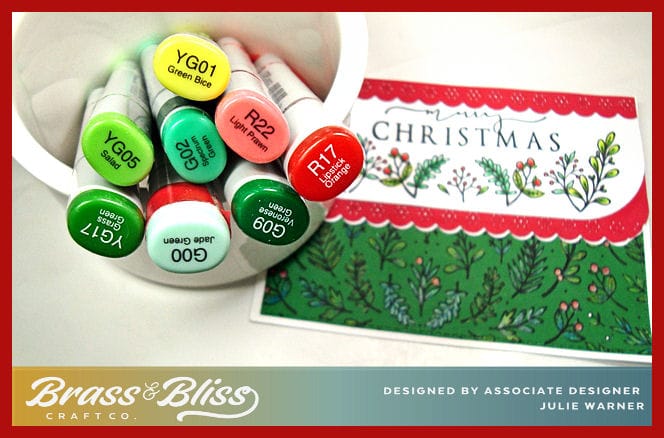
My card is pretty easy. I chose this wonderful red & white snowflake paper, die cut the background out of it then die cut the white panel to go on top. Since the white panel would cover a good portion of the background, i postioned the main stocking body to cut it in the hidden area. The greeting was stamped in the upper right, then I used Brilliance Platinum to stamp snowflakes across the greeting panel. It’s very subtle but adds a nice touch, The stocking parts were put together then I popped the whole stocking up for dimension.

Thanks so much for stopping by!
(LinkDeli is no longer going to be used, but you can go directly to the items by clicking the name under the pictures below.)

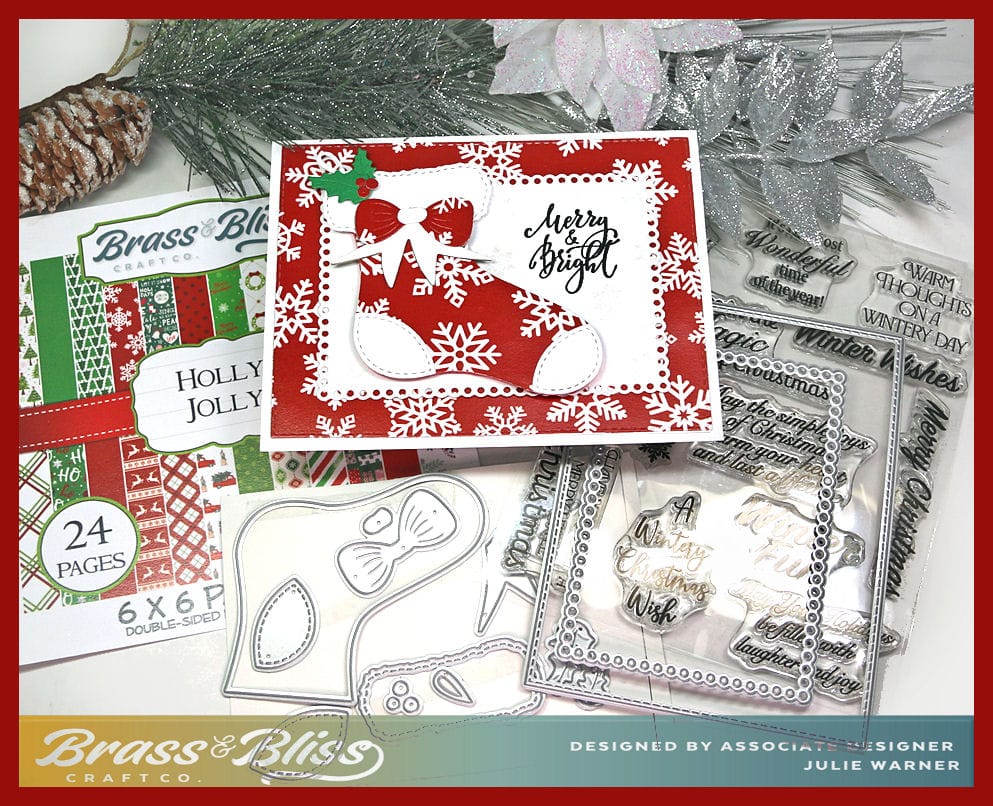
Supplies:
|
|
|
|

|

|

|

|
You might also like: