This is a fun & bright birthday card for that Fashionista we all know and love. Everything looks so sharp, stylish & color coordinated! Everything a girl could want is most likely i…
- Category Archives Paper Piecing
-
-
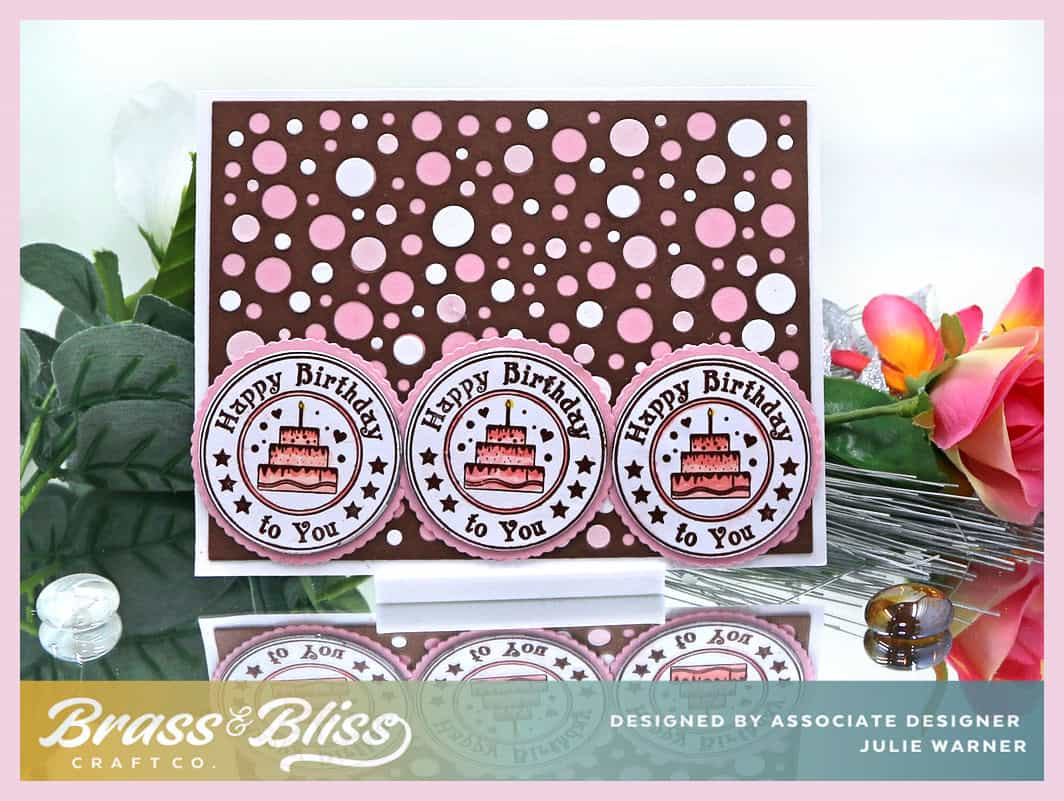 Birthday Circles
Today I have a fun birthday card that works equally well for guys or girls. Best of all, it’s easy to make, easy to customize to colors for the recipient, and there are a lot of these…
-
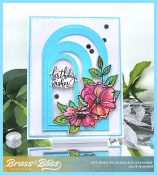 Flower Arches
A fun, easy, colorful card for a speical birthday girl. Change up the greeting and this would be perfect for Mother’s Day, get well or just thinking of you. It’s also a great wa…