Posts Tagged ‘ornaments’
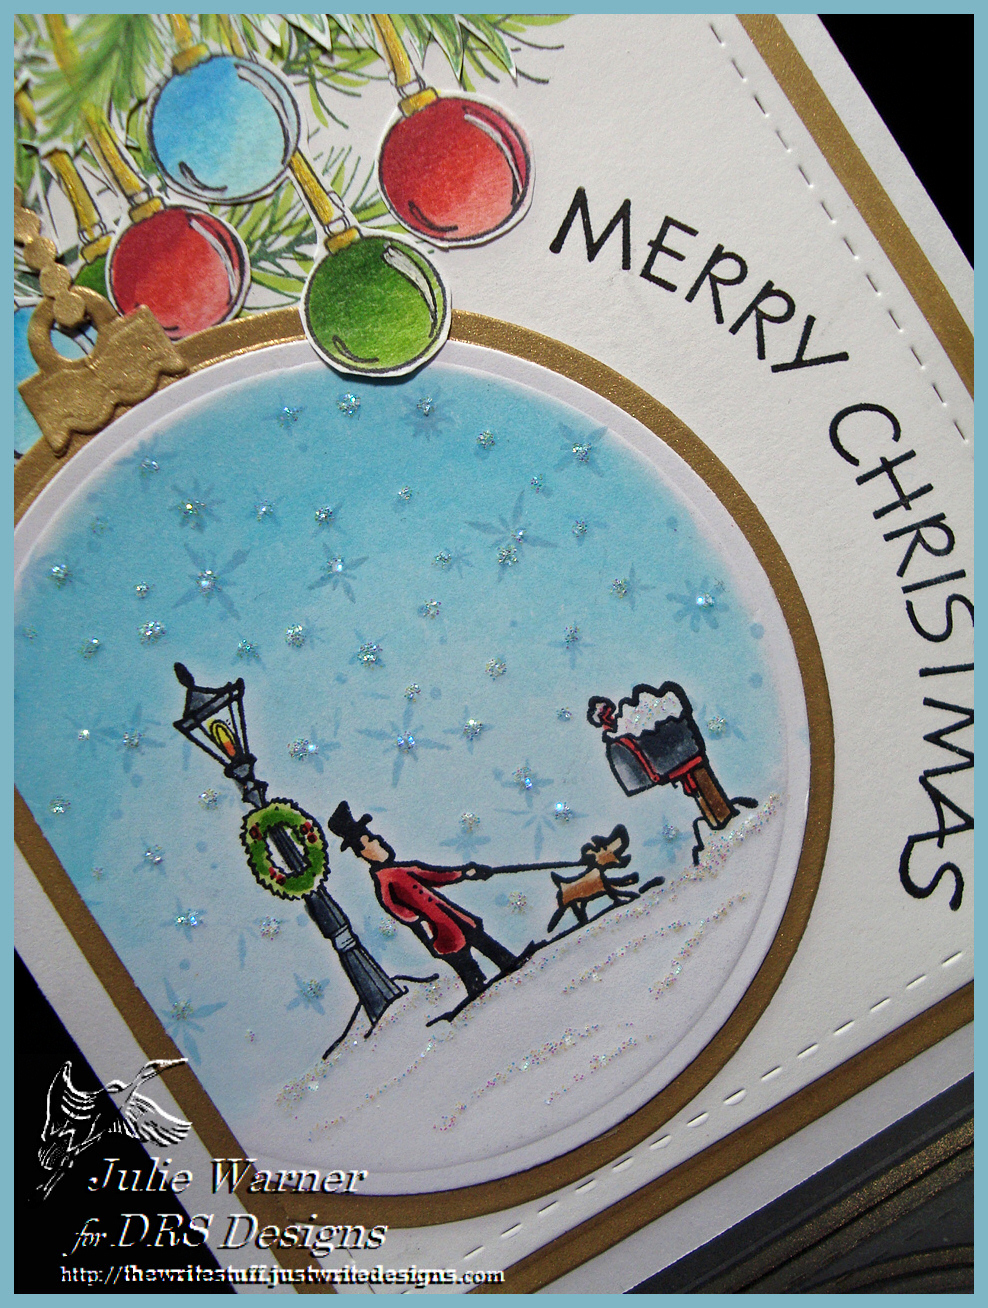
The Ways to Use It Challenge (WT557) today is ways to communicate. Since I don’t have a postcard or computer image, I went with good ol’ snail mail. I’m thinking this gentleman is probably expecting a box from Amazon, lol. From the look on the dog’s face, it’s probably that box of doggy toys & treats he ordered. Lately, Amazon seems to be only thing you can count on getting to you on time. Yesterday, there was nothing in my mail box..not even junk mail. I can count on one hand & have fingers left over, for how many times that has happened.
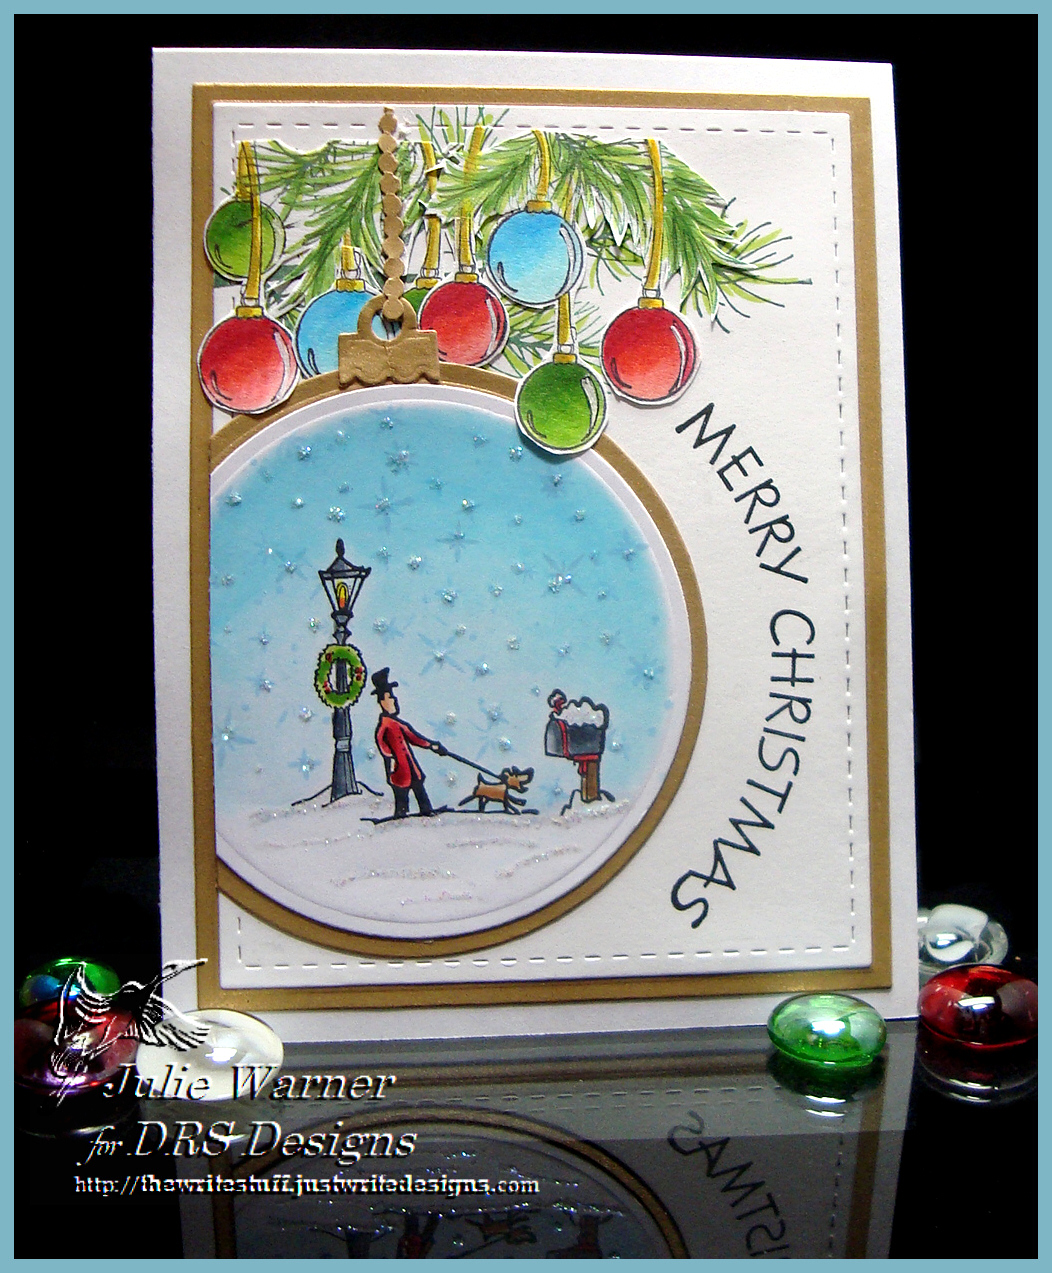
Anyway, I stamped the little scene, colored w/ Copics, then stamped the falling snow w/ the tumbled glass ink & die cut it. I wanted to have room for the greeting arc, so I cut off the left side of the circle even w/ the edge. The pine bough was stamped above it & all the hanging ornaments & branches were fussy cut & attached on top.
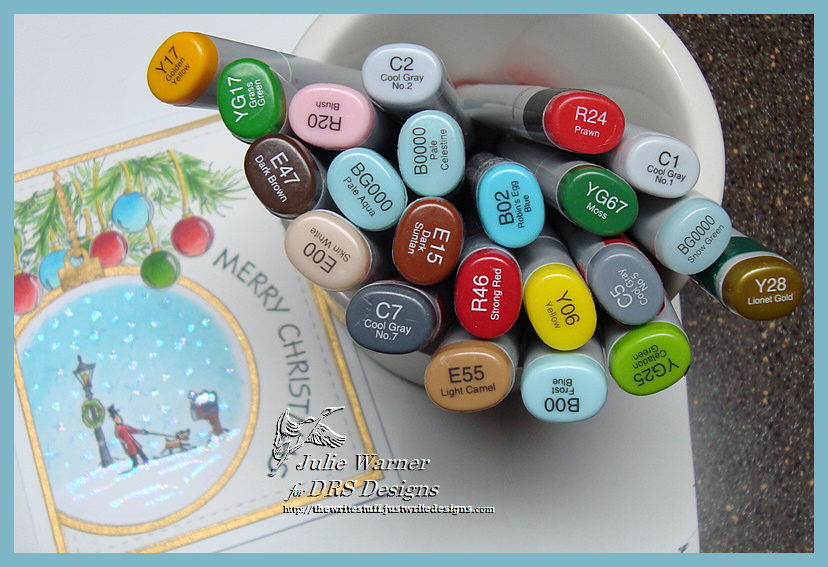
Here are the Copics I used.
Thanks so much for stopping by! If you haven’t, pop on over & check out the DRS Thursday Challenge…this week make a thank you or Thanksgiving card. DRS images are not required & there’s a nice prize up for grabs.
Supplies:
Stamps: DRS Designs- Christmas Village Accessories 2 (man, mailbox). Lamp Post, Merry Christmas Arc, Ornaments Galore, Pine Bough, Snow Background |
Paper: X-Press It white, brushed gold metallic |
Ink: Memento tuxedo black, Versafine onyx, Distress Ink tumbled glass |
Accessories: Copic markers, Spellbinders A2 matting basics A & B, circles dies, stickles, Lil’ Inkers stitched rectangle dies |
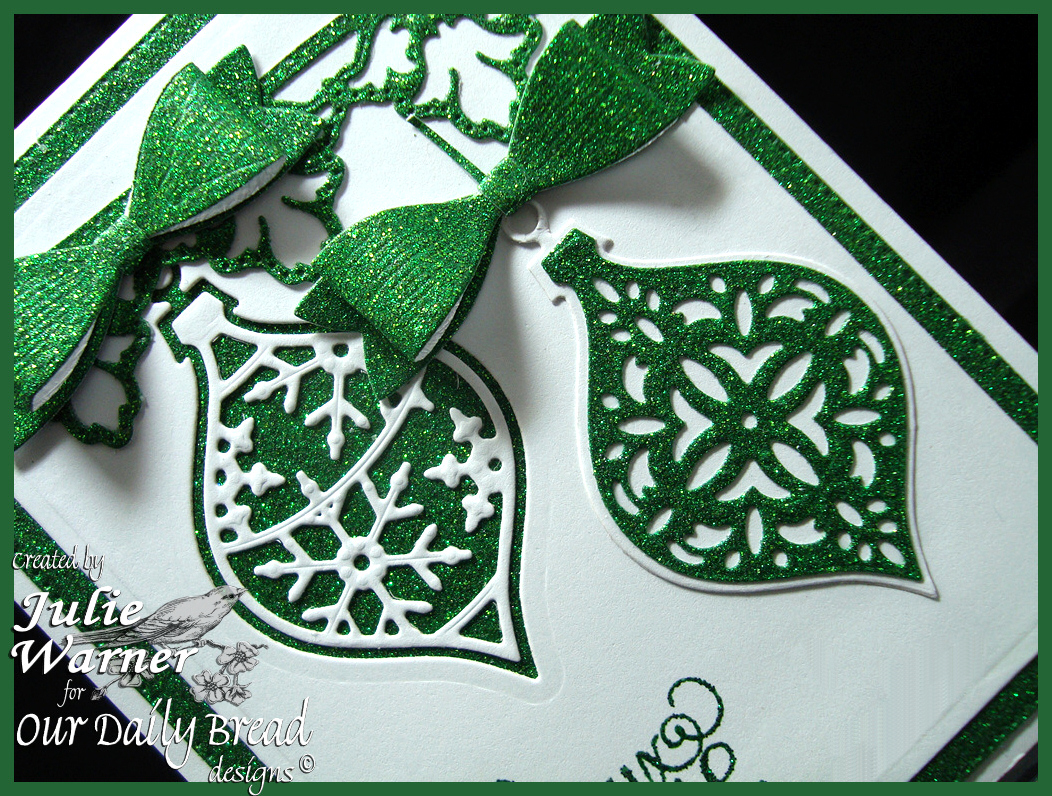
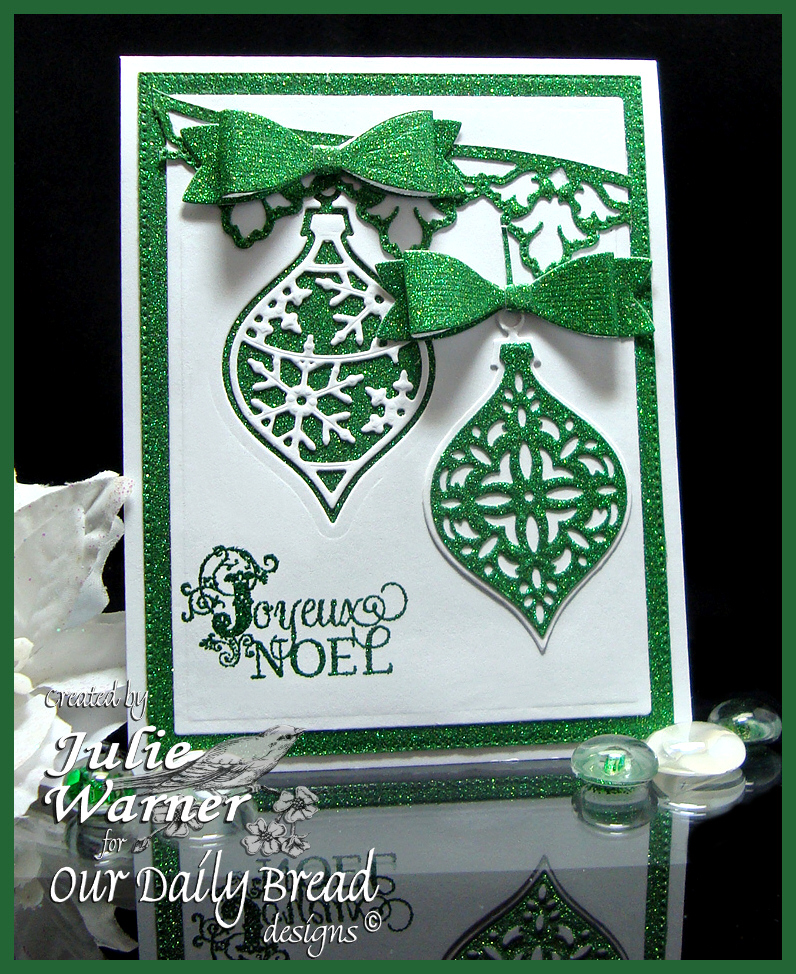
Today we’re taking another look at the Our Daily Bread designs Oct. 1 release! Aren’t the ornaments & sentiments beautiful? And the Flourished Alphabet can be used all year round! This is also for the Inspiration Challenge (IC516) & I chose THIS as my inspiration.
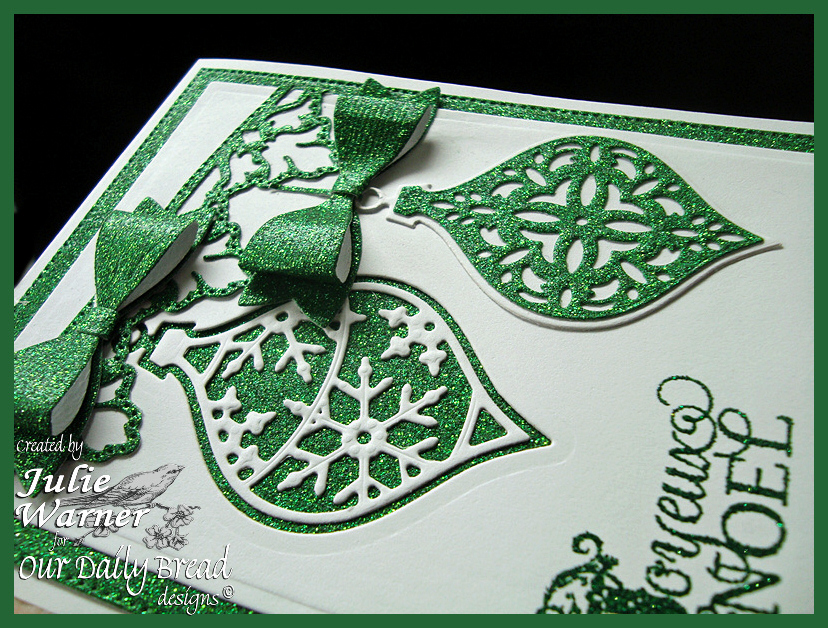
My card today features the Elegant Embellishments ornaments dies. This card is so sparkly with all the green glitter card stock & green glitter heat embossed greeting! I die cut the white layer w/ a matting basics die & the green glitter layer w/ the largest Flourished Star Pattern die. After determining the placement for the ornaments, I die cut the top left one in the white layer using the solid ornament die. I used this white backing for the ornament on the lower right. A snowflake ornament topper was die cut out of another piece of white & attached on top of the negative ornament on the left. The lower right ornament has a die cut topper out of the green glitter c/s. I also die cut a leafy border to drape across the top so my ornaments would have something to attach to & not appear as if they are floating in mid air.
After I inked the Joyeux Noel, I wiped off the ink on the letter J before heat embossing it w/ green glitter powder. I used a stamp positioner to stamp the Flourished letter J in its place. The Small Bow die was used to cut the 2 green glitter bows & I attached them on top of the ornaments.
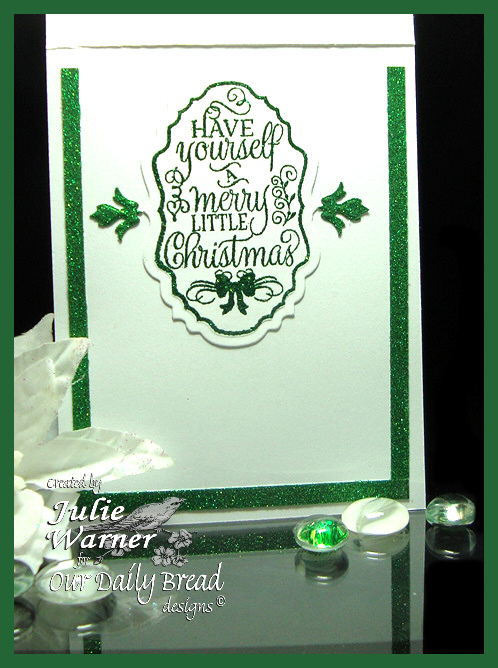
Here’s a look at the inside using some leftover strips of the green glitter c/s. The greeting was heat embossed w/ with green glitter powder & the 2 side flourishes are cut outs from the Leafy Edged Border die cut on the front.
Supplies:
Stamps: ODBD –Christmas Tunes, Flourished Alphabet |
Paper: Neenah white, green glitter c/s (Paper Studio Christmas glitter pad) |
Ink: Encore evergreen pigment |
Accessories: ODBD Elegant Embellishments, Flourished Star Pattern, Leafy Edged Border, Vintage Label, Small Bow dies, Spellbinders A2 matting basics A & B dies, green glitter embossing powder |
Please be sure to visit all the DT blogs…they all have some wonderful inspirations using the Oct. 1 Release!
Sandee * Cathy * Julie * Robin *
Amy * Dawn * Lori * America
Thanks so much for stopping by!
These are the sets & dies I used today:
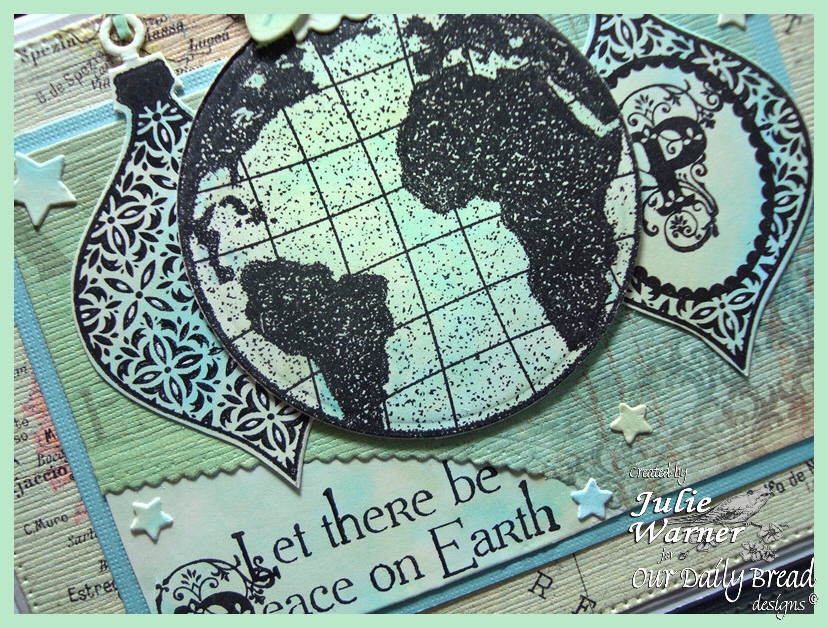
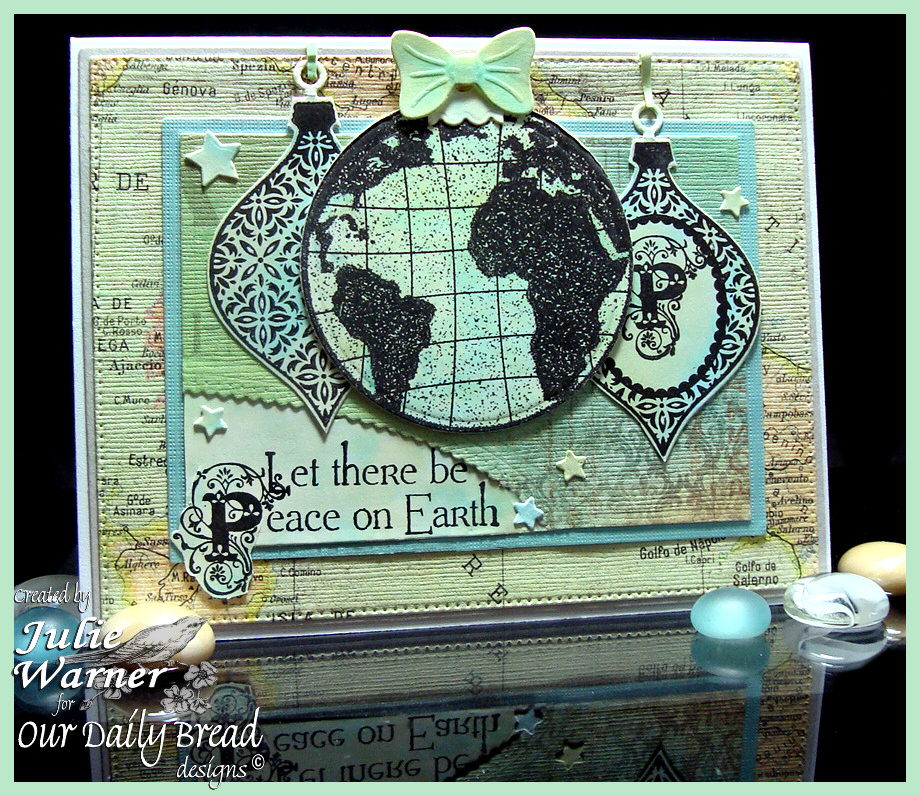
This is for today’s Color Challenge (CC552). Such soft, pretty colors (pistachio, pool, sand). As usual, I don’t have the exact colors, so I used 4 Copics for the bgs on my ornaments & greeting & some dp for the rest.
After I scribbled the 4 Copics (G20, G40, BG000 & BG11) on white c/s, I stamped the ornaments on top w/ Versafine then die cut them. I combined the greeting w/ the flourished letter P then used one of the Leafy Border dies to cut a curve across the corner to let it show through. A few stars & bow were added to finish.
Thanks so much for stopping by!
Stamps: ODBD – Elegant Embellishment set, Flourished Alphabet, The Earth, Peaceful Deer |
Paper: X-Press It white, pool textured (DCWV -pastel mat stack), dp (Paper Studio -Uncharted) |
Ink: Versafine onyx |
Accessories: ODBD Elegant Embellishments, Flourished Star Pattern, Leafy Edged Border,Peaceful Poinsettia (bow), Matting Circles, Sparkling Stars dies, Spellbinders A2 matting basics A & B dies, Misti |