
Welcome to the North Coast Creations September Release! We have some really fun images for you this month. First the prizes:
Prize Information:
- Just for commenting on our posts, you have a chance to win a $10 NCC Gift Certificate, good towards the purchase of NCC Stamps.
- You have until September 17, 2014 at 10:00 PM EDT to leave a comments on the NCC Blog or the participating designers blog for a chance to win!
- Two random winners will be selected from the comments received and will be announced on the NCC Blog on September 18, 2014, be sure to check back there to see if you have won!

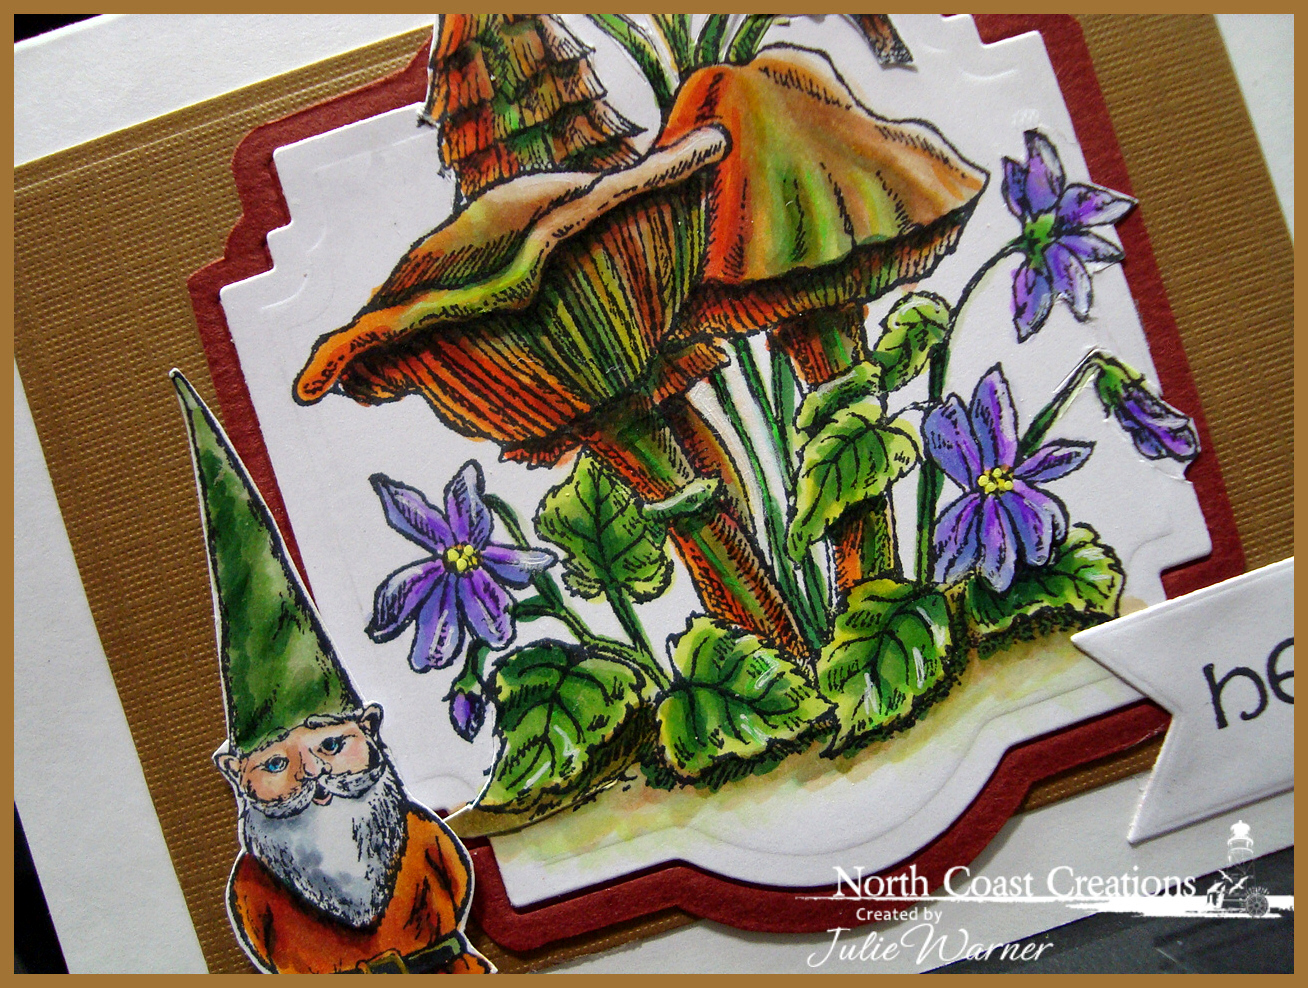
On my first card, I used the super fun & cute Gnome What? set. Love these toadstools and I love coloring them these funky colors. Who says they have to be dull or all brown? I used my out of the box technique and die cut them then fussy cut the reddish brown layer behind it. The cute little garden gnome was also fussy cut. The greeting was die cut with the ODBD Pennants die and addd on top.
The finished card is 5.50 x 4.25 and these are the Copics I used.
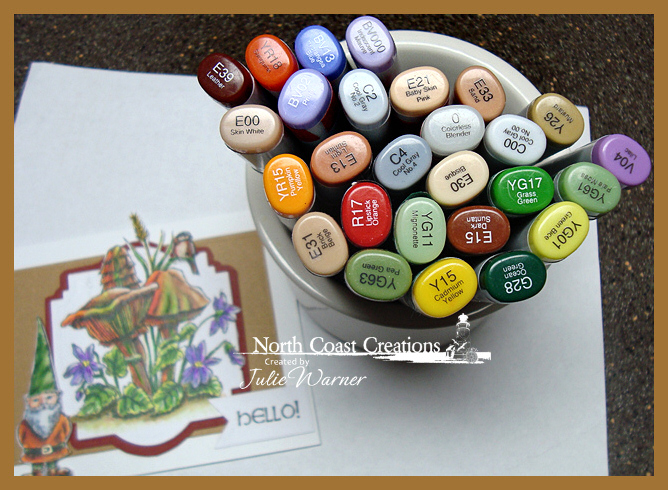
Supplies:
| Stamps: North Coast Creations –Gnome What?. ODBD-Stamped by Chickadee mini |
| Paper: X-Press It, dk tan textured (DCWV neutrals mat stack), brick red |
| Ink: Memento tuxedo black |
| Accessories: Copic markers, ODBD Pennant dies, Spellbinders A2 Matting basics A & labels 22 dies |
My second card features the super cute Sweet Christmas Wishes set.
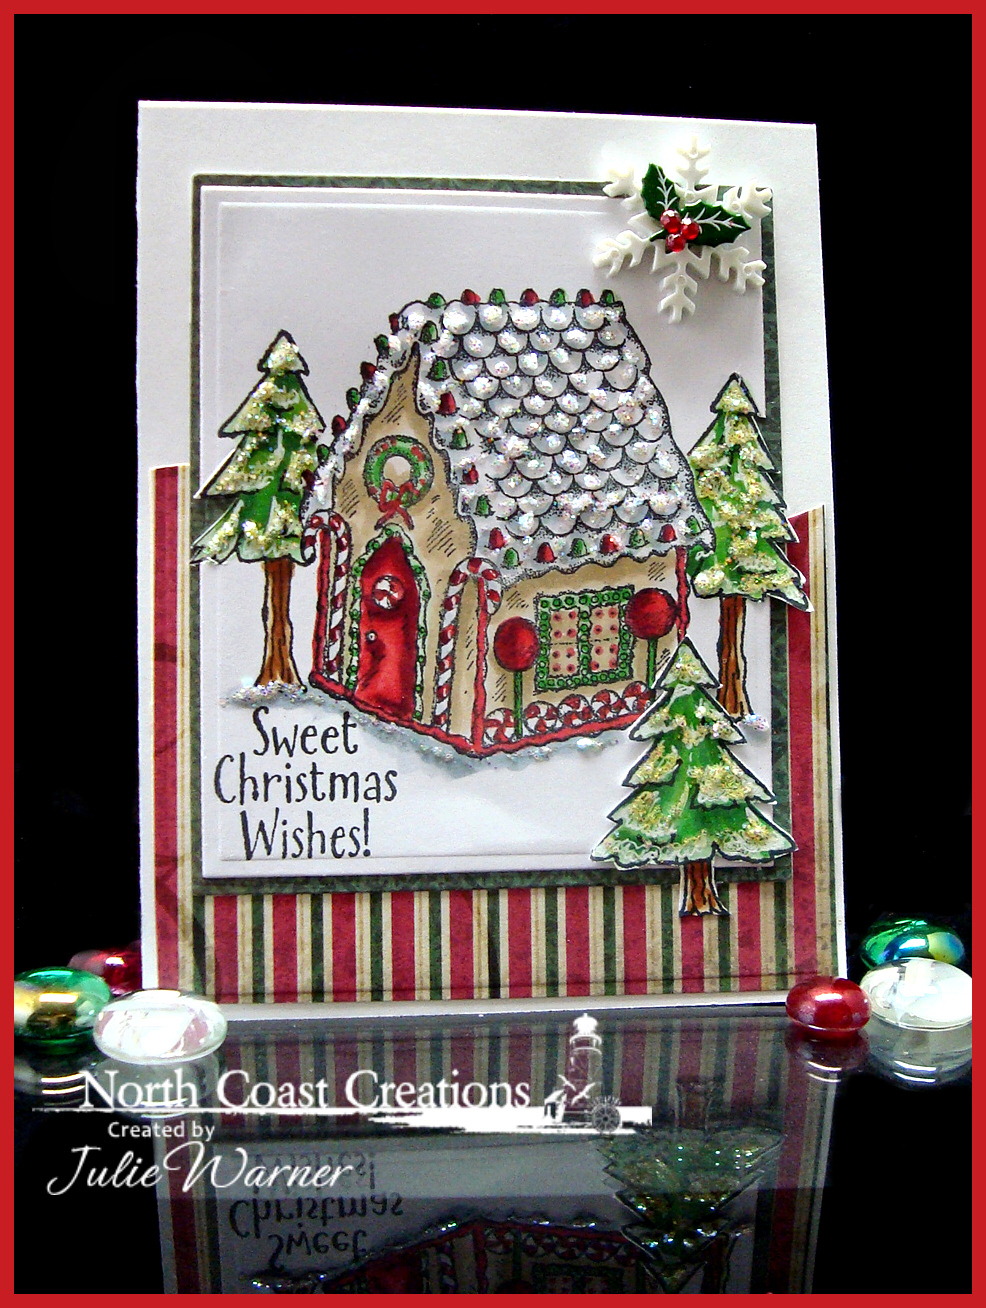
After stamping the gingerbread cottage, I masked it and stamped a couple of trees from the Happy Camper set and another on a separate piece of card stock to fussy cut and add on top. After coloring them all and adding the greeting, I added some stickles for a little sparkle. Can’t have too much sparkle on a Christmas card!
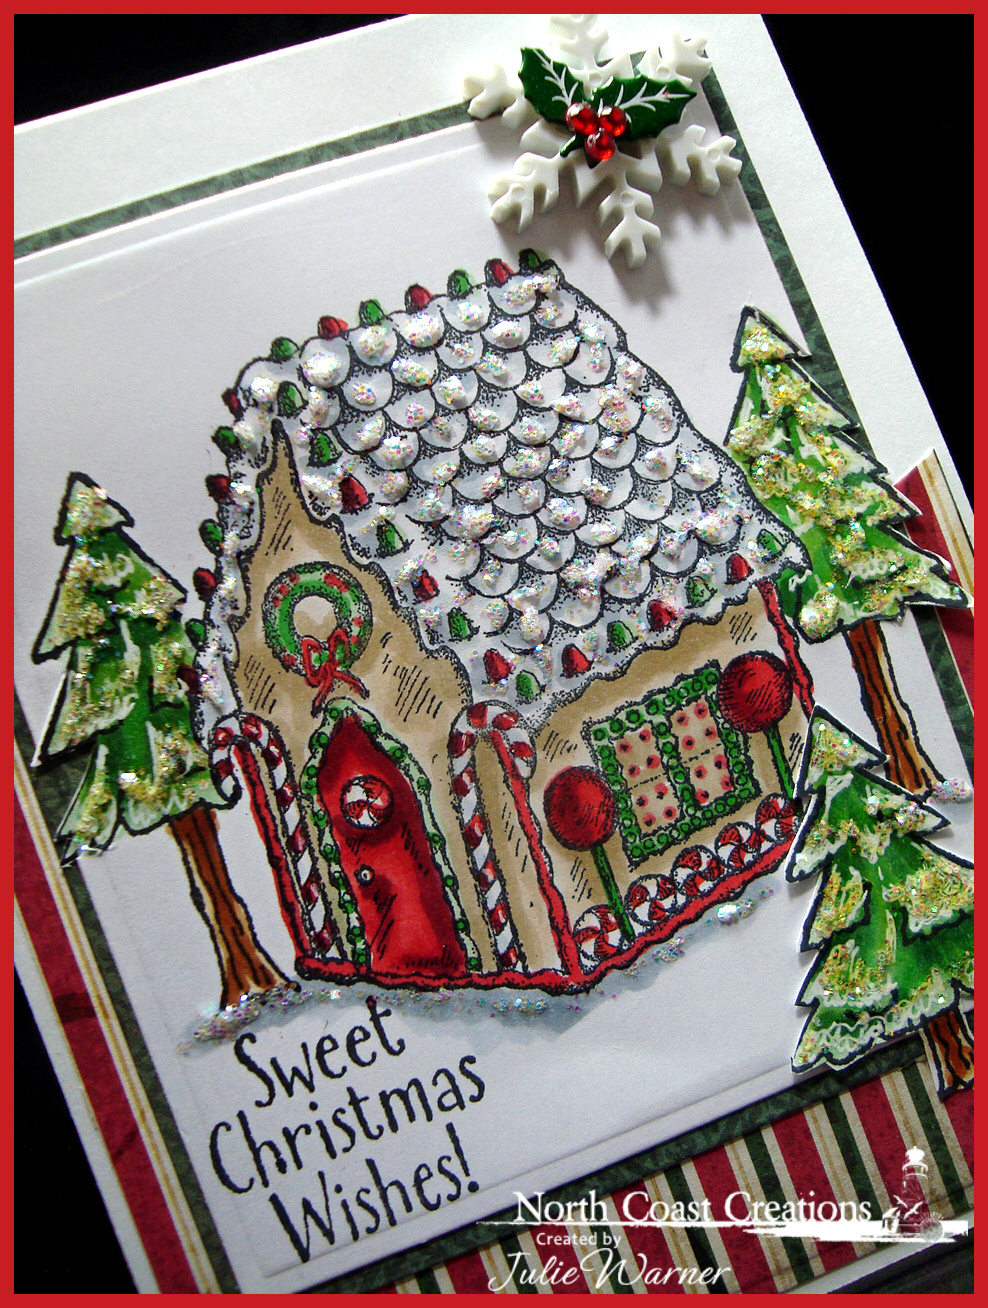
I had some striped paper left over from another project which had been die cut w/ a curved border die so I used it on the bottom section. To frame the main image, I used a coordinating green paper from the same ODBD Christmas Collection 2013. A holly w/ red crystal berries was added on top of a big snowflake embellishment to finish it. The card is 4.25 x 5.50 and these are the Copics I used.

| Stamps: North Coast Creations – Sweet Christmas Wishes, Happy Camper |
| Paper: X-Press It, designer paper (ODBD Christmas Collection 2013) |
| Ink: Memento tuxedo black |
| Accessories: Copic markers, Spellbinders A2 Matting basics B & curved borders dies, stickles, snowflake embellishment, holly brad |
Please be sure to stop by, visit & comment on all the DT blogs so you’ll be entered to win!
Sandee * Julie * Lori * Amber * Dawn * Lisa
Thanks so much for stopping by!


