
Welcome to the North Coast Creations January New Releases! We will be choosing 2 winners who will receive a $10 gift certificate to the store for stamps just for commenting on our Design Team cards! You have until January 17, 2014 at 10:00PM EST to leave a comment on each of our designers blog posts. Our 2 random winners will be announced on the North Coast Creations Blog on January 18, 2014, please be sure to check back there to see if you have won.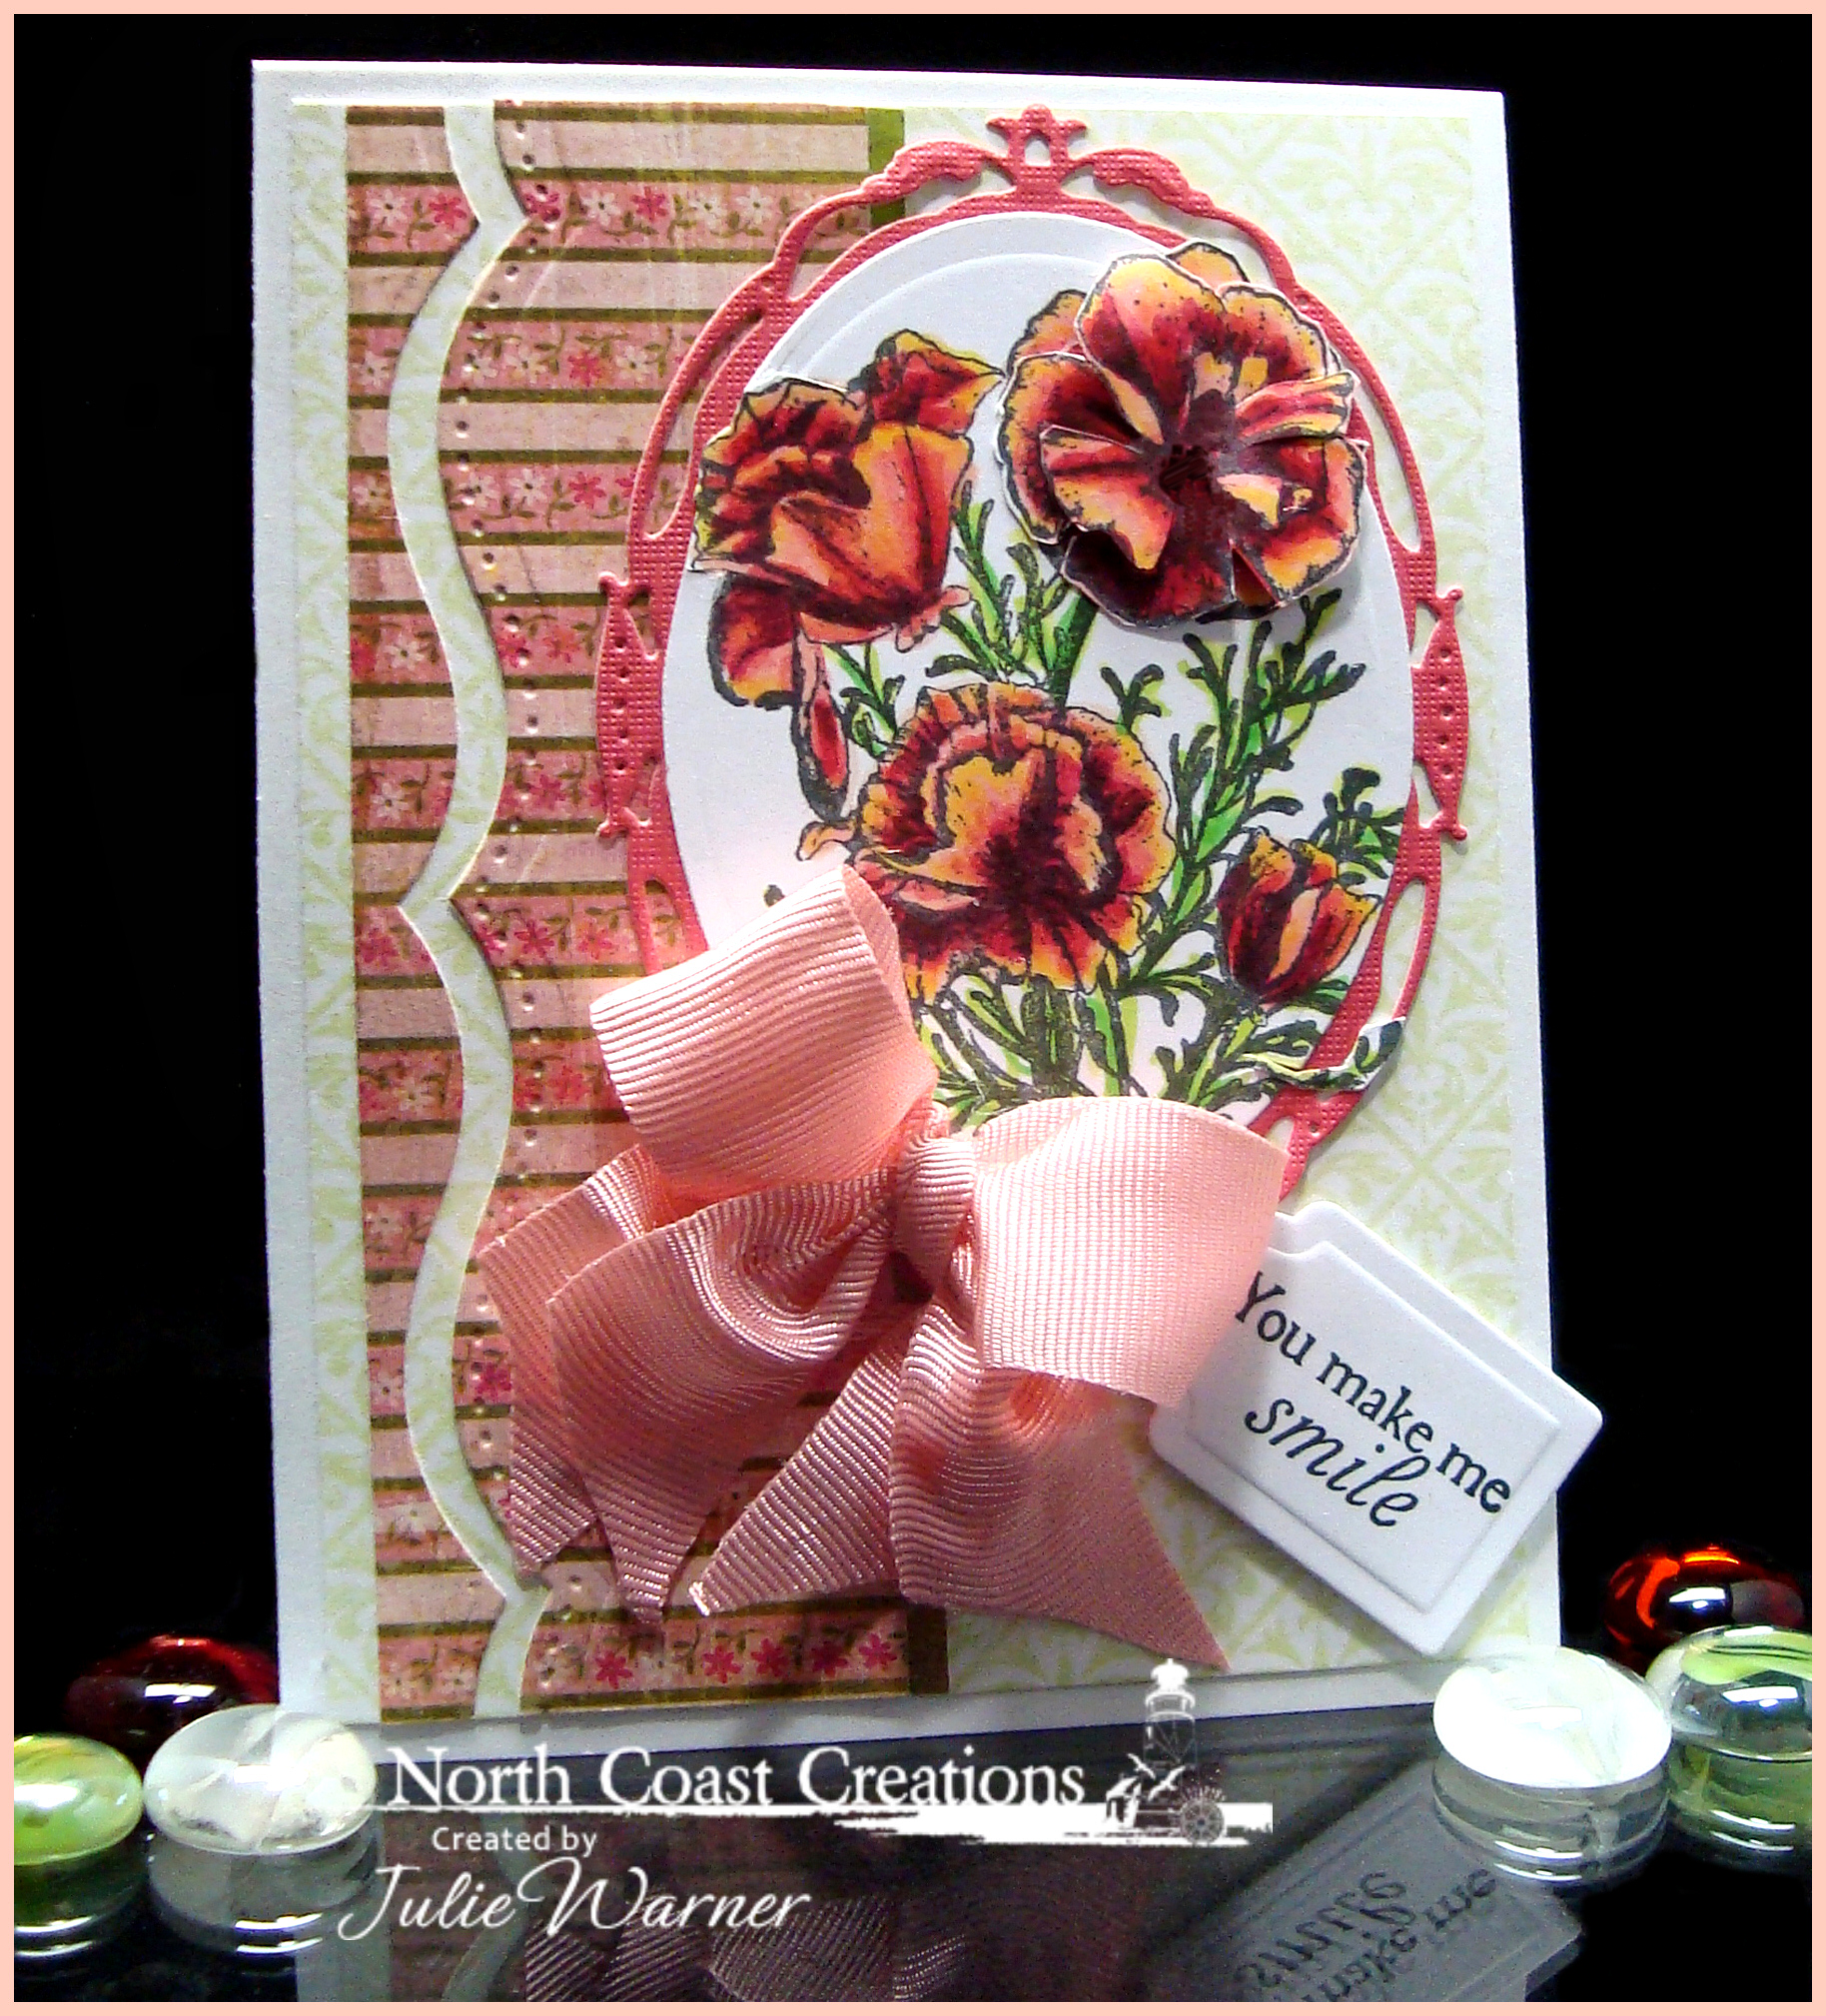
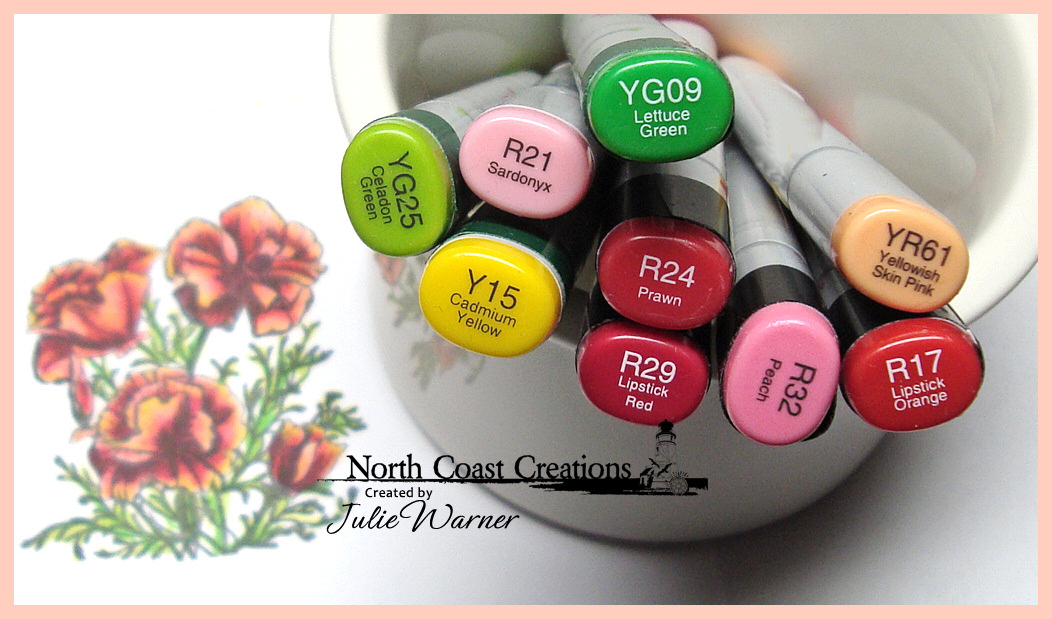
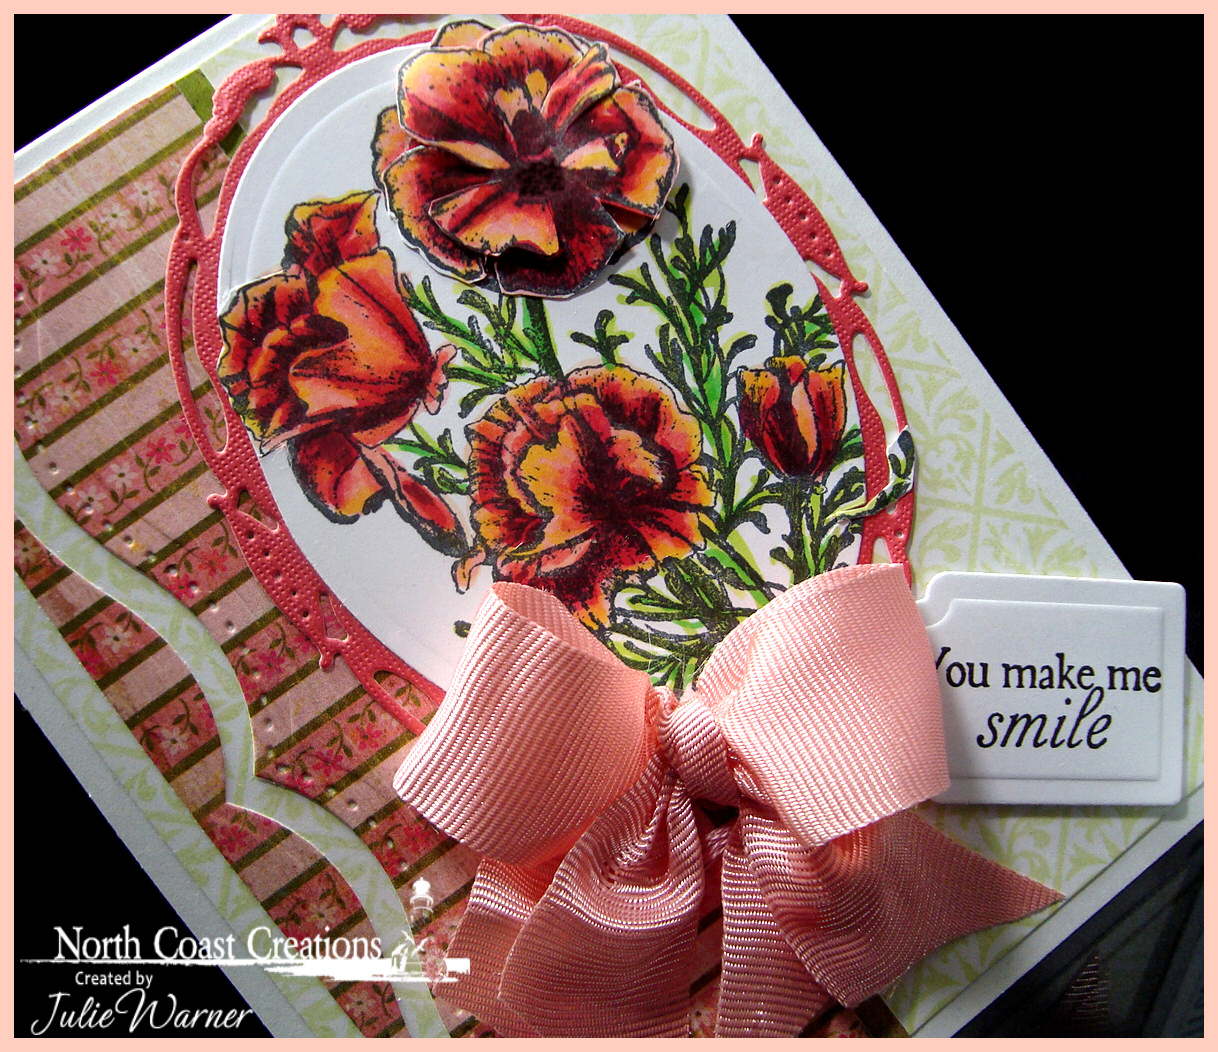
On my first card, I used the lovely Floral Sentiments 3. I stamped the poppies and one extra big poppy, colored with Copics and did an out of the box treatment when die cutting it with a large oval. On the extra poppy, I cut some of the petal in toward the center and popped them up for a little dimension. It’s framed with coral layer and the background on the right was stamped with an ODBD mini bg image. The designer paper was cut with a bracket border die and the greeting was stamped on an ODBD tag die. The finished card is 4.25 x 5.50 and these are the Copics I used.
Supplies:
| Stamps: North Coast Creations – Floral Sentiments 3, ODBD Vintage Pattern Mini 1 |
| Paper: X-Press It, Basic Grey (Green at Heart), coral textured (DCWV) |
| Ink: Memento tuxedo black & new sprout, Versfine onyx |
| Accessories: Copic markers, ODBD Recipe & Tag dies, Spellbinders ovals, Opulent ovals & bracket border dies, half pearls, ribbon, Mini Bowdabra |
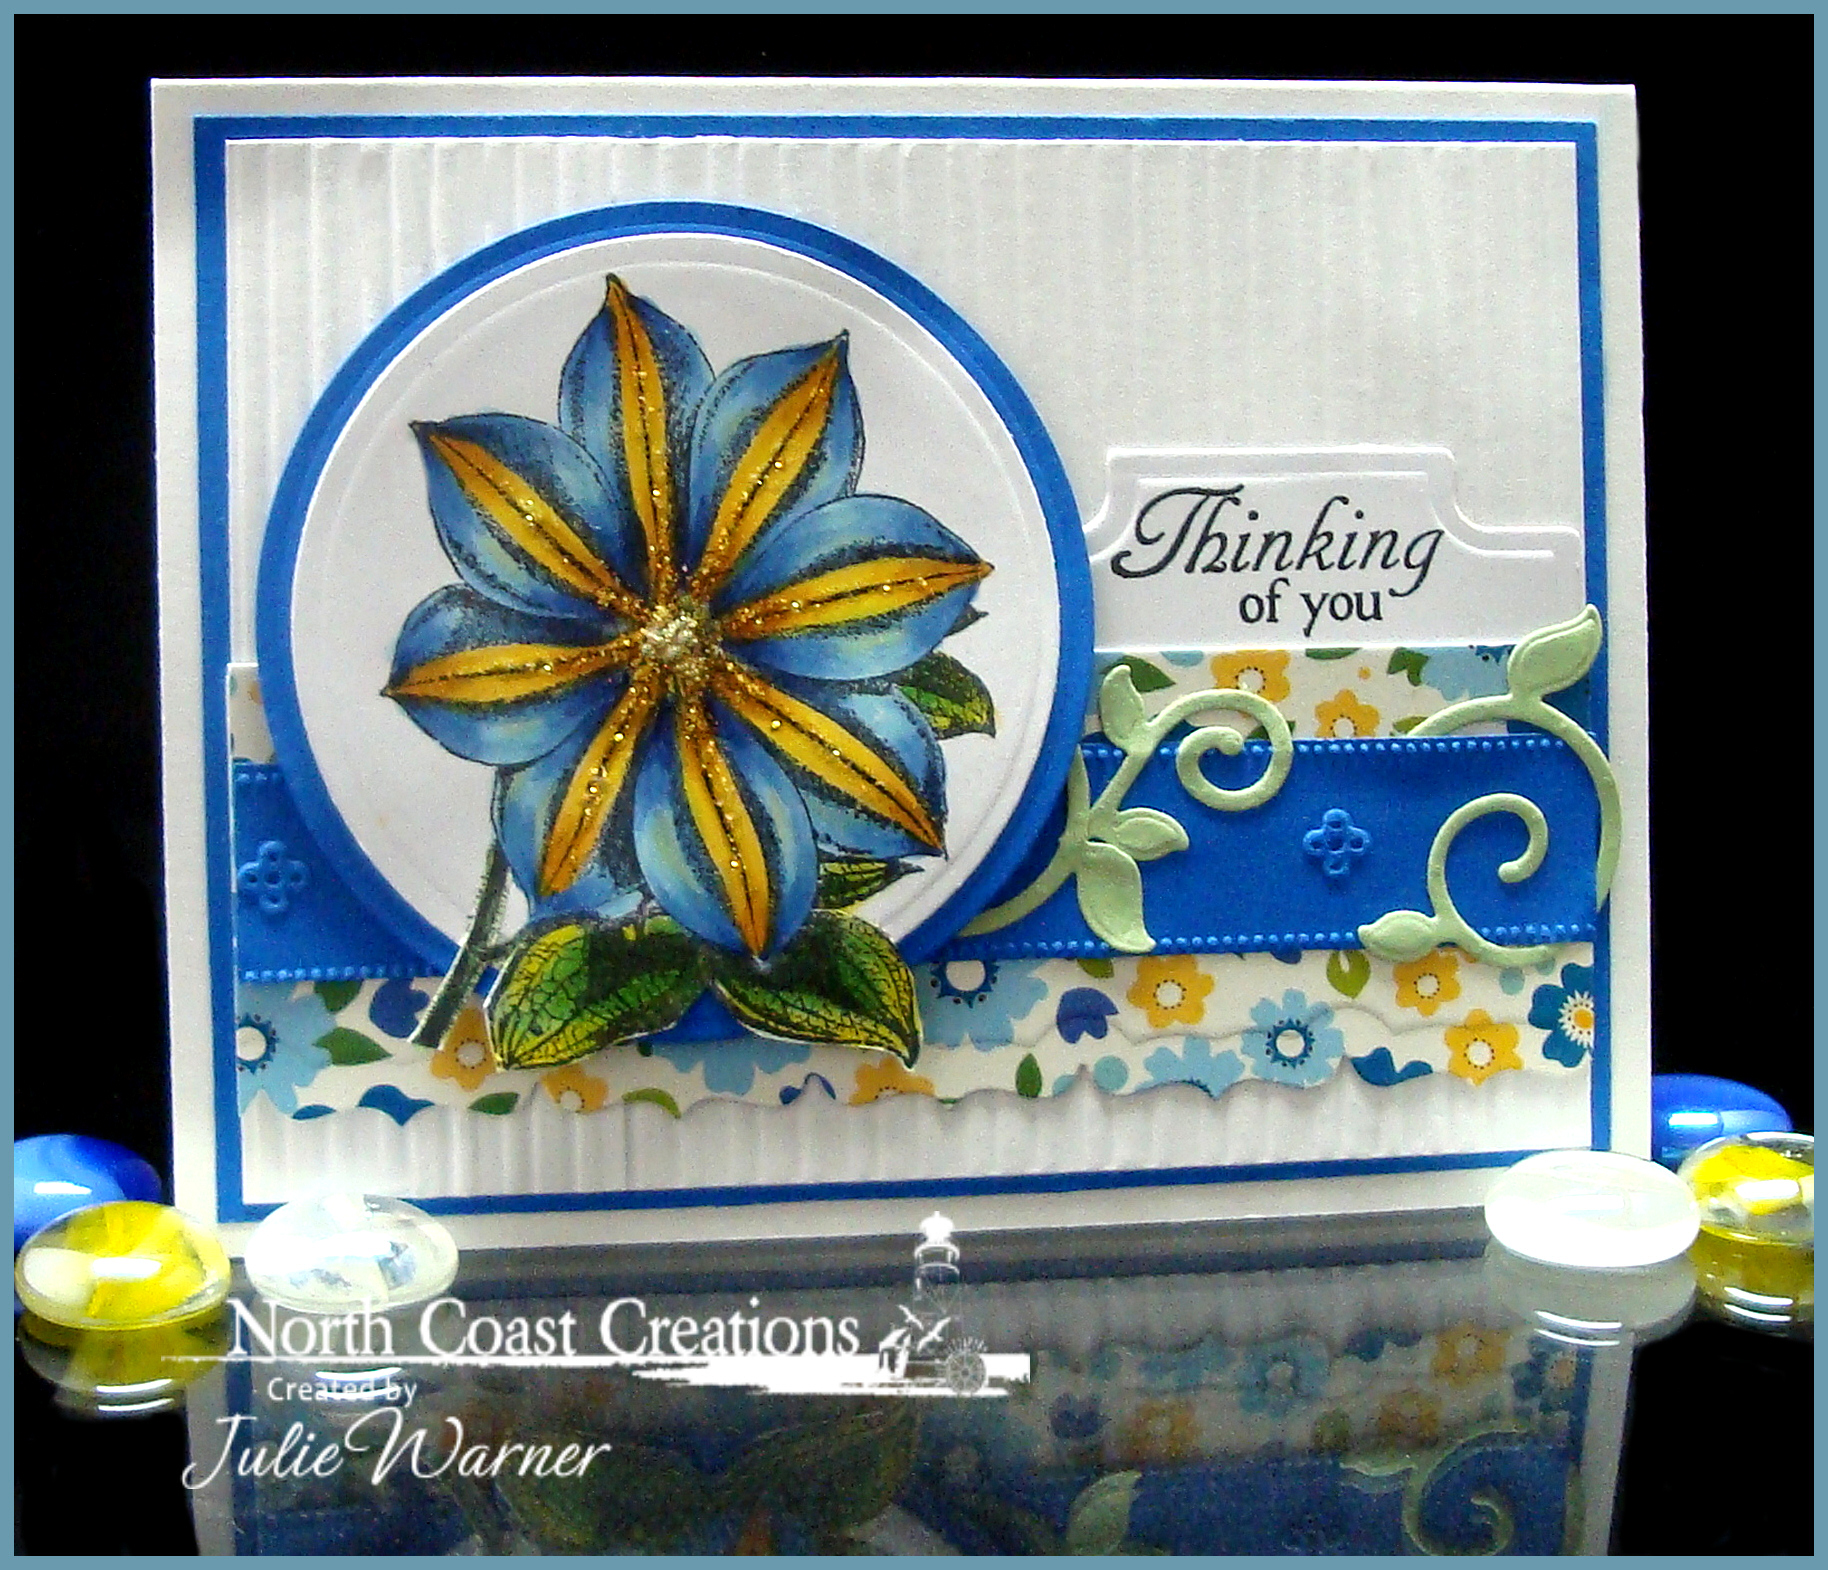
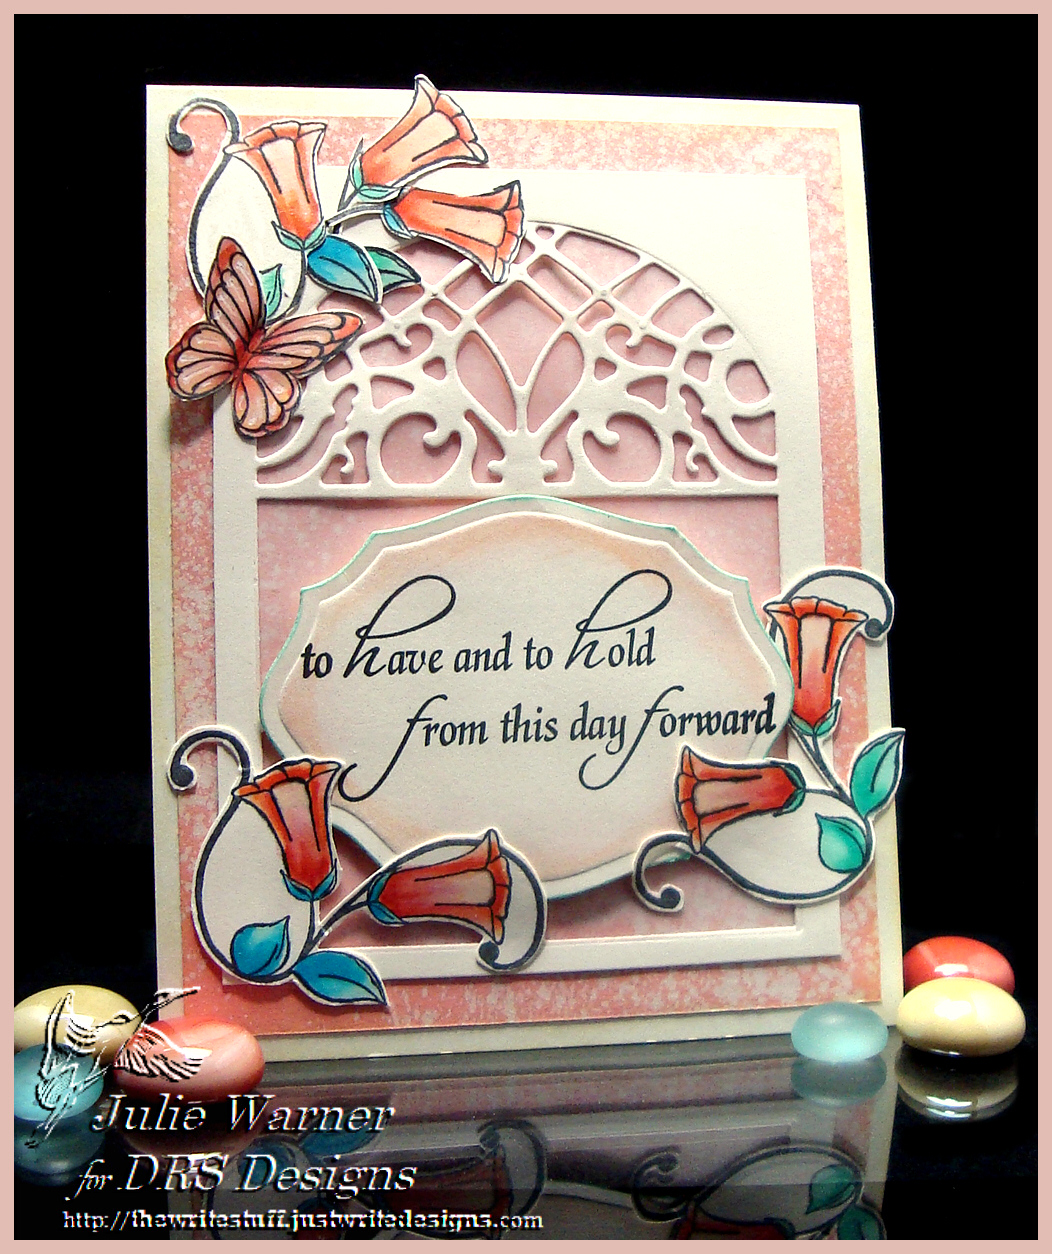
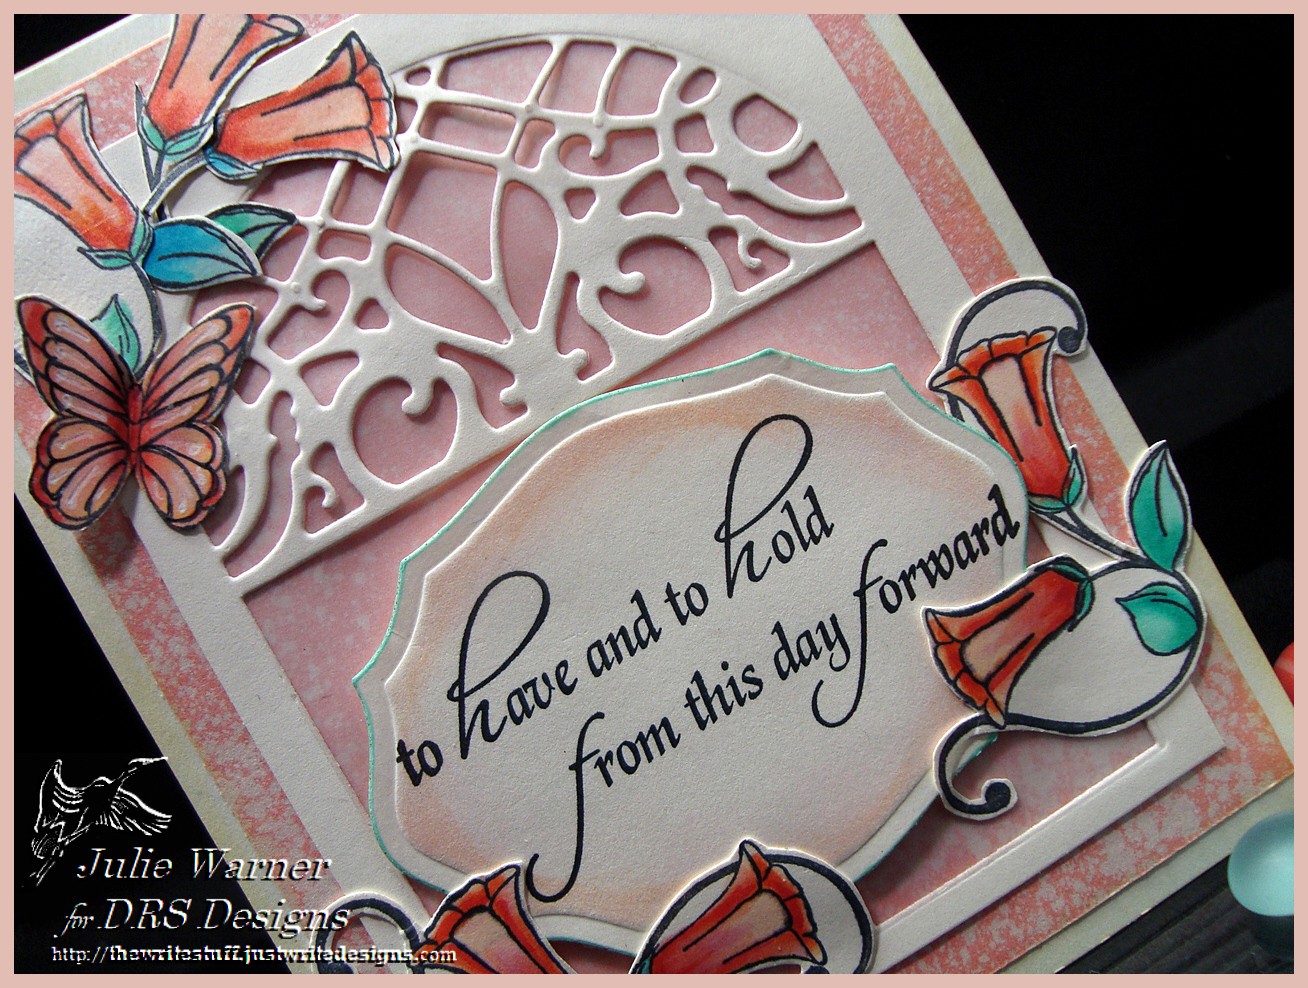
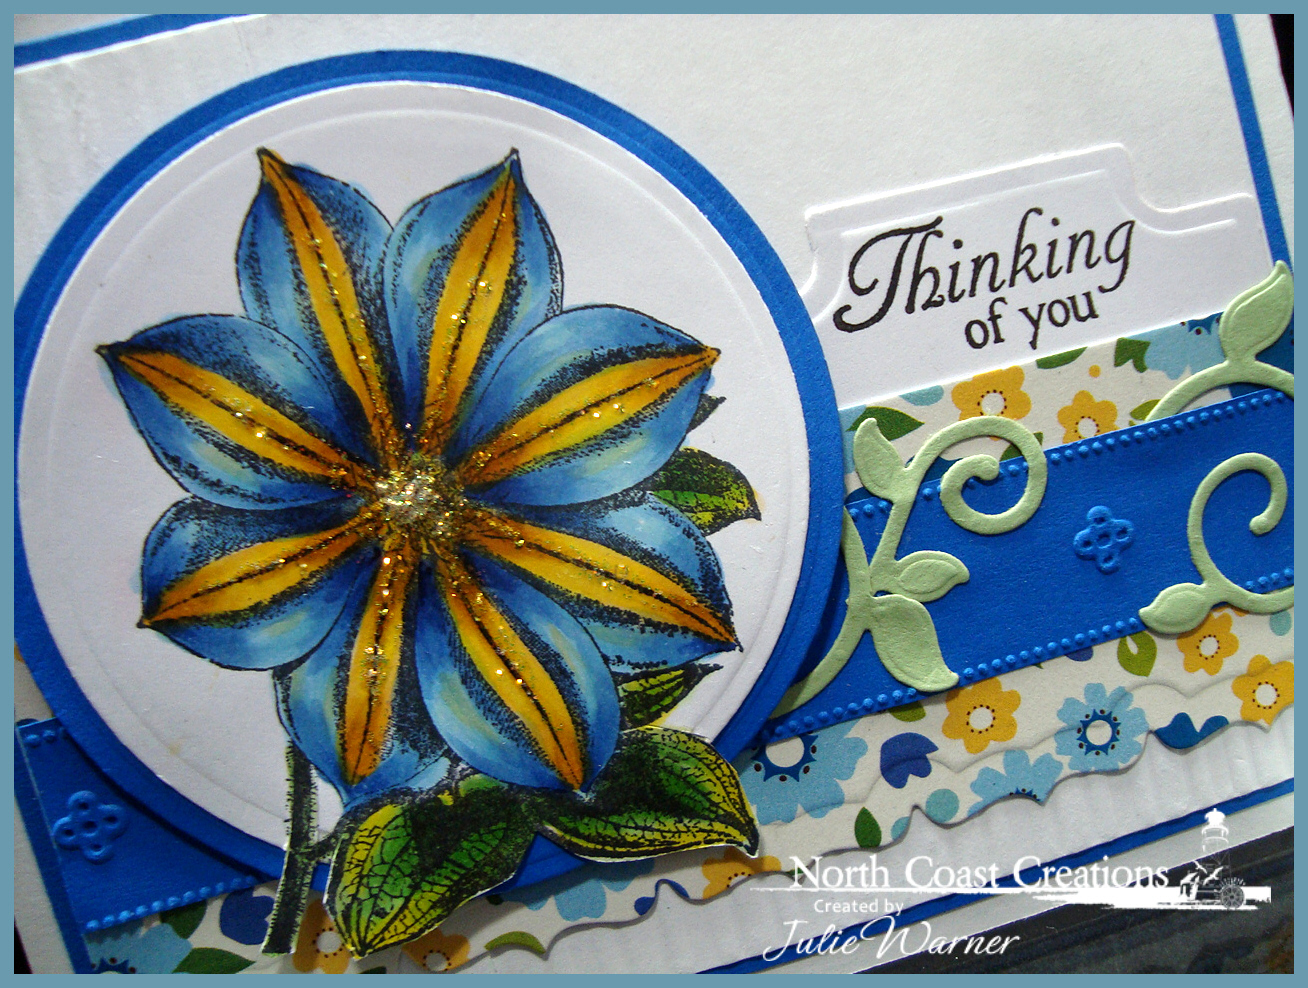
For my second card, I used the beautiful Floral Sentiments flower image and one of the Floral Sentiments 2 greetings. After stamping, coloring and die cutting the flower, I added some stickles down the center veins and a cobalt circle behind it. The greeting was die cut w/ the top part of an ODBD Recipe Card die and I resized it just a bit to make the tab narrower. The dp was die cut along the bottom edge with a border die..the cobalt band was embossed and I added an ODBD Fancy Foliage vine around the band. The white bg was also embossed
. 
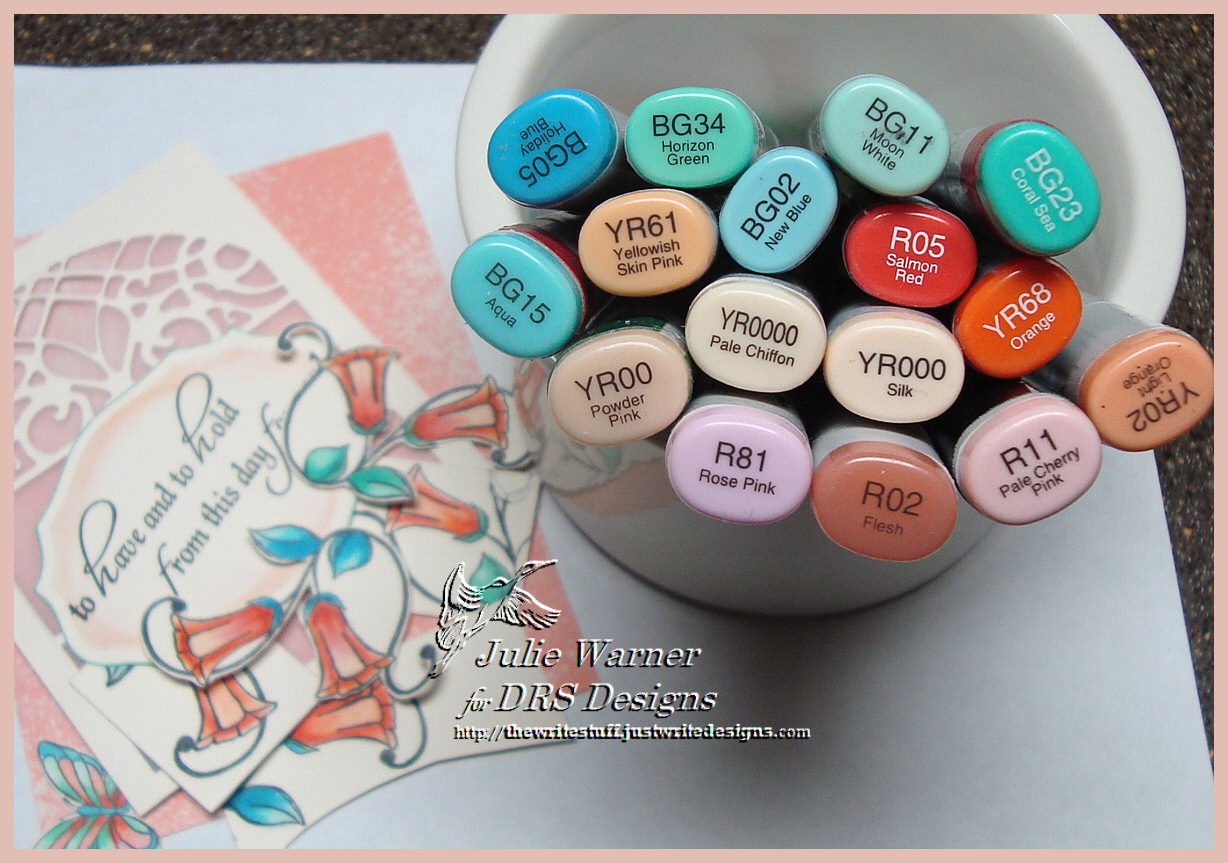
The finished card is 5.50 x 4.25 and these are the Copics I used.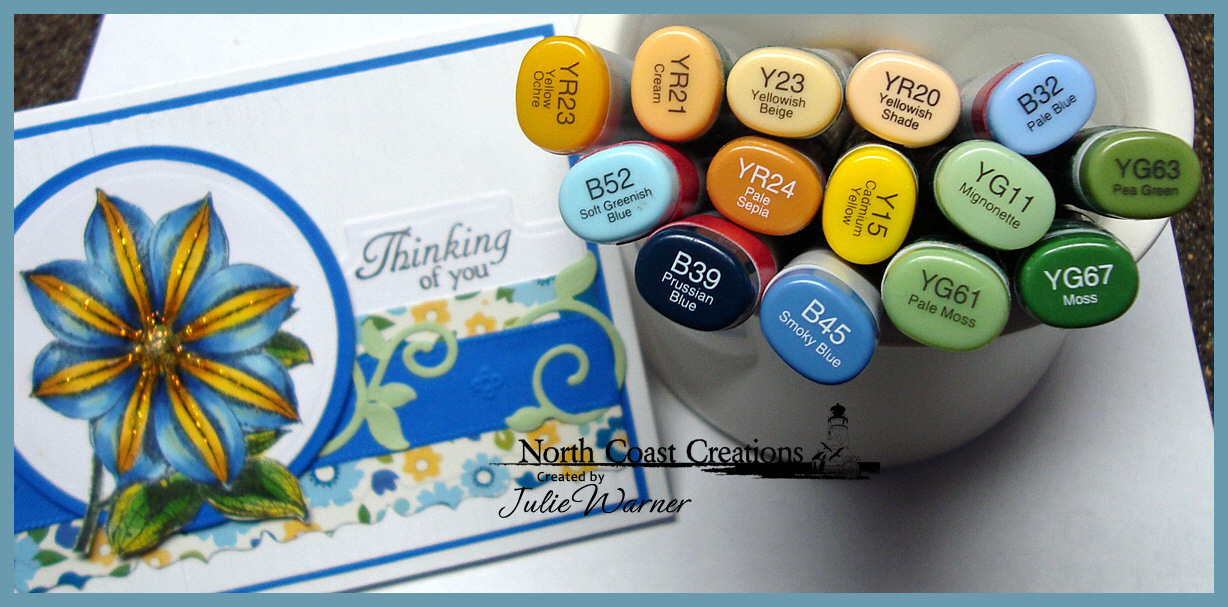
Supplies:
| Stamps: North Coast Creations – Floral Sentiments, Floral Sentiments 2 |
| Paper: X-Press It, cobalt blue, Pebbles (Family Ties) |
| Ink: Memento tuxedo black, Versfine onyx |
| Accessories: Copic markers, ODBD Recipe & Tag dies, ODBD Fancy Foliage dies, Spellbinders classic edges 2 & circles dies, stickles, Cuttlebug embossing border (Matelasse set),stripes embossing folder (Paper Studio), stickles |
Thanks so much for stopping by! For more inspiration, please stop by and visit all of the NCC Design Team!
DAWN~ JULIE (you are here!)~ LORI~ SABRINA~ AMBER~ SANDEE~ LISA~ NCC BLOG~
