• Tag Archives flowers
  • Daisy on the Side

    Daisy on the Side cu06633
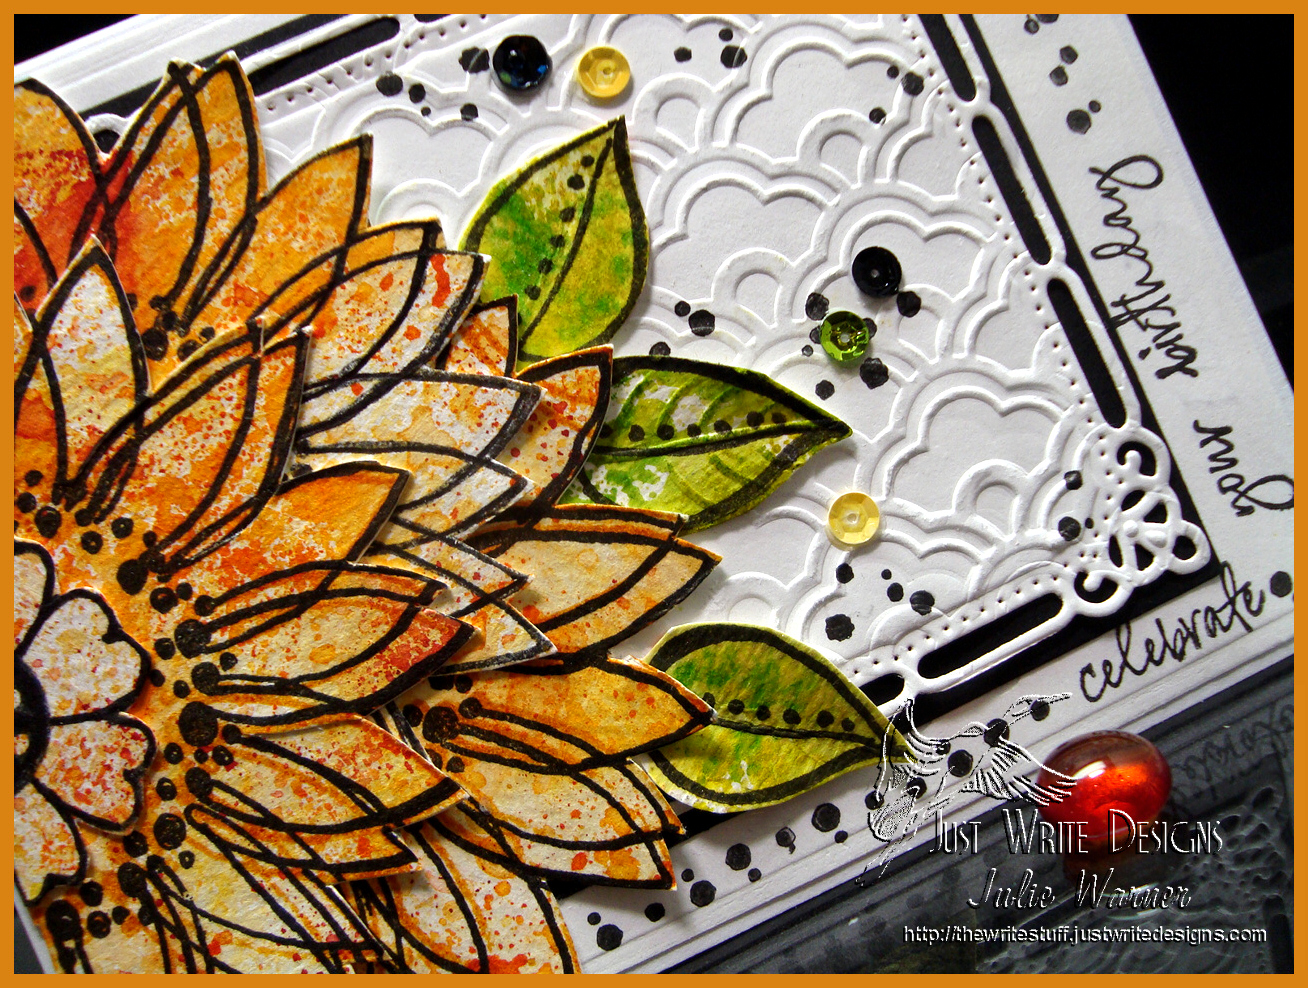
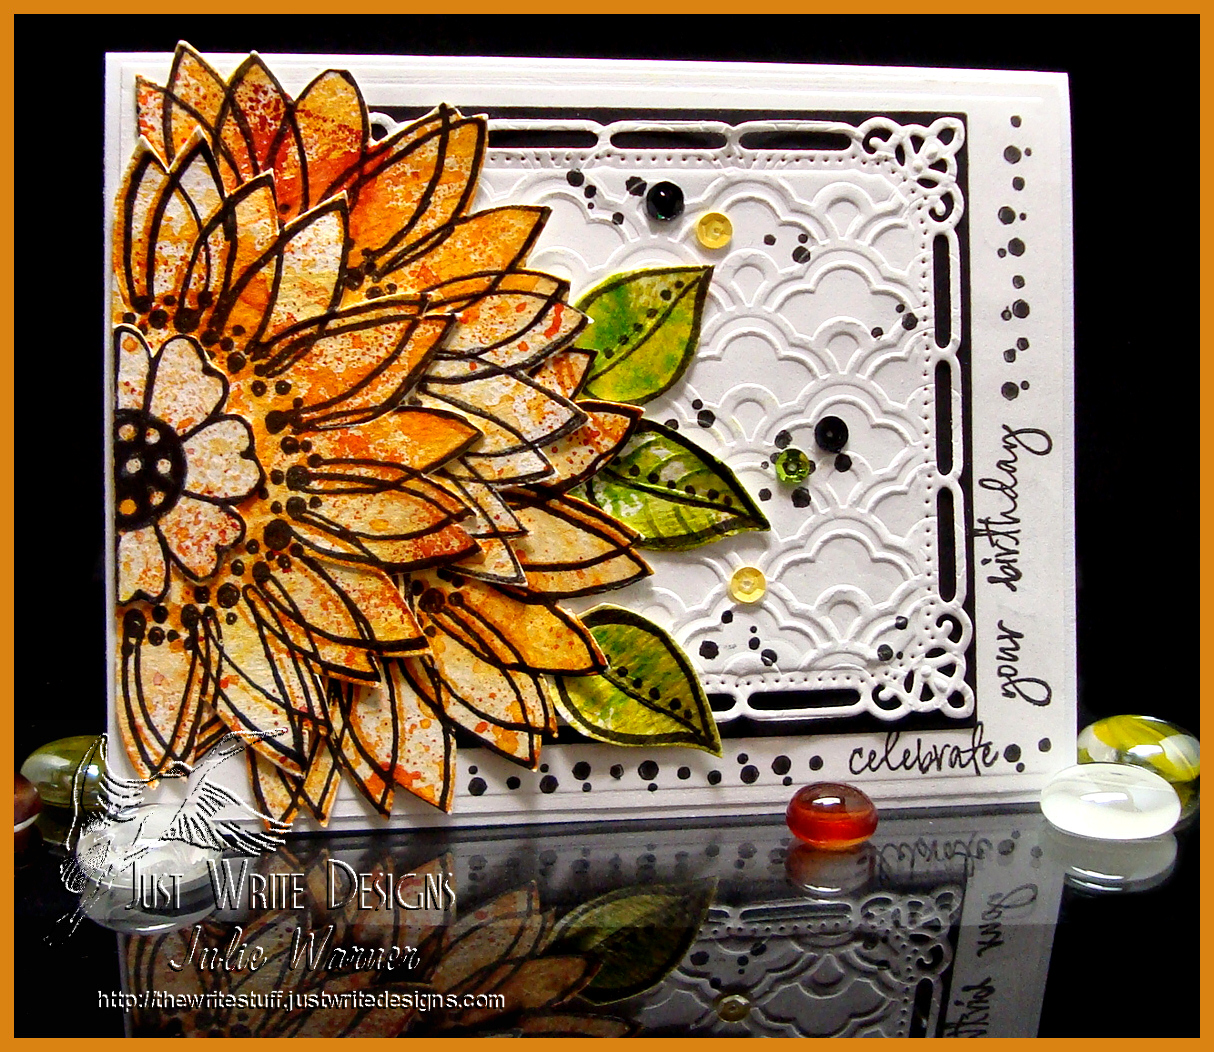
    A big congrats to Lisa, the newest Featured Stamper (FS437) on Splitcoast! She has a lovely gallery and after much browsing, I kept coming back to THIS card. I didn’t realize it was her case of another card until I’d already finished…oh well! I really loved the big flower on the side so I kept that & the layout, but I didn’t have a die like she had so I used a stamp for my flower, different embossing & die cut shape for the white panel.
    Daisy on the Side 06635
    Since I didn’t have the wonderful daisy die Lisa used, I pulled out a really old stamp set w/ these big half flowers on them & stamped them on top of a background I made by smooshing the Distress inks onto an acrylic block, spritzing w/ water & pressing onto water color paper. I cut out 3 of the flowers & 3 leaves plus 1 little half flower. The white bg was die cut & embossed before attaching to a black square. I stamped the greeting around the corner & added some of the little dots image around the corner and also inside the background.

    Congrats again, Lisa! Thanks so much for stopping by!

    Julie2 sig
    Supplies:

    Stamps: Stampendous 
    Paper: white, black, water color
    Ink:  Versafine onyx, Distress Inks scattered straw, wild honey, dried marigold, rusty hinge, spiced marmalade, shabby shutters, mowed lawn, crushed olive
    Accessories: Spellbinders A2 matting basics A, Marvelous squares, square dies, embossing folder (Lifestyle Crafts- Whimsy set), sequins

  • Flower Vase

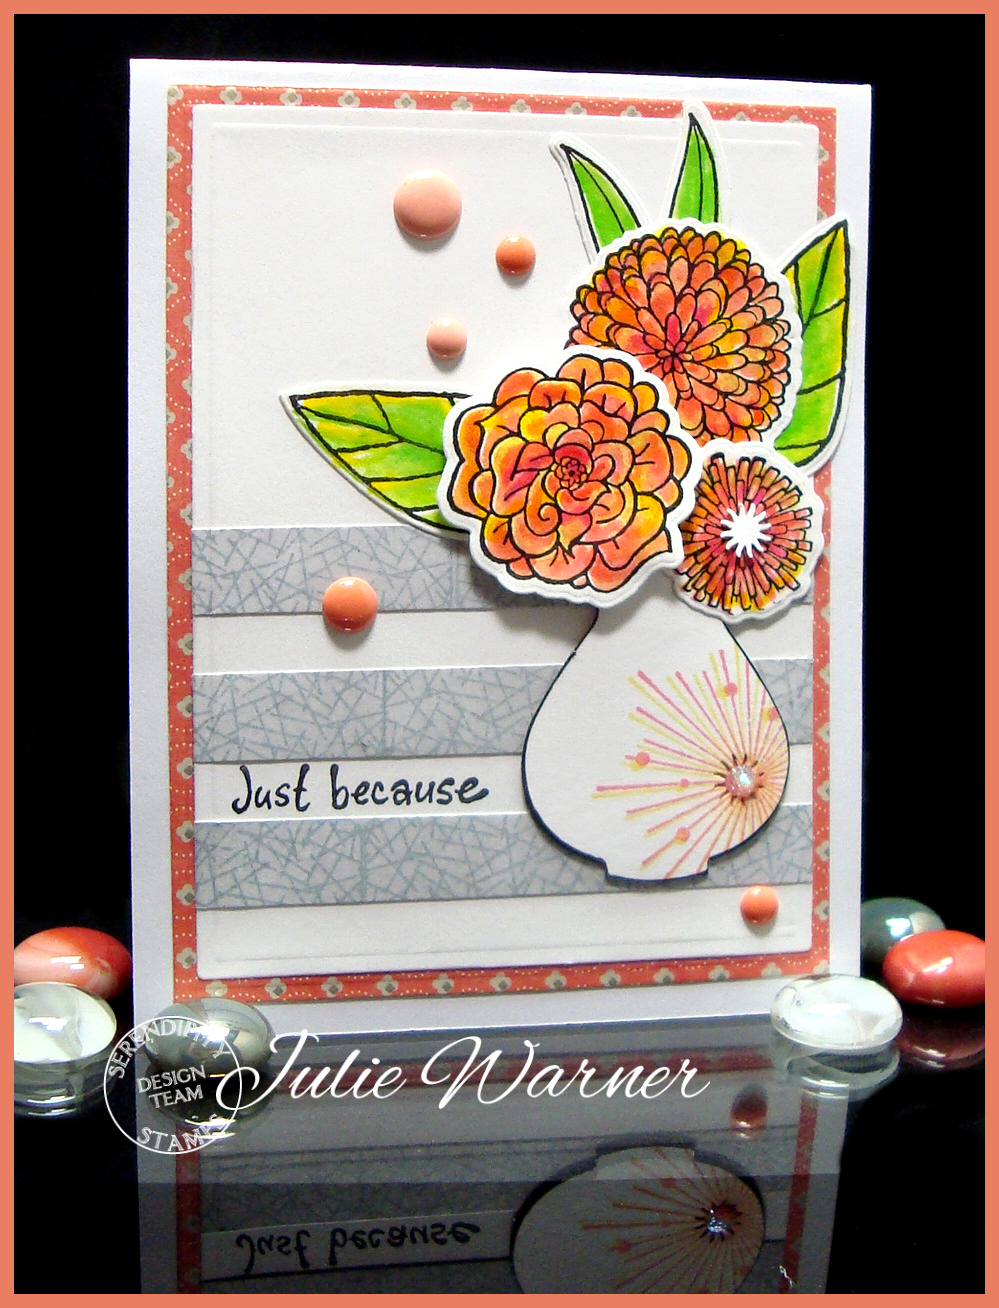
    Flower Vase cu 06554
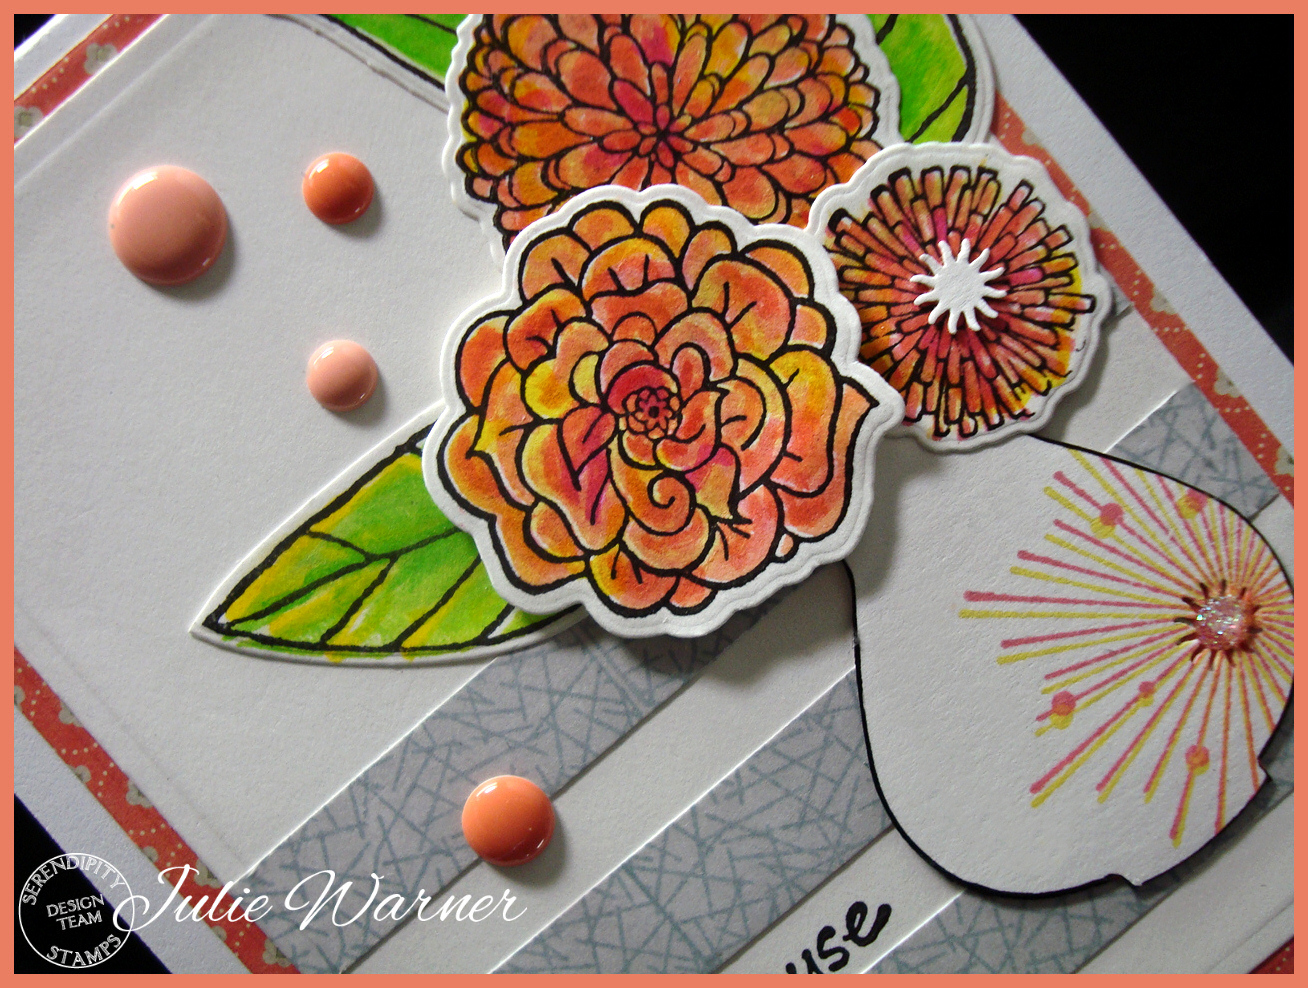
    A big congrats to Caryn, the newest Featured Stamper (FS435) on Splitcoast! She has beautiful, growing gallery and I chose THIS card to case. I kept the layout & flowers theme, but I used different images, different colors & die cut flowers & a punched vase.
    Flower Vase 06555
    I
    nstead of stamping the gray stripes like Caryn did, I brayered some strips with soft gray shadow ink then stamped the lines image (from the Retro Cling set) on top w/ weathered wood ink then attached them to my white panel & die cut it. Instead of an image of a vase of flowers, I punched a large vase, used a tiny sunburst punch on the side and stamped the starburst with worn lipstick & squeezed lemonade. I used the lipstick, lemonade, marigold, persimmon & honey inks to stamp the solid flowers by tapping all of the colors onto the images then lightly spritzing before stamping. The outline flowers were lined up & stamped on top then I used the matching dies to cut them out. The green inks were used for the leaves. I added 2 colors & 3 sizes of enamel dots to finish.

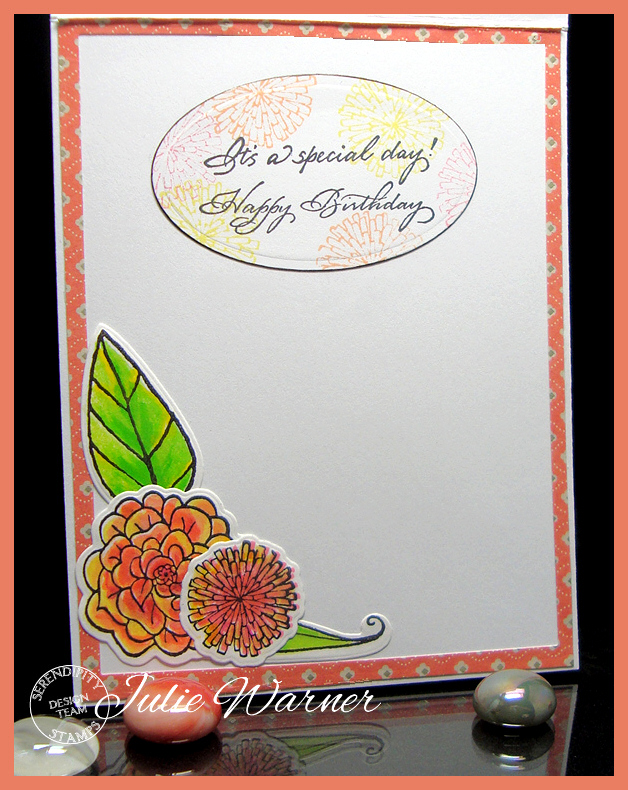
    Here’s a look at the inside.

    Flower Vase insdie 06558
    Congrats again, Caryn! Thanks so much for stopping by!
    Julie2 sig
    Supplies:

    Stamps: Serendipity Stamps – Flower Pops, Flower Pops Negative Set, Retro Cling Set, Retro Starburst Set, Just Because, Spring Flower Pops (skinny leaf), Everyday Words (inside greeting)
    Paper: Neenah white, dp (SEI – Claire)
    Ink:  Versafine onyx, Memories soft gray, Distress Inks in weathered wood, worn lipstick, dried marigold, wild honey, ripe persimmon, squeezed lemonade, Kaleidacolor melon melody
    Accessories:  Serendipity Flower Pops dies, Spring Flower Pops dies (skinny leaf), enamel dots (Recollections), Spellbinders A2 matting basics A & B, petite oval dies, vase punch, tiny sunburst punch

  • Circle Flowers

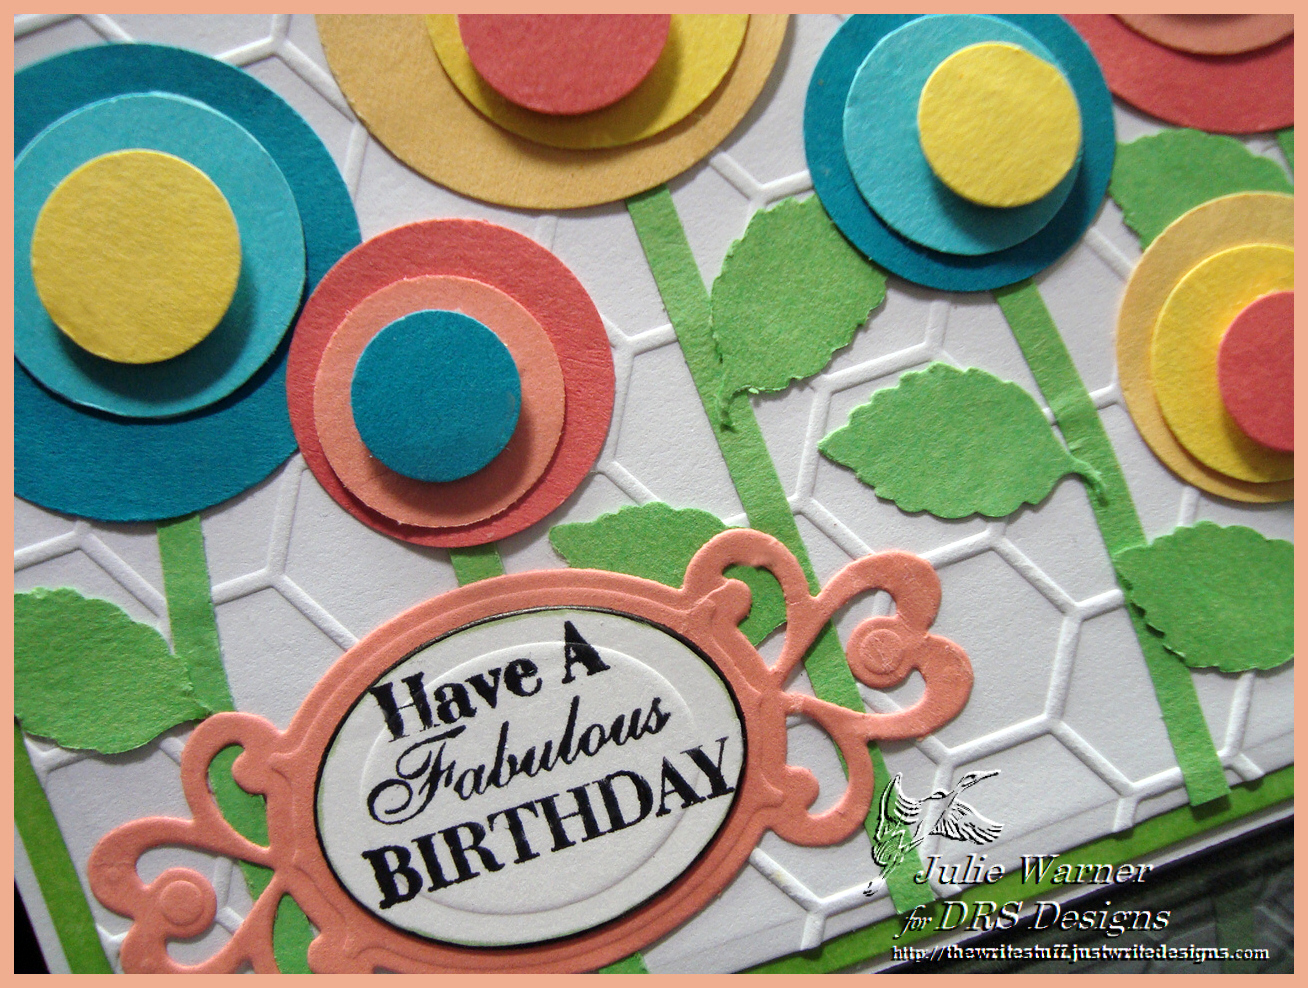
    Circle Flowers cu 06522
    Weekly-Favorite
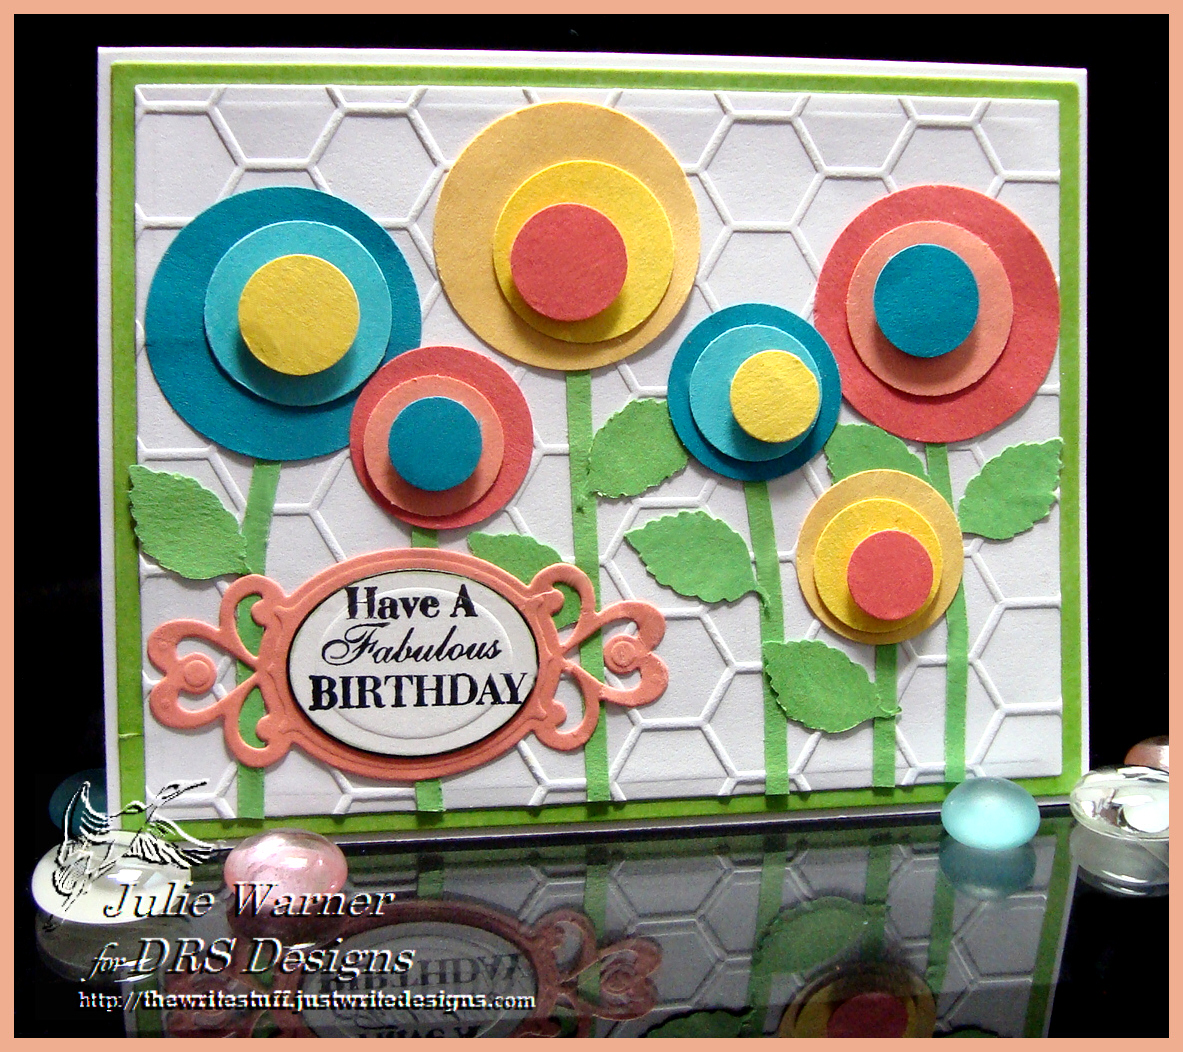
    The Inspiration Challenge (IC496) today on Splitcoast is a Pinterest board w/ all manner of wreaths. I was inspired by THIS wreath with its colorful circles of flowers. I was also inspired by This card I saw on Pinterest..I thought the circle flowers were really cute.
    Circle Flowers06518
    I picked some different colors of card stock and punched out all the circles in different sizes. I think the largest is 1 1/2″ and the smallest is 1/2″. I could have used circle dies, but my trusty old punches were feeling neglected. The leaf is also a punch and the stems were made by just trimming some strips. 

    When I attached all the circles, I purposely had the centers a little wonky…I thought it just added character. The white background was embossed with a honeycomb pattern and I only used a portion of the Wordy Birthday Greeting. I love that greeting because you can pick & choose what parts you want to use (if you don’t want the whole thing) and the fonts are all different. I ran out of the green card stock I used for the leaves, so I used a couple of green Copics to color the edges of the largest layer.

    Thanks so much for stopping by! If you haven’t, please check out the DRS Thursday Challenge..this week, Over the Top (have your greeting on top). DRS images are not required!
    Julie2 sig
    Supplies:

    Stamps: DRS Designs –Wordy Birthday Greeting
    Paper: Neenah white, butter, lemon, turquoise, teal, peach, coral
    Ink: Versafine onyx
    Accessories:  Spellbinders ovals & fancy framed tags dies, circle punches, leaf punch, honeycomb embossing folder (Darice), green Copic markers

    Â