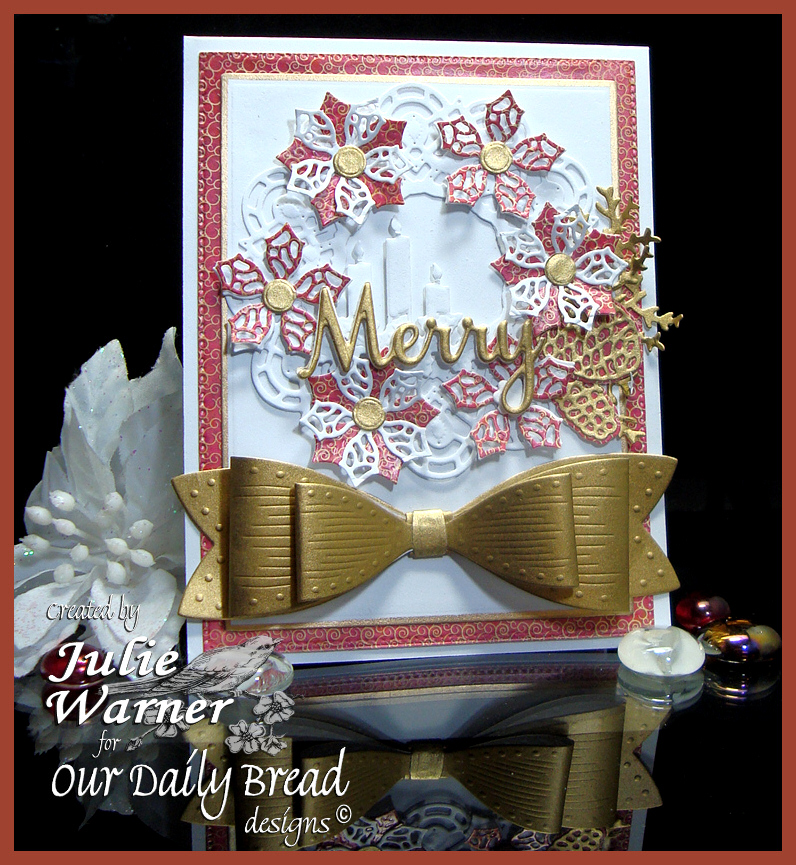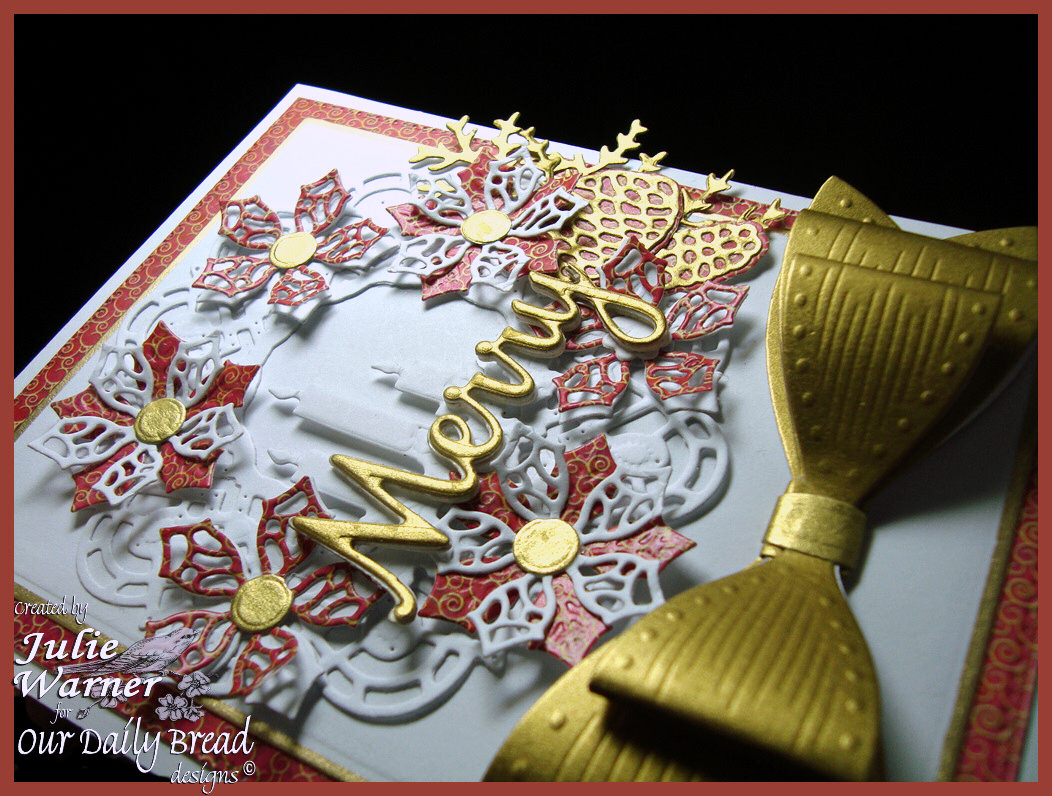
Welcome to the Our Daily Bread designs October Release! We have some gorgeous Christmas images, dies & paper for you this month!
Prize Information: –Â
Three randomly selected winners will each receive a $25 gift certificate to the ODBD Store, to be used toward the purchase of ODBD Stamps found in the “stamps column” of the website just for commenting on the Design Team cards!  You have until September 2, 2015 at 9:00 p.m. EDT to leave your comments on the Designers Blogs for a chance to win!  The Winners will be posted on the ODBD Blog on October 3rd, so be sure to check back there to see if you won!
For my first card, I gold embossed the two background ornaments & die cut w/ the matching dies. The left ornament also has a gold embossed Flourished Alphabet letter J.  The top ornament was die cut w/ the other topper die out of the same paper as the main layer. I used the largest Matting Circle die to cut the center & since the snowflake paper only has the flakes around the border, I arranged the circle opening near one corner so it would look like the flakes are circling the bottom. I used more of the snowflake paper for the gold embossed greeting & Leafy Edged Border topper. A Candi dot was added on top of the center ornament & coated w/ gold stickles & I also added some Wink of Stella on the metallic gold c/s behind the top ornament.Here’s a look at the inside.Â
Supplies:
Stamps: ODBD –Christmas Tunes, Elegant Embellishment set, Flourished Alphabet |
Paper: vanilla, pale gold metallic, dp (ODBD – Christmas Collection 2015) |
Ink:Â Encore Ulitmate metallic gold pigment |
Accessories: ODBD Elegant Embellishments, Ovals, Flourished Star Pattern, Leafy Edged Border, Vintage Flourish Pattern, Vintage Label dies, Spellbinders A2 matting basics A & B dies, detail gold embossing powder, gold Wink of Stella pen, gold Stickles, Candi dot |
Â
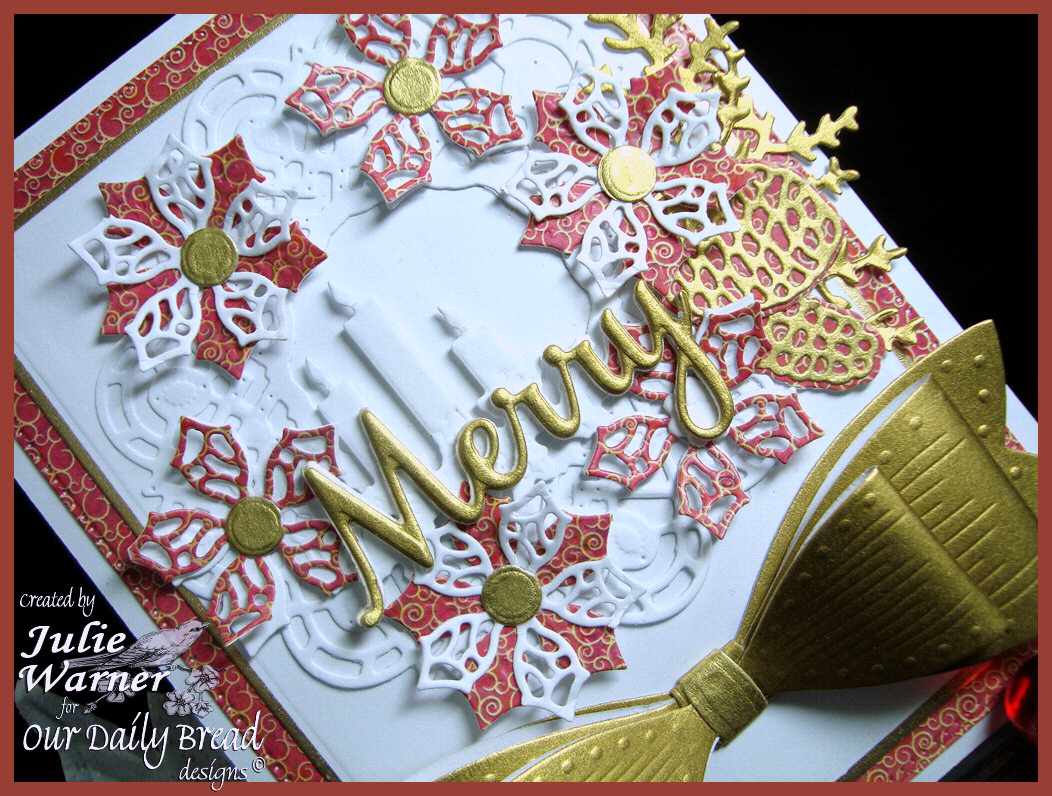
My second card will have you singing Christmas Tunes! Â I’ve been humming them ever since I started this card. I just love a cream & gold Christmas card with lots of gold embossing, so that’s what I’ve done here.
After gold embossing the Christmas Tune, it was die cut w/ the matching Vintage Label die & the brushed gold metallic backing layer was die cut using a die from the Vintage Flourish Pattern die set. The largest gold layer was die cut with the Flourished Star Pattern largest die. The top background was a little trickier since it’s 3 layers & the top 2 are divided in 3. I first cut the cream layer, divided it but pushed the layers together to gold emboss the different Snowflakes on top & cut the bottom using the Leafy Edged Border die. I attached 3 gold layers behind them & carefully lined up the bottom & cut again. The largest faintly patterned dp  layer was cut to match the bottom curve.
IÂ used a different Leafy Edge Border to cut the cream colored border running under the greeting then stacked the gold embossed Snowflakes in the lower right. The top 2 snowflakes were fussy cut & each flake is elevated just a little from the one underneath. So it has a bit of dimension but is still, definitely mailable.
Here’s a look at the inside with more stamping & some leftover pieces from the front die cuts.
Supplies:
Stamps: ODBD –Â Christmas Tunes, Sparkling Snowflakes |
Paper:Â ivory, brushed gold metallic, dp (Anna Griffin) |
Ink:Â Encore Ulitmate metallic gold pigment (Brilliance gold & Versafine sepia on inside) |
Accessories: ODBD  Snowflakes, Flourished Star Pattern, Leafy Edged Border, Vintage Flourish Pattern, Vintage Label dies, Spellbinders A2 matting basics A & B, detail gold embossing powder |
Please be sure to visit & comment on all the DT Blogs! It will be much appreciated & definitely increase your chance of winning!
Sandee * Julie * Cathy * Amy * Dawn * Lori *
 Robin T. * Lisa * Angie * Chris * Grace *Â
Sabrina * Silke * America * Loretta * Robin C.
Here are the sets, dies & papers I used:
         Â
Thanks so much for stopping by!