This is part of a post I have over on the Our Daily Bread designs blog today. I hope you’ll stop by and let me know what you think of my redone card holder box I made to go with this card. Recently, I saw a flower pot card and thought I’d like to give it a try. There’s a tutorial for this card on Splitcoast and I’ve also seen it on several blogs. This blog had not only the instructions but a printable template as well. I made the pot part of my card with a dotted dp and added a coordinating wide band I cut w/ a Quickutz scallop border die. A third dp pattern was used to make a narrower scalloped band. Instead of the ribbon for the closure, I made a narrow belly band, again using one of the scallop border dies. I attached the punched butterflies on top and slipped it over the lip of the flower pot.

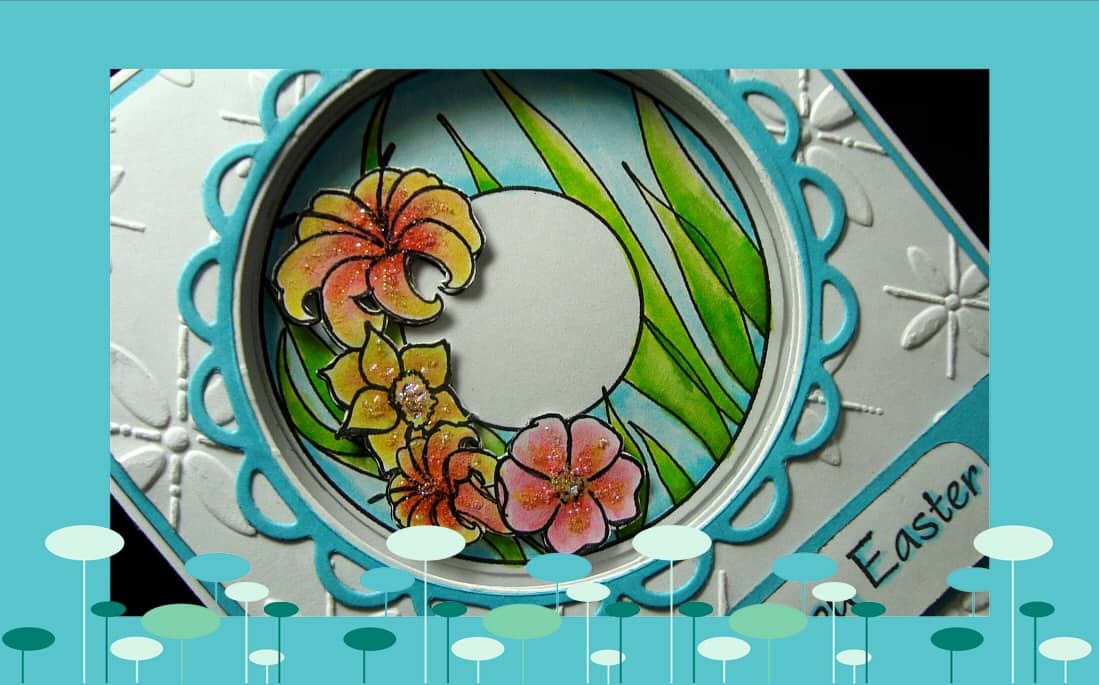
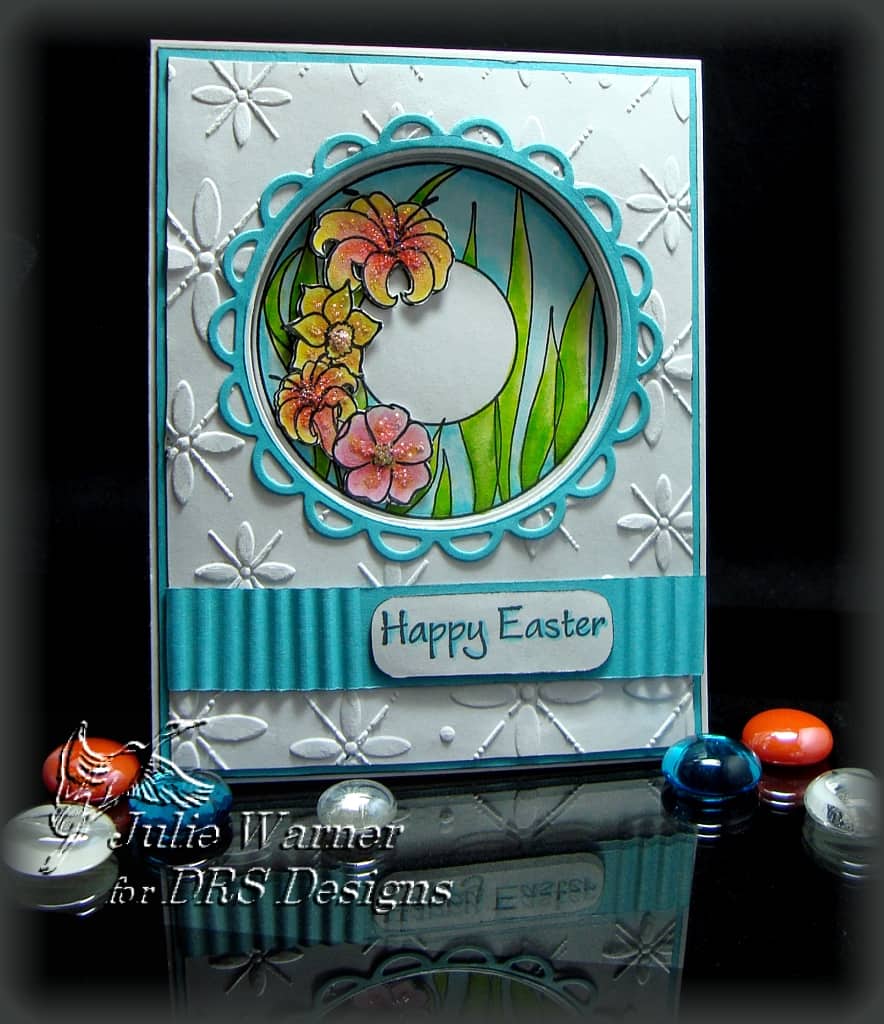
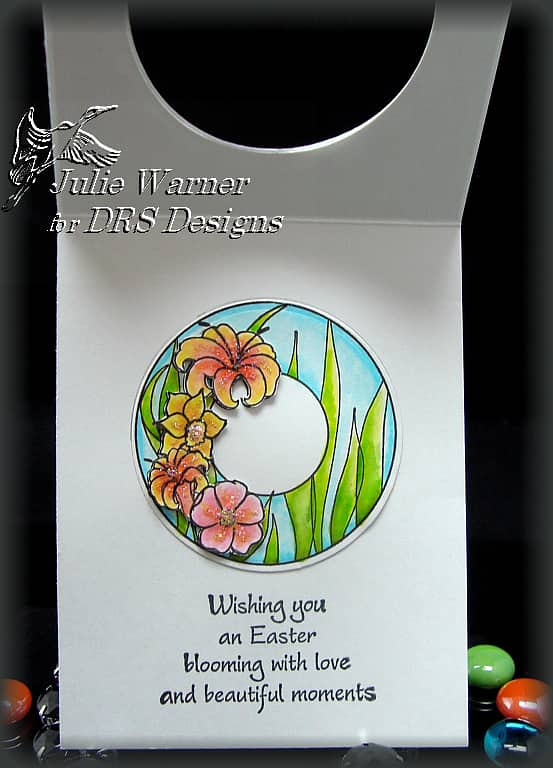
The sentiment was cut using the new, exclusive ODBD/Spellbinders Labels One die. I traced around the same die and hand cut the striped layer. For the insert, I stamped several tulips and daffodils on the three patterns of dp and cut them out. I stamped the greeting and layered the ivory onto a piece of the striped dp. A narrow piece of the scalloped edge dot dp left over from the belly band was attached down the side.
Here’s a pic of the entire set please head over to the ODBD Blog.
Right about now, you’re probably wondering what’s up with this box. I found it in my local craft store with the trendy desktop/scrapbook organizing items when it was on sale. The label stated it was a photo holder. Since it’s made to hold 4 x 6 photos, I reasoned it would also hold A2 (4.25 x 5.5) cards as well as larger cards if they were put in sideways. I usually have quite a few cards I’ve made that will be going out to different people throughout the coming weeks. I don’t want to put them away because I’ll forget, but I don’t like to have them just laying on the table either. I thought this would be a good place to hold them until I’m ready to mail.
Here’s the before pic of the box:

Well the colors are ok, but I wanted something a little different. I just finished making a really cute Flower Pot card and decided to use the papers to recover my box. I started by prying off the bottom and since it has a clear vinyl insert covering the window, I peeled it off from the inside. (It was attached to the final paper covering from the inside.) I left all the other paper “as is”. Using the box as a starting point, I cut out one piece from the dotted 12 x 12 sheet that went around the back, both sides and about a half inch on each side of the front. The exact measurements are: 5 1/8″ x 11 1/2″. On this piece I scored it (from the left side) at 1/2″, 2 1/2″, 9″ and 11″. From the bottom, I scored up 3/8″ inch, and at 4 1/2″ and 4 5/8″ inches. These narrow bands became the the bottom overlap (to be covered by the bottom piece) and at the top where it folds over to the inside.

For the inside, I just measured each piece and trimmed until it would fit. I used the coordinating paper on the inside and a third paper for the bottom. I used a spray adhesive on the back of all my papers and started by attaching all but the front window of the inside pieces. I used this removed piece to trace the window, cut the window and attached it over this piece. Don’t attach the window yet. It’s actually the LAST piece to be attached. The outside pieces were all attached and I had to trim and miter the corners as I went. I recovered the base and reattached it. Then I attached the inside window piece and it’s all done! Except for the tulips and daffys I stamped and cut out. The button is a die cut.
Thanks so much for stopping by!

Supplies:
| Stamps: ODBD – Tulip Corner, Daffodil Corner, Happy Birthday, With Love (from Mistletoe Tag set) |
| Paper: ivory, dp (all from Cosmo Cricket – Girl Friday) |
| Ink: VersaFine Onyx |
| Accessories: ODBD Labels One dies, Martha Stewart butterfly punches, Quickutz scallop border dies |