• Tag Archives Splitcoast
  • SCS Challenge

  • Stained Glass Ornament

    Julie Warner – https://thewritestuff.justwritedesigns.com

    Weekly-Favorite
    A big congrats to Sandie, the Featured Stamper (FS358)! She has such a lovely gallery and I chose THIS card to case. I kept the die cut ornament theme and layout, but used a stained glass bg and bigger ornament with different colors and a die cut header.

    For my card, I die cut a circle, left the die in place, added some swaths of color w/ my Copics, then stamped the stained glass oval on top. I drew around the inside of the die w/ a fine tip marker then took the die off. I added a die cut open flower type element, a die cut red circle and a fussy cut poinsettia ribbon slide image on top. I also added a die cut ornament top and bow to complete the ornament.  For the white bg, I die cut the fading dot border and added a strip of red behind it. The first half of the greeting on the bottom and a couple of red stars.

    Julie Warner – https://thewritestuff.justwritedesigns.com

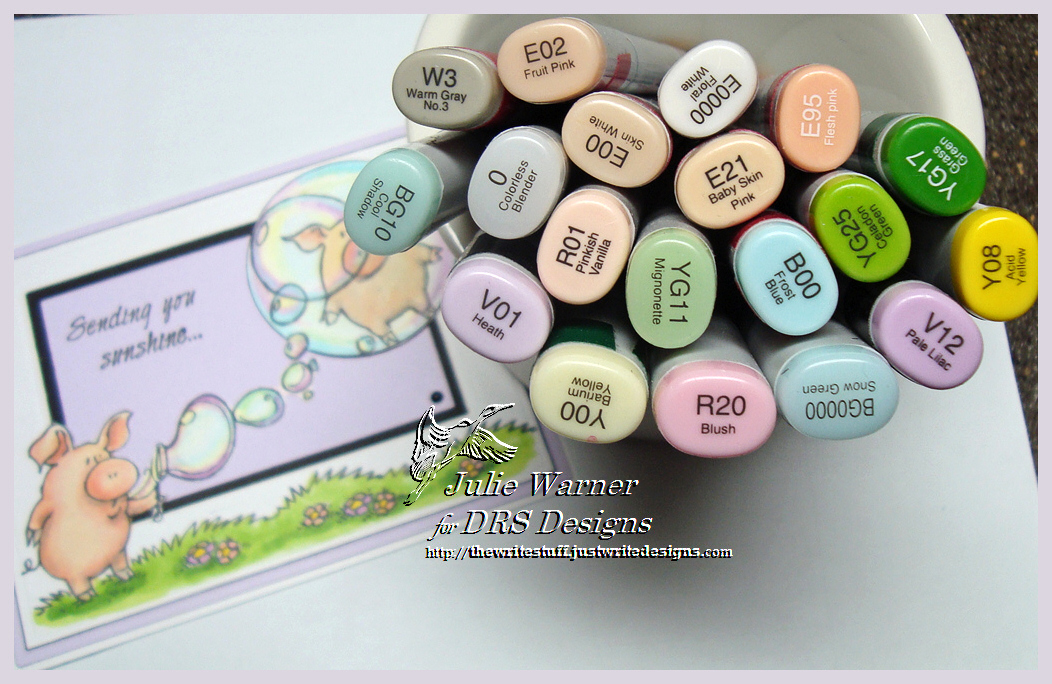
    The finished card is 4.25 x 5.50 and these are the Copics I used.Julie Warner – https://thewritestuff.justwritedesigns.com
    Thanks so much for stopping by! 

    Julie2 sig

    Stamps: DRS Designs  – Stained Glass Oval, Poinsettia Ribbon Slide, Beautiful Holiday Christmas Greeting
    Ink:  Memento tuxedo black
    Paper:  white, red
    Accessories: Copic markers, Spellbinders circle dies, Memory Box fading dot border, Tilda swirl & precious stars dies, ODBD ornament topper die, red Candi button


  • North Coast Creations November Recap

    Julie Warner – https://thewritestuff.justwritedesigns.com
    Today we are taking a look back at the North Coast Creations November Release!
    Don’t you love these cute Christmas pet sets? If his ears were a little fluffier, this cute puppy would look a lot like a blonde cocker spaniel we had. That dog’s middle name was trouble.  His first name was Tigger…mainly because when his coat was a little long, he looked a lot like a lion and because our daughter was little and that was what she wanted to name him, lol. When Tig was a few years old, we adopted a parrot…a conure named Odie. The first sound he imitated was Tig’s bark. So we had a dog and a parrot that both barked. 

    I think this set will be perfect for a Christmas card for that dog lover on your list. And the image itself can be used all year long…for pet sympathy, congrats on your new puppy..etc. I’m using at as a Christmas card w/ one of the greetings that comes with it. I stamped it with the espresso ink directly onto one of the beautiful ODBD Christmas Paper 2013 Collection. I die cut it but altered the curved ends by cutting them off straight and had the bow on the puppy out of the box. A die cut ornament from the ODBD Fancy Ornaments dies was die cut out of a red piece of the same paper pack. I added a stamped and fussy cut pine cone branch on top. The striped paper (from the same pack) was die cut on top and bottom and I added some gold pearl pen dots. The finished card is 4.25 x 5.50 and these are the Copics I used. 

     Julie Warner – https://thewritestuff.justwritedesigns.com
    Thanks so much for stopping by! Please stop by and visit all of the Design Team Blogs for more inspiration!

    Julie (you are here!) * Dawn * Lori * Sandee *Amber *Lisa*  NCC Blog

    Julie2 sig

    Supplies:

    Stamps: North Coast Creations –Santa Paws, ODBD – Pinecone Singles
    Paper: Neenah white, ODBD Christmas paper collection 2013
    Ink: Memento espresso truffle, Colorbox warm red chalk ink
    Accessories:  Copic markers, ODBD Fancy Ornament dies, Spellbinders labels 22 &  bracket border dies, Viva gold pearl pen

  • Serendipity SSCB #25 – Shaped Cards

    Julie Warner - https://thewritestuff.justwritedesigns.com
    Weekly-Favorite Welcome to a new challenge for  Serendipity Stamps! The Serendipity Challenge this week is a Shaped Card.

    I went with a snow globe shape for my little shaker card. The wonderful winter scene was stamped and colored with Copics then I added stickles to the snow for some sparkle and white dots to the sky for falling snow. While that was drying, I die cut a snow globe out of silver card stock and a larger circle to go with it. I used another size circle to cut a piece of acetate for the front. It is big enough to fit between the smaller and larger silver circles so the edges will be covered. For fun, I die cut a snowy border die out of white then snipped off a bunch of the snowflakes and sandwiched them between the layers.

    Julie Warner - https://thewritestuff.justwritedesigns.com
    I traced around the snow globe shape on my folded white card and fussy cut it in the same shape. After cutting the scene into a circle, I elevated the acetate layers, making sure it had silicone sealant all the way around, then added some tiny silver beads and round silver confetti (not too much..I didn’t want it cover up the scene) before sealing them together. A silver string and bow were added to the top. So it’s a card…it’s a snow globe…it’s a shaker ornament to hang on the tree! These are the Copics I used to color the scene. 

    Julie Warner - https://thewritestuff.justwritedesigns.com
    Thanks so much for stopping by! Please stop by and visit all of the Design Team blogs! You’ll be amazed!
    Jeanne Jachna
    Marybeth Lopez
    Miriam Napier
    Pauline Pollington
    Jenny Gropp
    Vickie Zimmer
    Julie Warner – you are here!

    Karen Amidon
    Anya Schrier

    Julie2 sig

    Supplies:

    Stamps: Serendipity Stamps – Winter Farm
    Paper: Neenah white, brushed silver. clear acetate
    Ink:  Memento tuxedo black
    Accessories: Copic markers, Spellbinders circle dies, Memory Box frostyville border & lg snow globe dies, white gel pen, stickles, silver beads & confetti, ribbon, silver cord, silicone adhesive