• Tag Archives blog hop
  • ODBD October Release Blog Hop!

    Julie Warner - justwritedesigns https://thewritestuff.justwritedesigns.com/

    Welcome to the Our Daily Bread designs October Release Blog Hop! This month’s hop is all about the upcoming holidays: Christmas and Thanksgiving! We are excited to be sharing our projects with you today!

    If arrived here from the ODBD Blog, you are in the right place since I’m the first stop after the ODBD Blog.

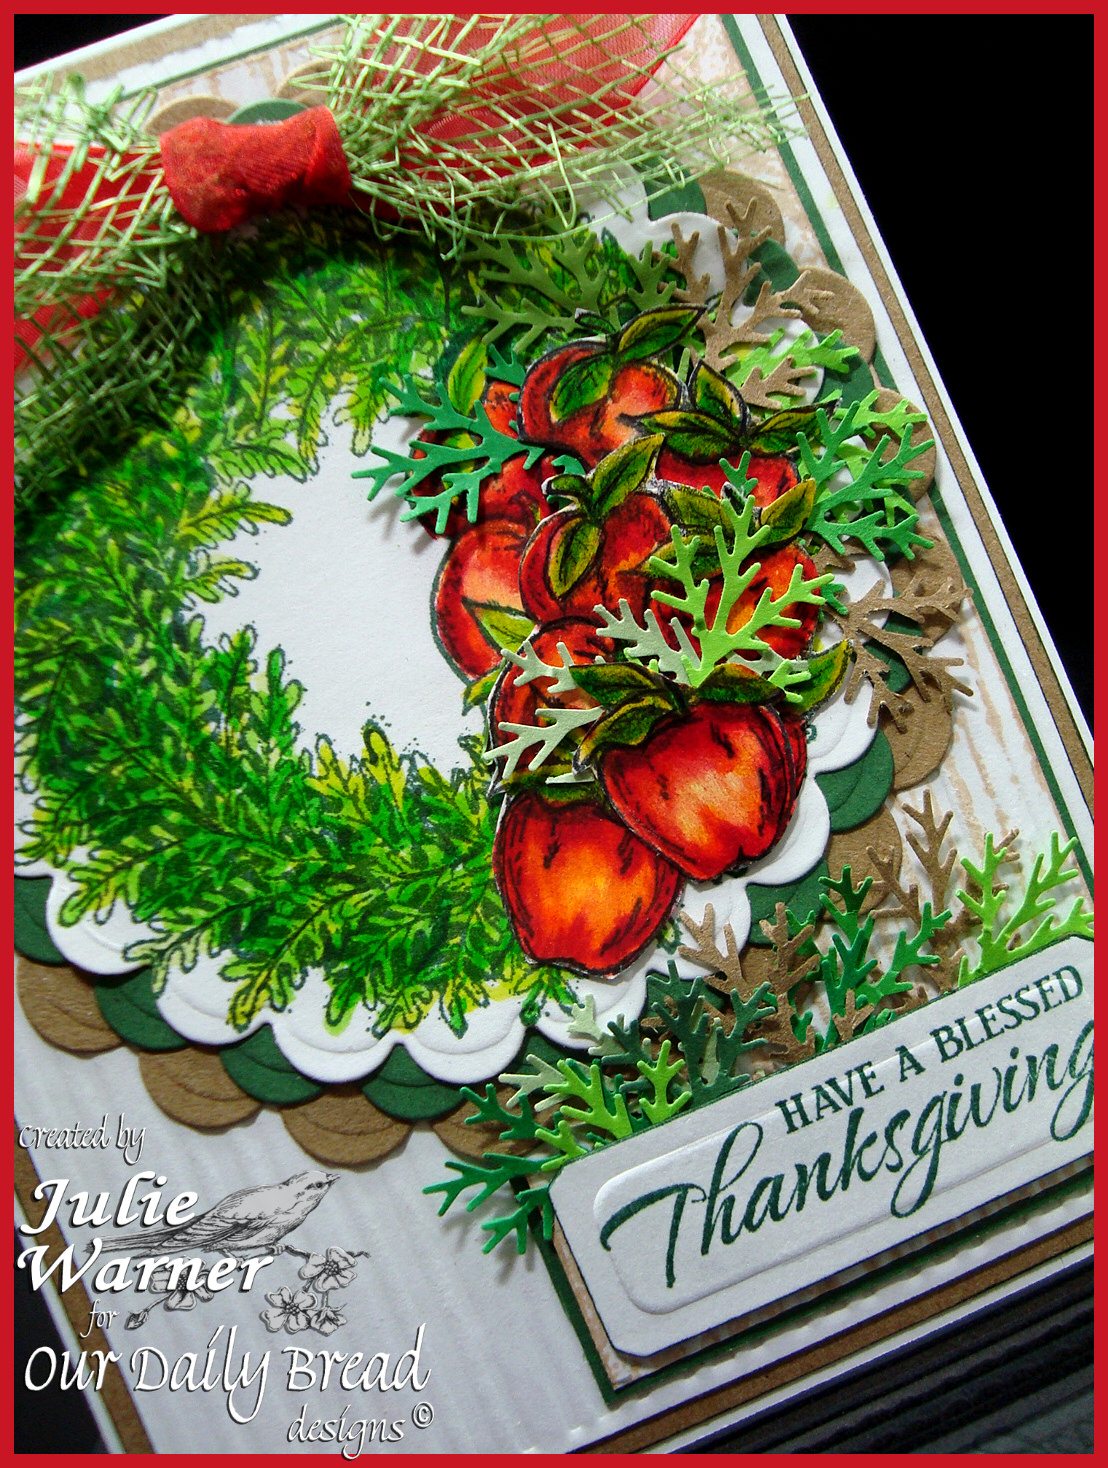
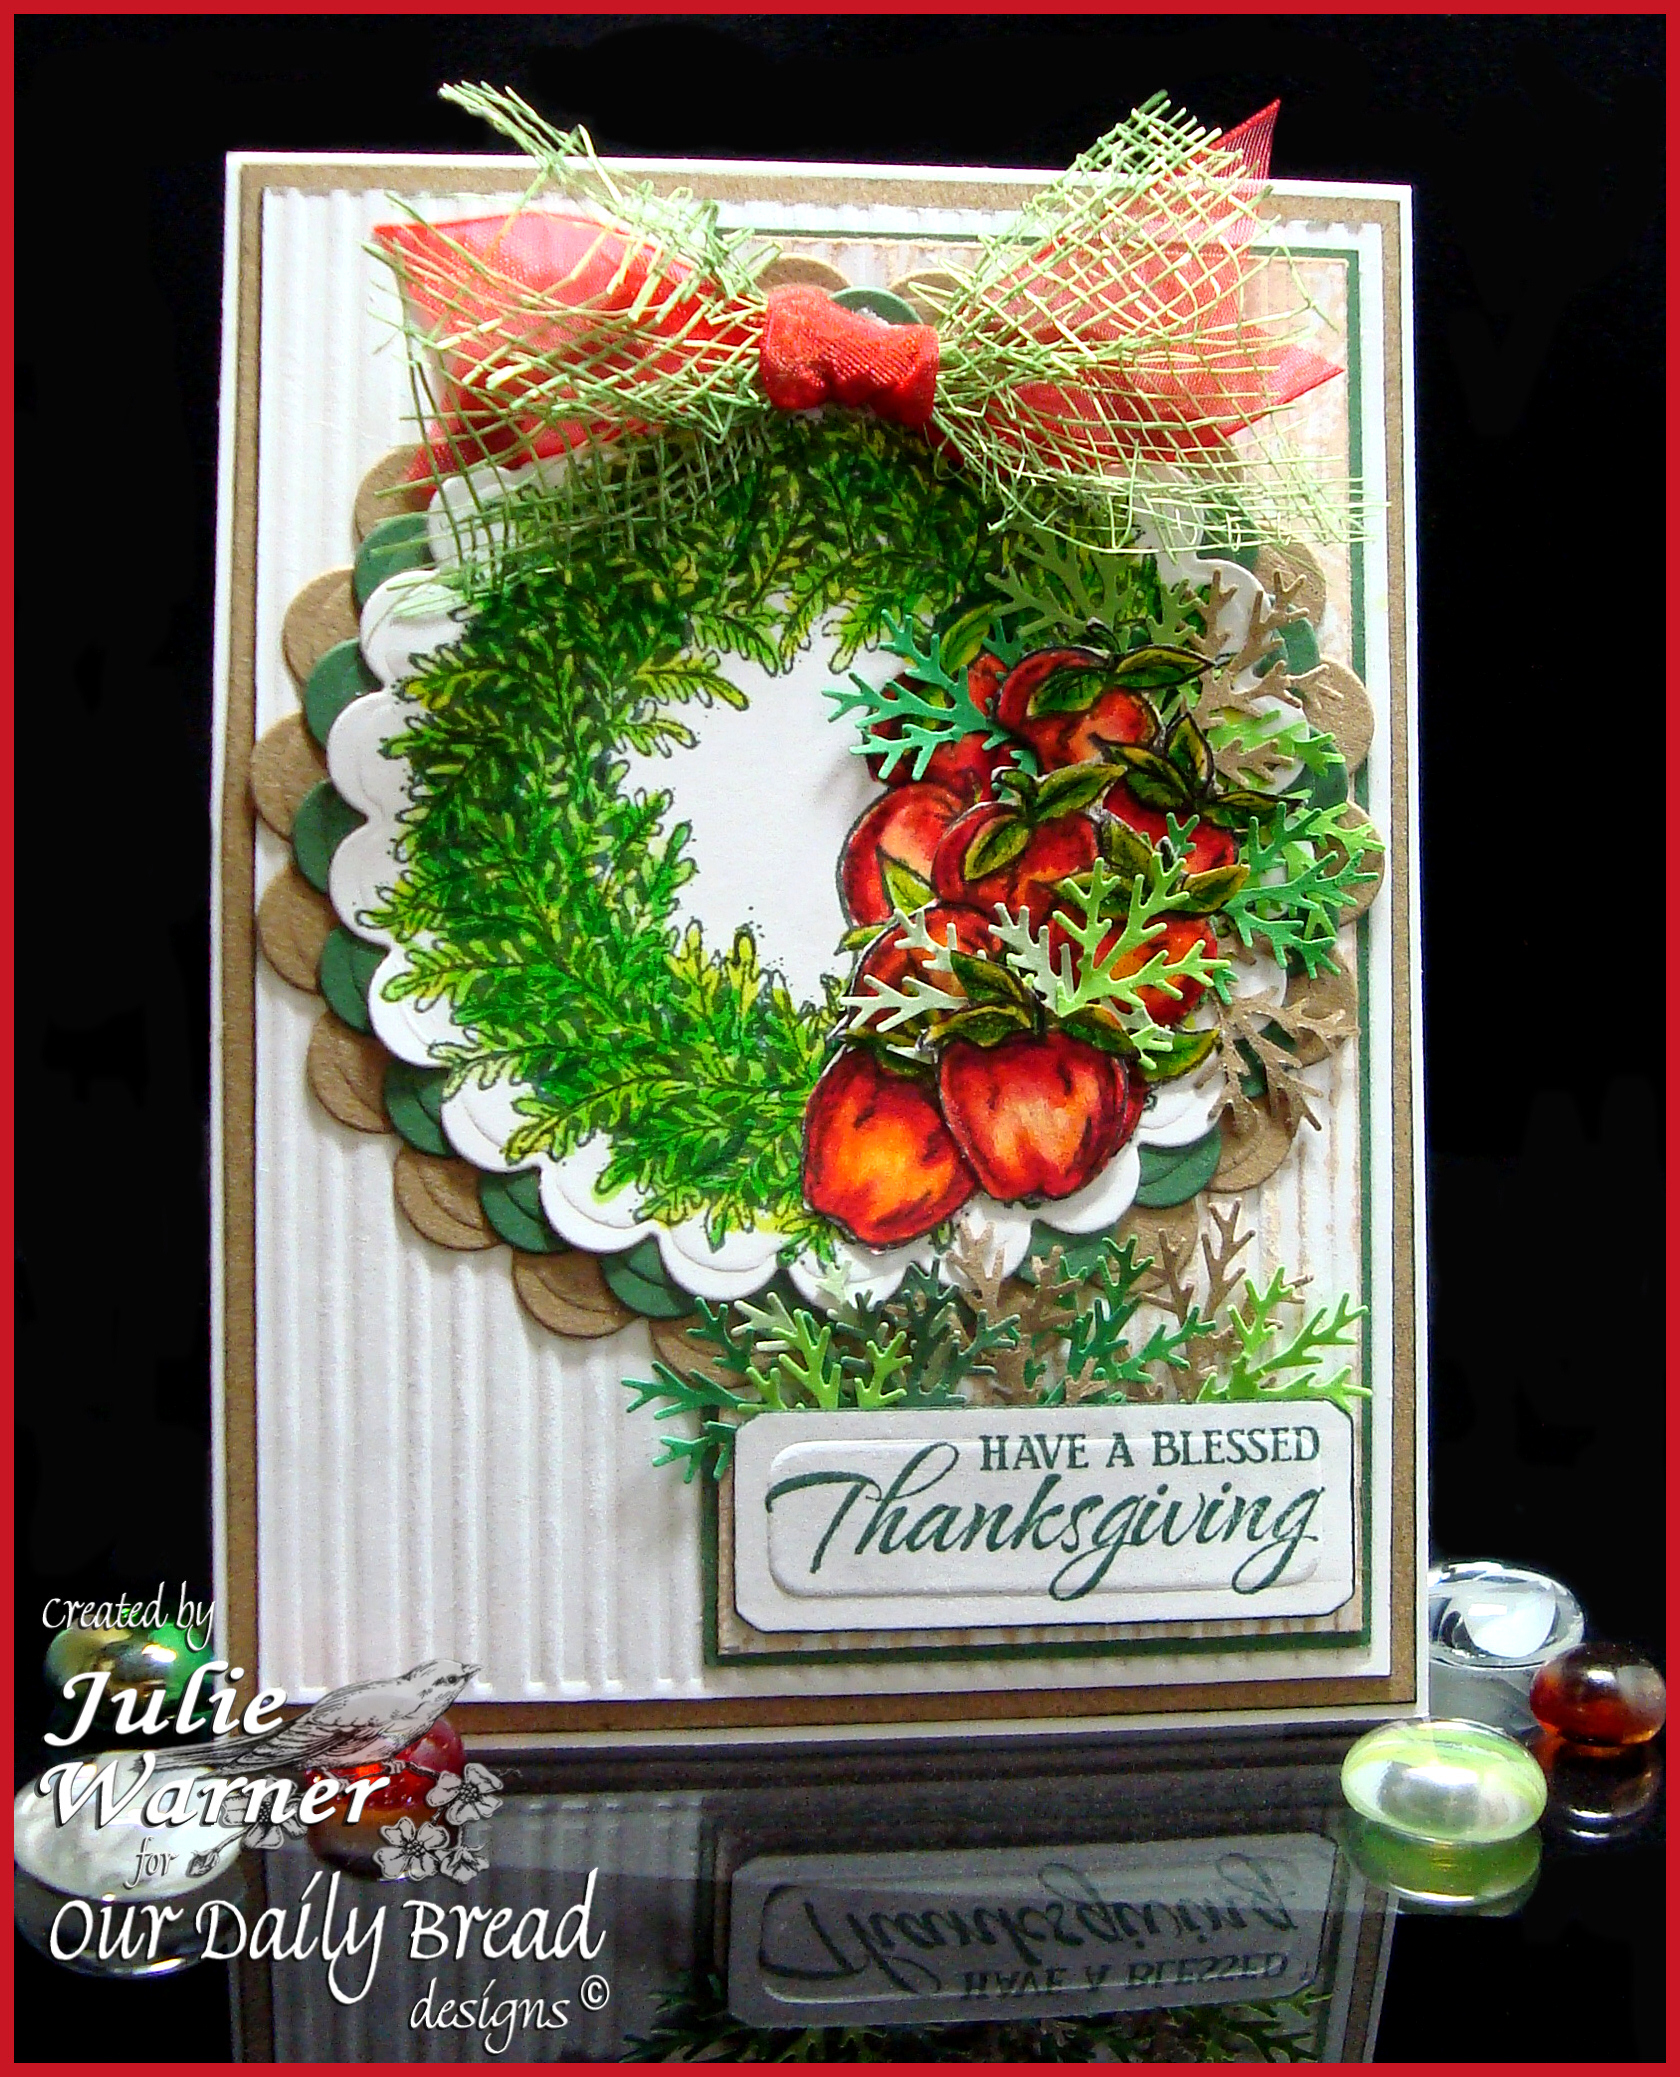
    For my card, I’m using the fabulous new Apple Wreath set! Isn’t it wonderful? I just love the apples and boxwood branches. They go so well with my branch punch.


    Julie Warner - https://thewritestuff.justwritedesigns.com

    After stamping, I colored the wreath in with Tombow markers. I stamped the apples twice more on another piece of white card stock and colored them with a combination of Copics and Tombows. Found out an interesting thing doing this and so here’s my Fun Dscovery Tip for You: If I lay down a light base color with the Copics (here I used FY1, Fluorescent Yellow Orange), then use the Tombows (water based markers) on top, the paper doesn’t pill or shred like it does when using water based makers and with heavy blending. The reason I did this, was because my Tombow red markers are so much brighter and clearer than the reds I have in Copic markers. And with the Copic base, they blended beautifully and easily with no paper shredding. So give it a try and mix things up!

    I was in a hurry so I opted to die cut the wreath w/ a scallop circle instead of fussy cutting. I used both the lg and sm scallop circles to cut out the dk green and kraft circles to back the wreath. On the white background, I used an embossing folder and on the narrower strip on the right, I stamped the wood background with the desert sand ink before embossing it as well. I added a narrow dk green layer to make it stand out a bit. The sentiment was die cut using a small tag die. I cut to the middle, took it out, turned the die around and cut the other end to the middle in order to get both ends the same. I added a few more punched branches behind it and a tied green straw like ribbon at the top of the wreath. The finished card is 4.25 x 5.50.

    Thanks so much for stopping by!

    Supplies:

    Stamps: Our Daily Bread designs – Apple Wreath, Wood Background
    Paper: Neenah white, dk green, kraft small scraps of various greens for punched branches
    Ink: Archival library green,  Memento desert sand,
    Accessories: Spellbinders lg & sm scallop circles & tag dies, Copic markers,  Tombow markers, stripe embossing folder (Paper Studio), branch punch (Martha Stewart), ribbon, woven green ribbon
     

  • ODBD Sept Release Blog Hop

    Julie Warner - https://thewritestuff.justwritedesigns.com

    Welcome to Our Daily Bread designs September Release Blog Hop! If you arrived here from the blog of the fabulous Betty, then you are in the right place. If not, you may want to head over to the ODBD Blog and start from the beginning.

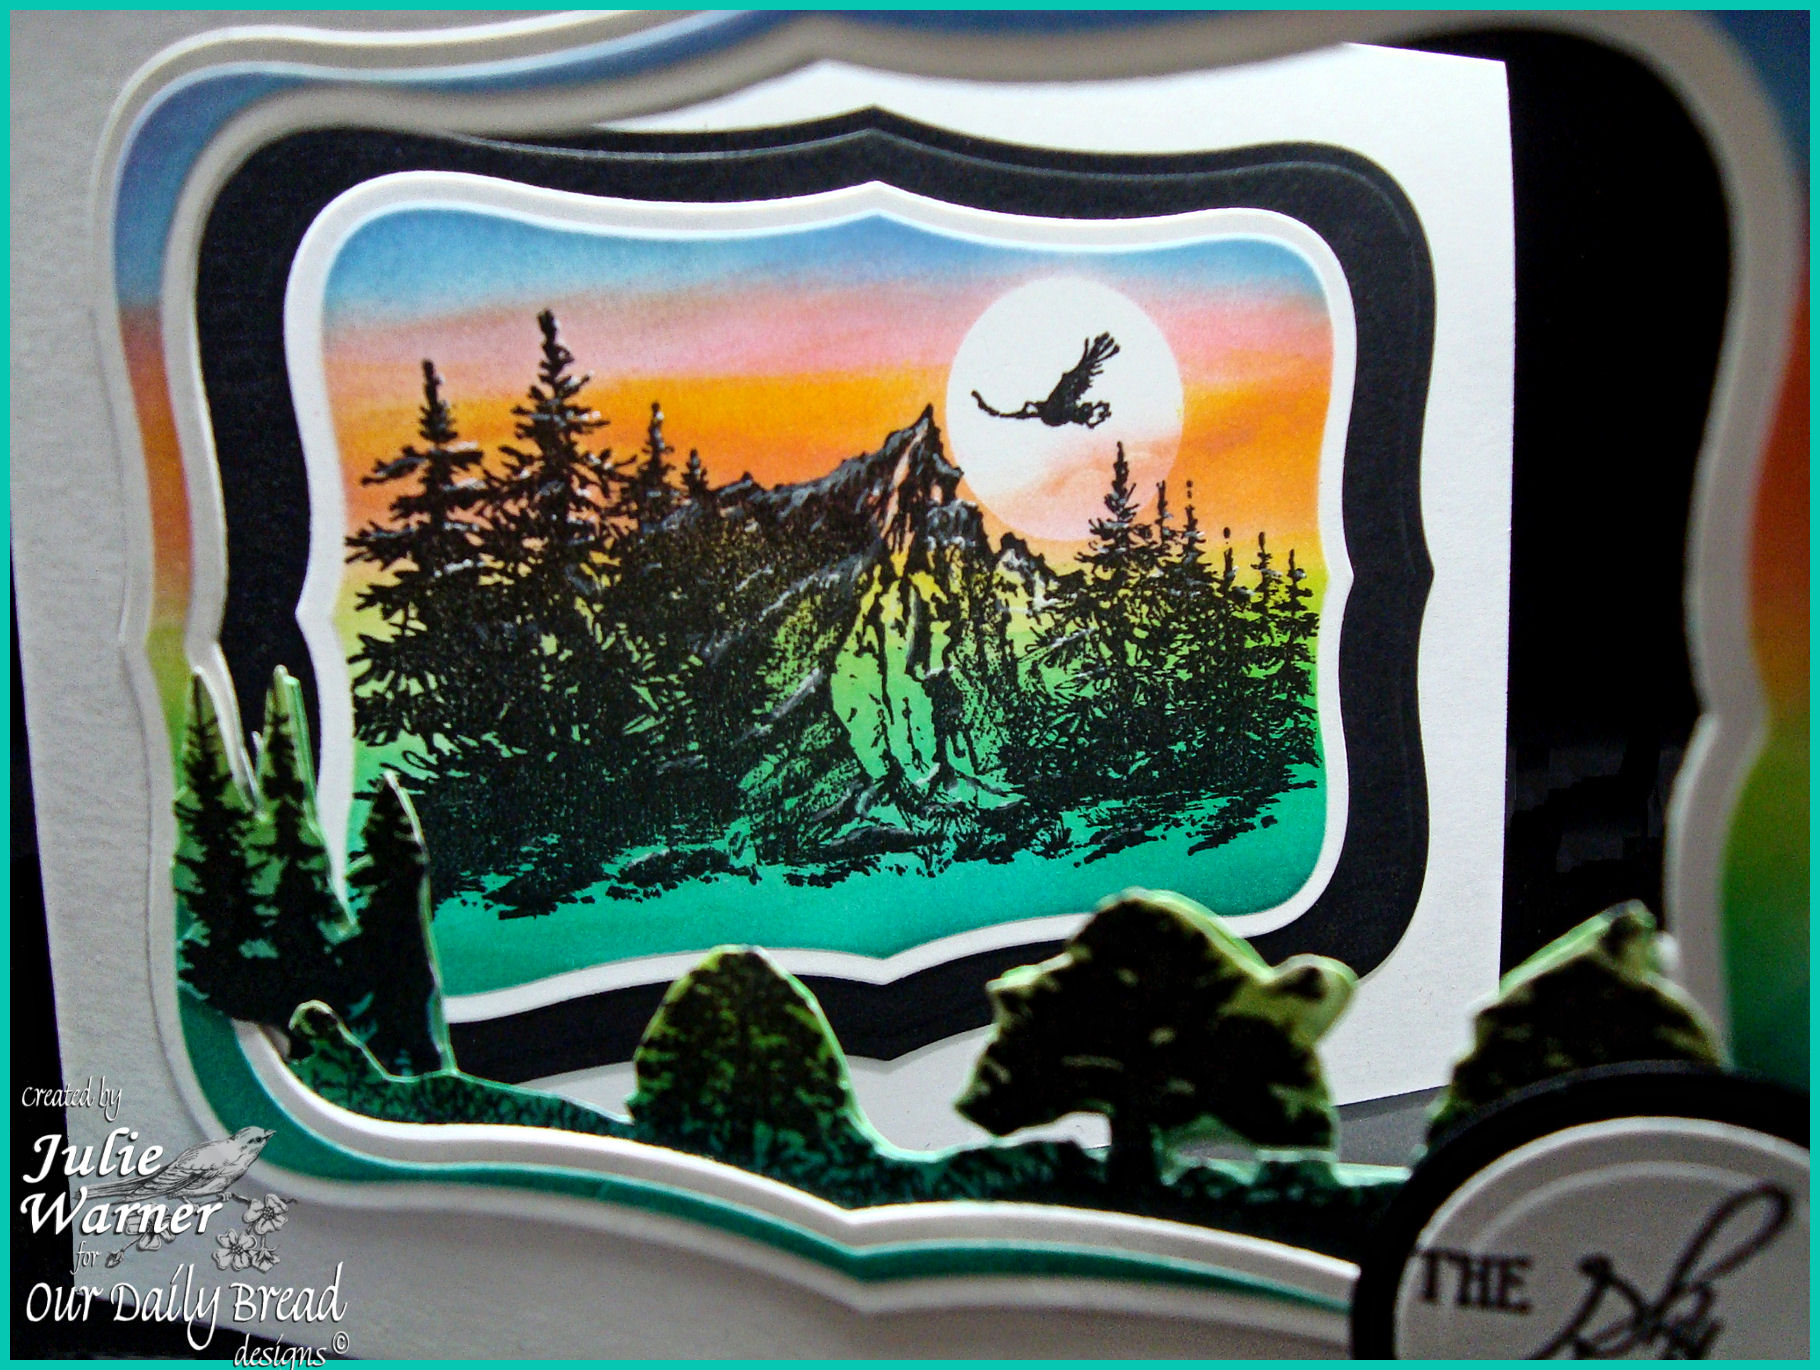
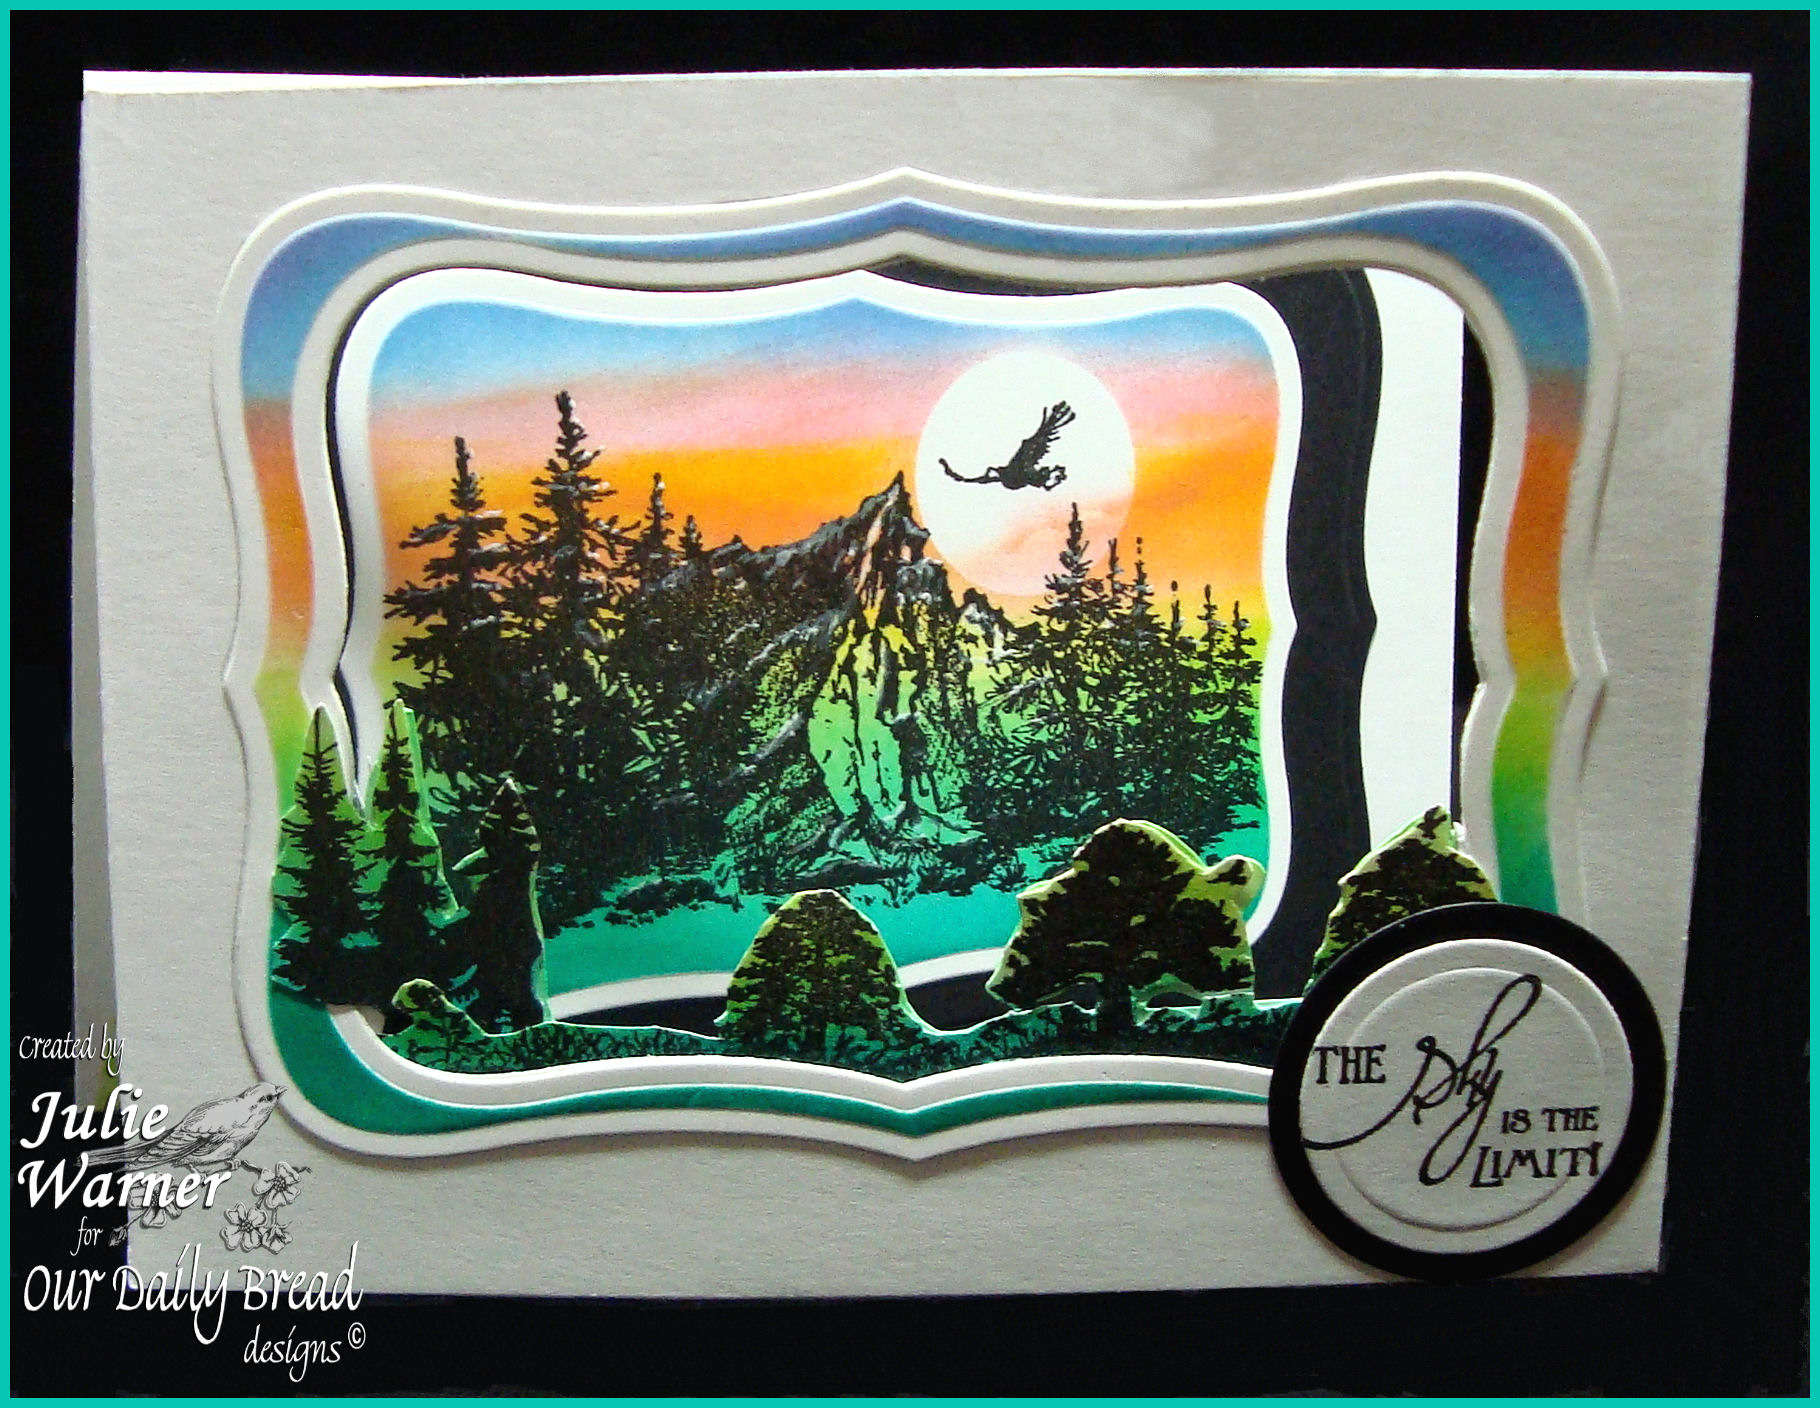
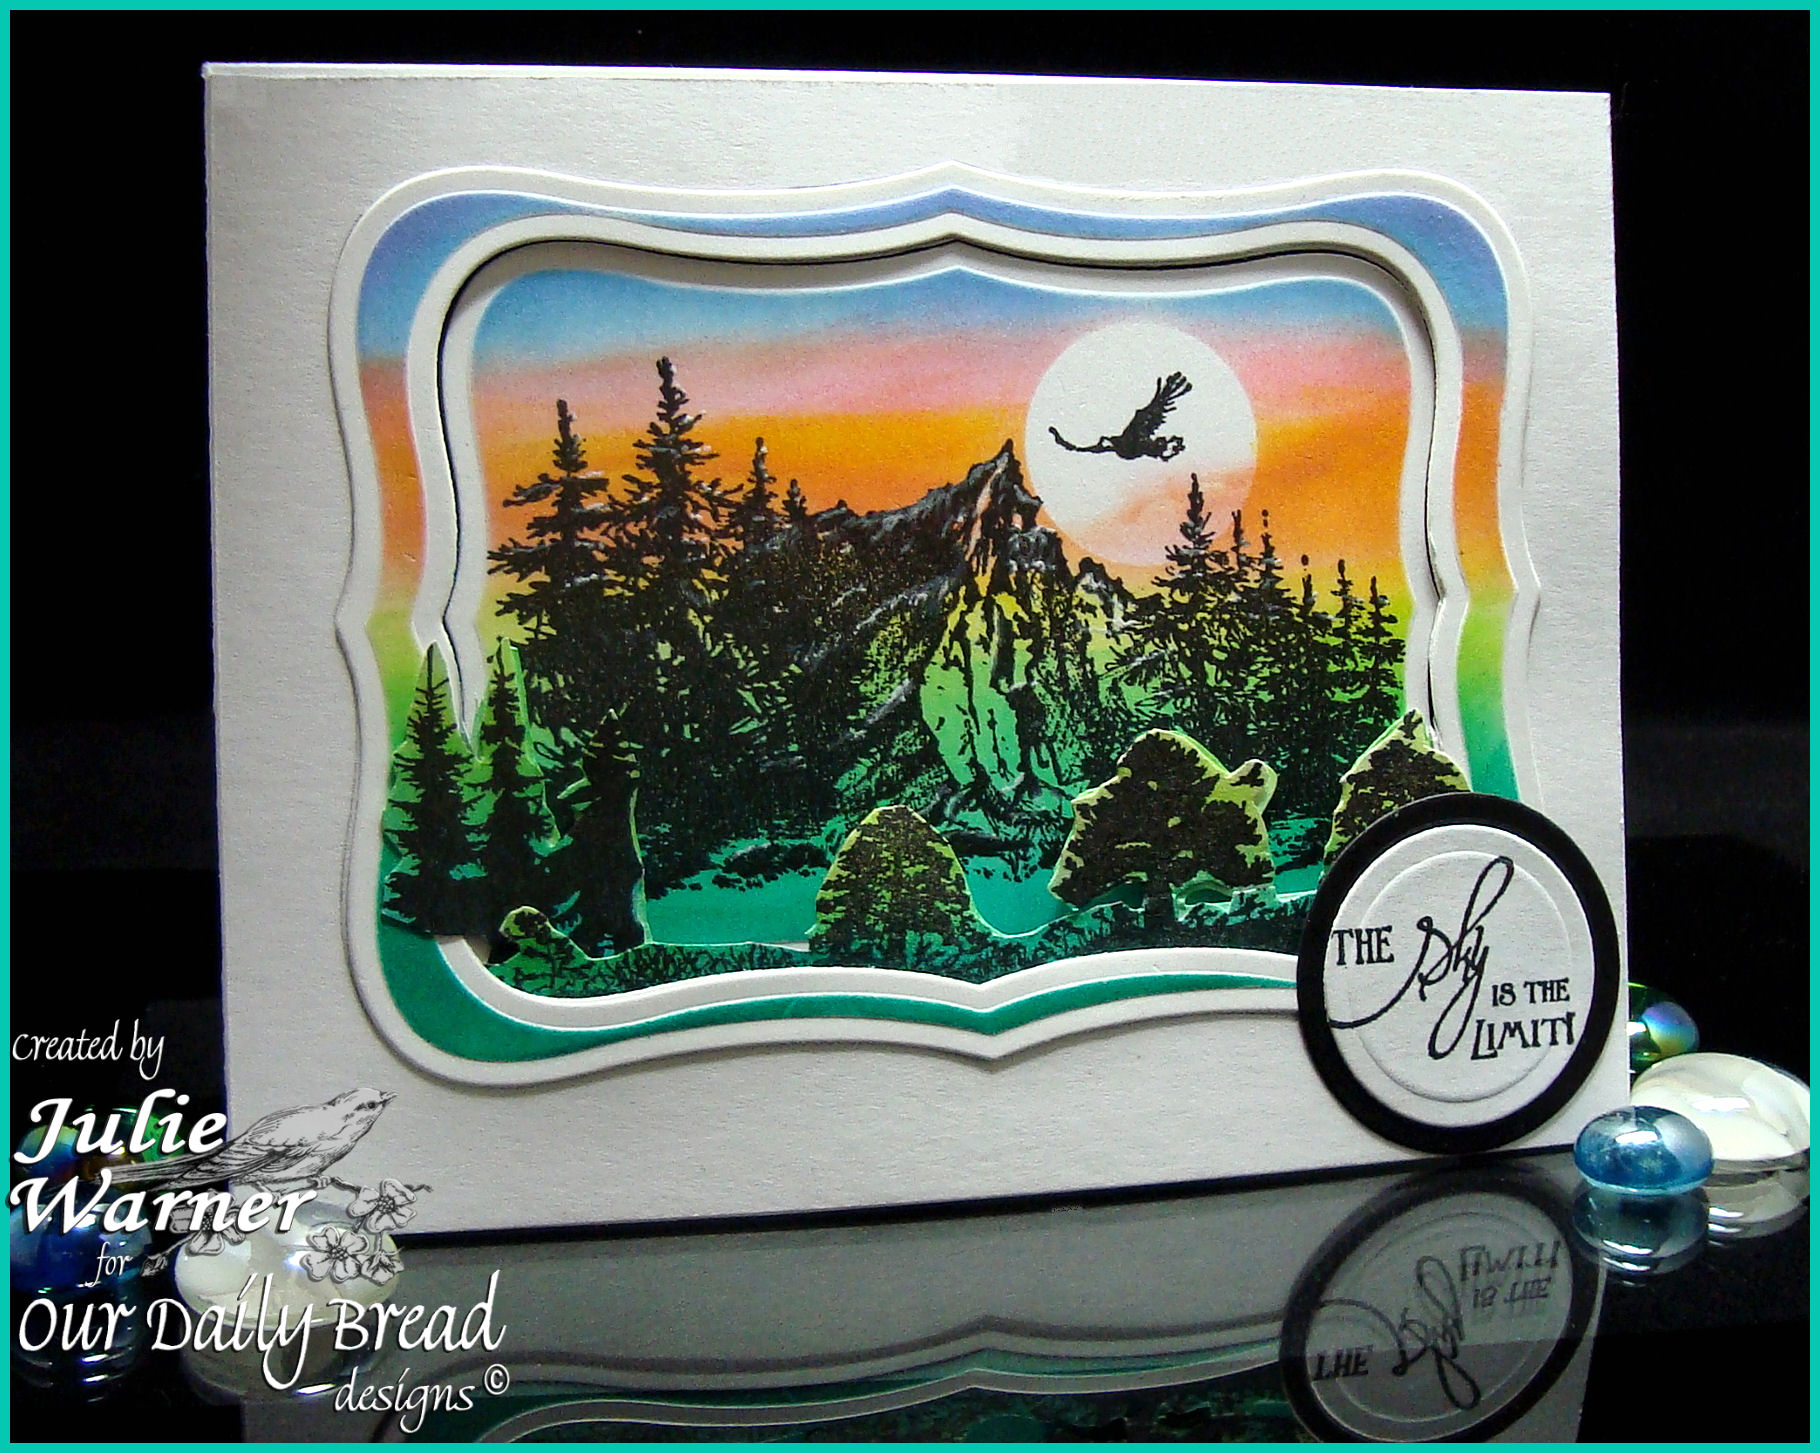
    For my card, I’m using the fabulous, Keep Climbing set! I also used a portion of last month’s Bookmarks-Trees set for the front window. I just love this mountain scene and the fonts are beautiful in all of this month’s sets.


    Julie Warner - https://thewritestuff.justwritedesigns.com

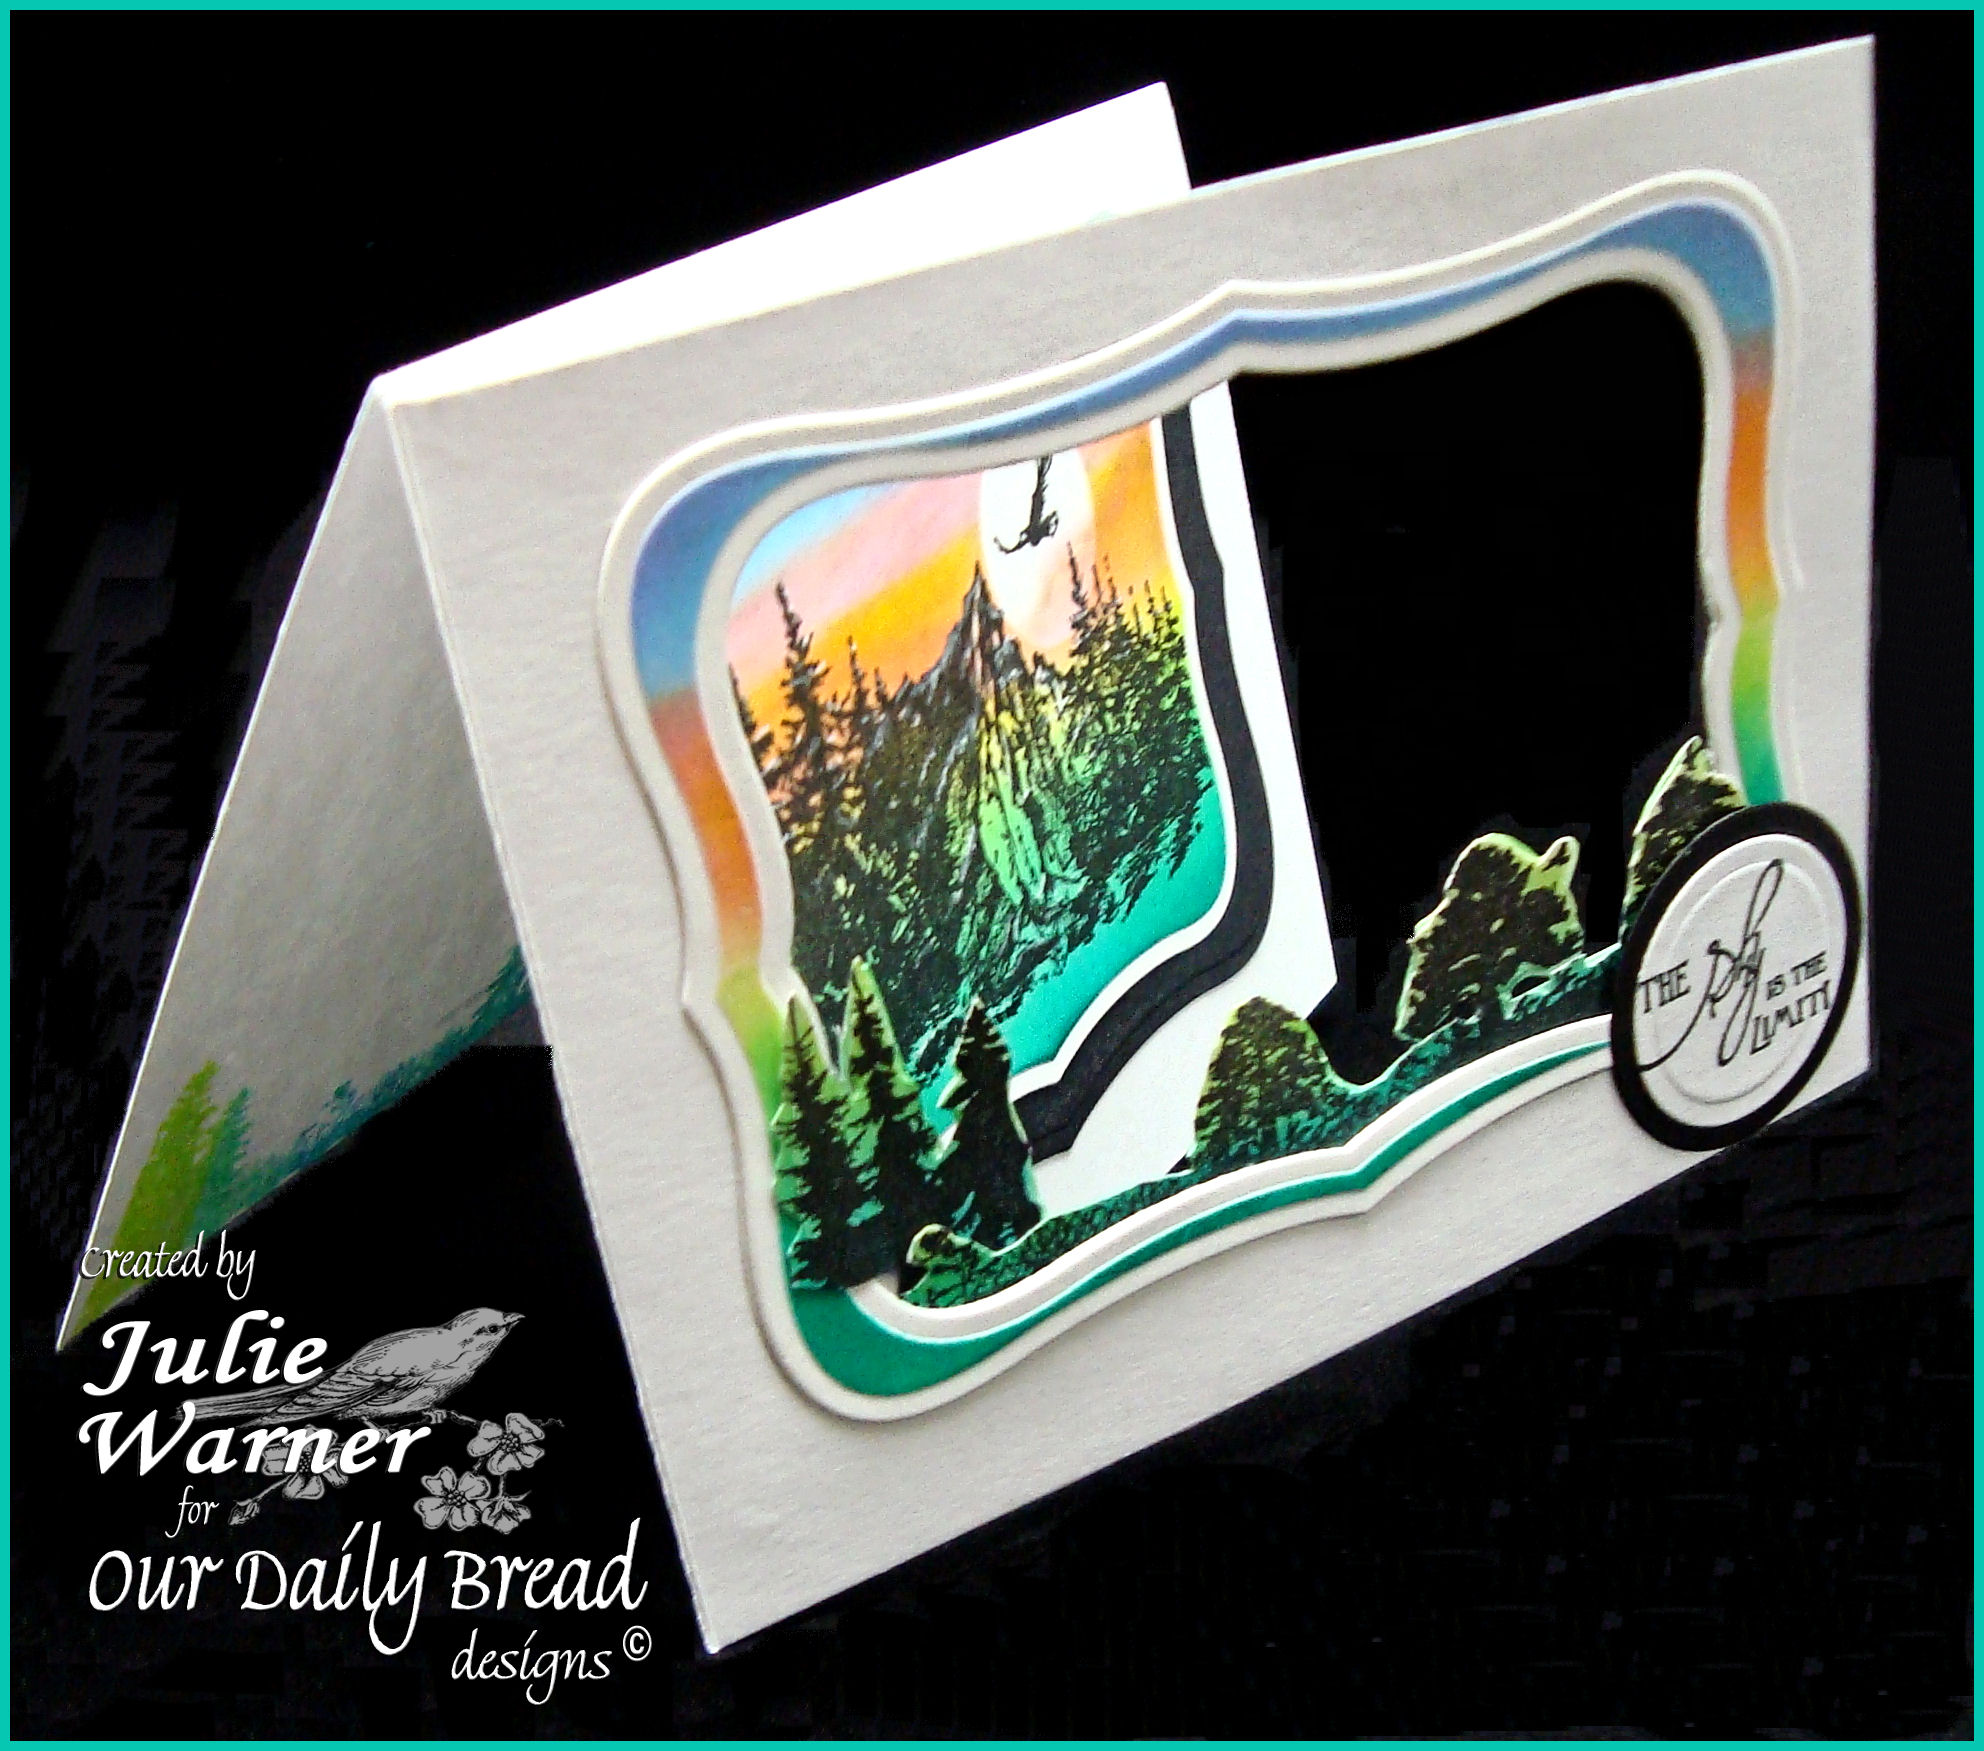
    My card is variation of a trifold, with the front fold being an open window. For the main panel and die cut frame on top, I die cut the panel first using the Spellbinders Labels 8, left the dies in place, put a small circle mask for the moon and sponged on the colors with ink from 2 different Kaliedacolor pads. After removing the mask, I stamped the mountain scene then removed the dies. The largest one became my frame and the smaller one is my main panel. I used the smaller labels 8 to die cut the opening in the top section of my card (to make the window opening) and attached my frame on top.

    Julie Warner - https://thewritestuff.justwritedesigns.com

    I stamped the trees from the Bookmark-Trees set on a separate piece of card stock which was also sponged w/ the green inks, and cut around the top of the trees. I attached this mostly to the inside of my window but let the edge trees come out of the opening. So the inside would look neat, I die cut another piece of white card stock w/ the same size label 8 and attached it to the inside of the window. I also added a circle die cut sentiment on the front lower corner, matted on a larger black circle. The finished card is 5.50 x 4.25.

    Julie Warner - https://thewritestuff.justwritedesigns.com

    Hopefully, you are able to see how it works a little better from this pic, but just in case, here’s a super short (like 17 seconds) video showing how it opens and folds. Sorry about the annoying little ads, but whatcha gonna do? It’s You Tube, so just hit the little x to close them. I’m sure there’s a way to bypass them, but I haven’t figured it out yet.


    Thanks so much for stopping by!


    Supplies:

    Stamps: Our Daily Bread designs –  Keep Climbing, Bookmarks-Trees
    Paper: Neenah white, black
    Ink: Ancient Page coal, Kaliedacolor Riviera & Pastel
    Accessories: Spellbinders labels 8 & circle dies

  • Happy Birthday, Randi -ODBD Blog Hop!

    Julie Warner - https://thewritestuff.justwritedesigns.com

    If you arrived here from Lisa’s blog, you are in the right place. If not, you may want to start at the ODBD Blog so you won’t miss anything. Today, we have a special Happy Birthday Blog Hop for our dear friend and DT member, Randi! In her blessed life, she has faced so very much and if you’d like to read a little about her recent battle, please take a moment to read the story behind the ODBD stamp set, Randi’s Song, named in her honor. Kelley will be giving away a Happy Birthday set to 3 people chosen from the comments.  All you have to do is hop along and leave a Happy Birthday wish for Randi on the ODBD Blog. And if you feel so inclined, you can leave her a Happy Birthday wish on her blog: Randi’s Blog. She hasn’t been able to create in a while, but she does stay connected and I’m sure she’ll see your message.

    Julie Warner - https://thewritestuff.justwritedesigns.com

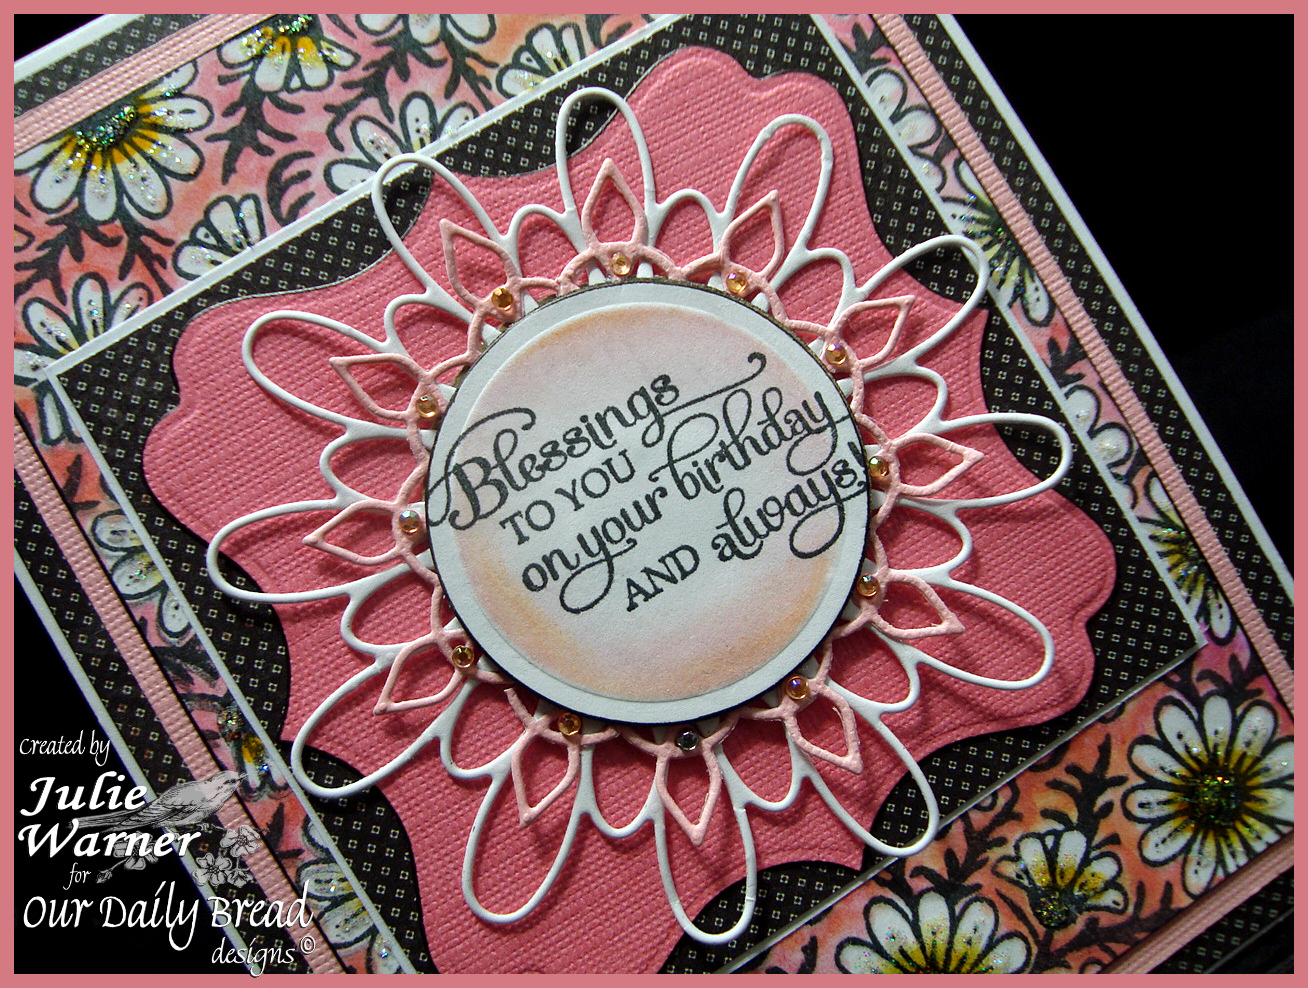
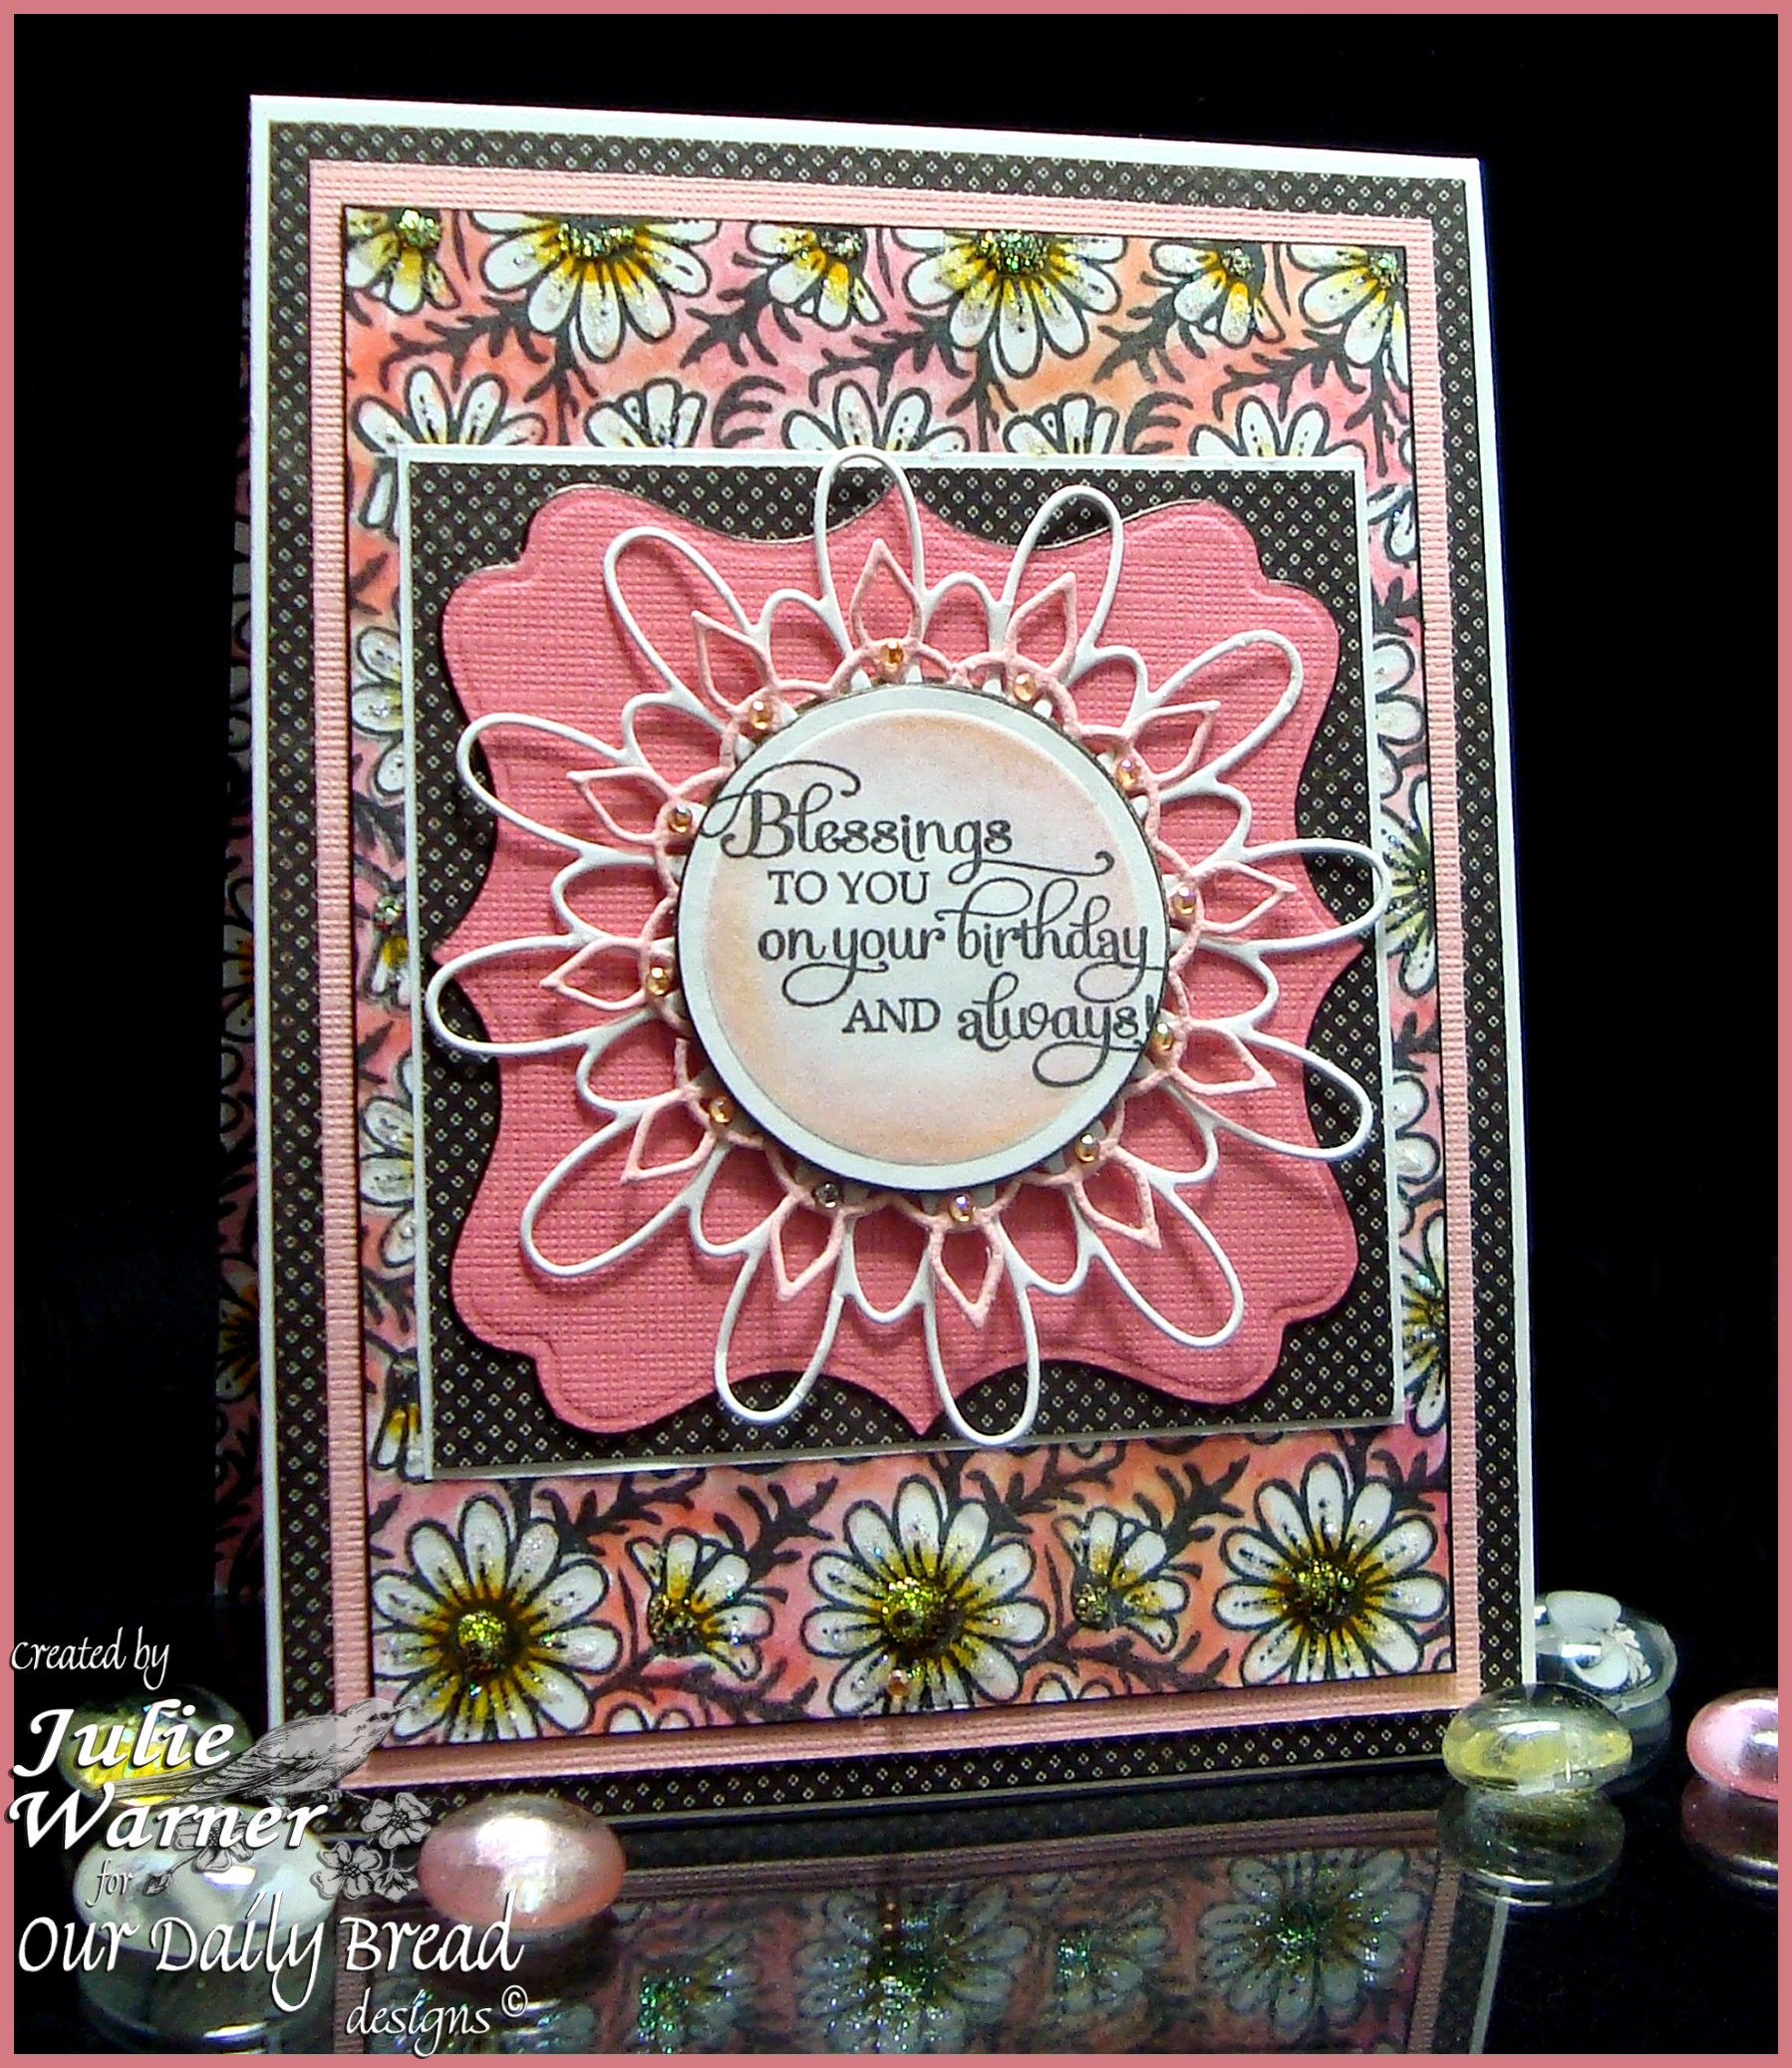
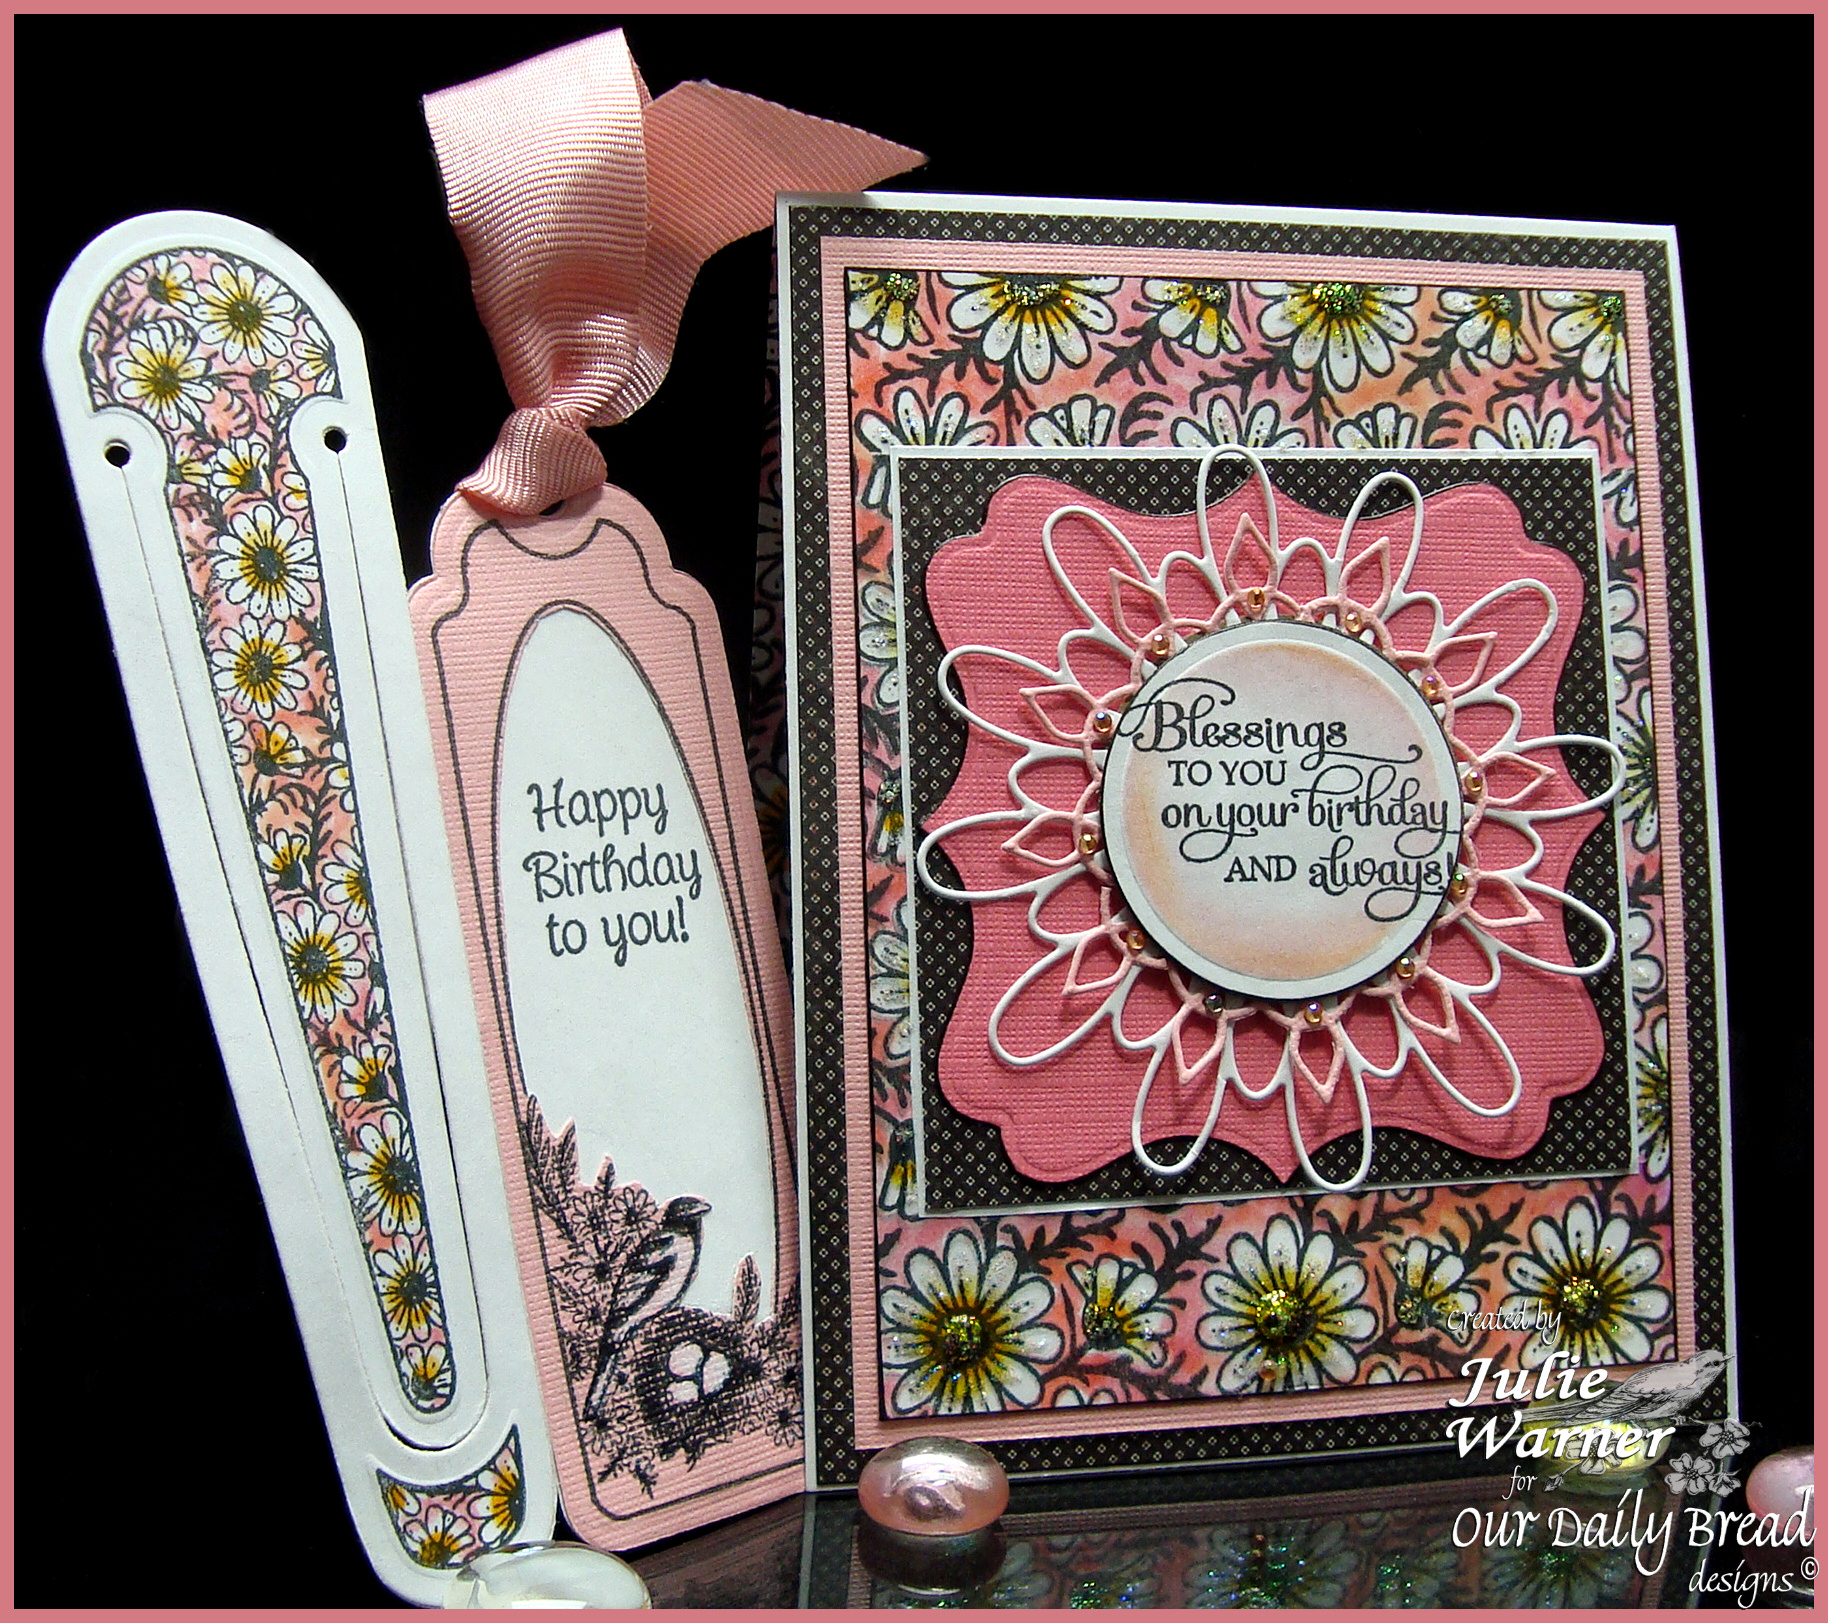
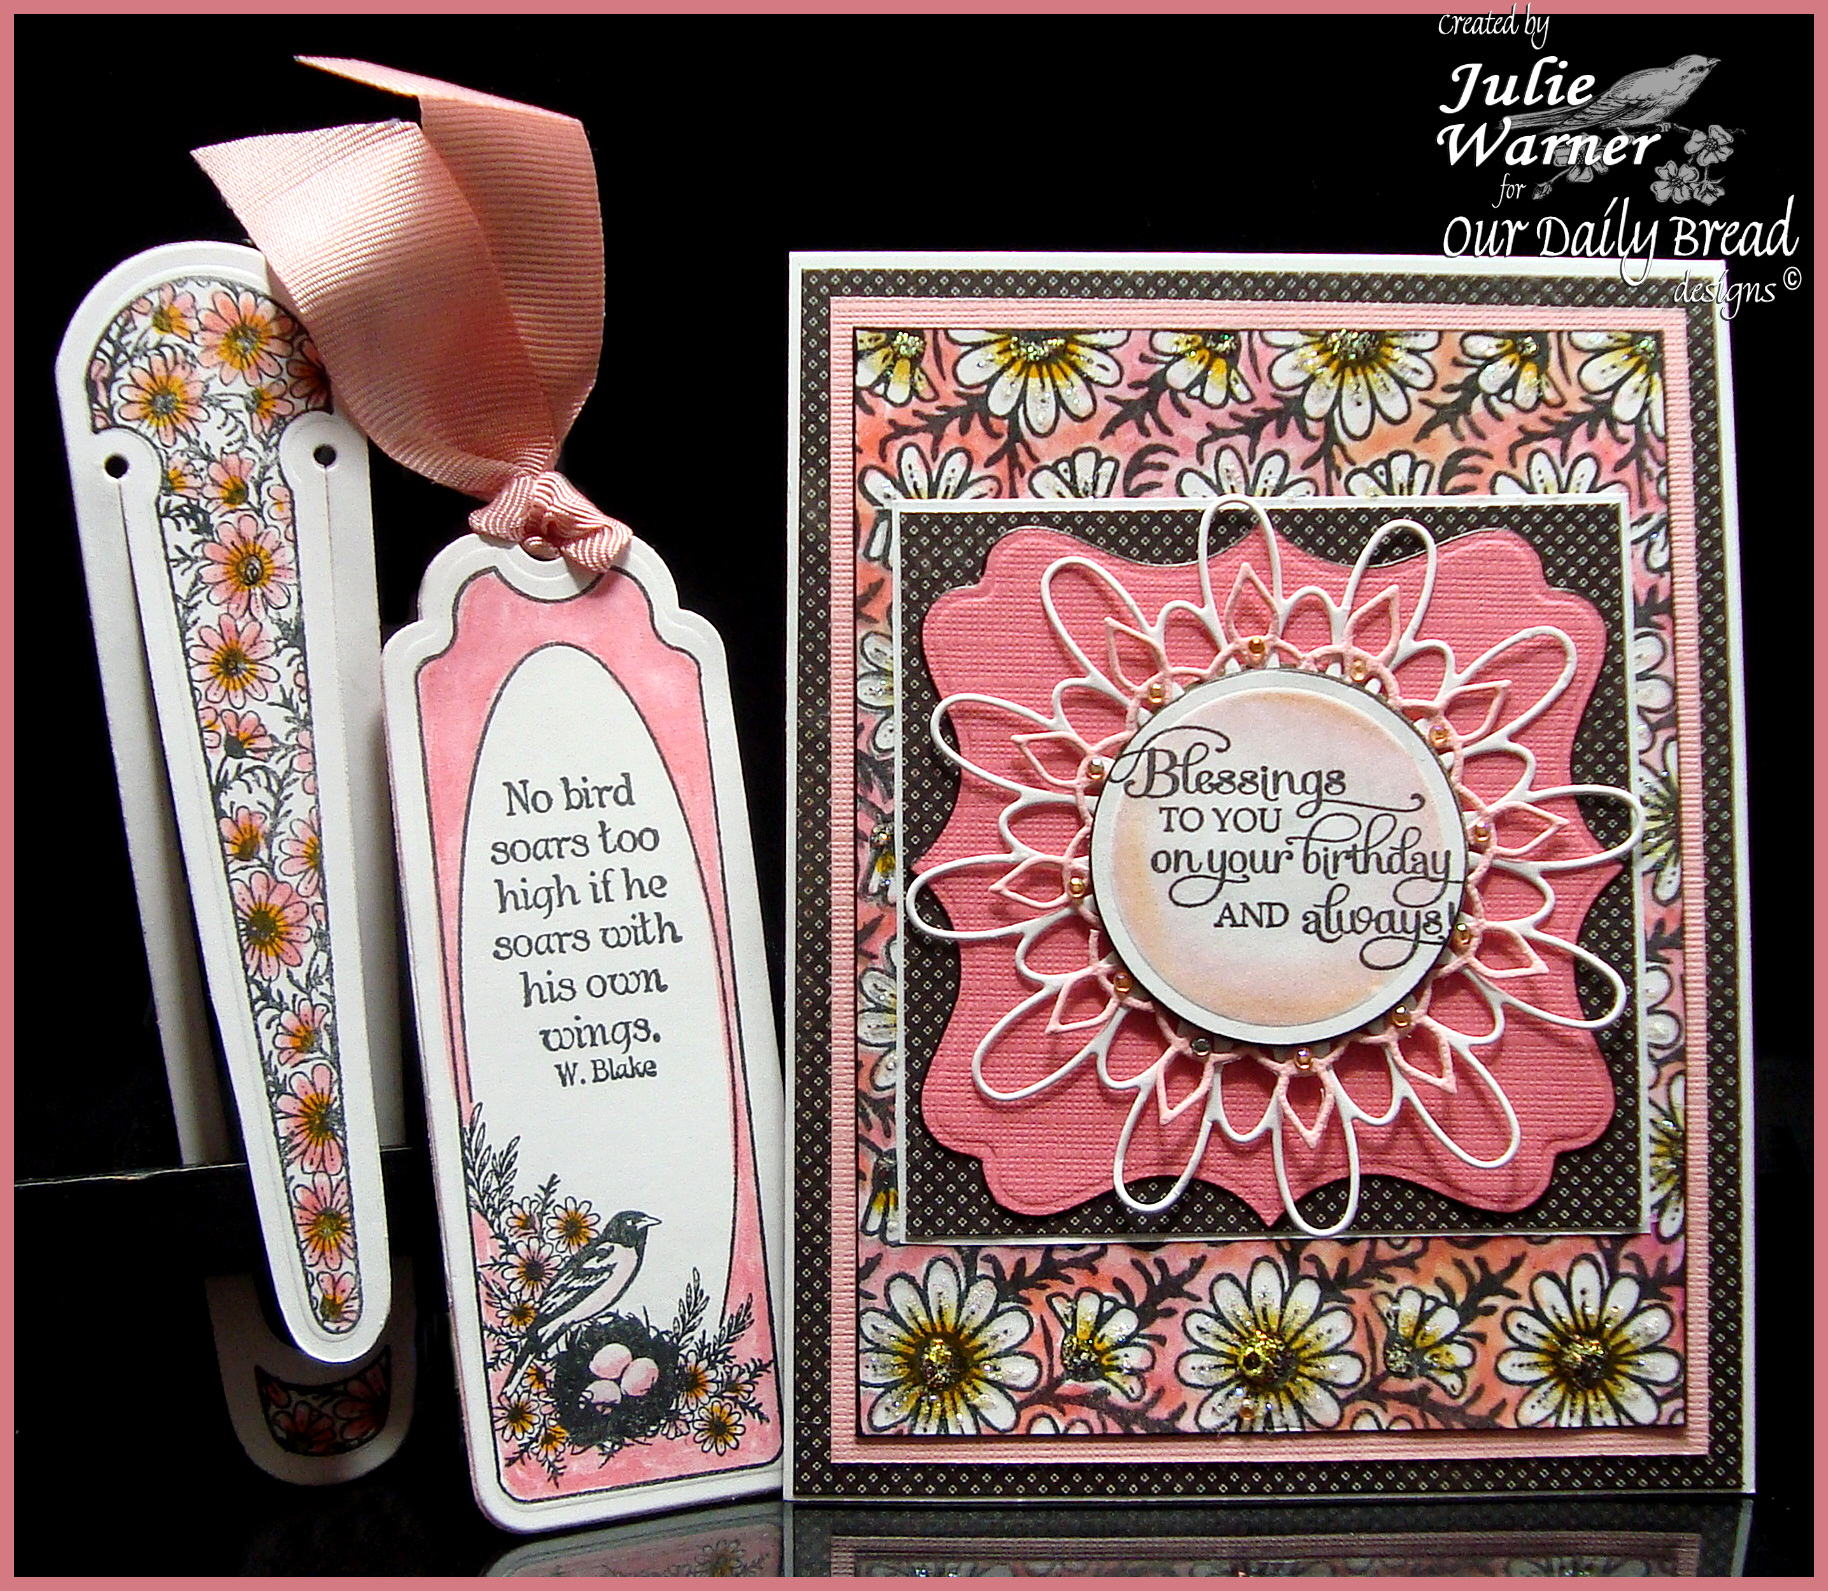
    This is my birthday card & bookmarks to Randi. I hope she like them! I used several different sets and dies to create it and the double sided bookmarks. For the daisy background, I used markers to color in the background and add just a hint of color to the daisies. The sentiment was die cut, sponged and layered on top of two Memory Box die cuts. The finished card is 4.25 x 5.50.

    Julie Warner - https://thewritestuff.justwritedesigns.com

    This shows one side of the bookmarks and if you flip them over, this is what they look like on the reverse side:

    Julie Warner - https://thewritestuff.justwritedesigns.com

    Now I’ll send you on your way to Lori’s blog! Thanks so much for stopping by!


    Supplies:

    Stamps: Our Daily Bread designs – Daisy Background, Bookmarks-Eagles, Bookmarks-Trees, Birthday Blessings, Bookmarks-Verses, Mini Tags 3
    Paper: Neenah white, 2 shades of textured pink (DCWV mat stack), dp (Basic Grey – Out of Print collection)
    Ink: Ancient Page coal, Memento angel pink
    Accessories: Spellbinders labels 16 & circle dies, ODBD exclusive bookmark dies, Memory Box Seville Buckle & Tilda Swirl dies, Tombow markers, stickles, ribbon