• Tag Archives Spellbinders
  • SNS Sparkling Wintry Sensations Blog Hop!

    Julie Warner - justwritedesigns - https://thewritestuff.justwritedesigns.com

    Welcome to the Sparkle N Sprinkle “Sparkling Wintry Sensations” blog hop!

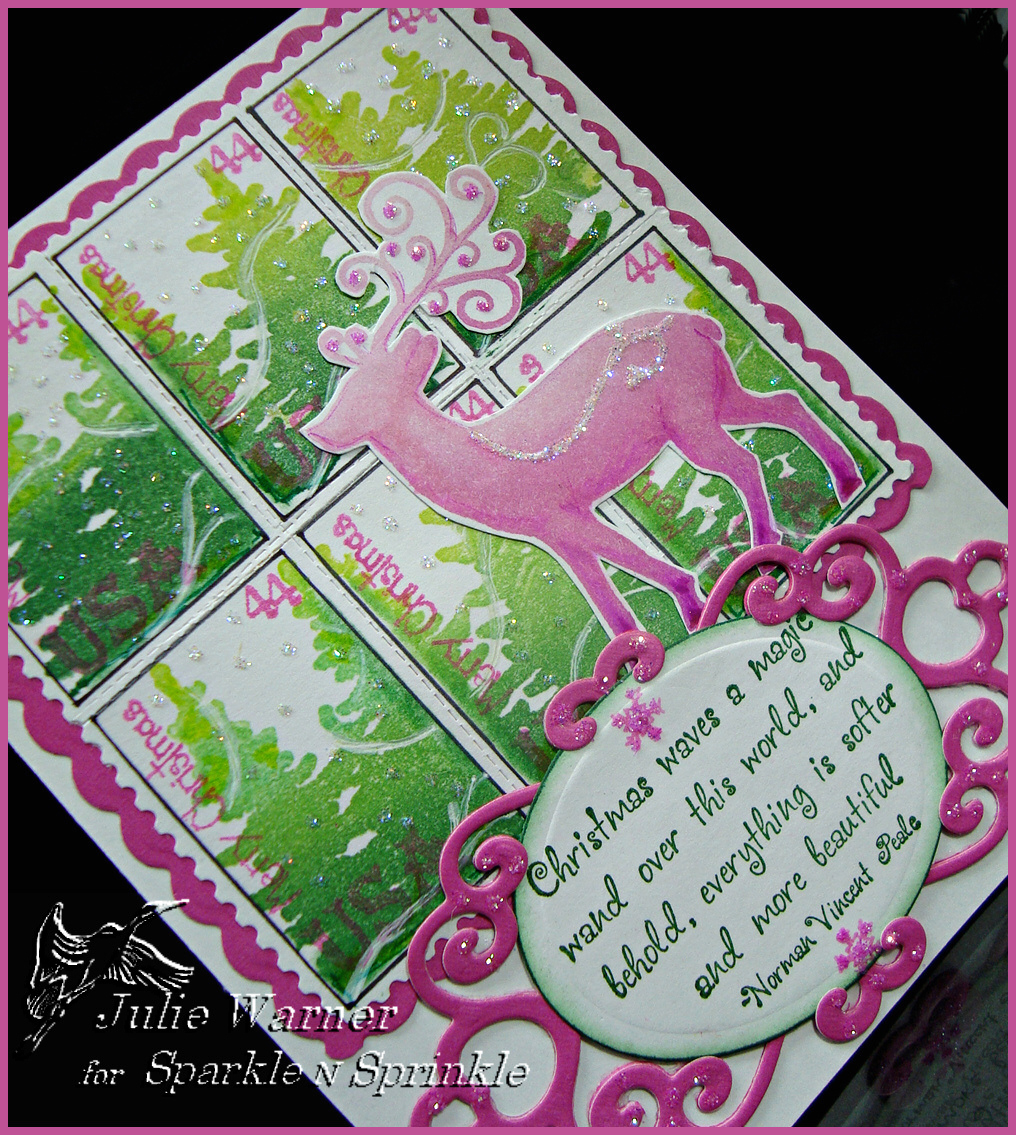
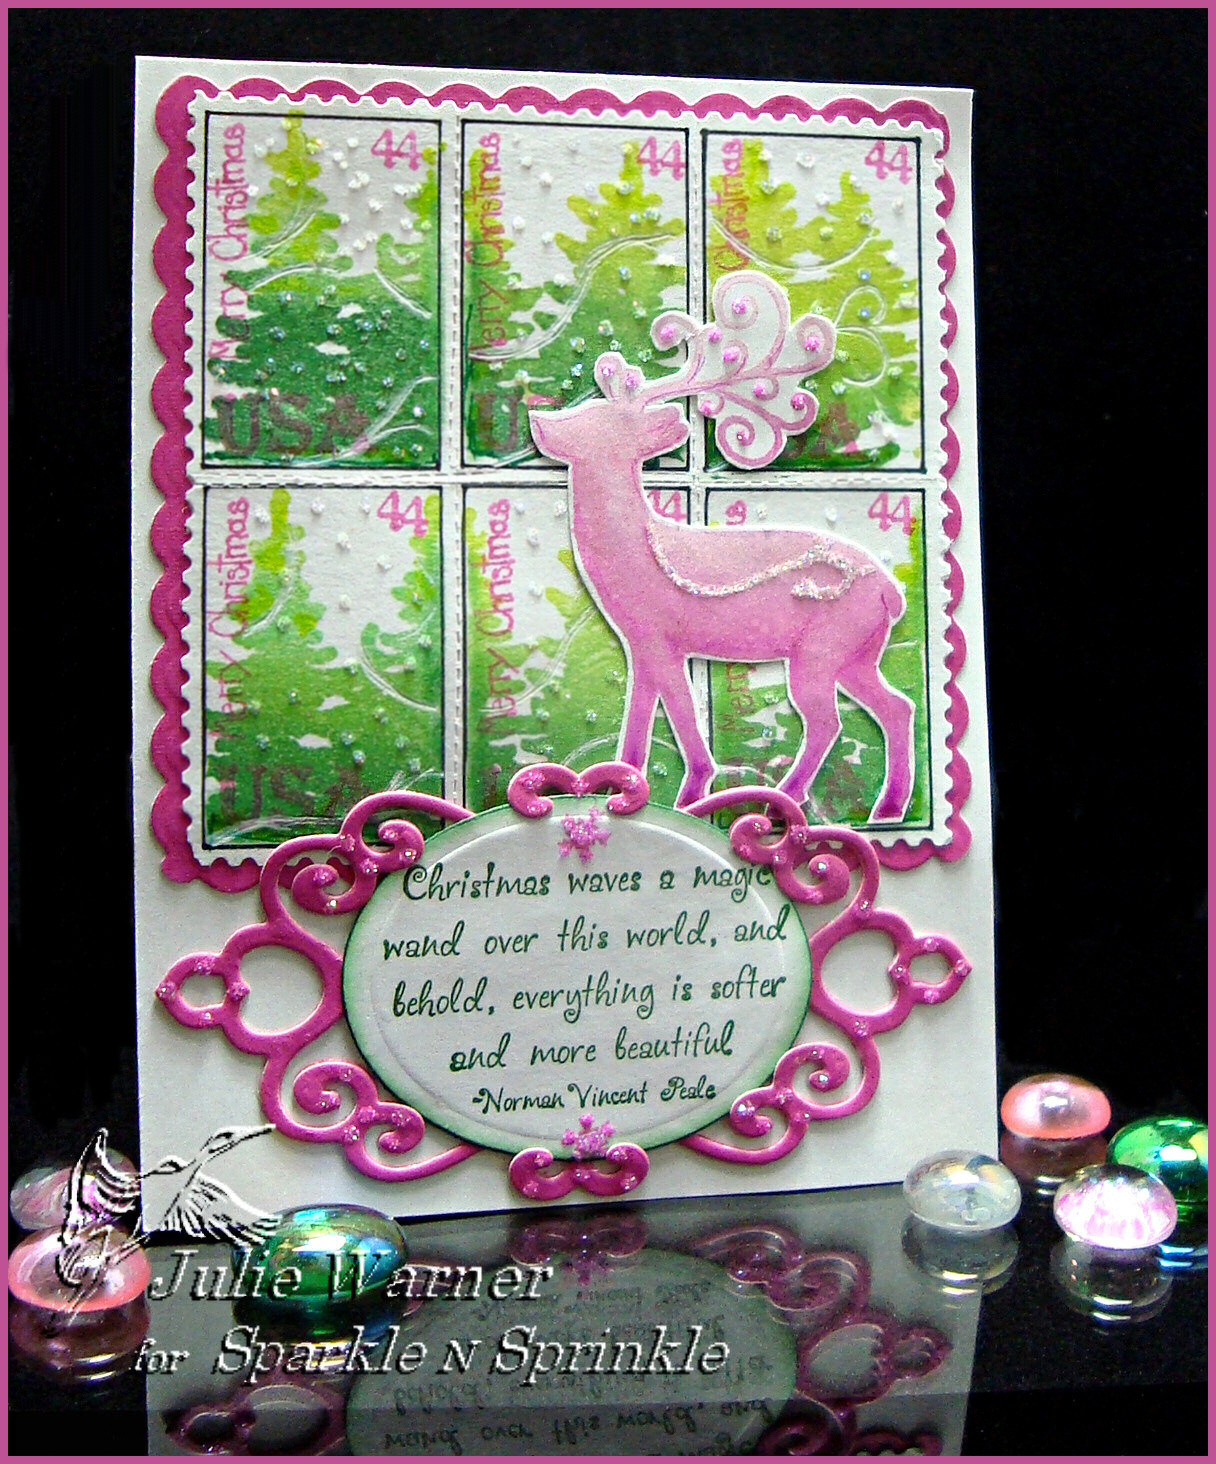
    For my sparkling wintry card, I created a sheet of faux postage stamps using the pine forest image and a small, rectangular cut out (or reverse mask). I inked the forest w/ several colors of green pigment inks then stamped it inside the mask. I just moved the mask and repeated 5 more times. The wording and numbers were inked w/ a dk pink marker and stamped on top to complete the “stamp” look. I used a perforating blade in between the stamps and cut the outside w/ postage stamp scissors.

    Julie Warner - justwritedesigns - https://thewritestuff.justwritedesigns.com

    The sentiment was die cut and attached to a fancy tag die cut. (Cutting this die is super easy w/ the Grand Calibur!) The reindeer was inked w/ the pink pigment inks, stamped an cut out. I used a glue pen and Sparkling Snow glitter on the reindeer and to add snowflakes to my postage stamps. I used the Mauvelous glitter on the fancy tag and reindeer antlers. The peony colored layer behind the postage was die cut using a scallop border die. The finished card measures 4.25 x 5.5.

    Thanks so much for stopping by!


    Supplies:

    Stamps: Sparkle N Sprinkle- Pine Forest, Swirly Reindeer, Christmas Magic & snowflakes from set #414; USA & July 4 from set #433; Merry Christmas from set #385
    Paper: Neenah white, textured peony
    Ink: VersaColor rainforest, Colorbox evergreen, moss green, razzberry & peony pigment inks
    Accessories:  Sparkle N Sprinkle glitters in Sparkling Snow & Mauvelous, Tombow Markers, 1/2 ” Double Sided “Tear-ific” Tape SAT04, Spellbinders classic ovals & Fancy Tags 2 dies, Quickutz scallop border die, Fiskars postage stamp scissors, perforating blade, Stamp-a-ma-jig, Grand Calibur

  • ODBD July Release Blog Hop!

    Julie Warner - justwritedesigns - https://thewritestuff.justwritedesigns.com
    Welcome to the ODBD July 1 release blog hop! If you arrived here from Sabrina Jackson’s blog, you are in the right place! If not, you might want to start at the ODBD Blog where you will see the entire list with links just in case any are broken along the way!

    Julie Warner - justwritedesigns - https://thewritestuff.justwritedesigns.com

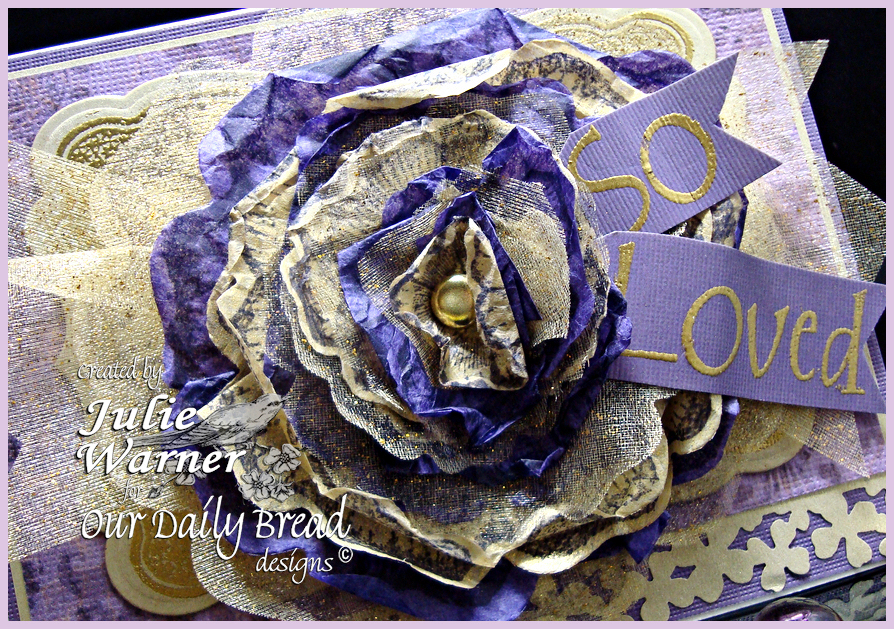
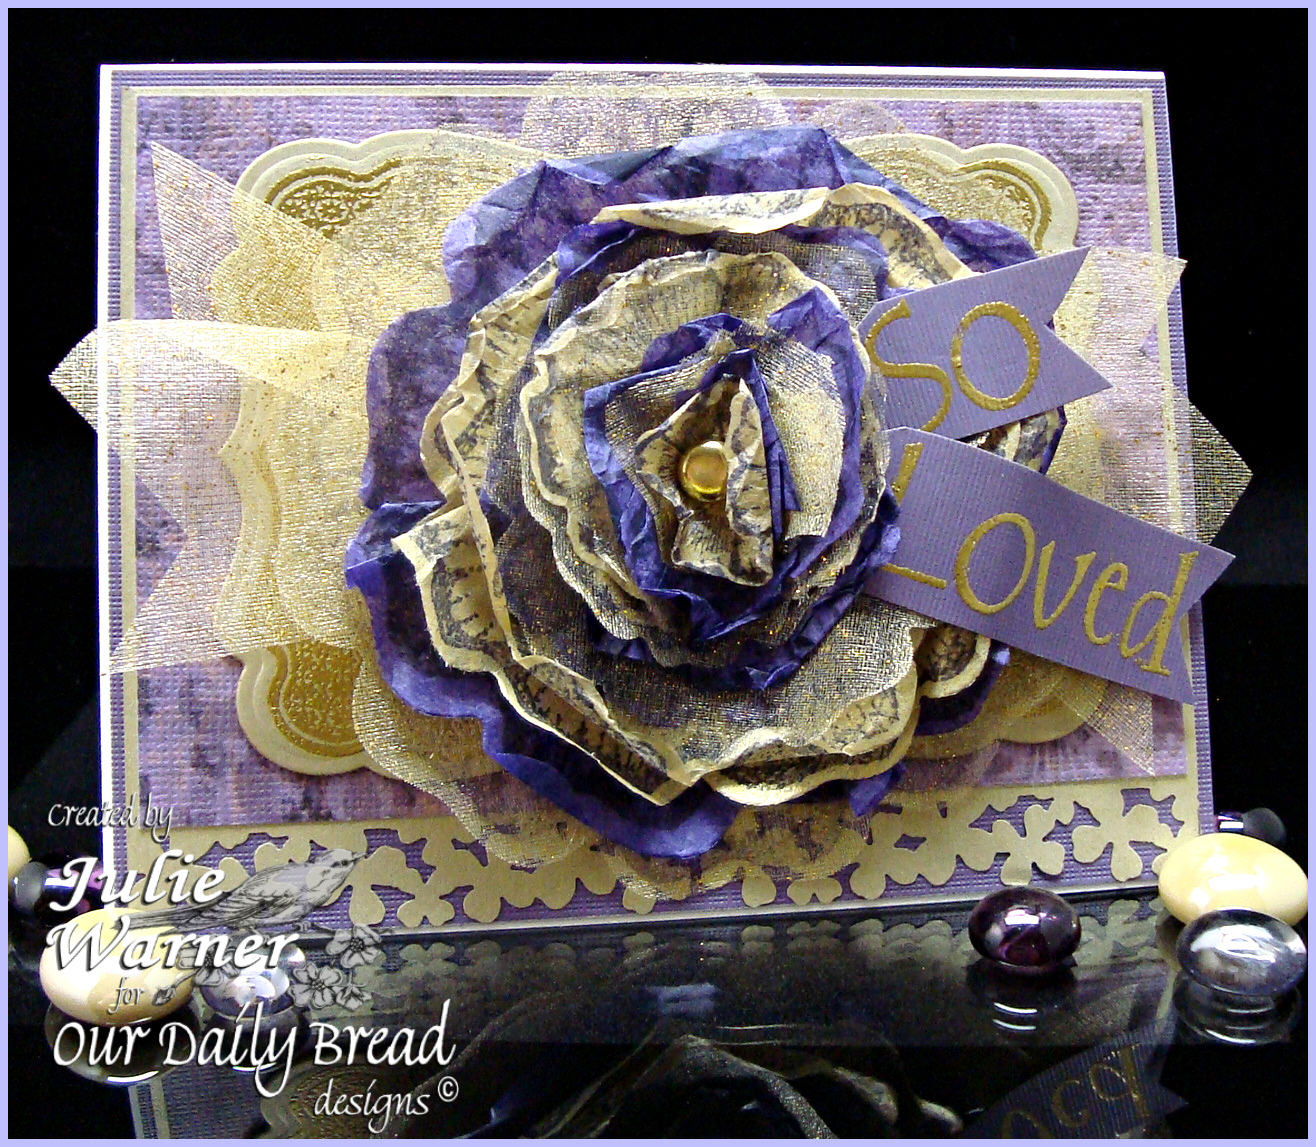
    These new Sweet William images are just wonderful! They were made to coordinate with the Spellbinders Blossom 3. I stamped all the sizes on gold and purple tissue papers and also on some wide gold tulle ribbon and then die cut them.  After stacking them, I put a gold brad through the center and wrinkled and distressed them within an inch of their lives, lol. I added another piece of the tulle behind the flower then had to get creative with the gold embossed sentiment. This is one BIG flower and I didn’t have much room left on my 5.5 x 4.25 card. I used a border punch across the bottom of the gold layer and backed the flower with a gold embossed fancy label.

    Thanks so much for stopping by!


    Supplies:

    Stamps: ODBD – Sweet William lg and small Large Scrapbook Words, Fancy Labels
    Paper: gold & purple tissue papers, dp (Old World Mat stack DCWV), textured amethyst (DCWV), brushed gold
    Ink: Archival grape, Encore Ultimate Metallic gold pigment
    Accessories: detail gold  embossing powder, Spellbinder Blossom 3 & label 17 dies, Martha Stewart hydrangea  border punch, wide gold tulle ribbon, lg gold brad, Grand Calibur


  • Forever Friends

    Julie Warner - justwritedesigns https://thewritestuff.justwritedesigns.com/

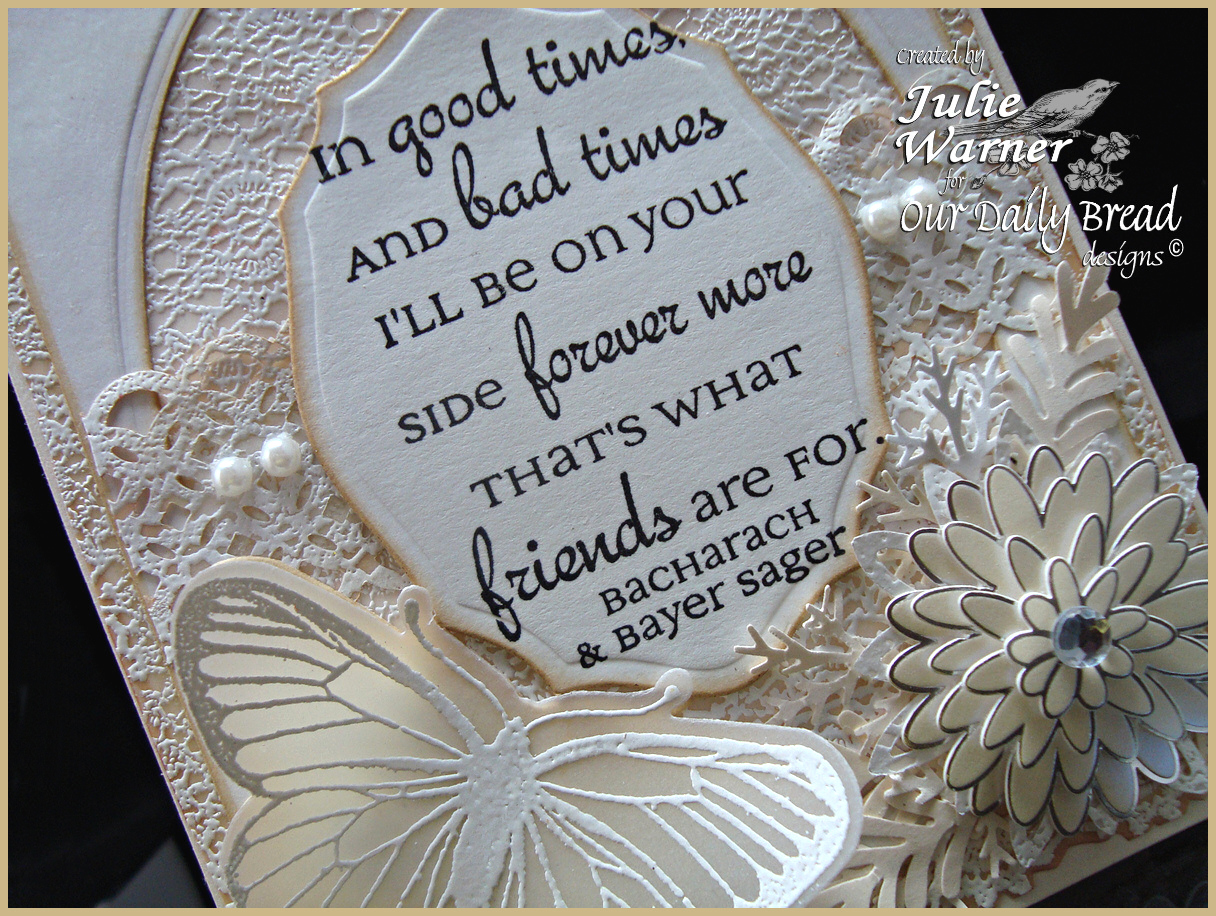
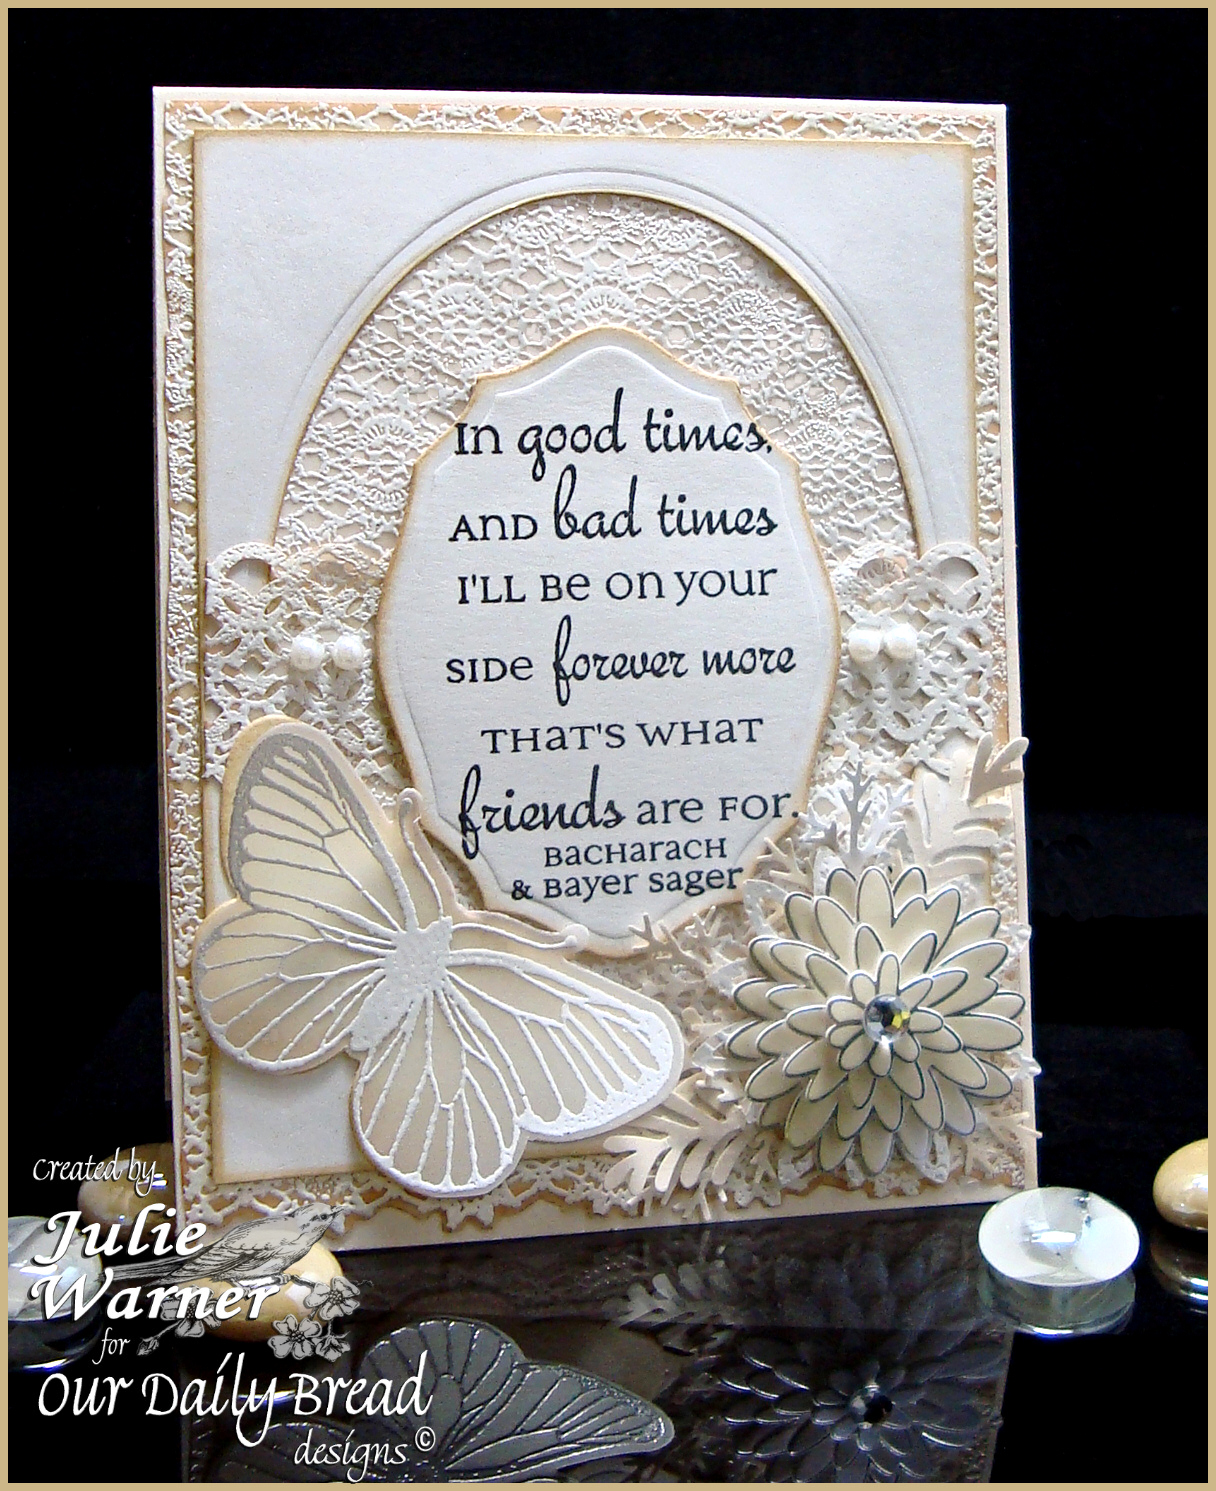
    Congrats to Claudia, today’s Featured Stamper (FS229) at Splitcoast! I chose Forever Together to case. I kept the general layout, sentiment as focal point, and monochromatic color. I changed the images, added some inking to age mine and rotated the layout. I was also inspired by Amelia Tunic from yesterday’s IC challenge.

    All images are Our Daily Bread designs. I’m just loving this crochet bg image. For my card, I wanted to stay monochromatic but I also wanted it to show up. So I white embossed it on white vellum and inked the edges w/ the antique linen ink. When I attached to the front of my 4.25 x 5.5 ivory card, it was even more visible. I noticed the vellum warped a little at the top, but vellum can tend to stretch when embossed and to me, it looks more like real lace.

    Julie Warner - justwritedesigns https://thewritestuff.justwritedesigns.com/
    The sentiment was stamped on white, cut w/ an ODBD custom die label one, and aged the edges. The butterfly was also white embossed on vellum and die cut w/ a backing vanilla piece of paper (another ODBD die).

    On some leftover embossed crochet bg, I used a double border punch and attached this over my white frame then attached the sentiment on top. I added the Jolee’s flower and some ivory and white punched branches.

    Thanks so much for stopping by!


    Supplies:

    Stamps: ODBD – Crochet Bg, Blessings (Friends), single butterfly
    Paper: ivory, vanilla, Neenah white, white vellum
    Ink: VersaFine Onyx, Distress ink Antique Linen, Colorbox frost white pigment
    Accessories: detail white embossing powder, Spellbinder petite oval, ODBD label one & butterfly dies, flower (Jolee’s), pearls, EK Success border punch, Martha Stewart & Punch a Bunch fern leaf punches