• Tag Archives Spellbinders
  • Art Nouveau Sketch

    Julie Warner - justwritedesigns - https://thewritestuff.justwritedesigns.com


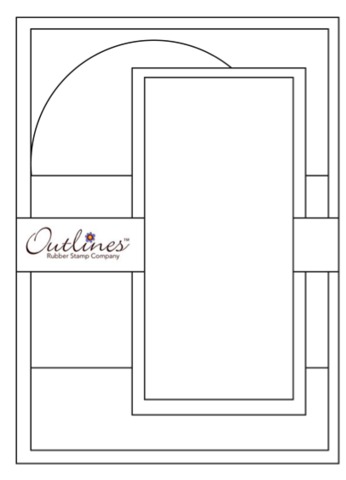
    This week, we’re working from a sketch.

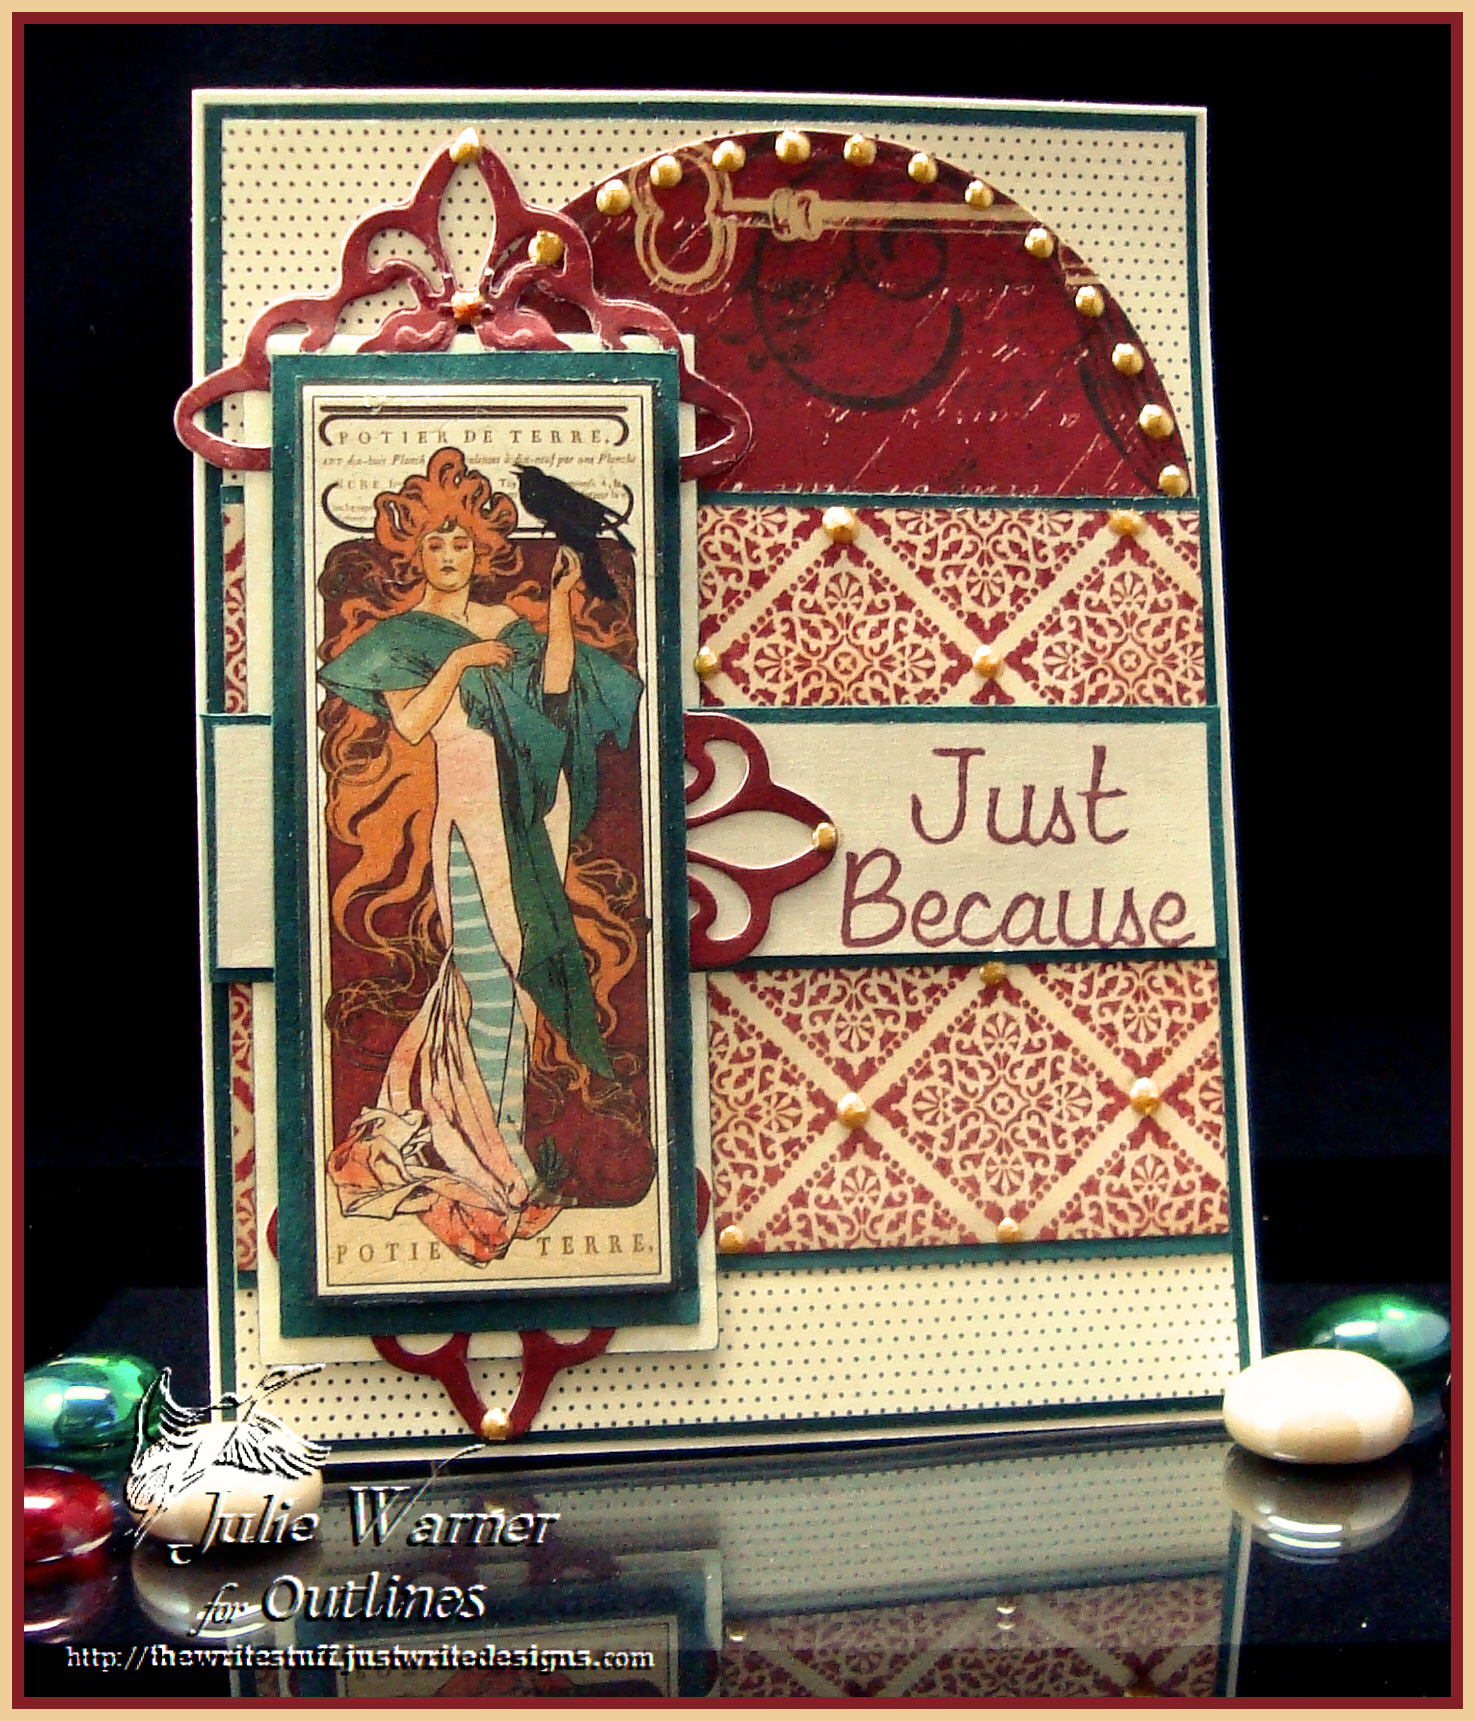
    The flipped version just seemed to fit better for my card. I’m featuring some fabulous Graphic 45 paper today. I love their paper so much, it’s really, really hard to cut into it!

    Julie Warner - justwritedesigns - https://thewritestuff.justwritedesigns.com
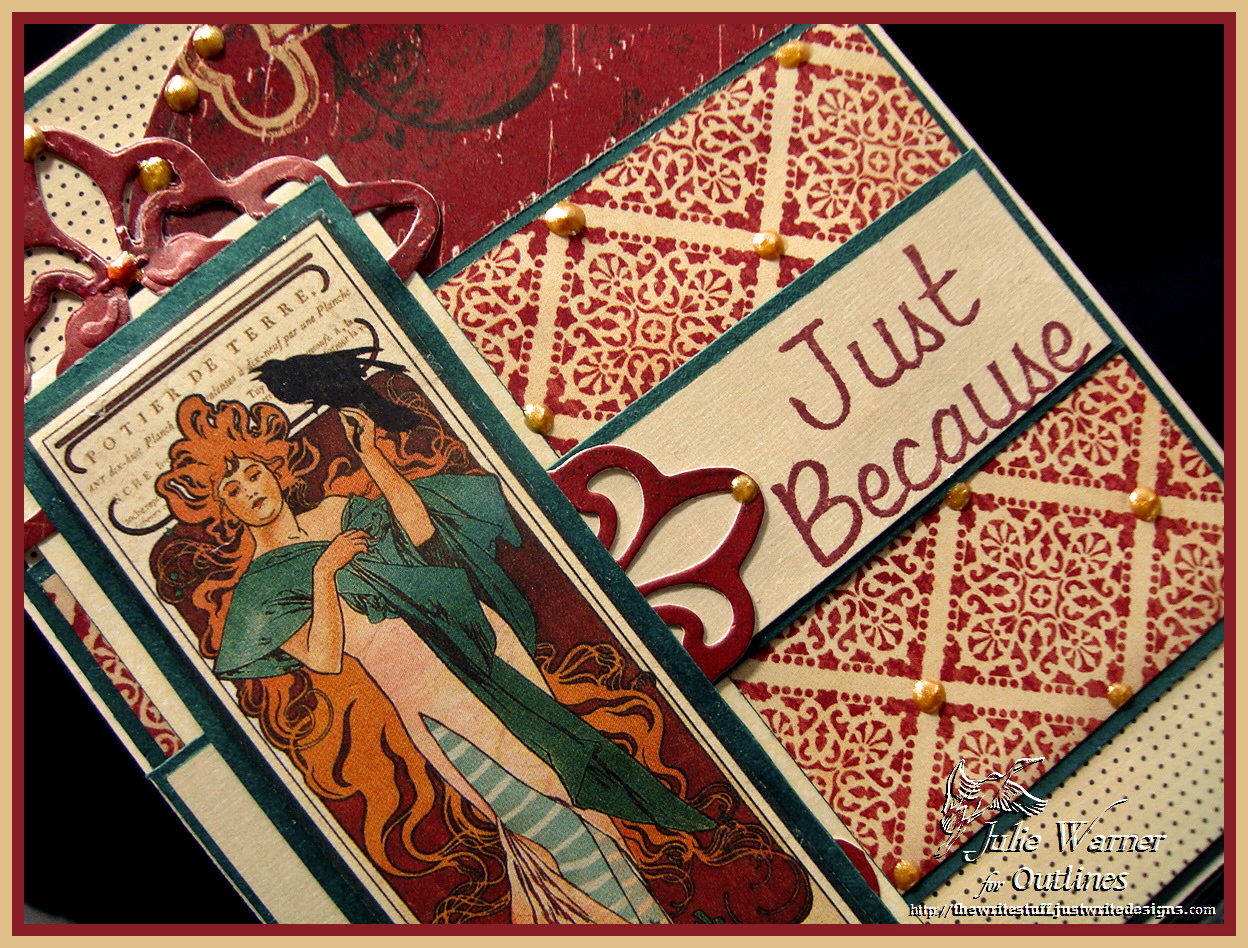
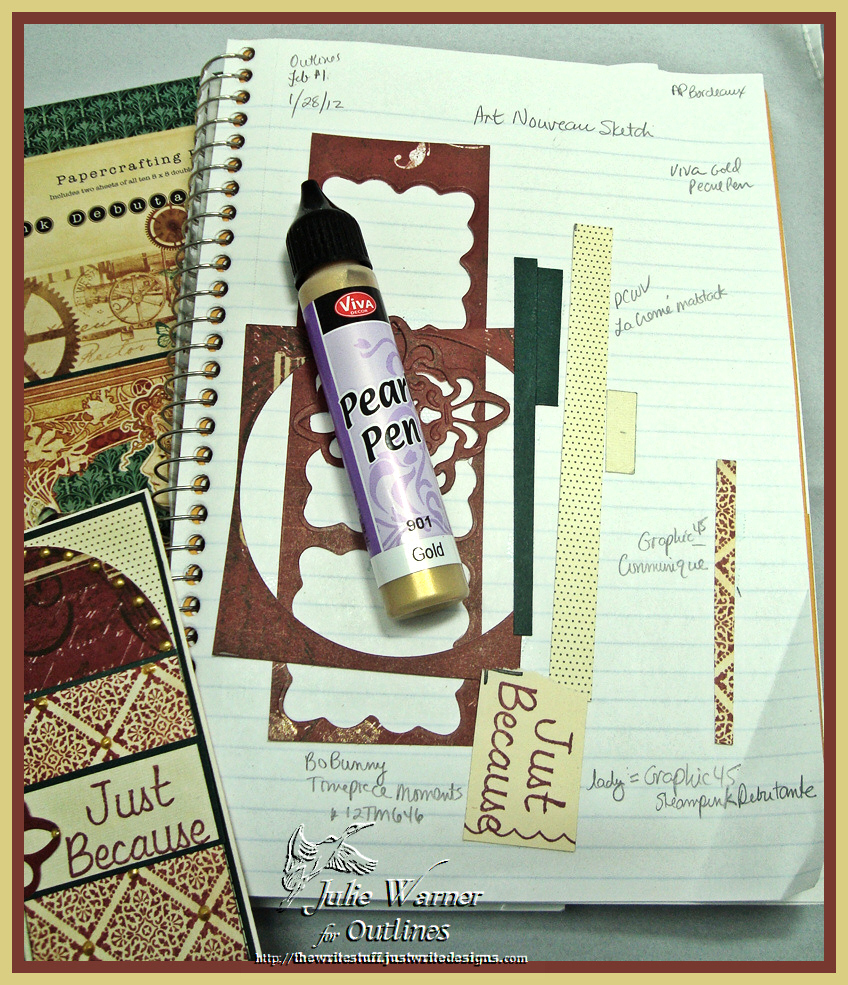
    I used the Debutante dp for the Art Nouveau image and the Communique for the ivory/wine patterned horizontal paper. A few fleur de lis die cuts were attached between the layers behind the lady. The top half round is a circle die cut and I used the Viva Pearl pen to add the gold pearls. The finished card is 4.25 x 5.50.

    And not to forget, my note book page. This time, it’s mostly just the paper swatches.

    j

    Thanks so much for stopping by and I hope you’ll drop in all of the Outlines DT and check out their interpretations of the sketch. Lots of great inspiration for you!

    Jenny Gropp
    Kecia Waters
    Lisa Silver
    Sue Kment
    Jeanne Streiff
    Julie Warner -me!

    Supplies:

    Stamps: Outlines –B-1053 Just Because (sentiment)
    Paper: ivory, hunter green, dp – Graphic 45 (Steampunk Debutante & Communique), DCWV (La Creme), Bo Bunny (Timepiece Moments)
    Ink: Ancient Page bordeaux
    Accessories: Spellbinders fleur de lis & circle dies,  Viva Decor Pearl Pen gold

  • Simple Birthday

    Julie Warner - justwritedesigns https://thewritestuff.justwritedesigns.com/

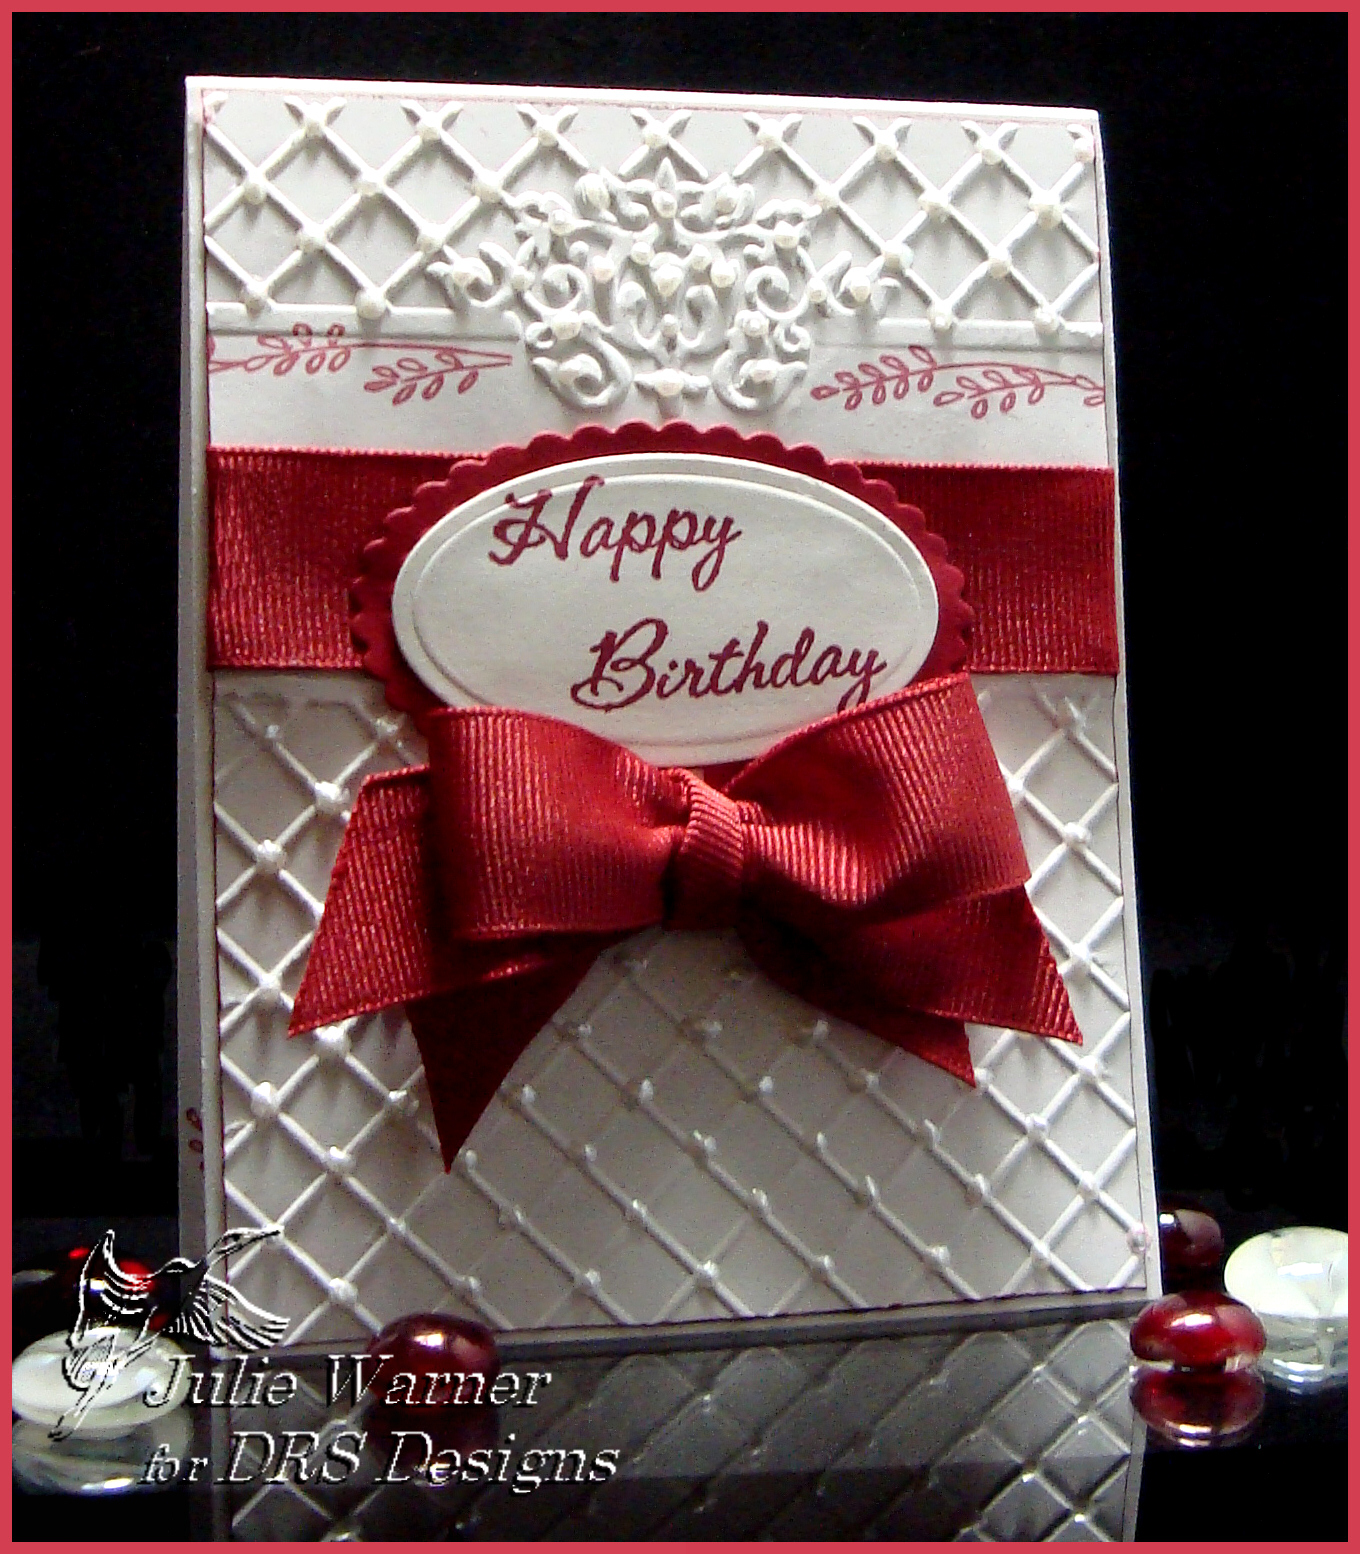
    Congrats to Darcie, the Featured Stamper (FS261) today on Splitcoast! My first visit to her lovely gallery and I chose Big Apple to case. I kept the CAS design, the diamond pattern embossing and the red/white colors, but changed the images, used a different ef and moved my vertical elements to the top of the card.
    Julie Warner - justwritedesigns https://thewritestuff.justwritedesigns.com/
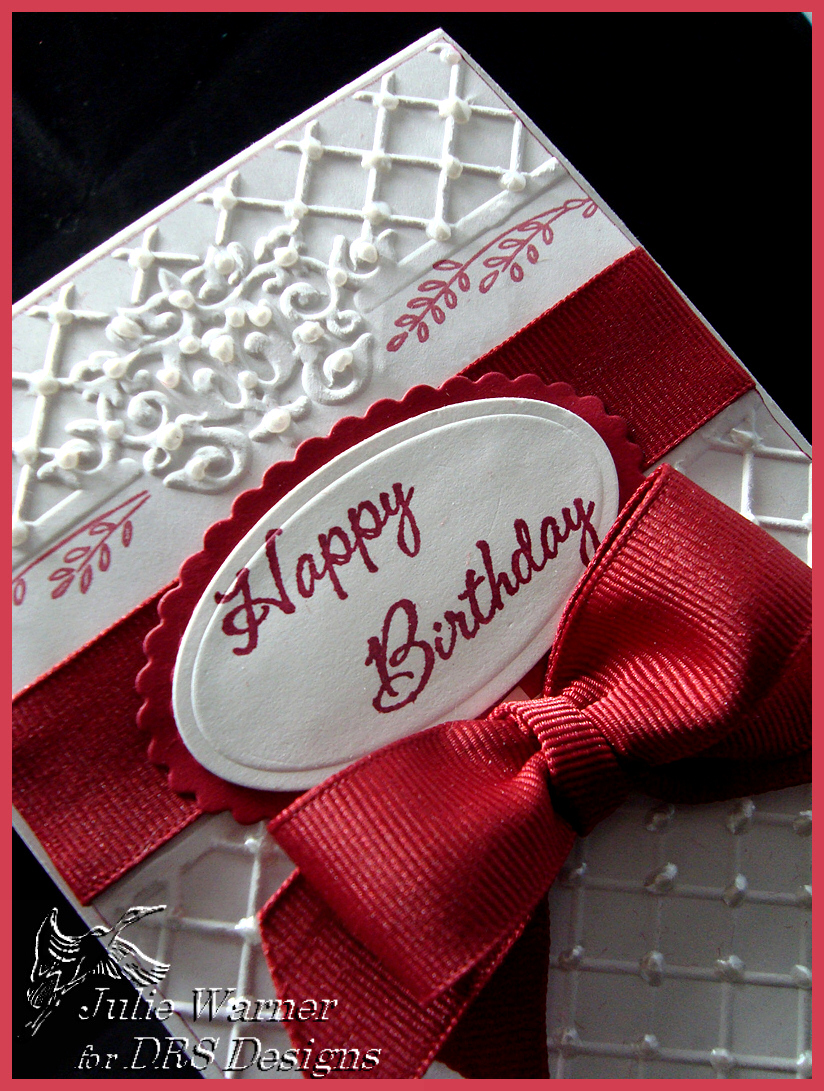
    The images are DRS Designs. This was a really quick one. I used a Sizzix folder to emboss the bg and stamped a portion of a border stamp in the top of the open space. I added some wide grograin ribbon before attaching it to my 4.25 x 5.50 (A2) card. The die cut sentiment was added to the ribbon and bow underneath. The pearl pen was used to add the pearls to all the diamonds and flourish in the embossed design.

    Thanks for stopping by!


    Supplies:

    Stamps: DRS Designs
    Paper: Neenah white
    Ink: Memento rhubarb stalk
    Accessories: ribbon, Spellbinders petite oval & scallop oval dies, Sizzix Thank You set embossing folder, Tombow wine red marker, Viva Pearl ice white pearl pen


  • ODBD Feb Release Blog Hop!

    Julie Warner - justwritedesigns - https://thewritestuff.justwritedesigns.com

    Welcome to the Our Daily Bread designs February Release Blog Hop! If you came here from ODBD Blog , you are in the right place. If not you might want to start at the Our Daily Bread designs Blog and start from the beginning. If you get lost along the way, simply return there, where the entire hop is listed with links.
    Julie Warner - justwritedesigns - https://thewritestuff.justwritedesigns.com
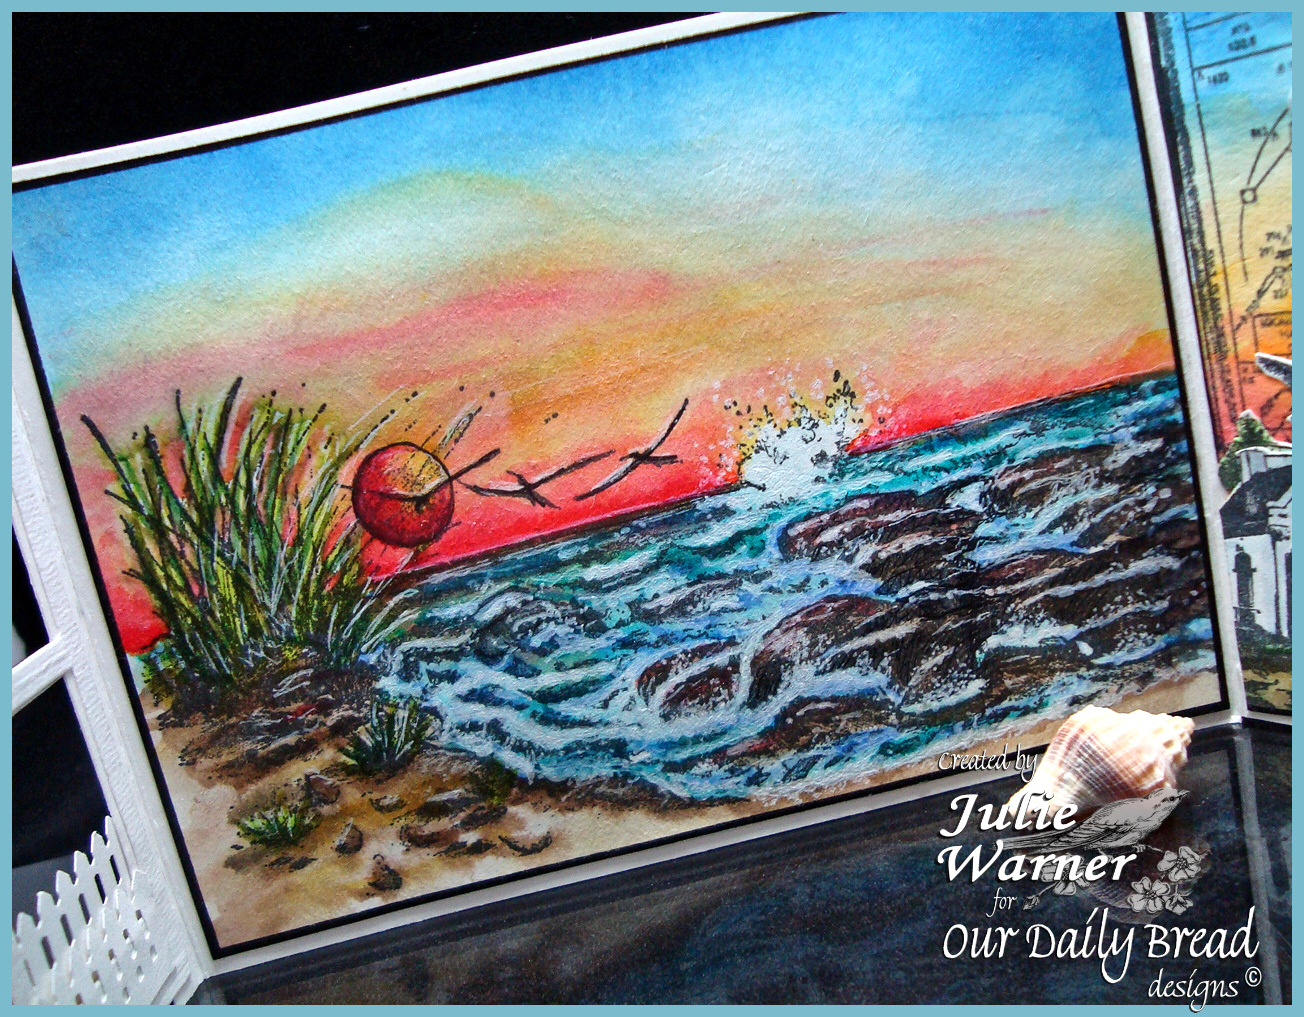
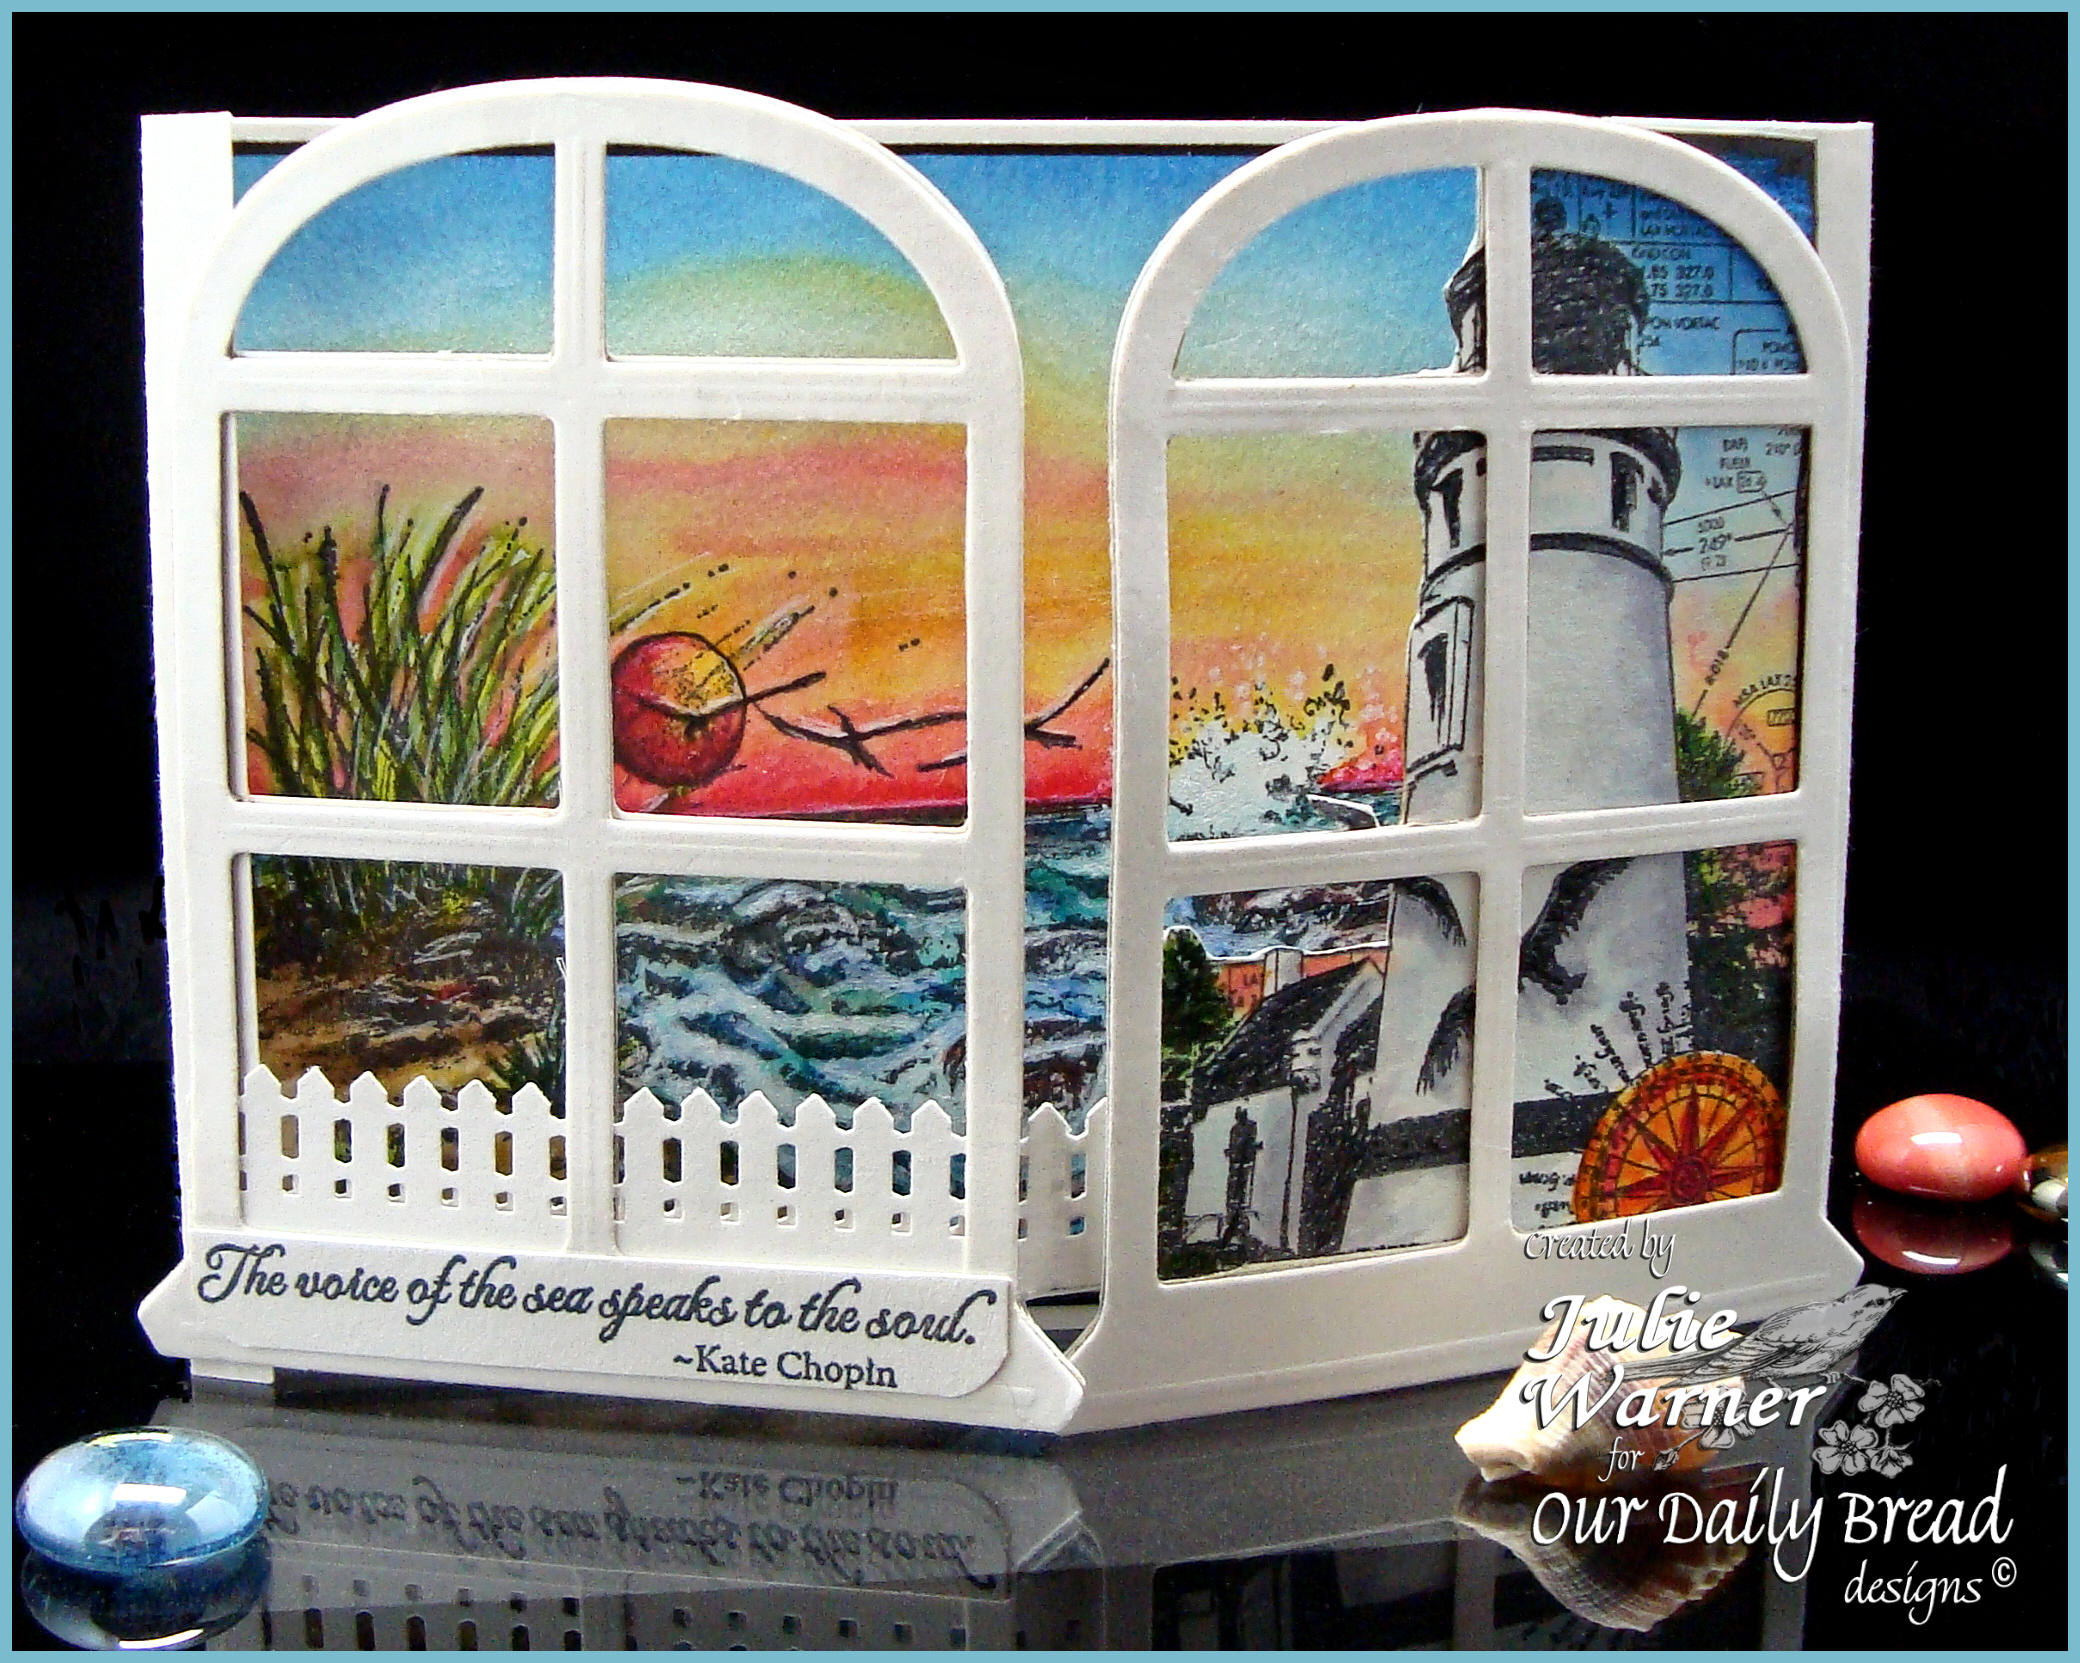
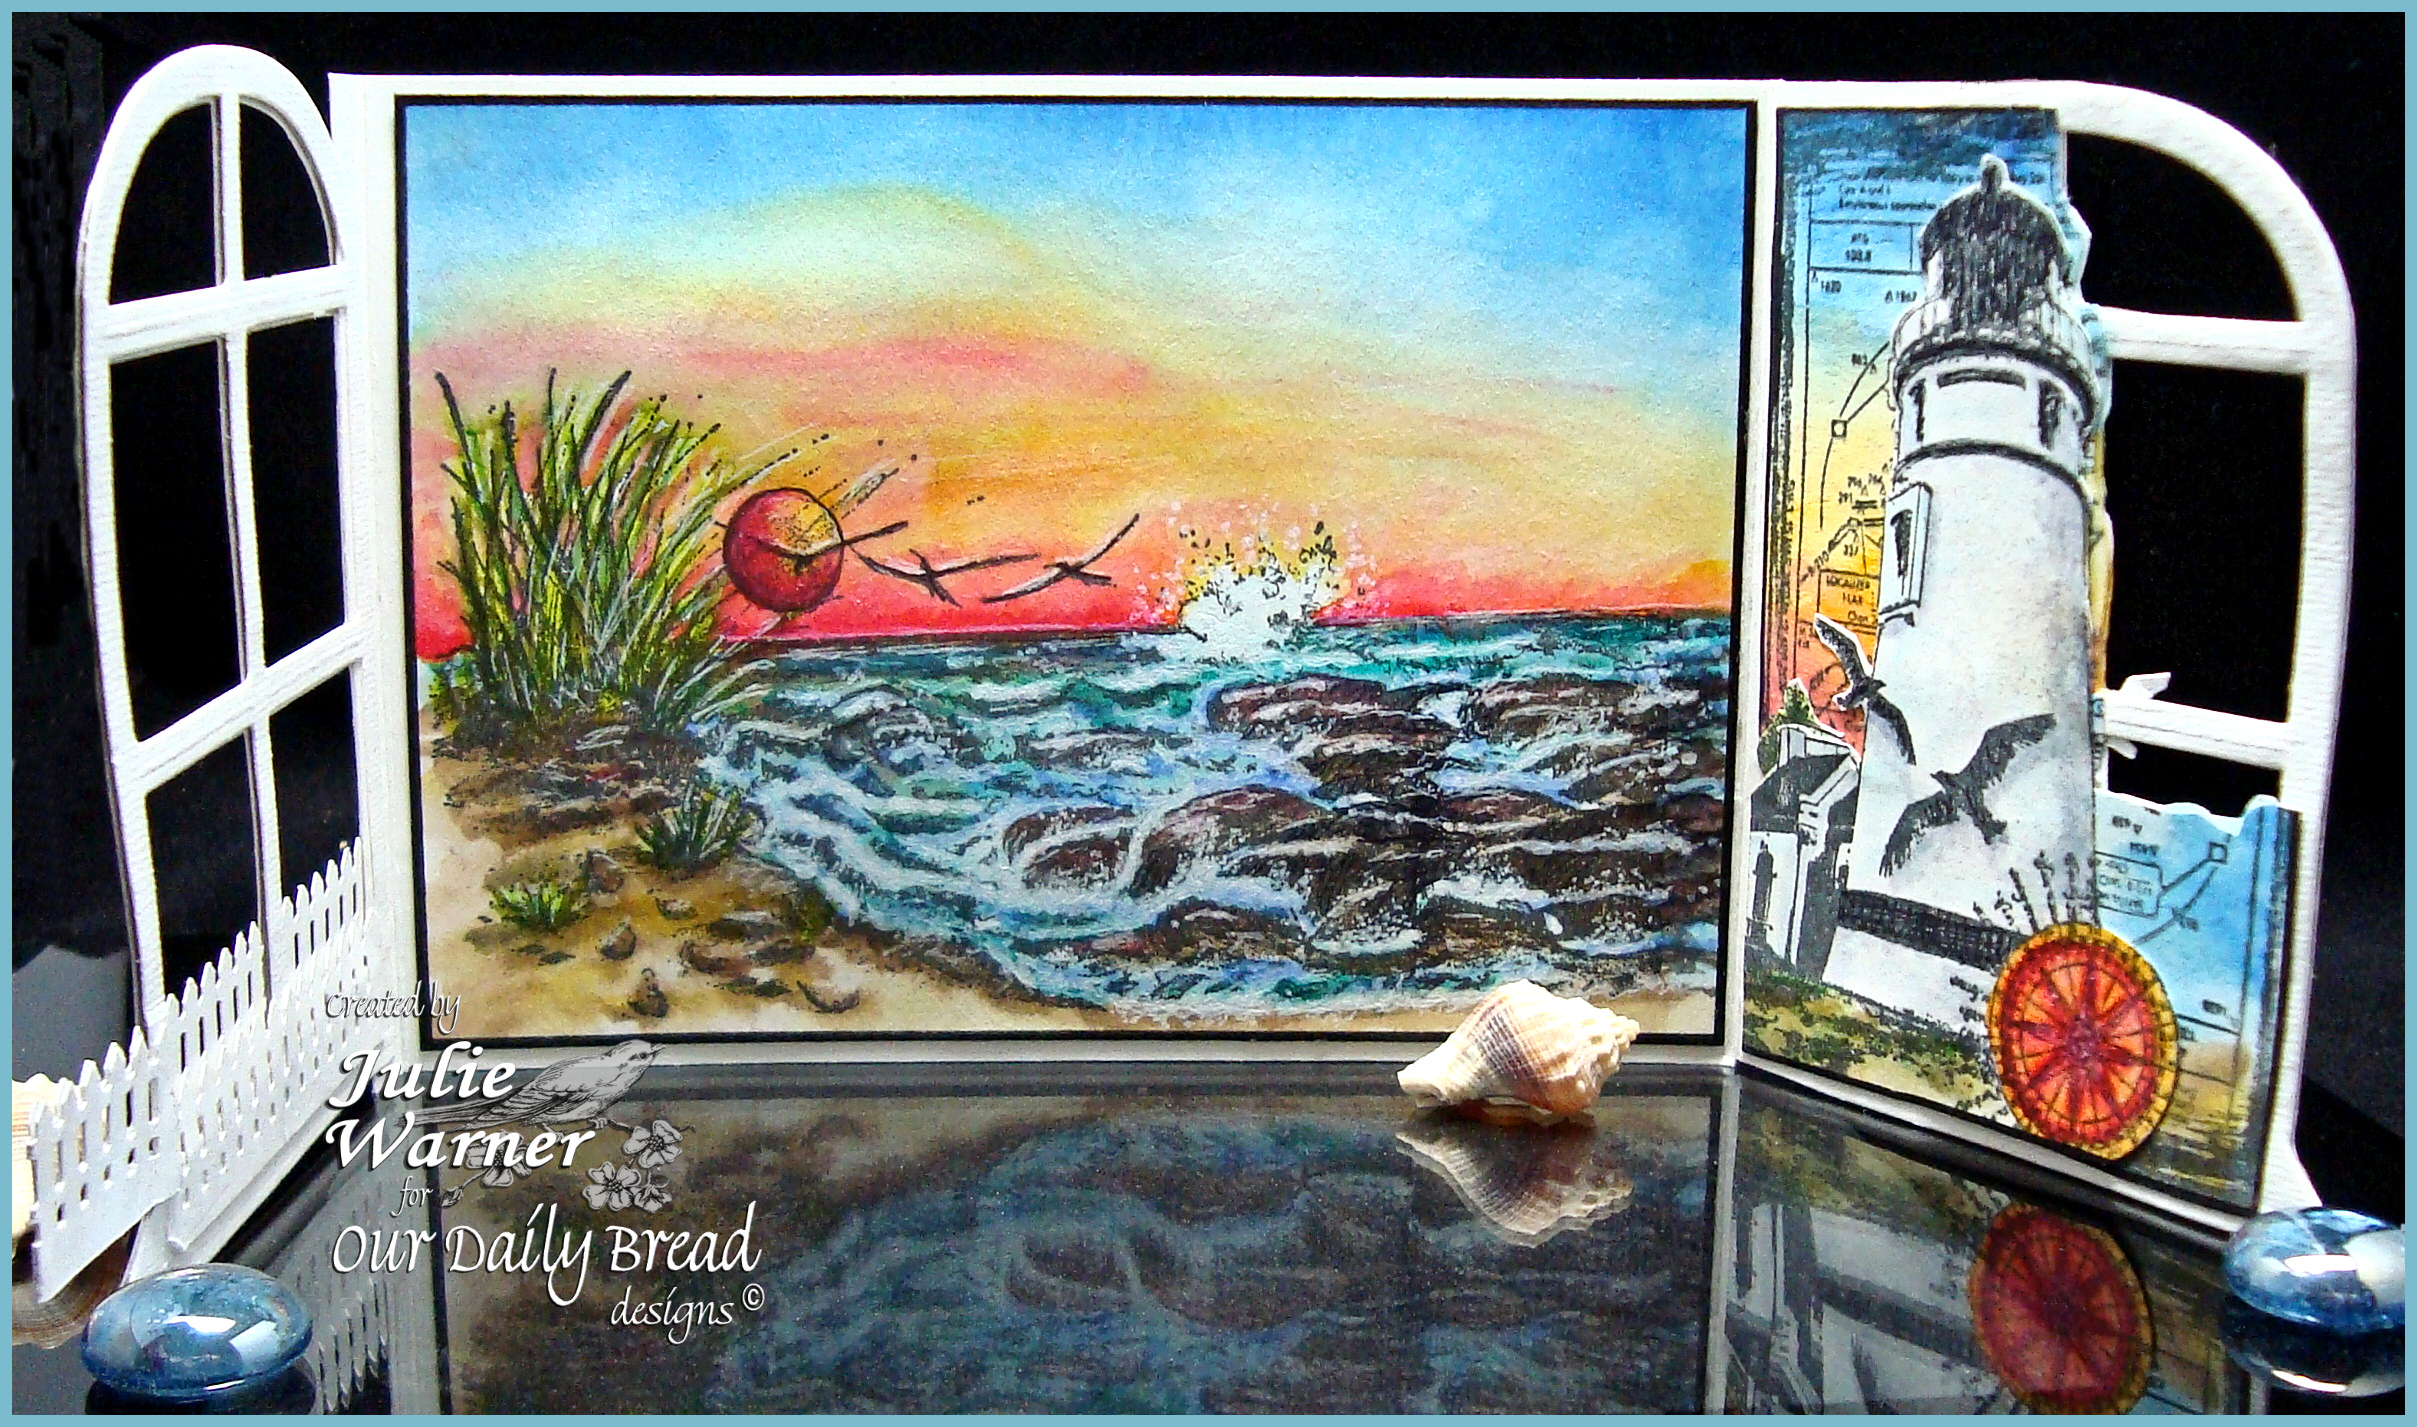
    Isn’t this a wonderful seascape? When I first saw it, I knew right away I wanted to water color it and pair is somehow w/ this lovely lighthouse image I have. I stamped the Mighty Sea onto water color paper, masked the right side and stamped a partial right side of it again. It still wasn’t quite long enough for my 6.25 x 4.50 (A6) card size, so I used some black and gray drawing pens to extend the scene on the right side by about another inch. It was painted using Peerless water colors and a couple of water brushes. The lighthouse image was done the same way on a separate piece of w/c paper and I trimmed it to fit. I used a white gel pen to add highlights and spray from the surf to the rocks.
    Julie Warner - justwritedesigns - https://thewritestuff.justwritedesigns.com

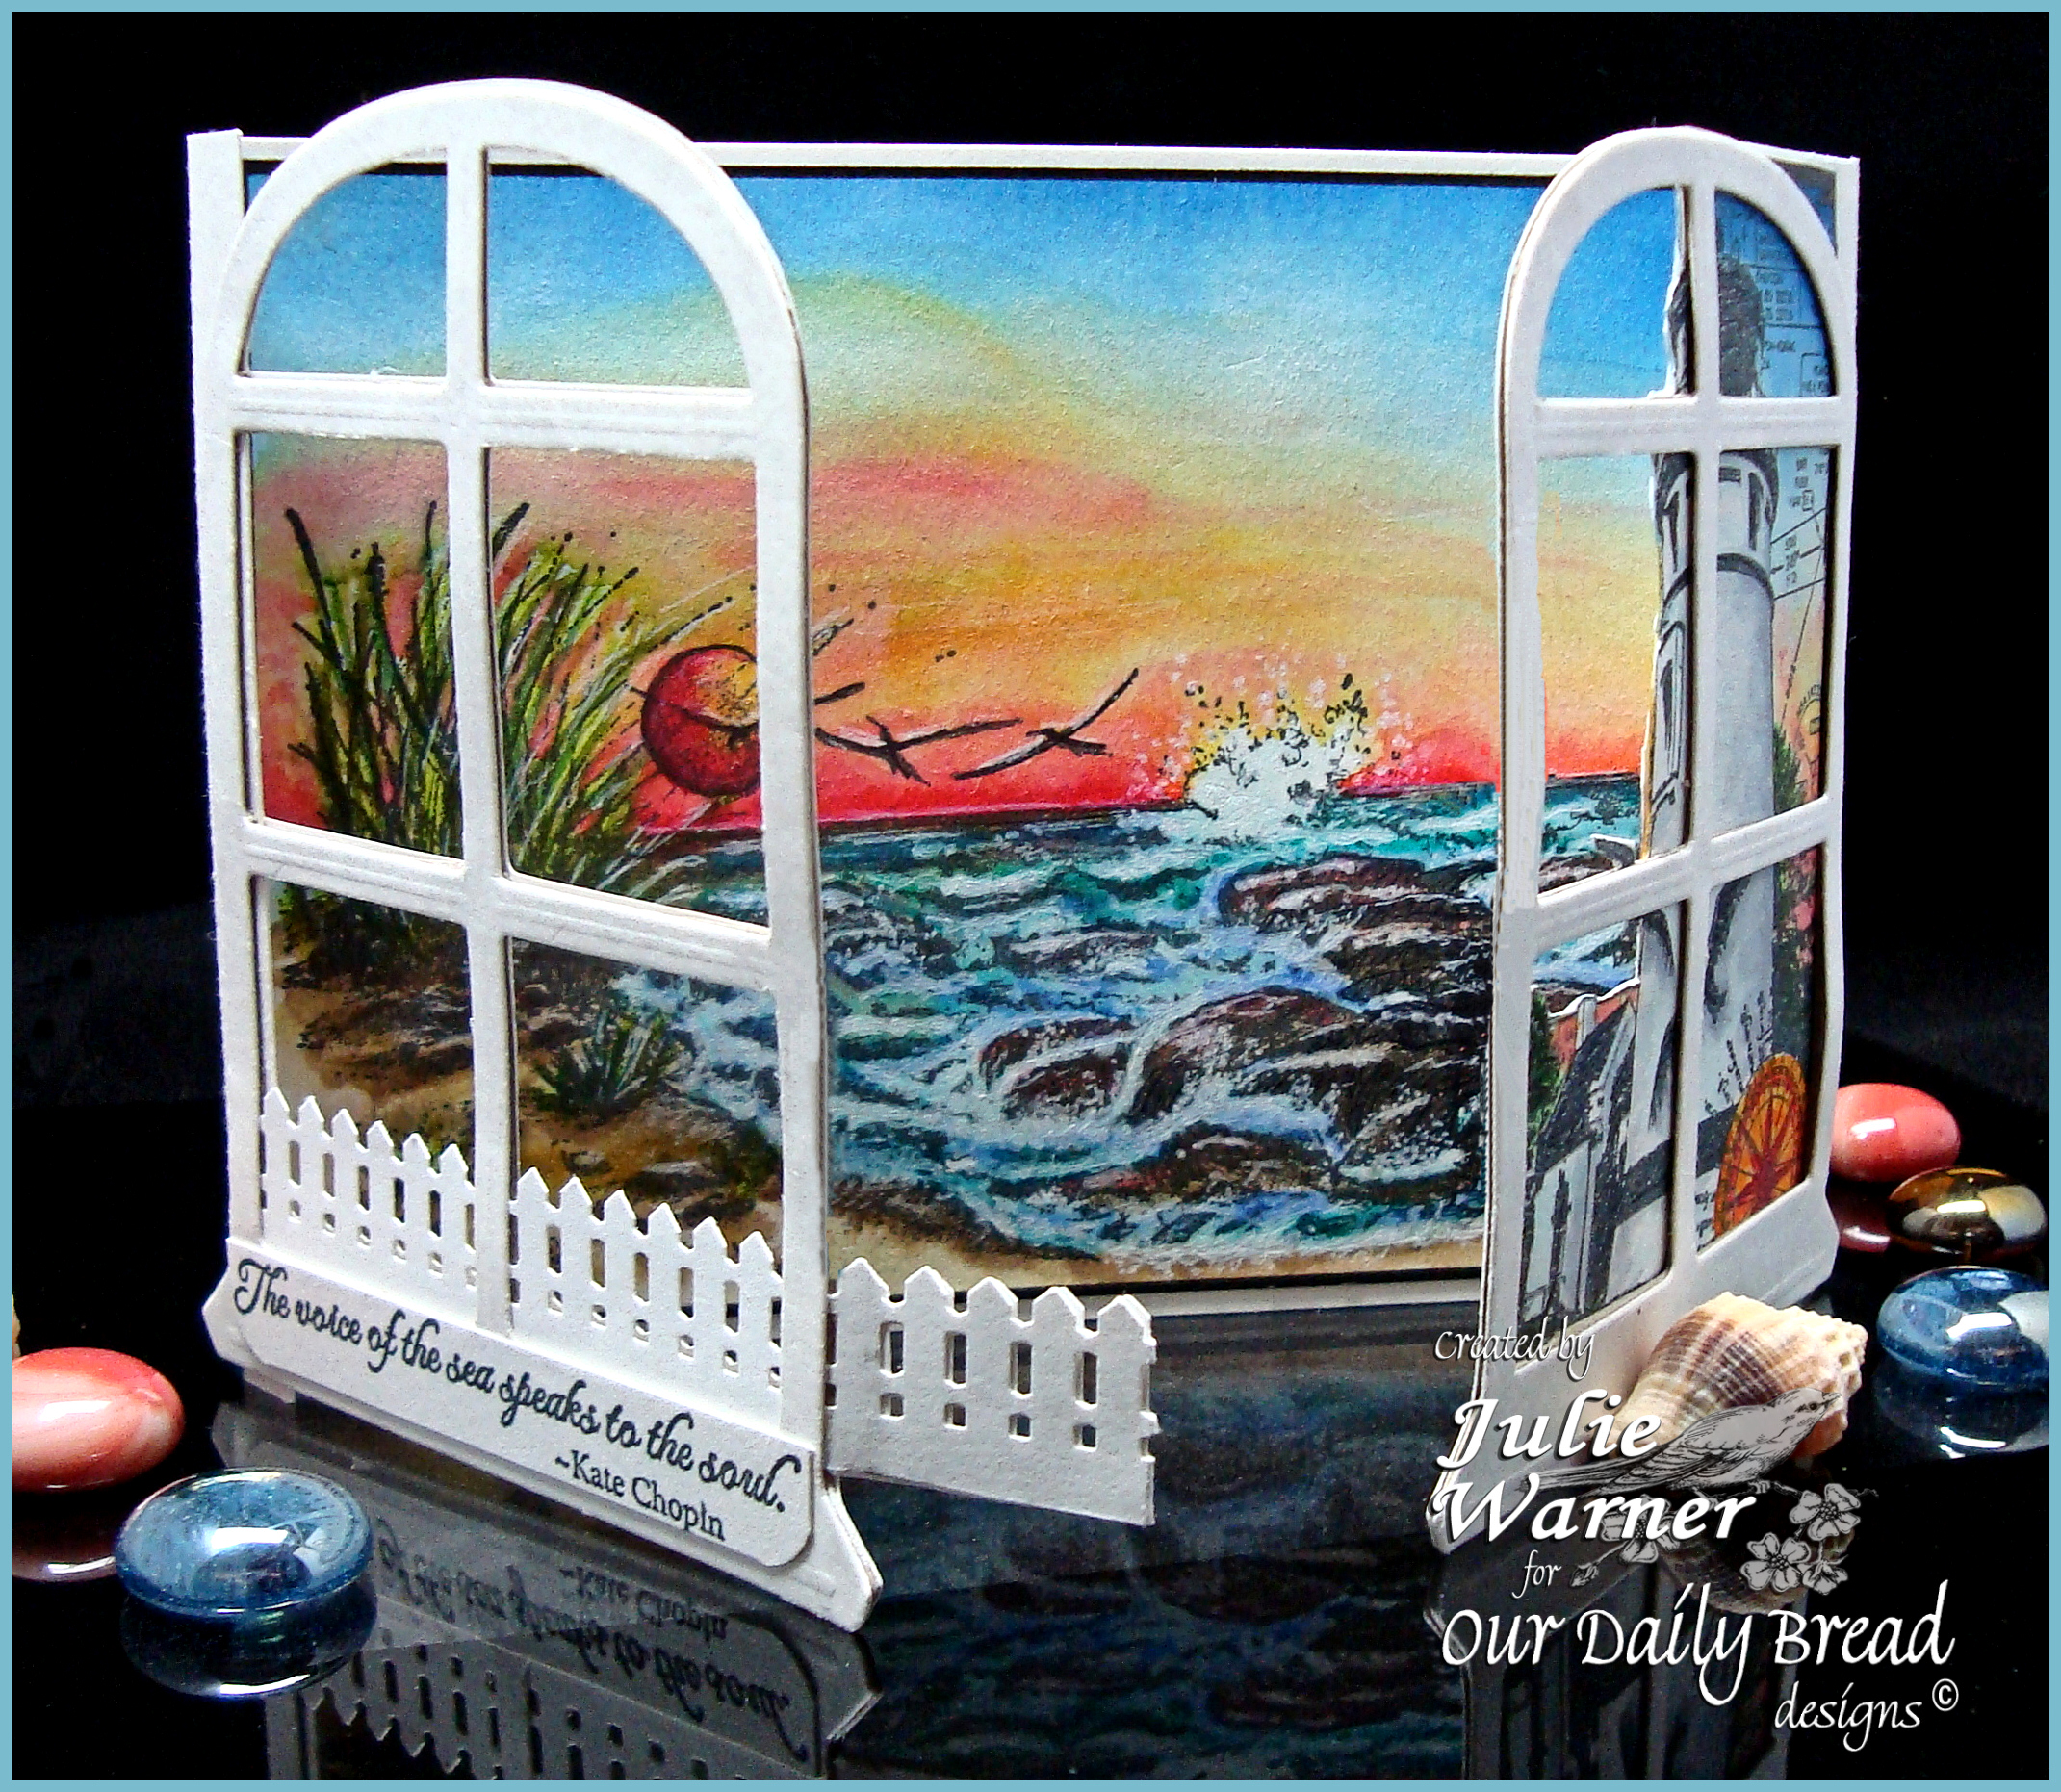
    For the window segments, I die cut 4 windows out of the same water color paper. I used w/c paper since it’s a little heavier than c/s and the open windows would need all the support they could get. I also die cut 2 pieces of cardboard for the windows. The cardboard was used to sandwich in between the other two layers to give a little more stability. Since I knew I wanted to make a trifold card, I determined that with the windows on either end, I could make my card base out of a regular piece of 8.50 wide piece of c/s. I cut the height  to 4.50 then scored in 1.25 from each end along the 8.50 width. The top pair of windows were attached to their matching pieces of cardboard. On the right I attached this on top of the lighthouse then attached one of the two single windows on the back side. Since the lighthouse is a pretty symmetrical image, I stamped, colored and cut out a second image and attached it on top of the inside window.
    Julie Warner - justwritedesigns - https://thewritestuff.justwritedesigns.com

    On the left, I trimmed off a little of the hinge before I added a punched fence between the window layers. I left a little tab of fence because it helps to keep the trifold card closed when it’s tucked behind the right side window. The sentiment was trimmed and added on top of the window frame.

    Now I’ll send you on your way to the next stop…the Fabulous Dawn Lusk! I know she’ll have something amazing to share!

    Thanks so much for stopping by!


    Supplies:

    Stamps: ODBD – The Mighty Sea, The Sea,  Keep My Lamp Burning
    Paper: water color
    Ink: Ancient Page coal
    Accessories: Peerless water colors, water brushes, ODBD Window die (by Spellbinders),  Martha Stewart fence border punch, small corner rounder, white gel pen