 I had such fun w/ the first card, that I decided to try another. This time I chose Hello Friend. I kept the same layout and scallop borders but used different images, papers and ribbon treatment.
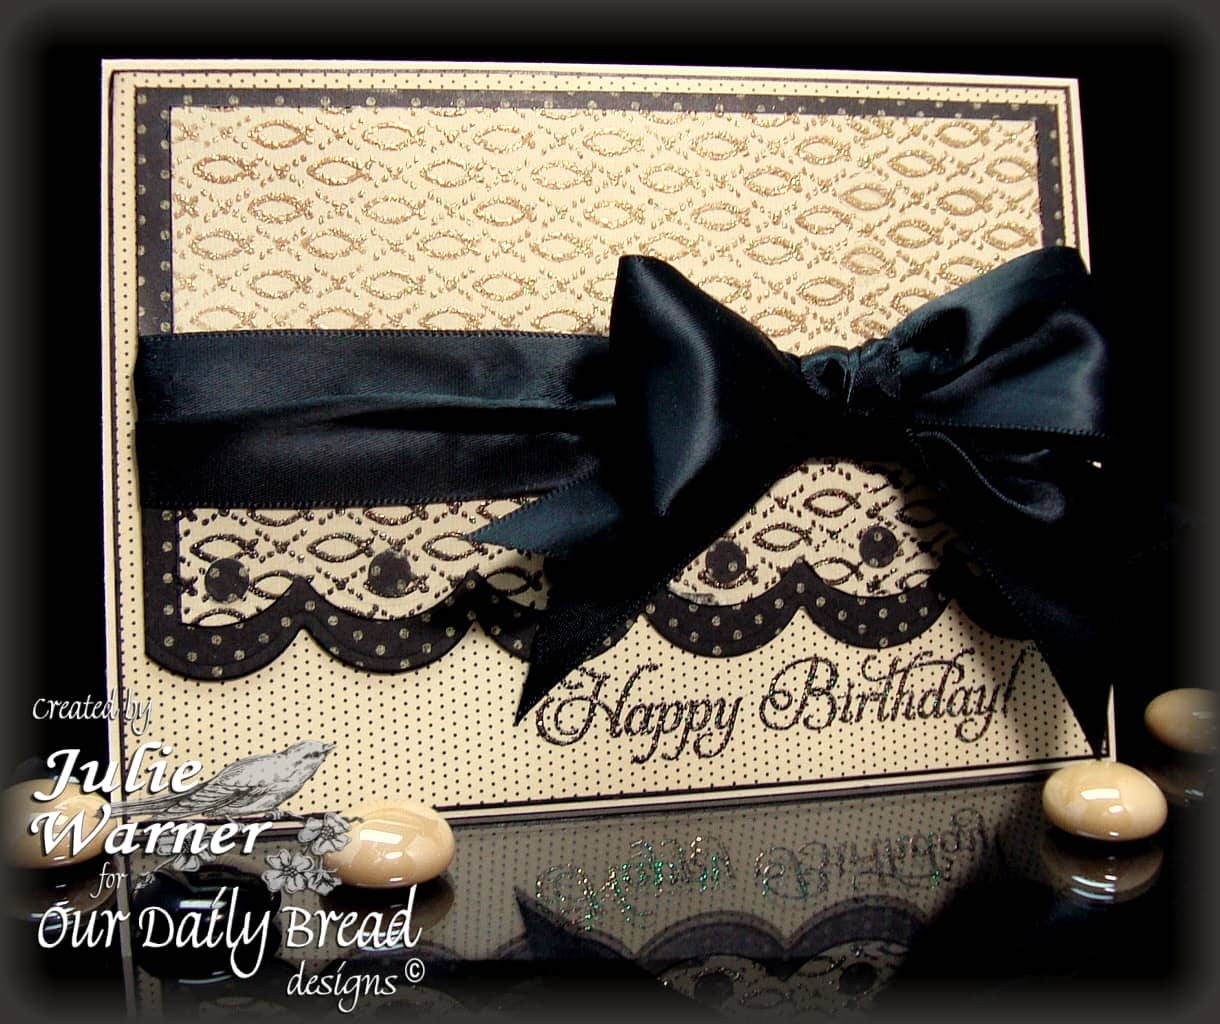
All images are Our Daily Bread designs. On the plainish pc of dp, I embossed the fish bg. I inked the area above the ribbon w/ the gold ink and the small section below the ribbon w/ the black ink then embossed w/ the sparkly ep. I used a QK scallop border die on the bottom of this as well as the black dot dp. I added some holes punched out of the blk dot dp on the scallops.
The greeting was embossed on the small vanilla dotted dp and it was edged w/ marker. I added the wide ribbon and a bow before attaching everything to a 6.25 x 4.50 vanilla card.
Thanks so much for looking!

Supplies:
stamps: ODBD – Fish Bg, Happy Birthday
paper: vanilla, La Creme matstack (DCWV)
ink: VersaFine onyx, Encore UM gold pigment
accessories: 1/4 hole punch, ribbon, Quickutz scallop border die, black Permapaque marker, Hit the Beach embossing powder (Sparkle N Sprinkle)


