 X4
X4
Welcome to the Our Daily Bread designs March Release! We have some beautiful images & fabulous dies for you this month!
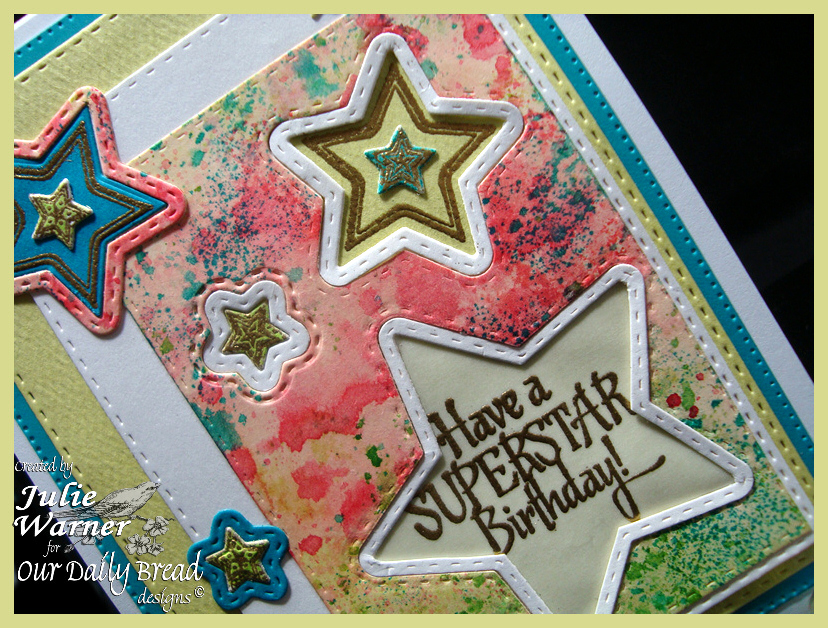
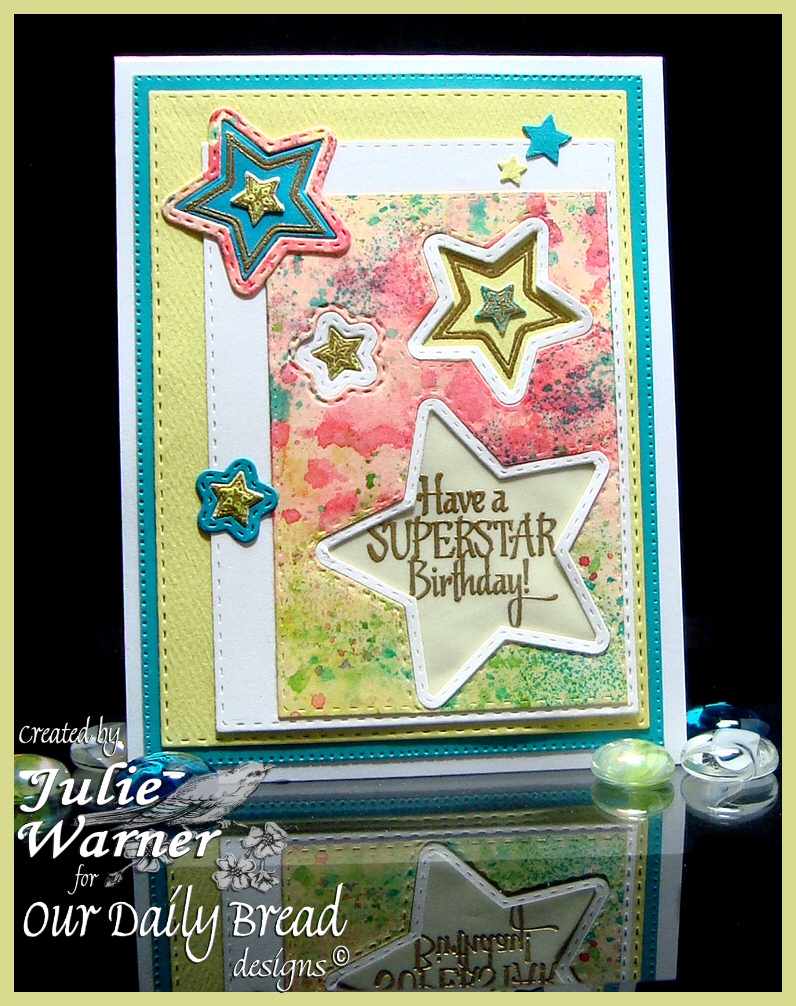
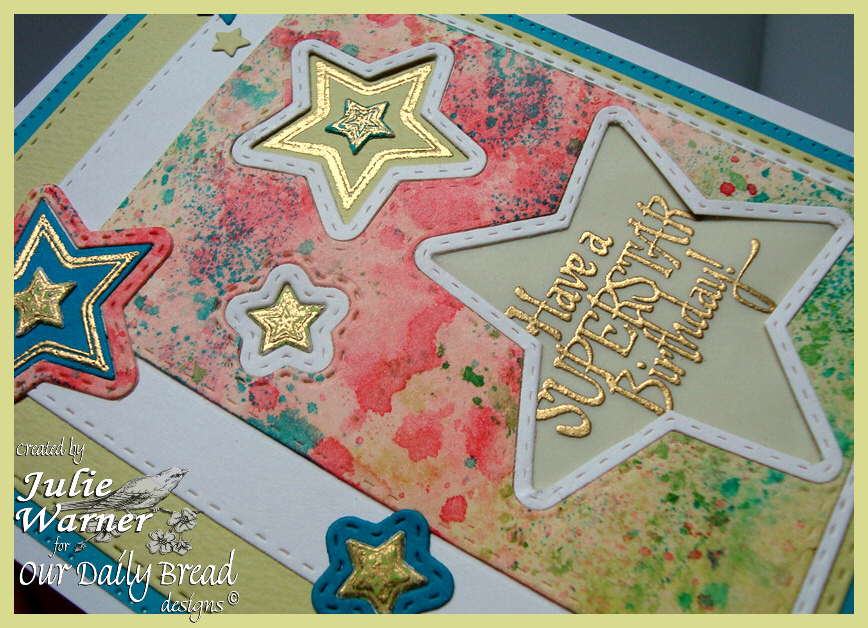
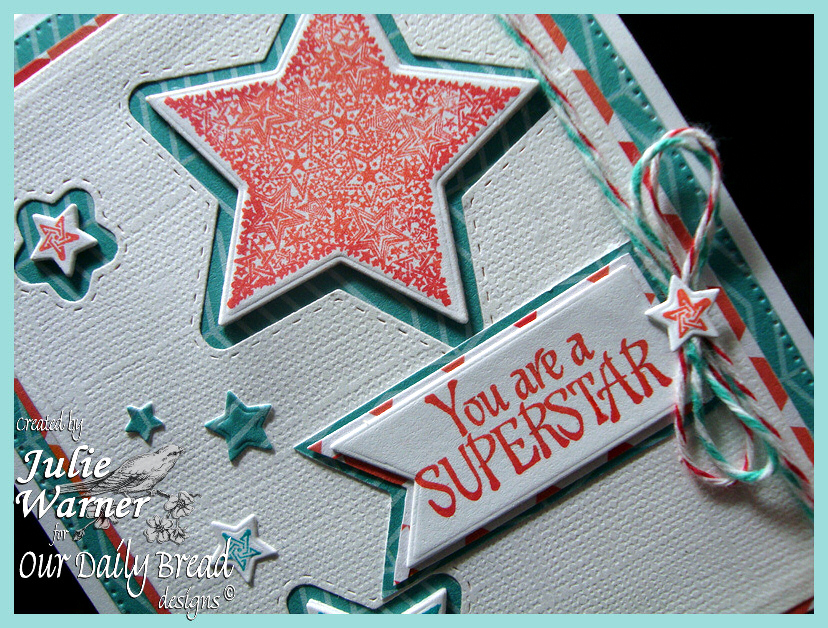
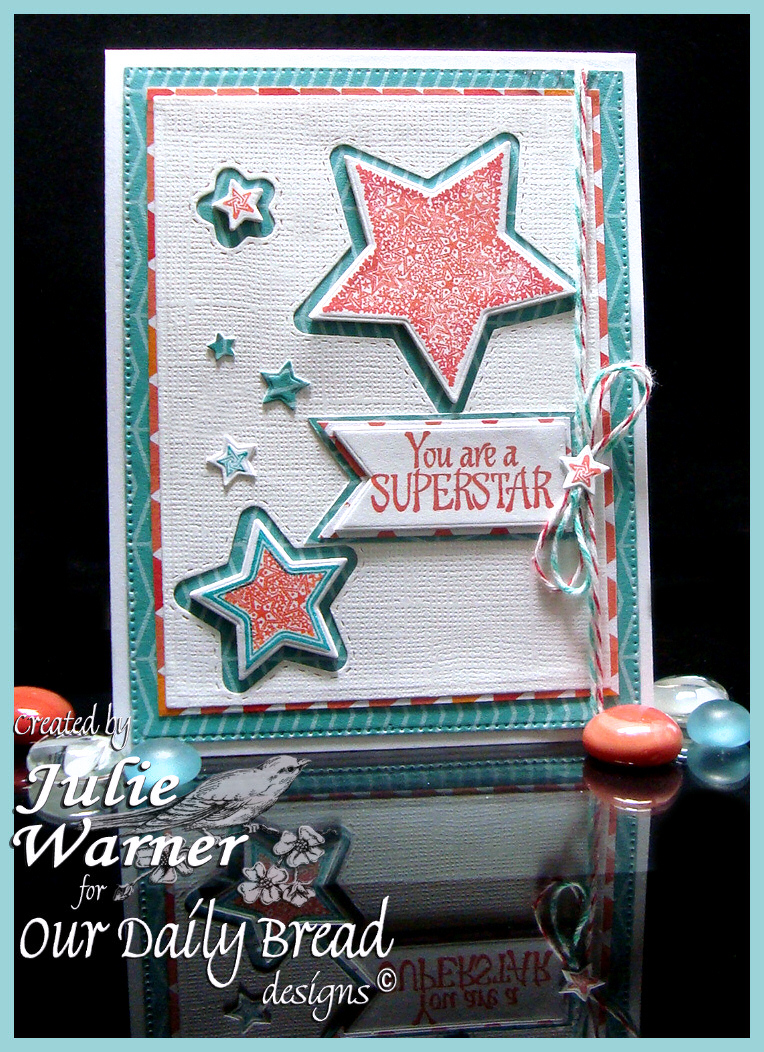 For my first card, I’m featuring the fun new Superstar set along w/ the wonderful new Double Stitched Stars dies. The stars were stamped w/ a combination of the versafine habanero & red satin inks then die cut w/ the Sparkling Stars dies. I used the evergreen ink for the star outline on the medium star and also for some of the smaller stars. For the medium star, I used the dies to make a reverse mask & stamped the inside using the large star image. The white textured layer was cut w/ the largest Rectangle die then matted w/ a piece of red/orange dp. I used the stitched stars to die cut through both layers of papers so that the turquoise paper would show through. The stars were all triple stacked for dimension before adding inside the cut out areas. The greeting was put on a die cut Pennant & a little twine was added w/ a star on top.
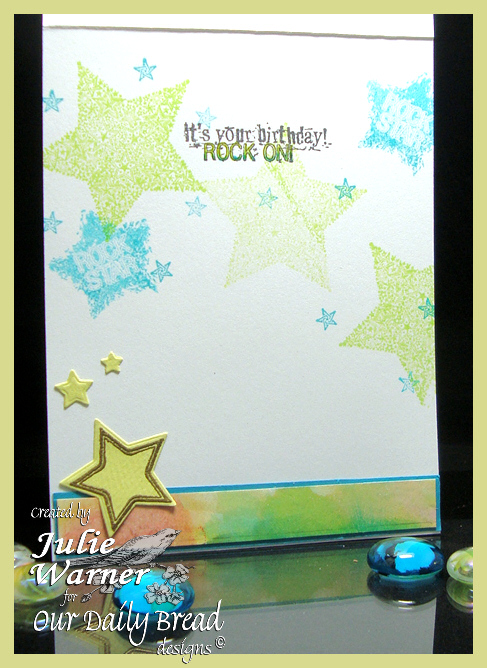
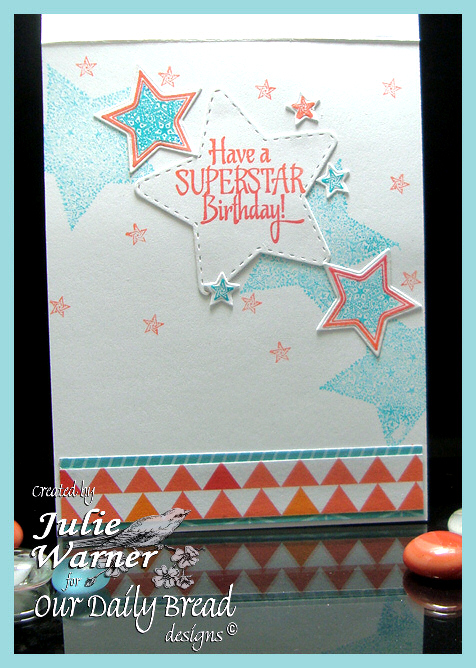
Here’s a look at the inside.
Supplies:
Stamps: Our Daily Bread designs – Superstar (retired)
|
| Paper: Neenah white, textured white, dp (American Crafts- #Summer) |
| Ink: Versafine habanero, red satin, Distress ink evergreen bough |
| Accessories: ODBD Flourished Star Pattern, Double Stitched Stars, Sparkling Stars, Rectangles, Pennants dies, Misti, bakers twine |
 x5
x5 
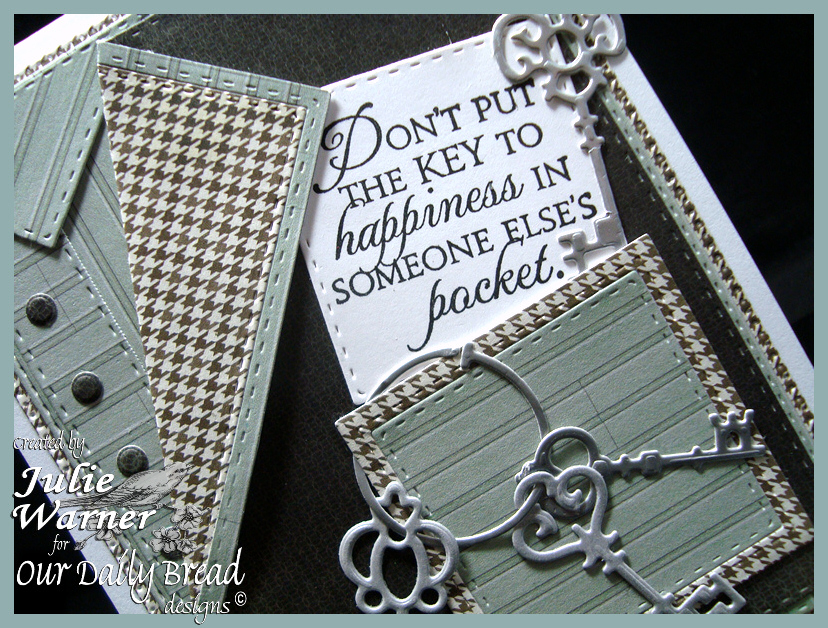
For my second card, I used the Double Stitched Rectangles, Rectangles, Double Stitched Squares & Squares dies to construct my shirt card. I didn’t use any particular measurements, just what looked about right. In case you’d like the lapel fold measurements they are:
Brown layer uses the inside layer of the largest Double Stitched Rectangle & I marked it at 1 3/8″ in from the left on the top edge & 3 3/8″ down from the left top then scored a line connecting the two marks to make the fold for the lapel.
I attached a piece of the brown houndstooth over this fold for the lining & used thin border of the stripe for the edging. I used the Double Stitched Rectangles on the “coat” & “shirt” layers to better make them look like stitched clothing. The shirt placket was a left over strip & I just moved the die in on the sides to make the stitches & added a little corner for the collar. The shirt buttons were made using the center hole of the key in the pocket.
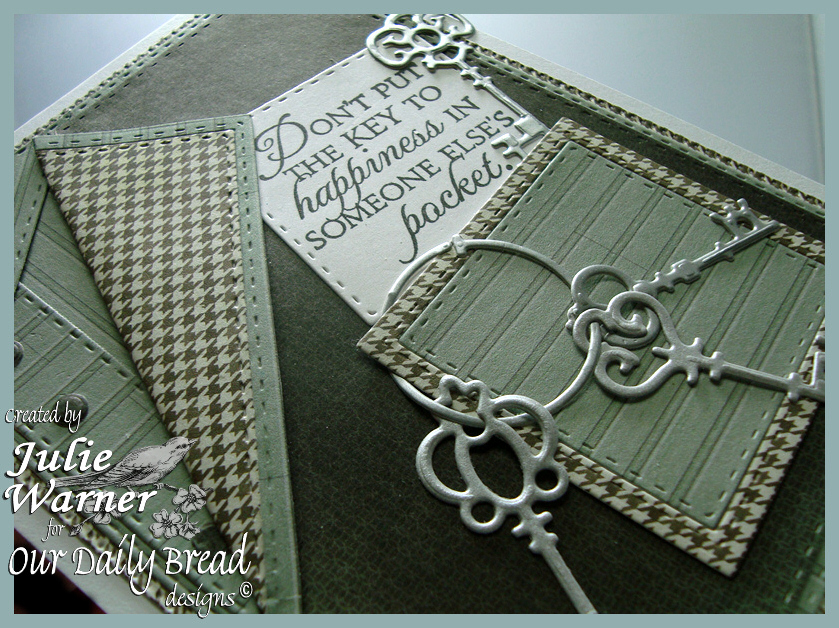
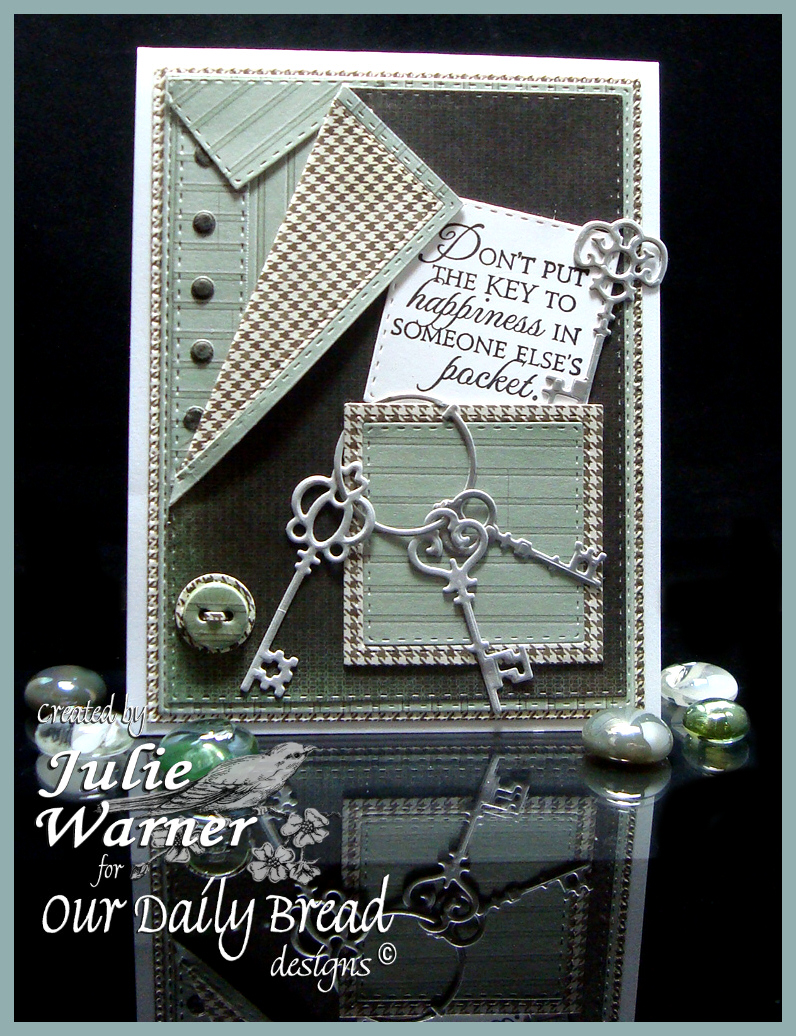 The jacket pocket was made using the Double Stitched Squares & Squares dies. After I die cut the greeting & Keys, I added the key ring at the corner of the pocket & tucked the greeting partially inside the pocket. For the jacket button, I die cut the button (from the Matting Circles dies) 4 times & stacked them together w/ the houndstooth pattern on top & used some clear nail polish to make it shiny.
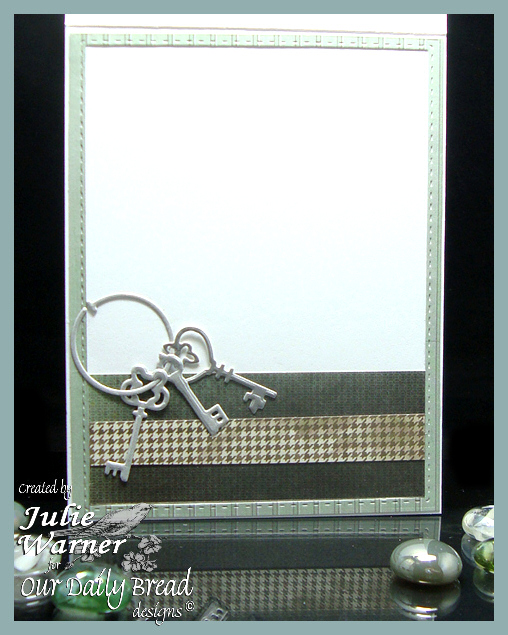
Here’s a look at the inside..I left it blank for now.
Supplies:
Stamps: Our Daily Bread designs – Keys to Happiness
|
| Paper: Neenah white, metallic silver, dp (brown = Kaisercraft -Chapter One, houndstooth & stripe = Pebbles -Front Porch) |
| Ink: Versafine onyx |
| Accessories: ODBD Flourished Star Pattern, Double Stitched Rectangles, Rectangles, Double Stitched Squares, Squares, Keys (retired), Matting Circles (retired) dies, Scor-Buddy, nail polish |
Thanks so much for stopping by!

Please be sure to visit all the DT blogs..it will be much appreciated & will also increase your chance of winning!
Cathy * Julie * Dawn * Sandee * Robin * Lori
* Angie * Lisa * Chris * Diana * Sabrina *
Melissa (Guest Designer)
