Welcome to the Our Daily Bread designs March Release Blog Hop!
If you arrived here from Becca’s fabulous blog, you are in the right place! If not, you might want to start at the Our Daily Bread designs Blog and hop from there!

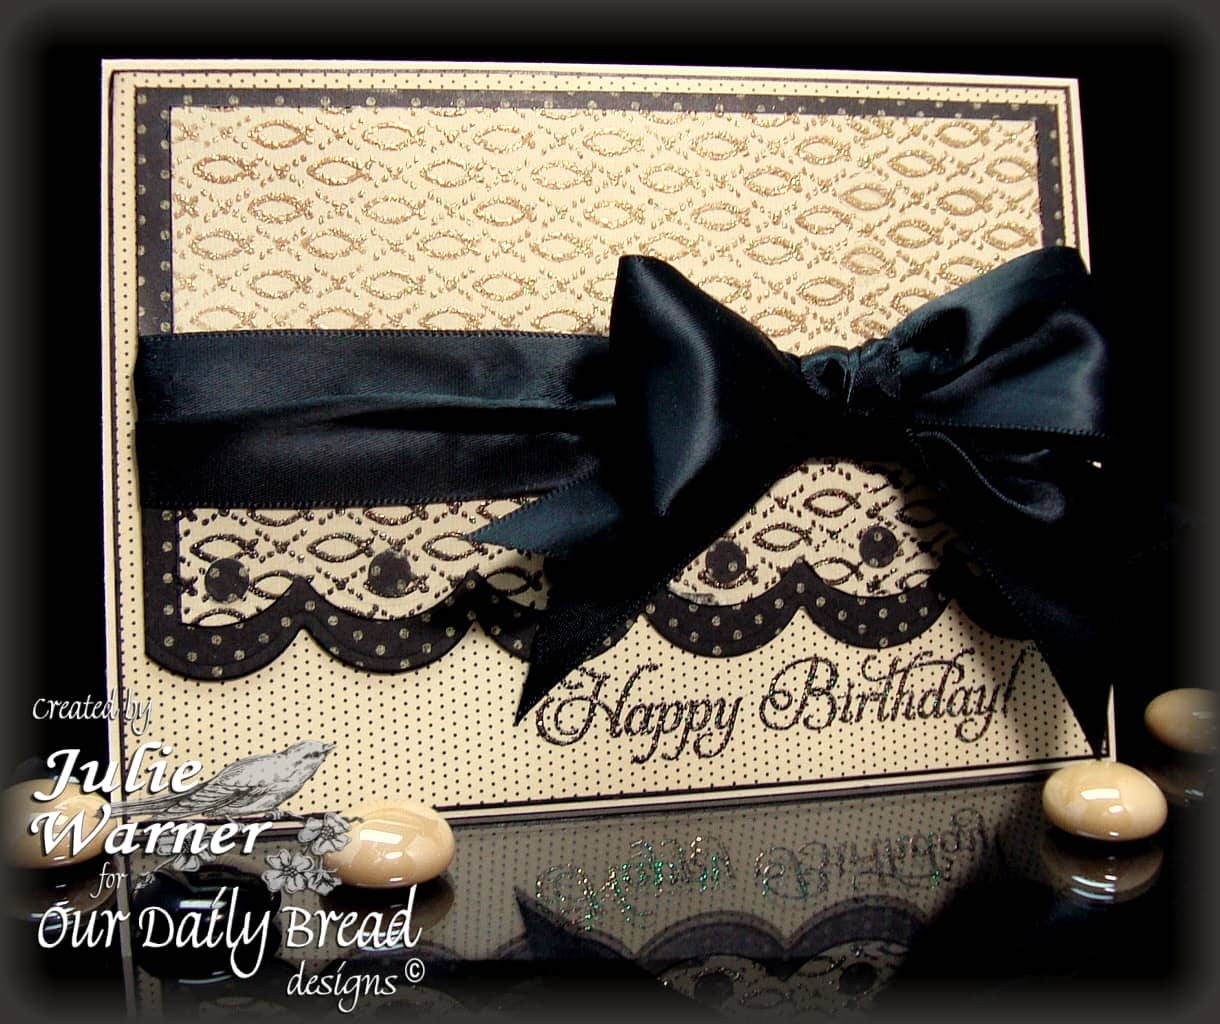
I’m using one of the wonderful, moving sentiments and frame from the Eternity set along with the beautiful Tulip Corners. I’ve always loved this quote and I still get chills every time I read it. The frames and tulips were all gold embossed. The frame was embossed twice on vanilla colored vellum with the quote stamped inside one with black ink then both were die cut using 2 sizes of the exclusive ODBD/Spellbinders matching Eternity Labels One die. I layered the smaller vellum label (the one with the quote) on top of a piece of white to brighten it a bit, then used a gold leaf pen to edge the labels.
[TIP: if you stamp an image like this quote on vellum and it doesn’t appear as dark as you’d like, stamp it again on white paper. Line up and attach the vellum image on top of the white image and trim the white so the edges don’t stick out. Instantly brighter with darker type!]

The tulips were all colored using markers and a water brush and cut out. After arranging my many layers (yes there are 5 not counting the card front or quote labels), I attached the quote and arranged the tulips around it. The finished card measures 6.5 x 5 (A6).
Your next stop is Lorelie’s fabulous blog!
Thanks so much for stopping by and good luck !

Supplies:
| Stamps: ODBD – Eternity, Tulip Corners |
| Paper: vanilla vellum, ivory, marigold textured, dp (all by SEI -Moonrise collection) |
| Ink: Ancient page coal, Tsukineko Ultimate Metallic gold pigment |
| Accessories: ODBD/Spellbinders Eternity Labels One dies, Tombow markers, water brush, detail gold embossing powder, Krylon gold leafing pen |
I’m also adding this to a few challenges:
Paper Play #11 ~ Get Sentimental
Paper Romance #39 ~ Anything Goes
DYSU #8 ~ Anything Goes
Papertake Weekly ~ Anything Goes
Little Claire #1 ~ Anything Goes
Fussy and Fancy ~ Embossing or/and Piercing
One Stop Craft #120 ~ Spring Flowers
Clear It Out #1– Anything Goes
Moxie Fab World Tuesday Trigger– An Idea in Yellow

MMSC93 – sketch
Wild Orchid – Anything Goes
Woodware USA #16 – Anything Goes
Sweet Sunday Sketch#106
Crazy 4 Challenges C4C76 – flowers