Today we are taking another look at the Our Daily Bread designs May release! The birds, butterflies & Belle Vignes background are all so fabulous and I know you’ll be using them over & over!
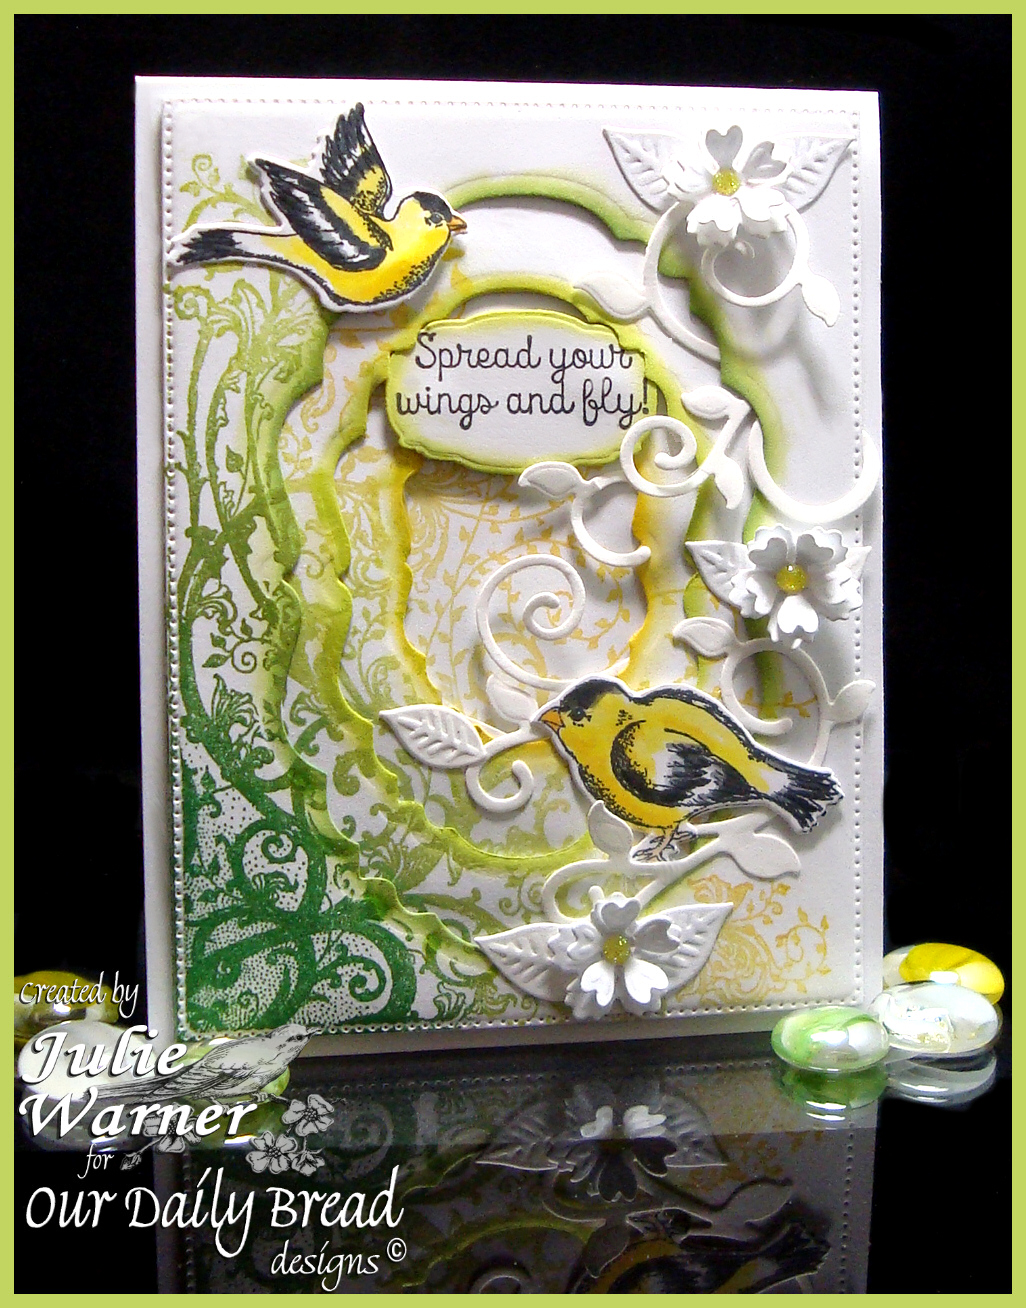
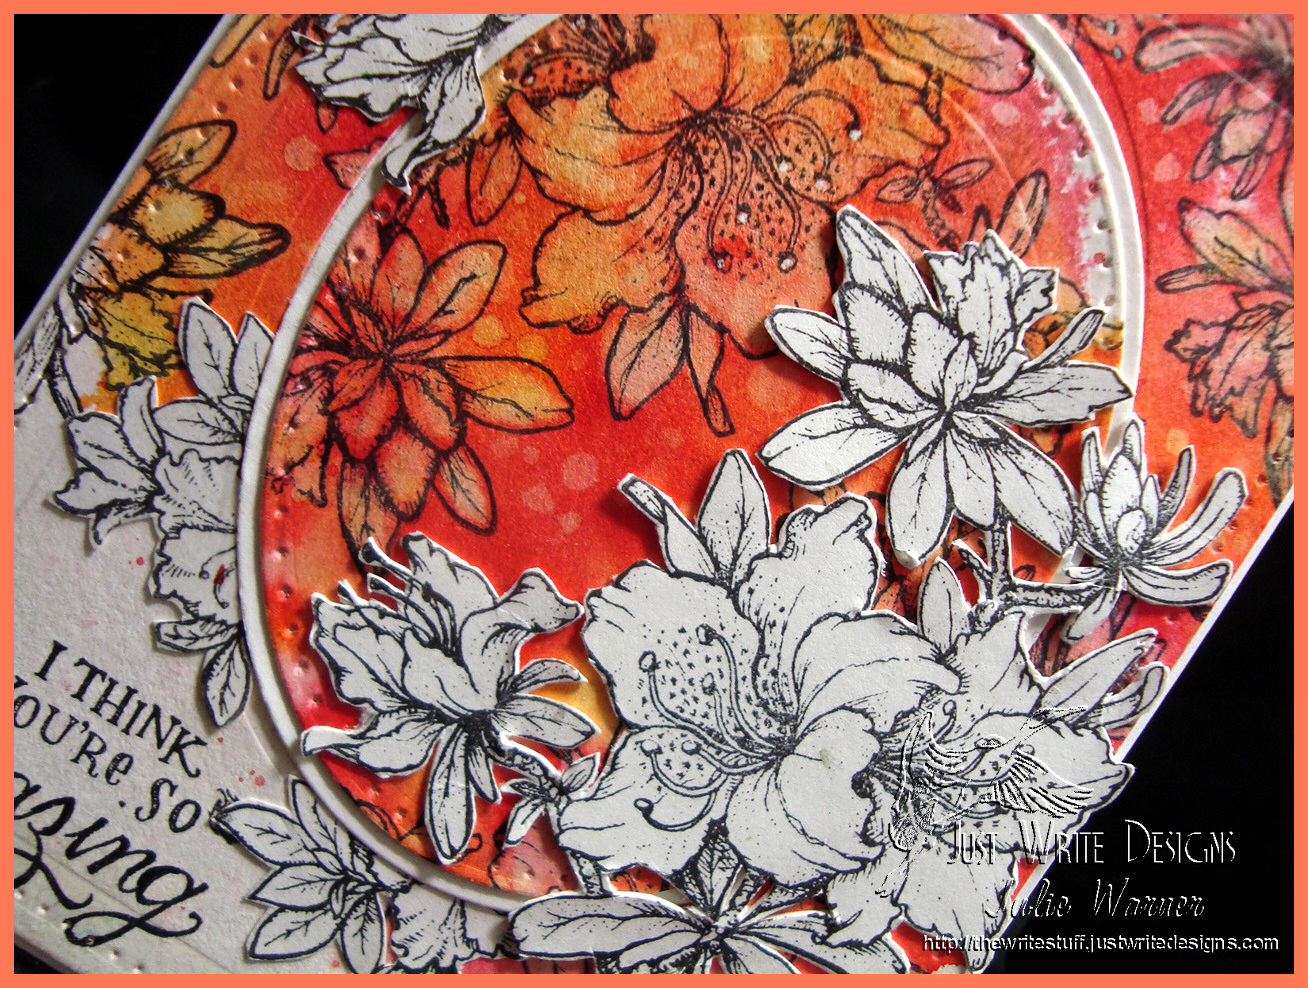
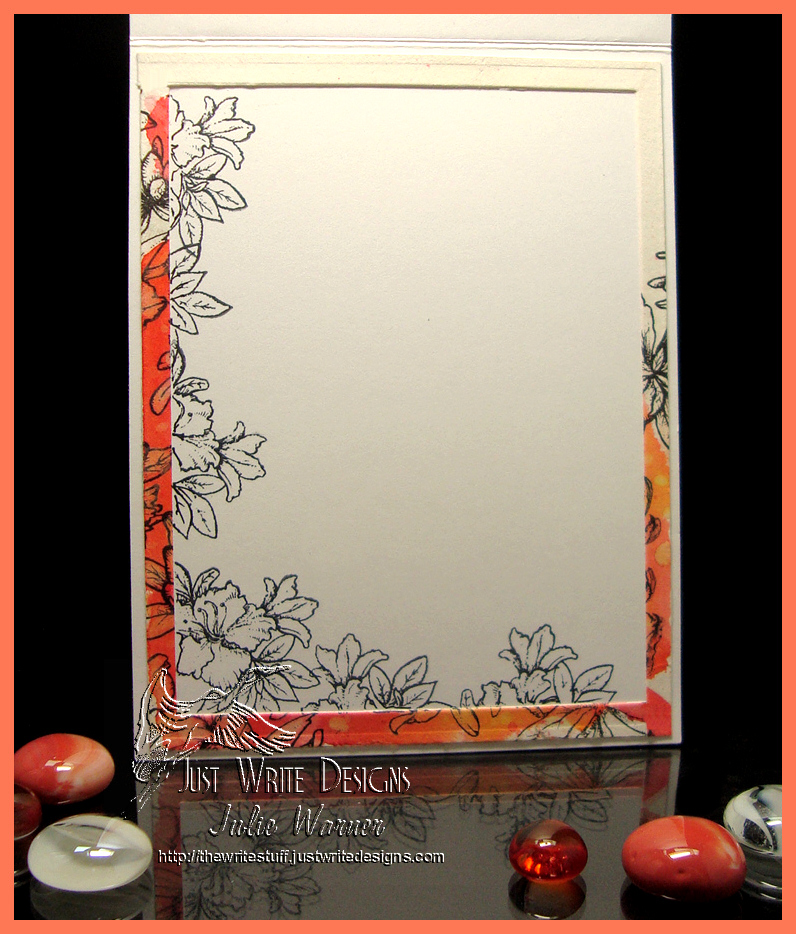
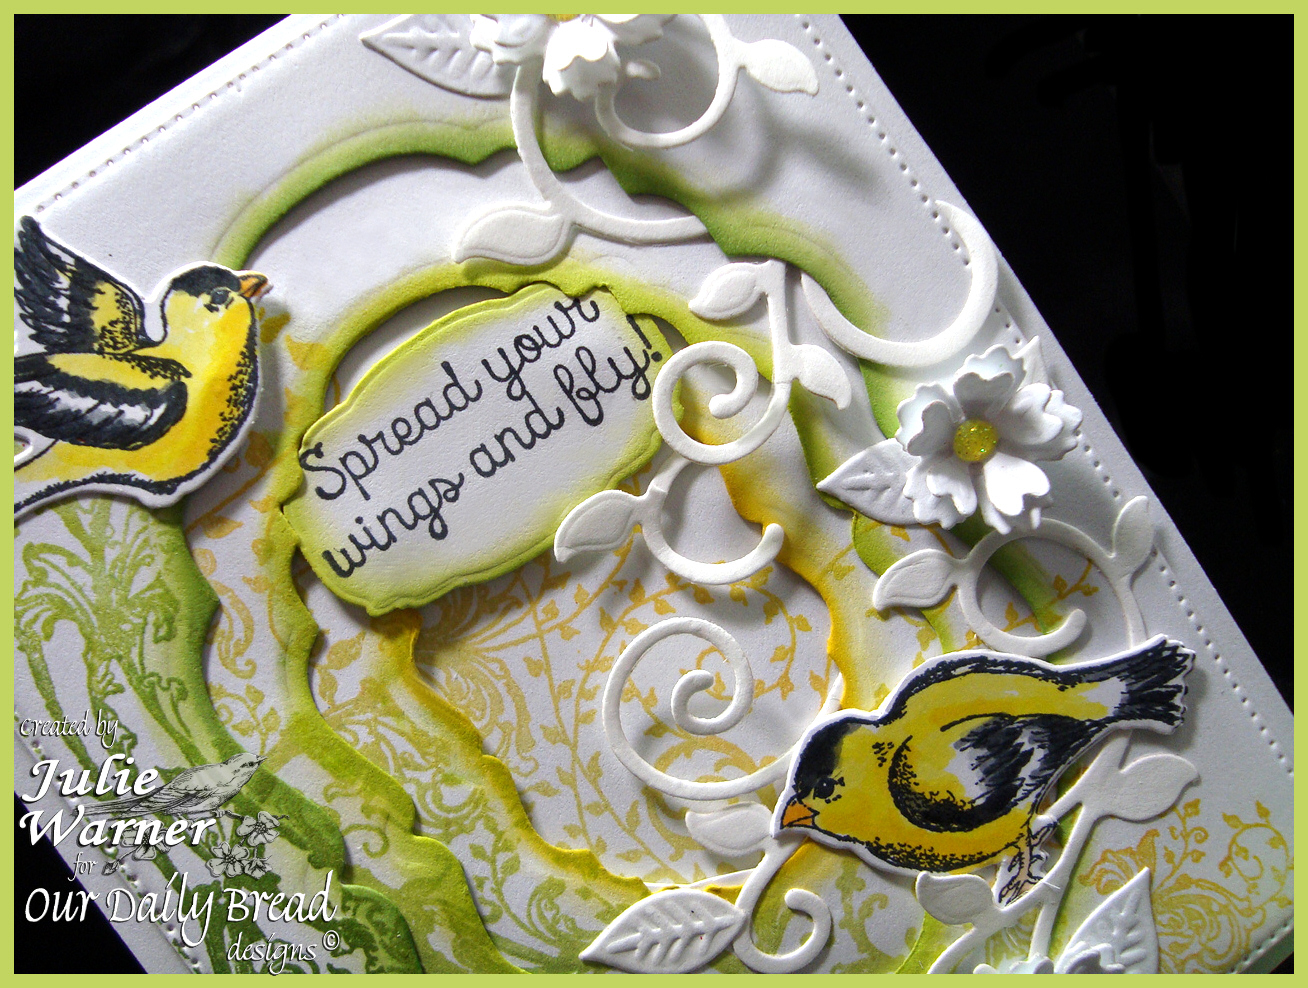
For my card today, I had an idea to make an inward telescoping window card using gradually lighter colors as it went into the middle. I first die 3 pieces of white card stock using the outermost die of the Flourished Star Pattern dies, then used the largest Vintage Label die on the topmost layer. I aligned it on the next layer & die cut the next smallest label die and repeated this step for the smallest label in the center. Then I attached the Belles Vignes image on my Misti and inked it with the cottage ivy & bamboo leaves for the top layer, bamboo, pear tart & new sprout for the next layer, and pear tart, new sprout & cantaloupe for the 3rd layer. I used the largest die cut label for the very center & used the cantaloupe & dandelion to stamp it. Before I attached them together, I sponged the inside edges using the same inks then added some leftover paper scraps to elevate the layers slightly.
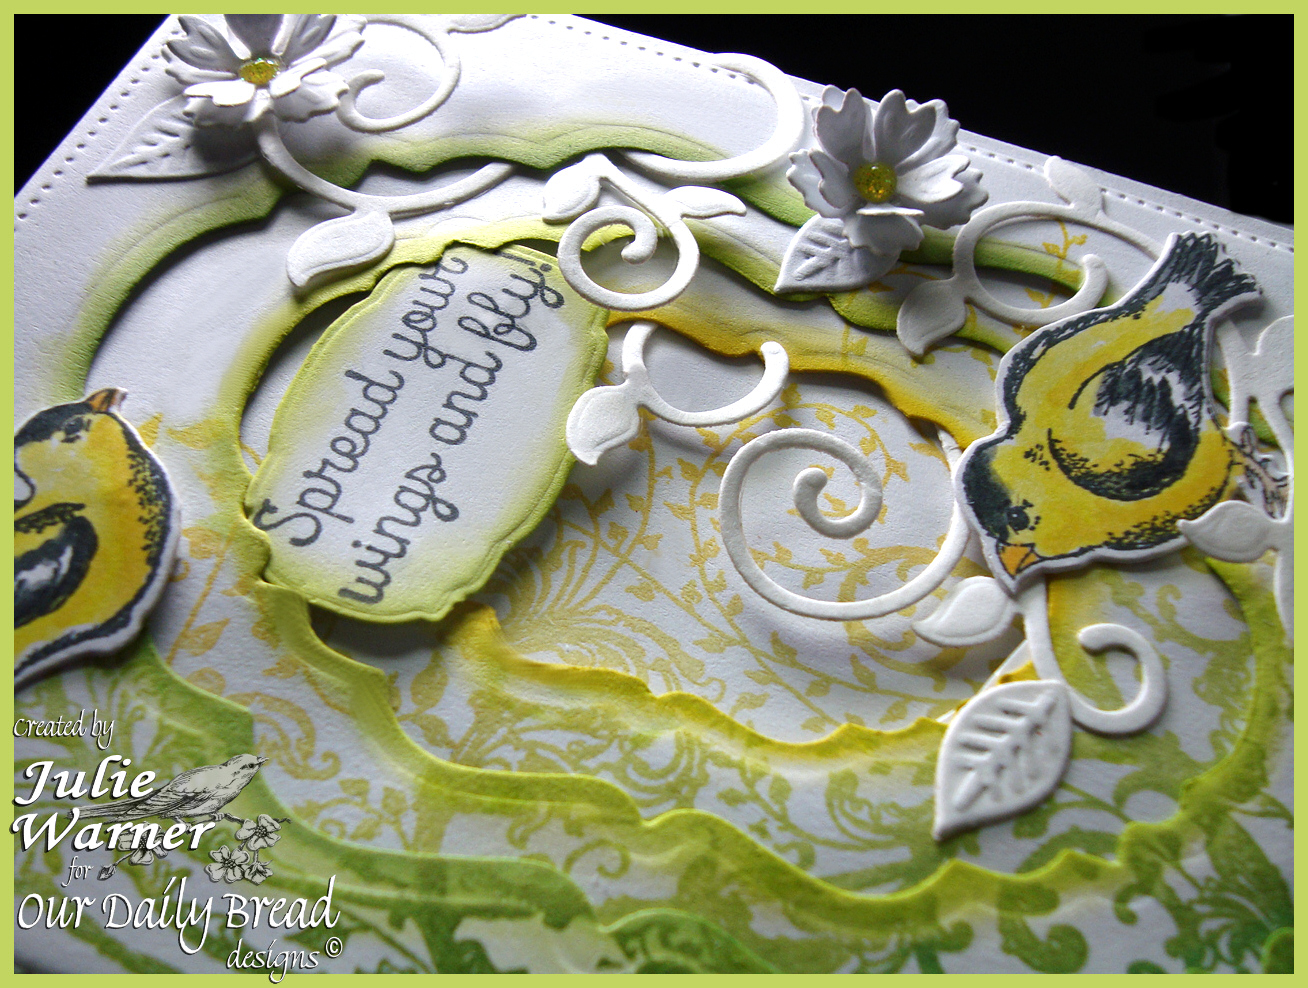
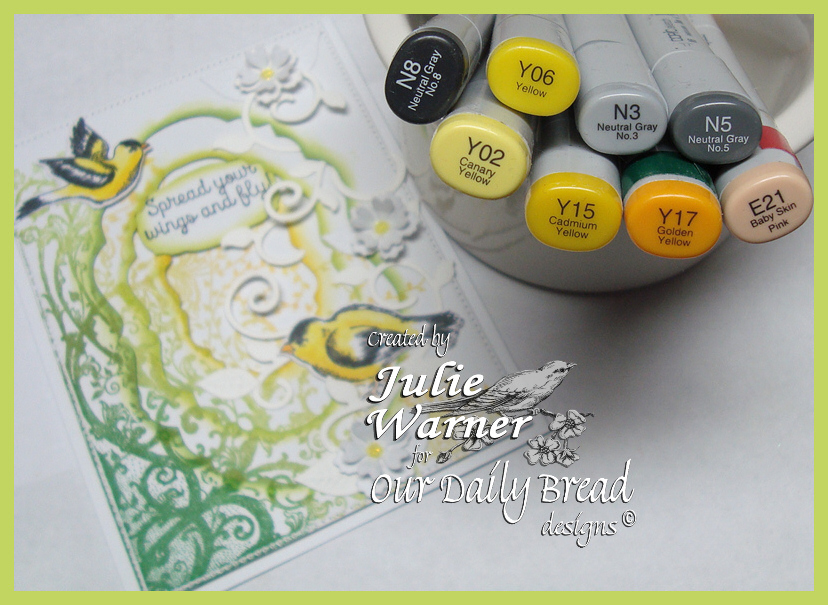
The greeting was die cut using one of the Mini Tag dies. After die cutting it, I turned it around in the die and cut the hole end off. This is pretty easy to do with symmetrical dies like these. The birds were colored like American Goldfinches, die cut with the matching dies and added on top. I tucked a few white vines from the Fancy Foliage set in between the layers and few white flowers on top. These are the Copics I used for the birds.
Supplies:
| Stamps: Our Daily Bread designs – Belles Vignes, Spread Your Wings |
| Paper: Neenah white |
| Ink: Memento new sprout, pear tart, bamboo leaves, cottage ivy, cantaloupe, dandelion |
| Accessories: ODBD Flourished Star Pattern, Birds & Nest, Vintage Label , Fancy Foliage, Mini Tag dies, yellow stickles (for flower centers), Misti |
Please be sure to visit all of the DT blogs for more fabulous inspiration!
Lori * Julie * Sandee * Dawn * Cathy *
Thanks so much for stopping by!