
Welcome to the Our Daily Bread designs May Release! I know you’re going to love these images and dies!
Prize Information: –
Three randomly selected winners will each receive a $25 gift certificate to the ODBD Store, to be used toward the purchase of ODBD Stamps found in the “stamps column” of the website just for commenting on the Design Team cards! You have until May 2, 2015 at 9:00 p.m. EDT to leave your comments on the Designers Blogs for a chance to win! The Winners will be posted on the ODBD Blog on May 3rd, so be sure to check back there to see if you won!
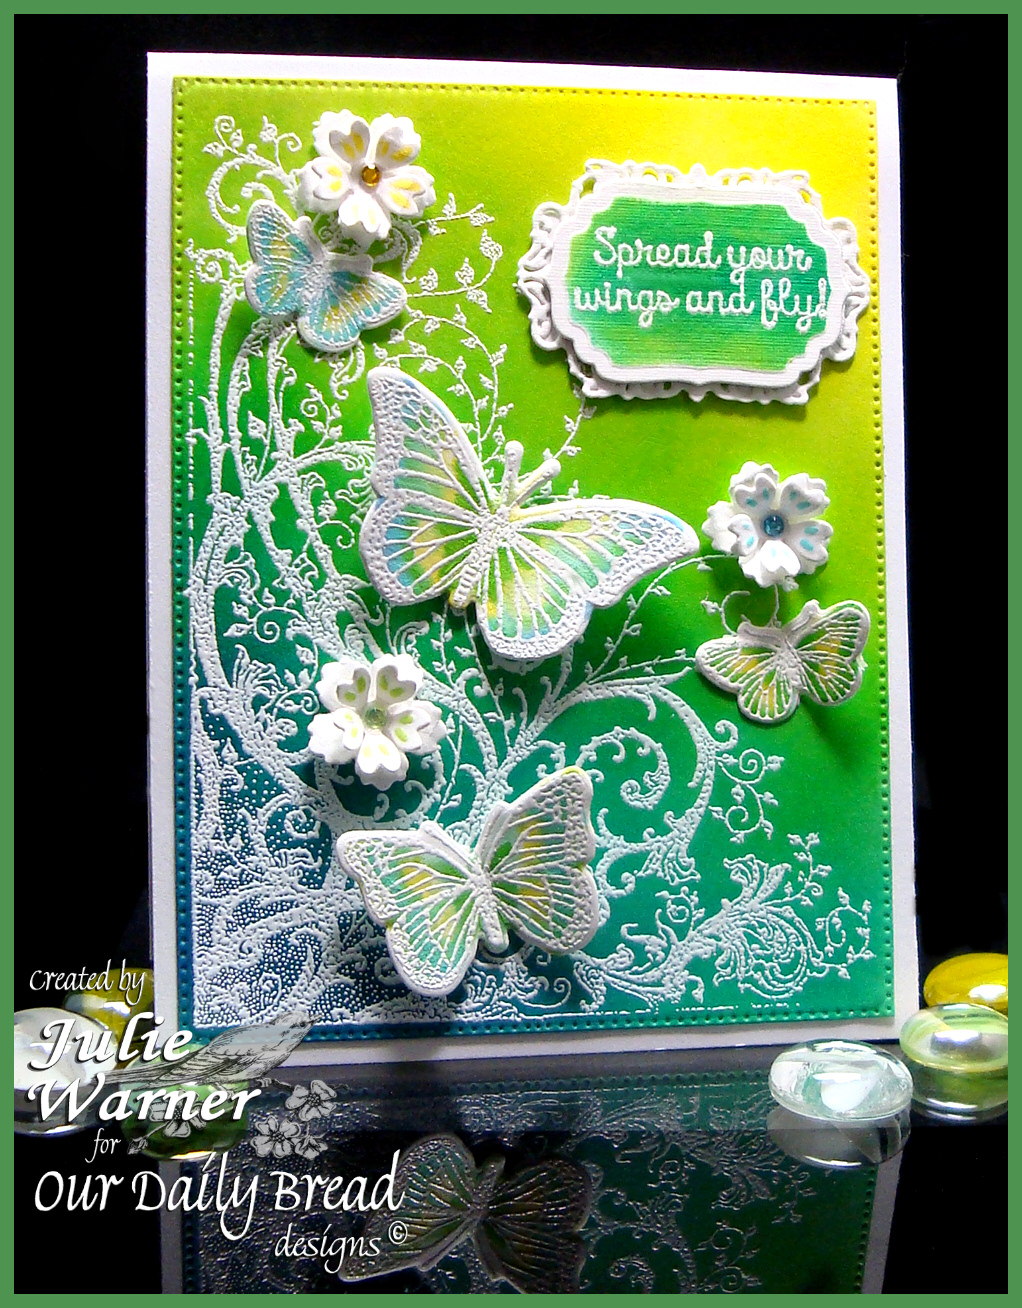
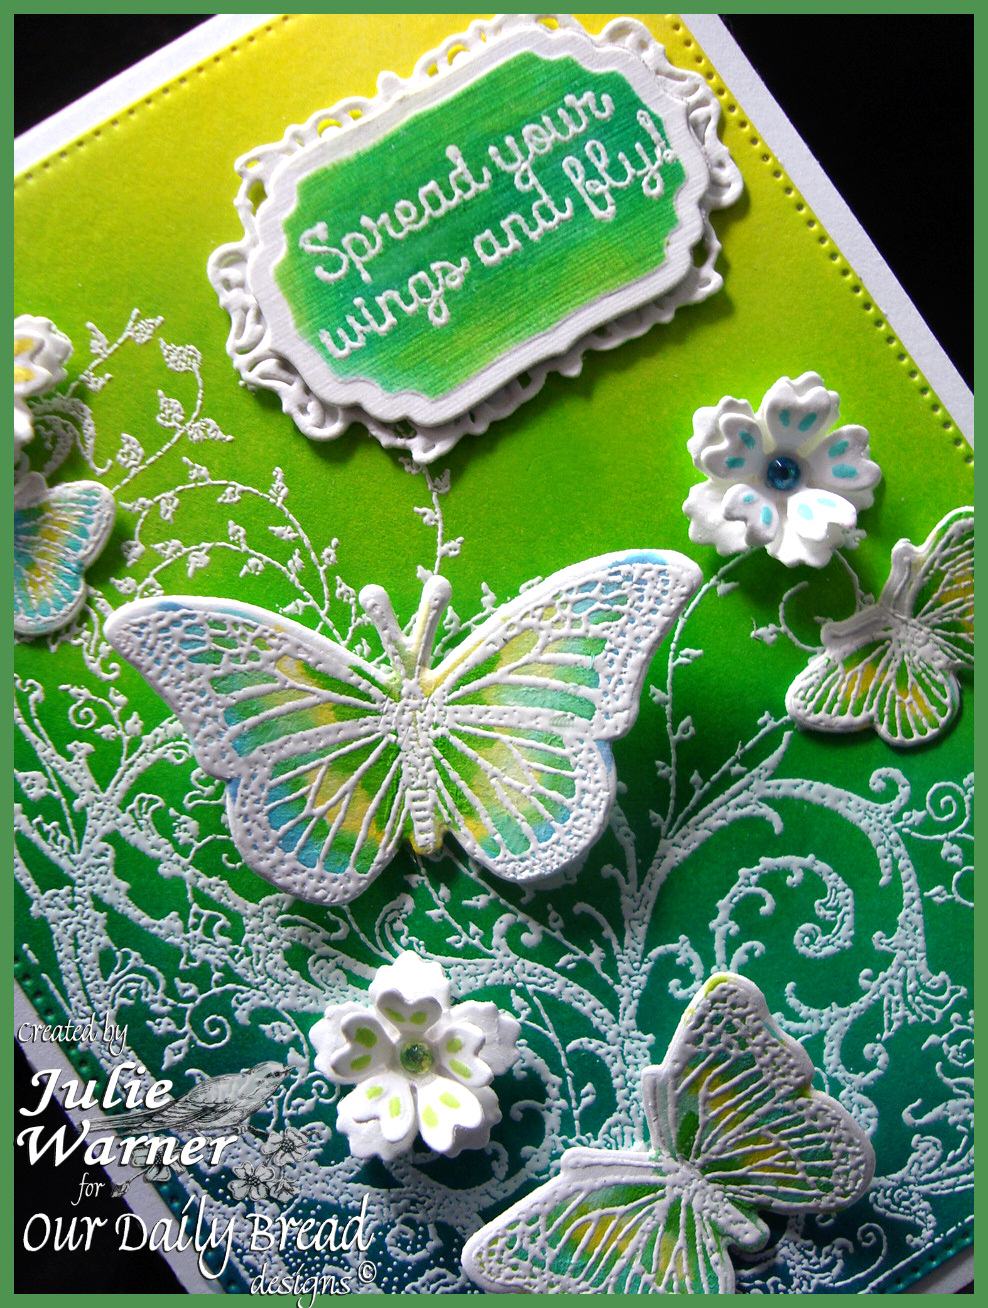
On my first card, I white embossed the Belles Vignes on white card stock that was die cut using the largest of the Flourished Star Pattern dies. Then I used a rainbow pad to sponge on the colors. I also white embossed, die cut & sponged all the beautiful butterflies from the Trois Papillon & Butterfly & Bugs sets. The greeting, from Spread Your Wings, was done the same way & I added a few die cut flowers from the Birds & Nest dies.
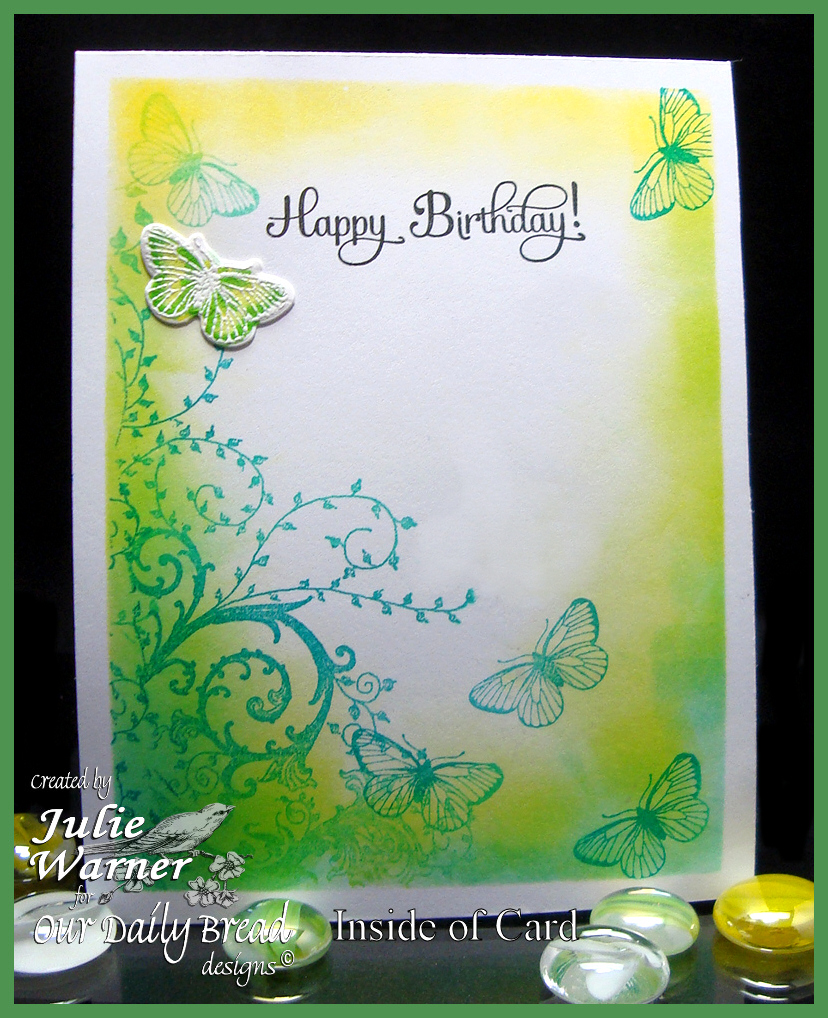
Here’s a look at the inside. Since I didn’t use designer paper, I sponged & stamped then added one leftover butterfly.
Supplies:
| Stamps: Our Daily Bread designs – Belles Vignes, Trois Joile Papillions, Butterfly & Bugs, Spread Your Wings |
| Paper: Neenah white, white linen (for greeting panel) |
| Ink: Colorbox frost white pigment, Kaliedacolor Riviera ink pad |
| Accessories: ODBD Flourished Star Pattern, Butterfly & Bugs, Trois Papillons, Birds & Nest dies, Spellbinders labels 4 & gold labels 4 dies, white embossing powder, crystals |
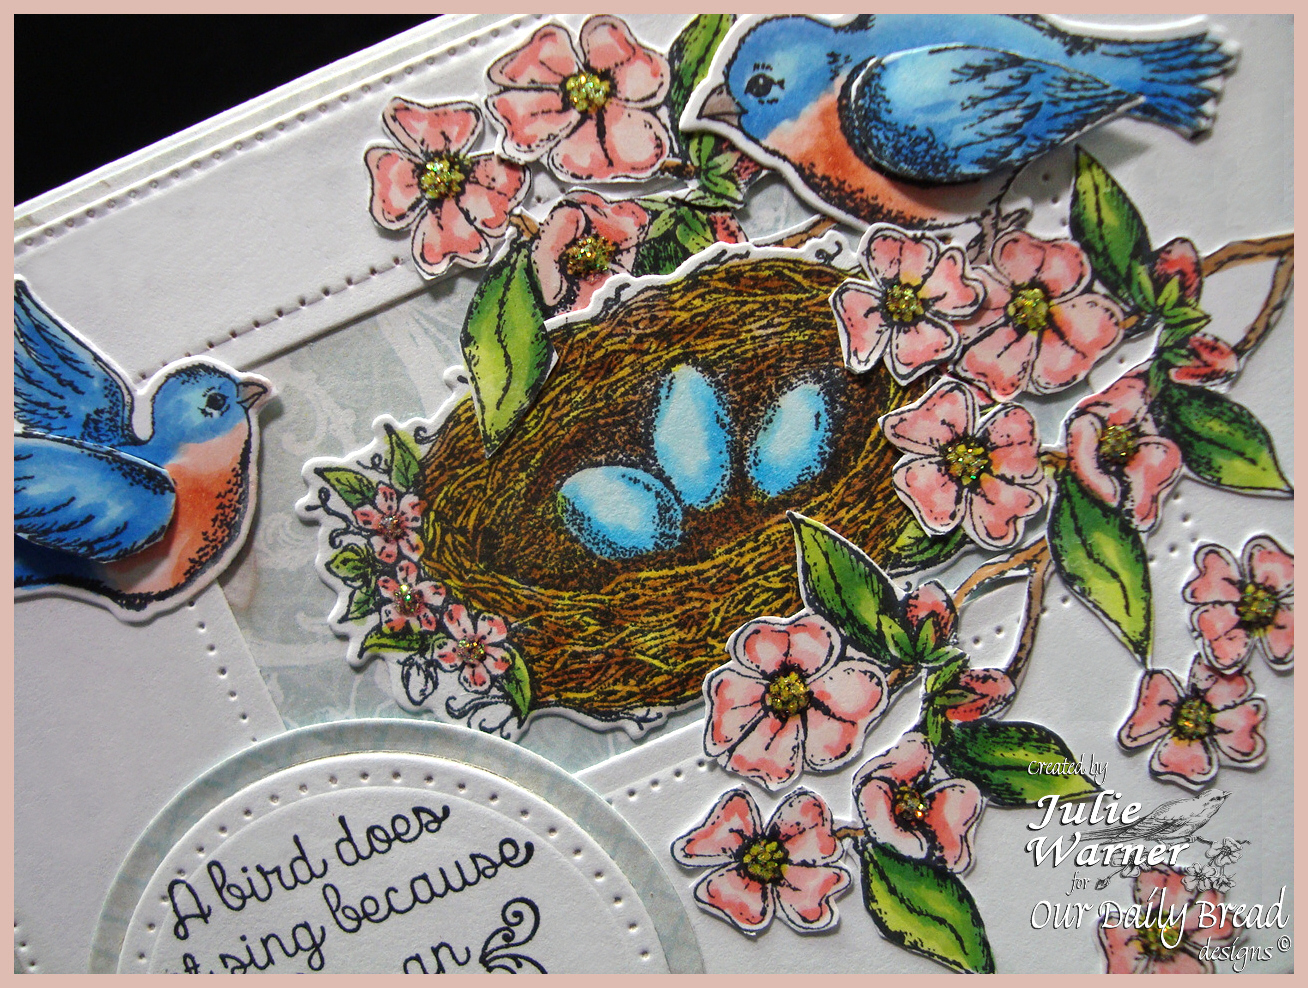
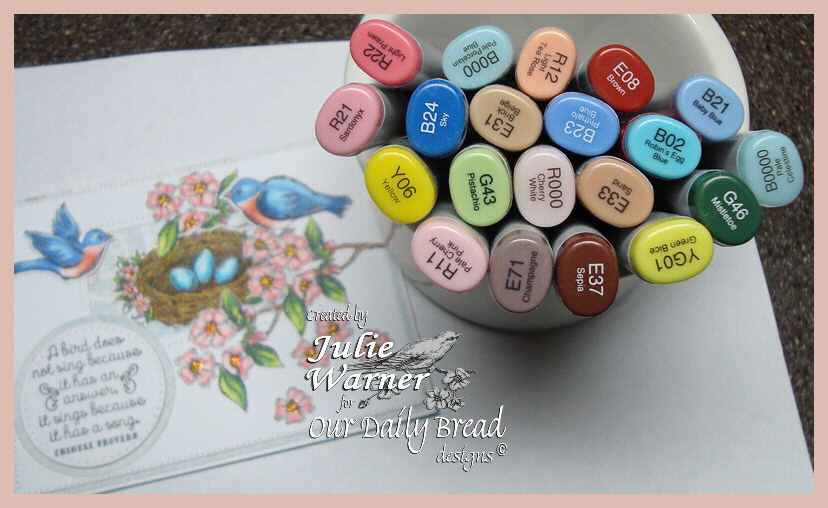
My second card uses the beautiful Spread Your Wings set along with the Dogwood Mini. I already had it in my mind to do a window opening with the nest inside & I wanted it to look like the nest was resting in a dogwood tree. After coloring & die cutting the birds (I colored them to look like bluebirds), I colored & fussy cut the dogwood branch 3 times. I also fussy cut an extra front facing wing on each blue bird & popped it up for a little dimension.
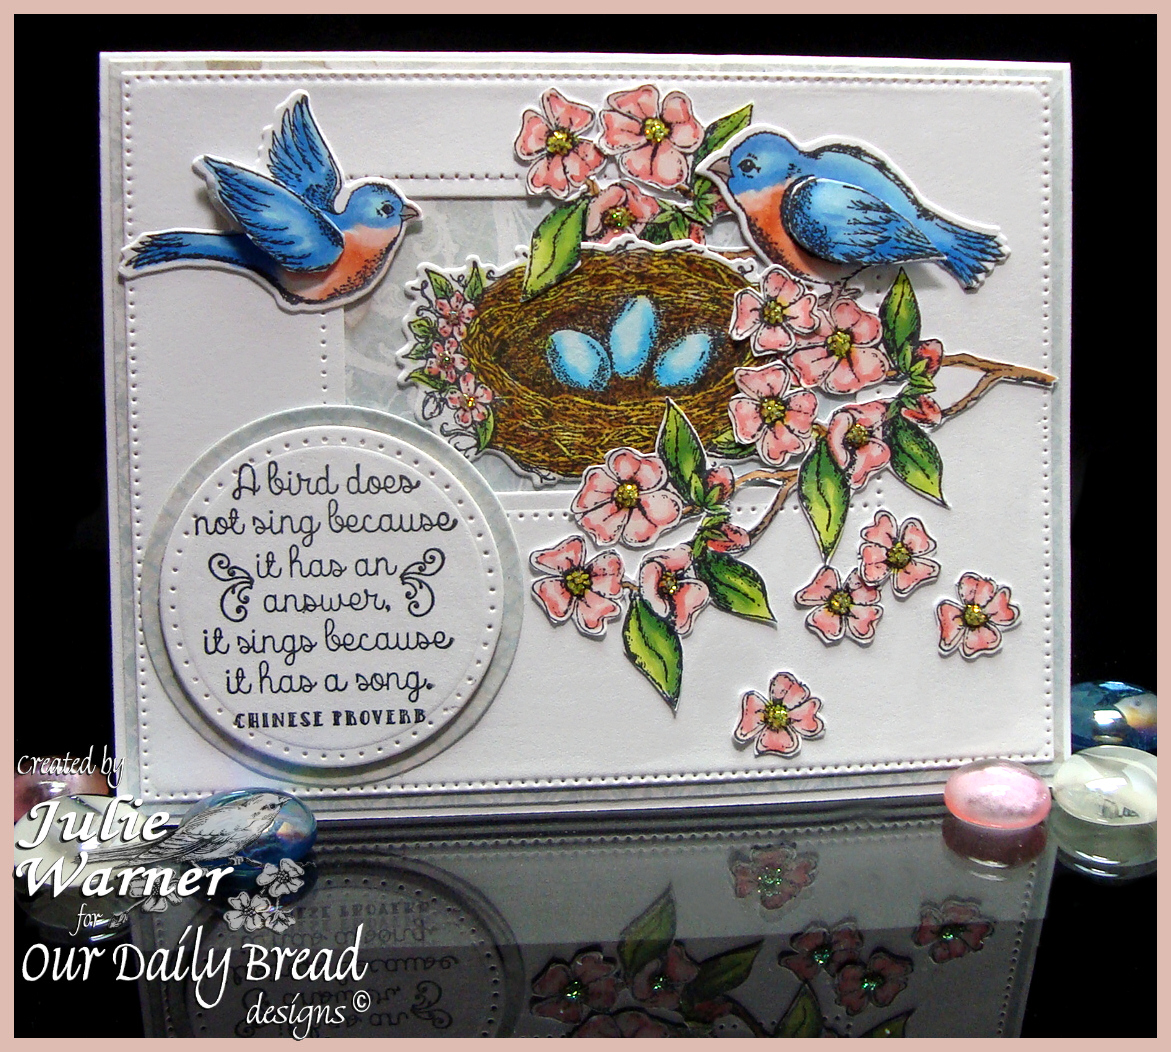
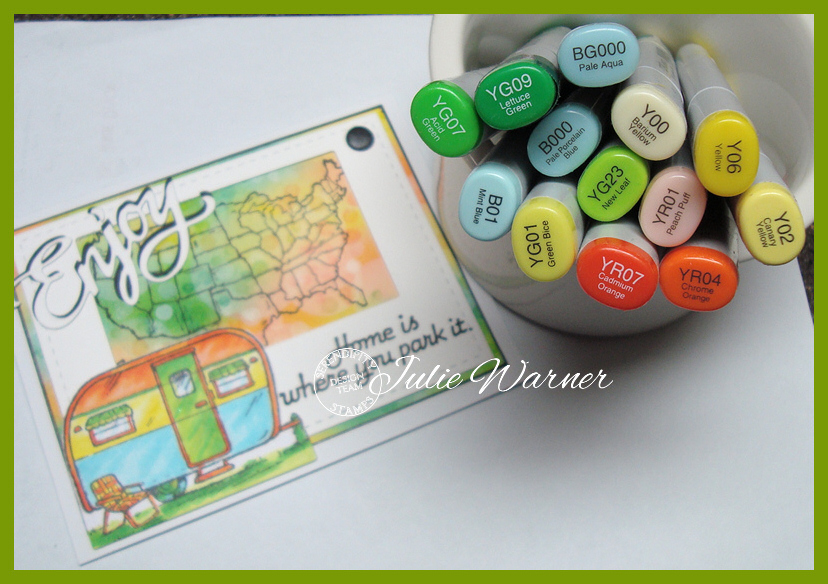
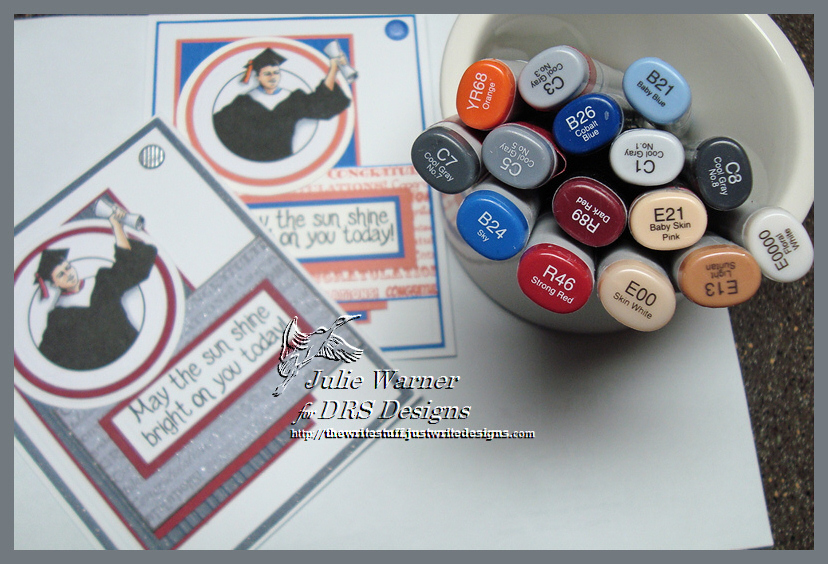
I added a large piece of the ODBD Shabby Rose paper behind the window and also around the greeting circle. A few single dogwood flowers were sprinkled on the lower right and I added some stickles to the flower centers. These are the Copics I used for this card.
Supplies:
| Stamps: Our Daily Bread designs –Spread Your Wings, Dogwood Mini set |
| Paper: Neenah white, X-Press It white, ODBD Shabby Rose collection |
| Ink: Memento tuxedo black, Versafine onyx (for greeting) |
| Accessories: ODBD Flourished Star Pattern, Birds & Nest dies, Spellbinders A2 matting basics A & pierced rectangles & circles dies, Copic markers, stickles |
Thanks so much for stopping by! Please be sure to visit & comment on all the DT blogs so you’ll be entered to win!
Lori * Julie * Sandee * Dawn * Amy * Cathy *
America * Chris * Angie * Audrey * Sabrina *
Grace * Silke * Loretta * Lisa * Wanda
Thanks so much for stopping by!

I’m also entering the first card in the Chocolate, Coffee & Cards Challenge – Spring!