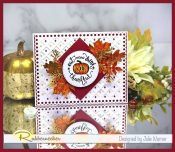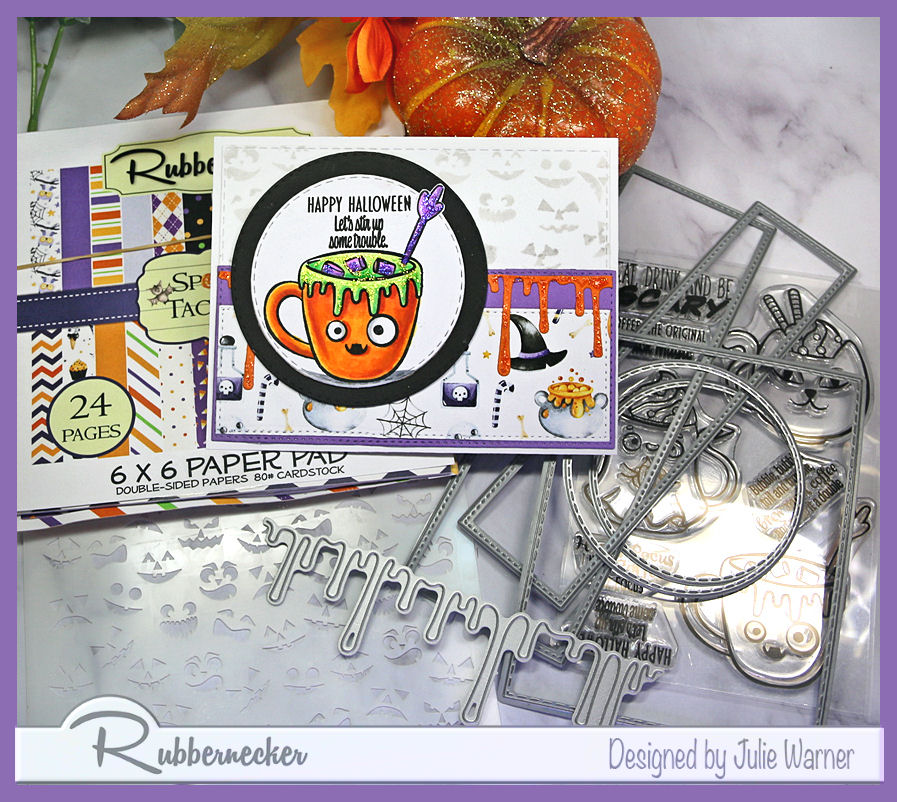
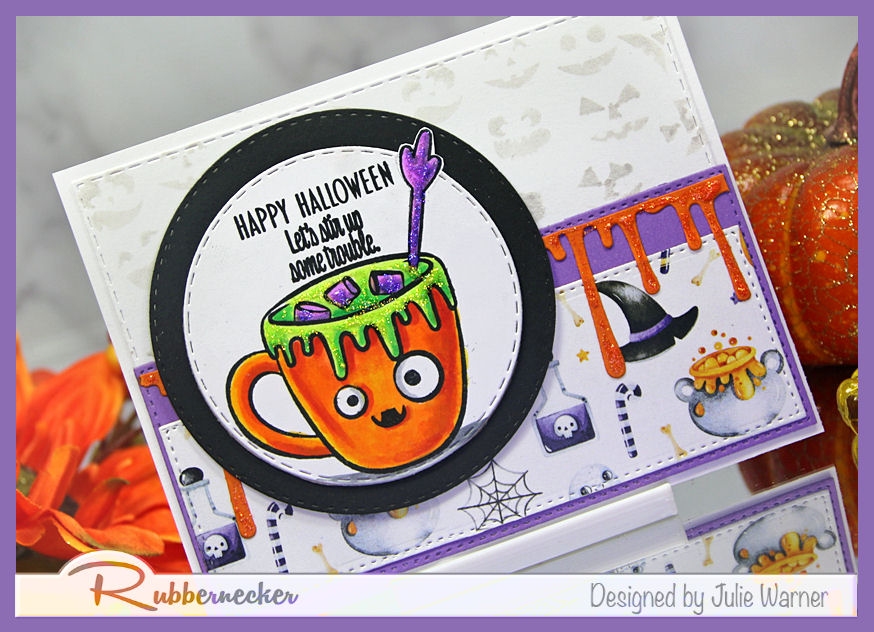
A fun Halloween card w/ a cute smiling cup, stenciled background & glittery goo border. Easy to make & easy to change the colors to go w/ your selection of Halloween paper.
For the Inspiration Challenge (IC927), we’re visiting Country Living Pinterest Board where I found THIS cute picture.
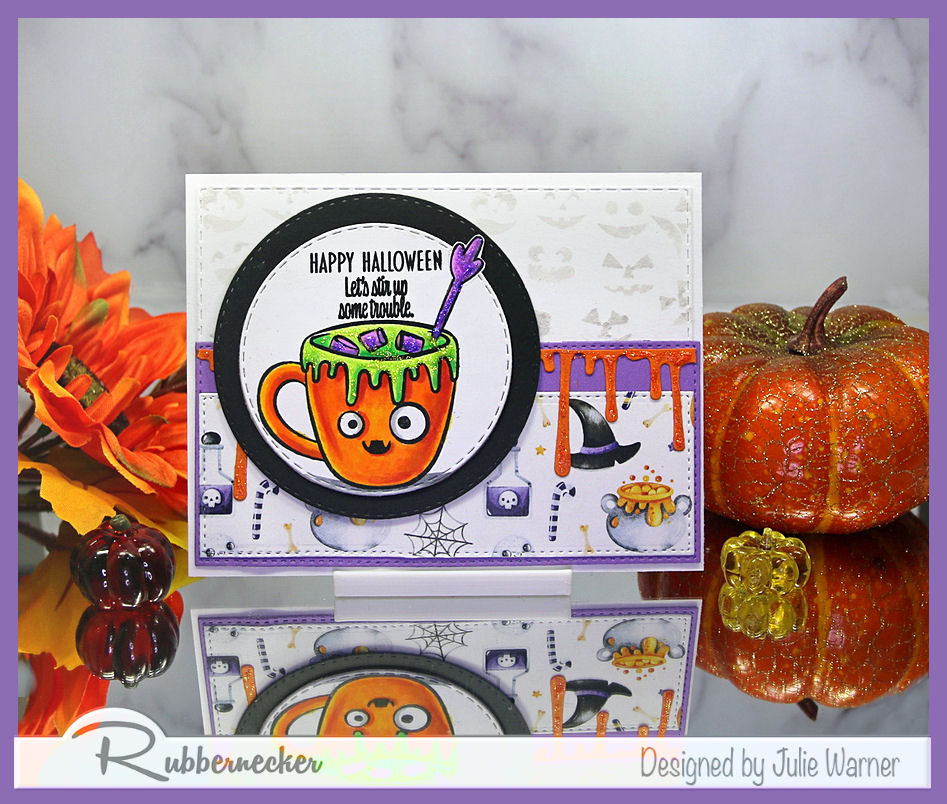
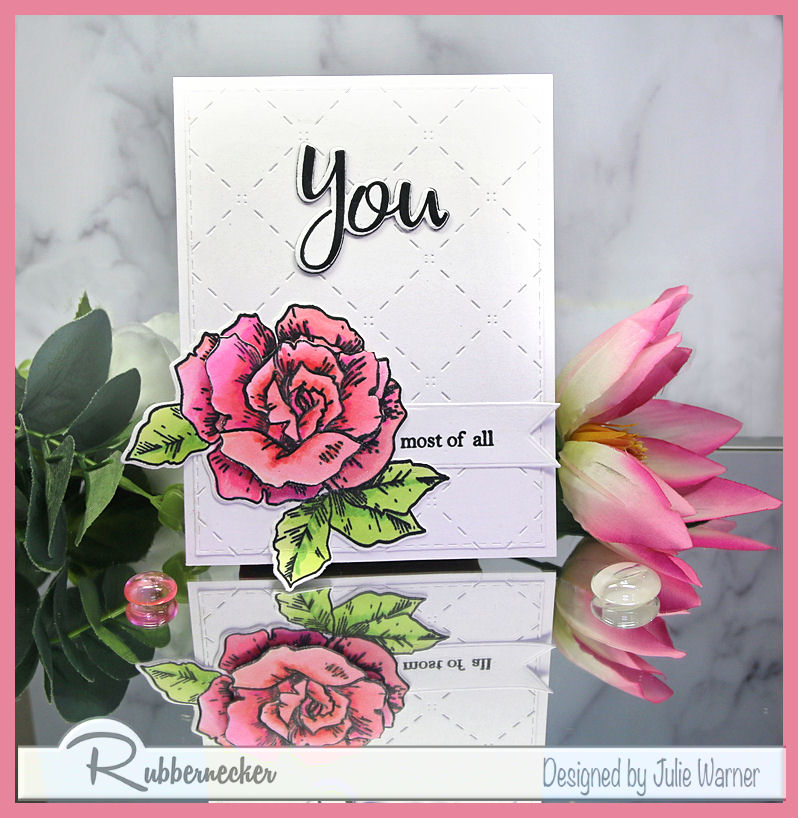
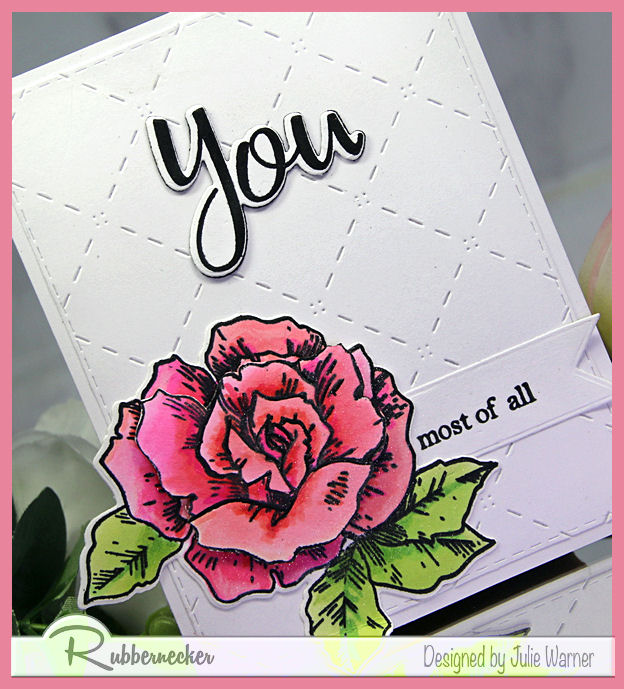
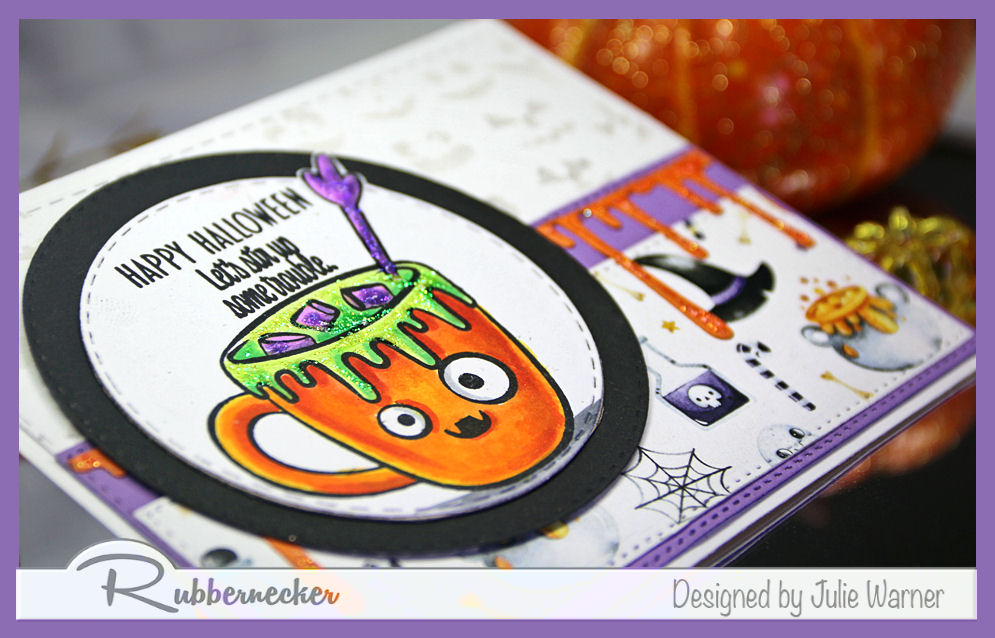
My little Halloween card is pretty easy. I colored the cute little smiling cup then die cut it w/ stitched circle die. I used my out of the box for the stir stick to keep from chopping it off. The designer paper strip & purple strip behind it were die cut using 2 sizes of slimline dies, since I wanted them narrower than normal rectangle dies. I used my resizing trick to make them shorter. For the top section, I used a fun jack-o’lantern face stencil & lost shadow oxide ink for that barely there look. The orange drippy goo die cut was draped across the top of the purple strip & I added stickles to it & a couple of areas on the cup.
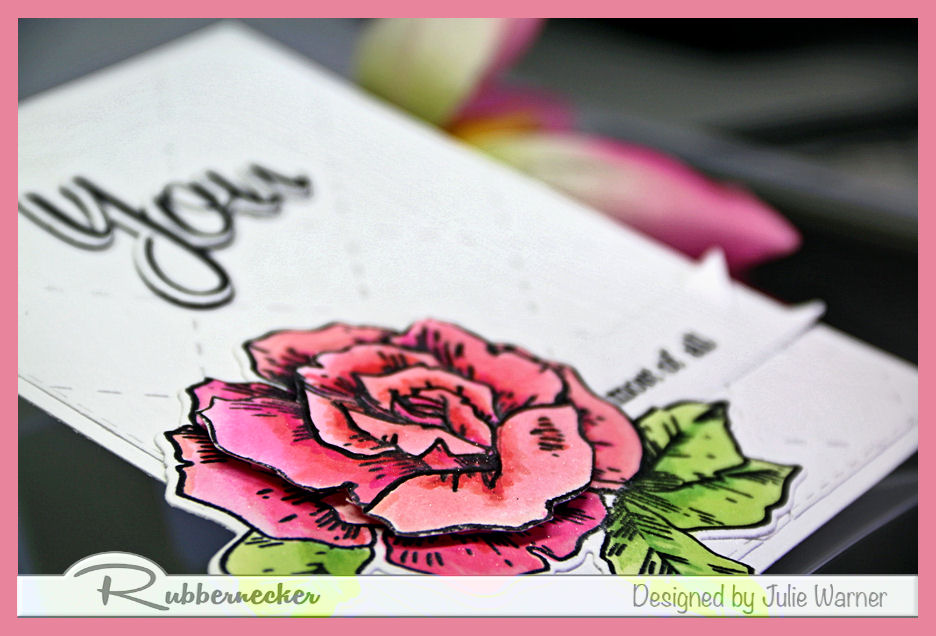
The center circle was popped up a bit & I added an extra layer behind the top half of the circle to even it out w/ the added layers on the bottom.
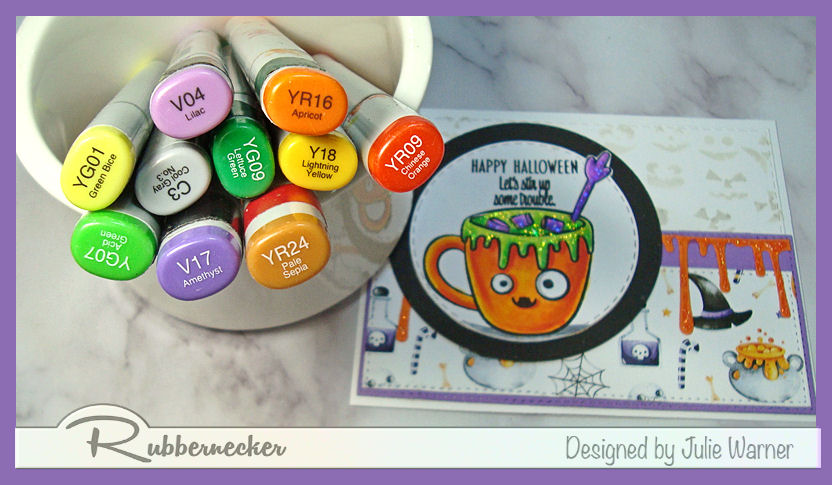
Here are the Copics I used:
Thanks so much for stopping by!
![]()
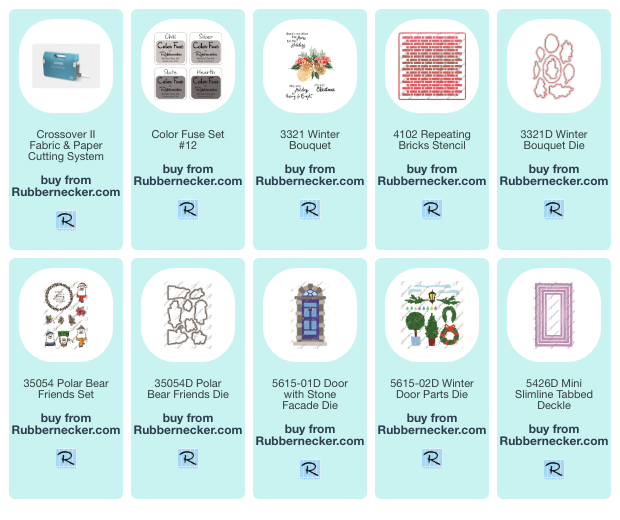
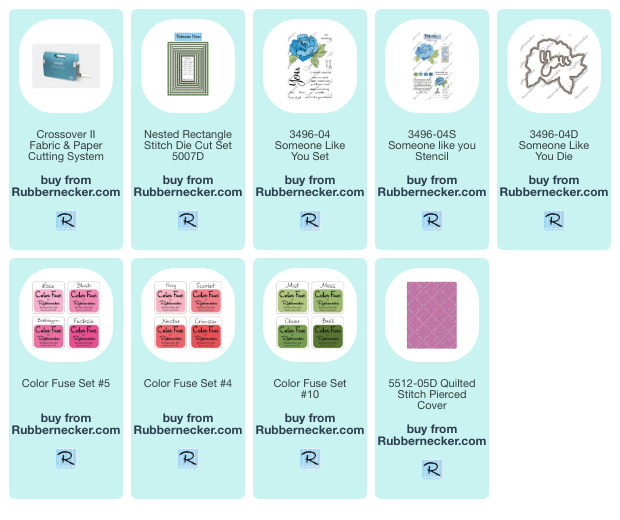
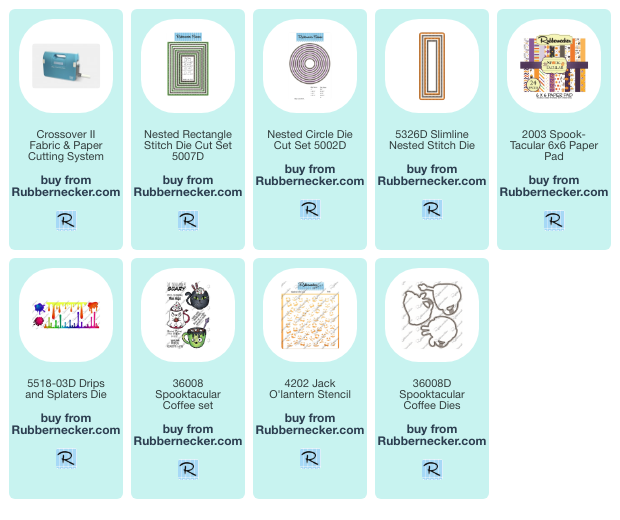
Supplies:

|

|

|

|

|

|
You might also like: