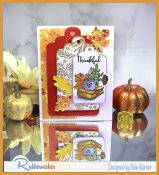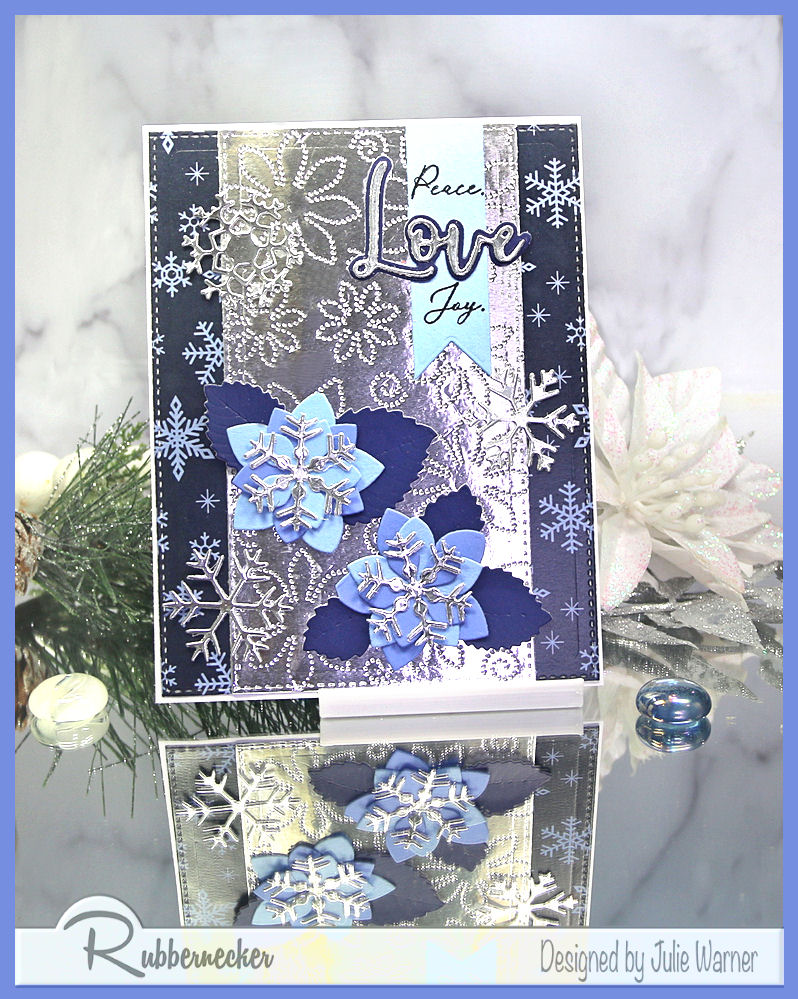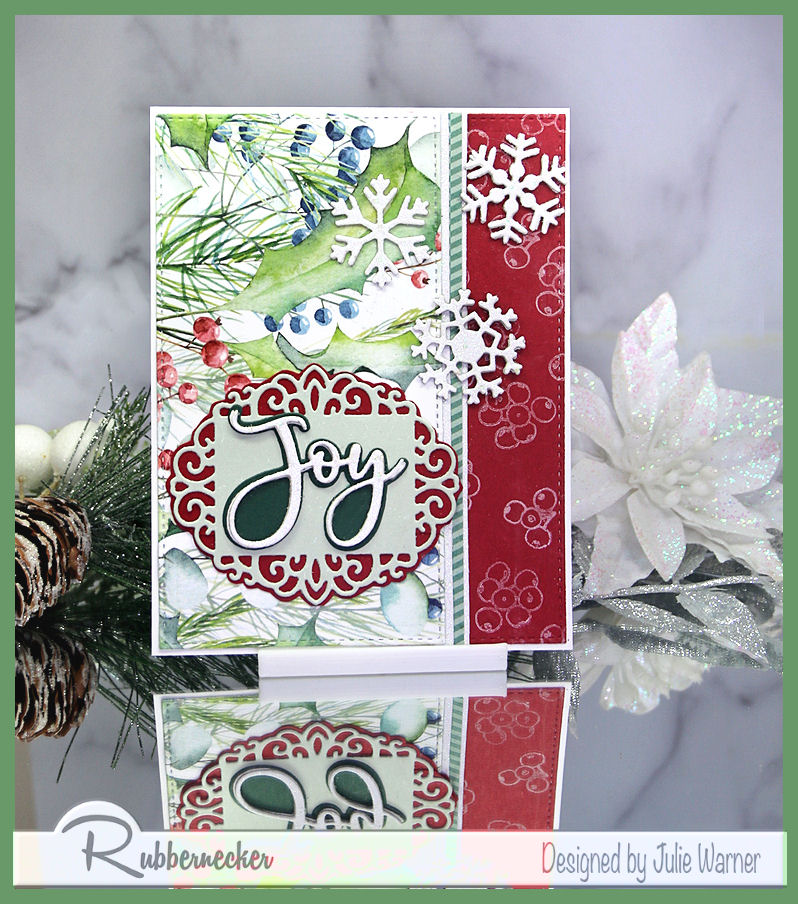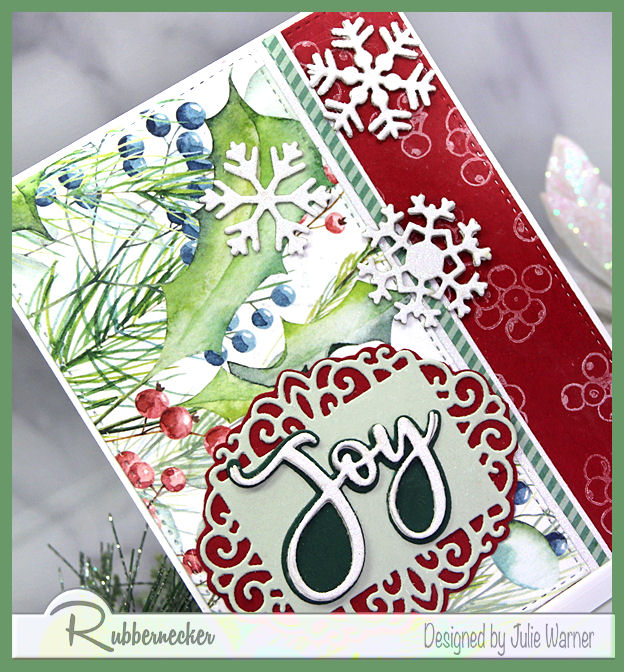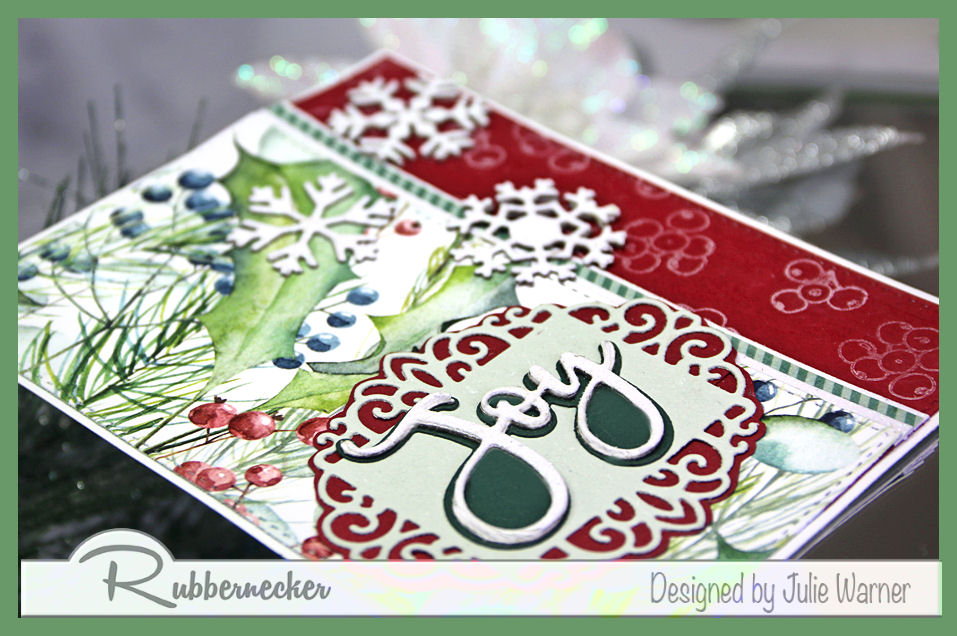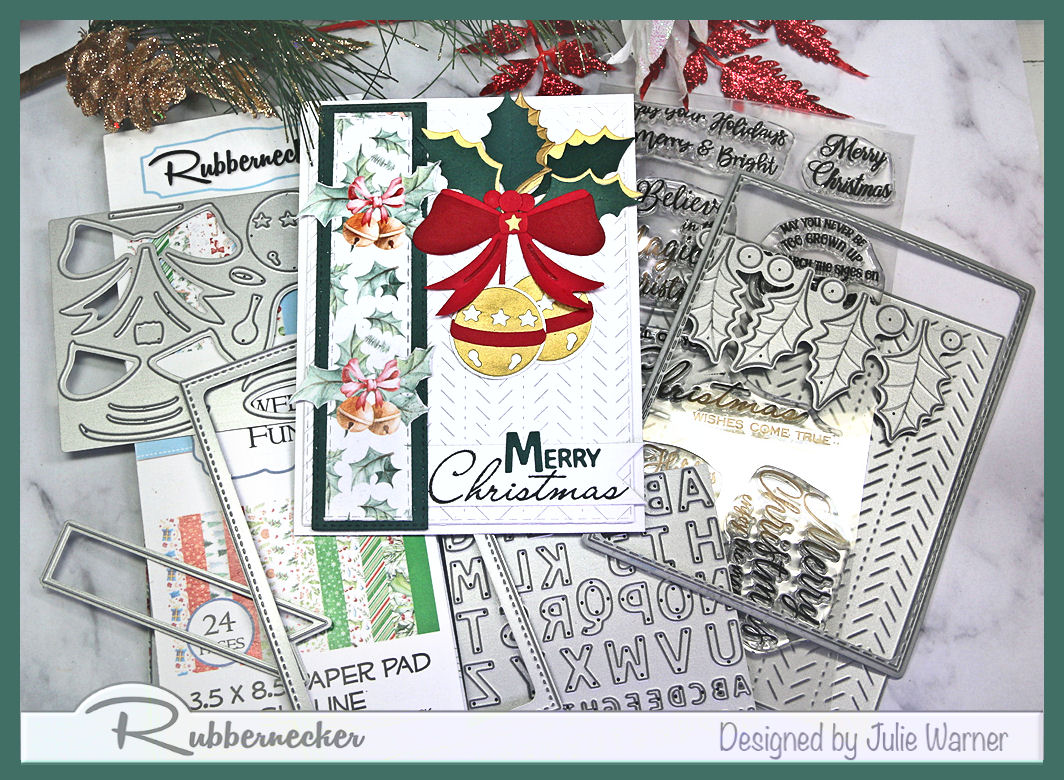
Almost entirely die cut Christmas card (one word of greeting was stamped), w/ a lovely pierced herringbone pattern background & brushed gold Christmas bells. I used a couple of techniques when die cutting the designer paper that are worth checking out (links provided).

A big congrats to Mimi, the newest Featured Stamper (FS862)! She has such a gorgeous gallery & while I adore watercolor, since her gallery is all beautiful watercolors, I went w/ an entirely die cut card. THIS is Mimi’s card I chose to case. I kept the Christmas theme & colors, but used die cuts & a pierced background instead of watercolor. The layout was kept similar, w/ most of the detail down the left side, but I used designer paper for my left side strip instead of pine boughs.
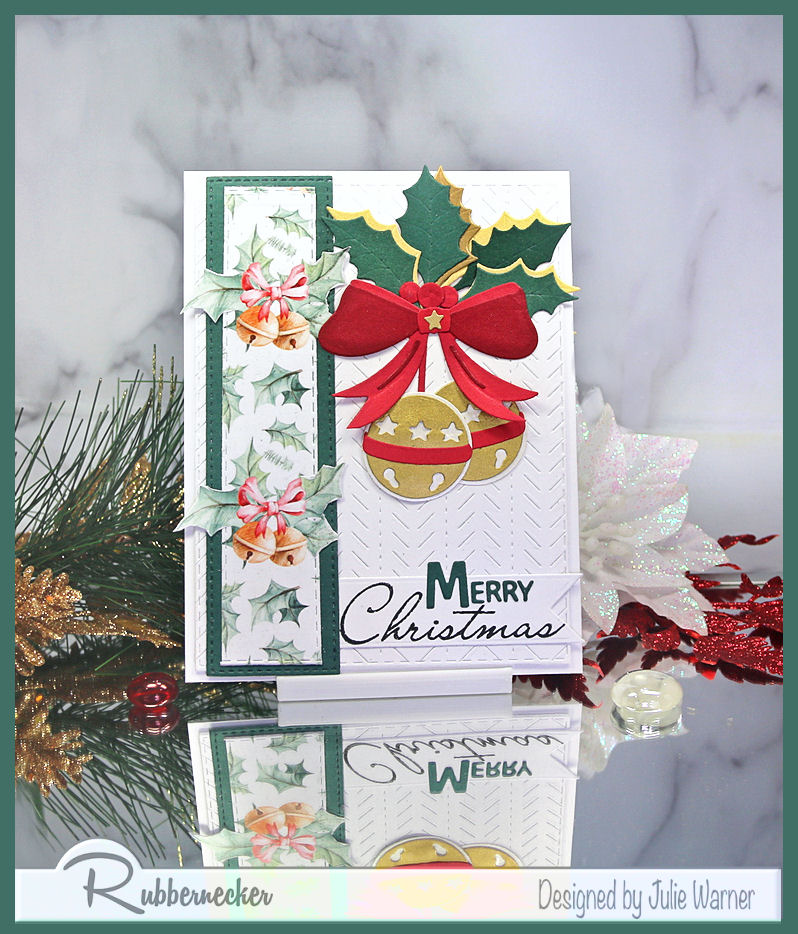
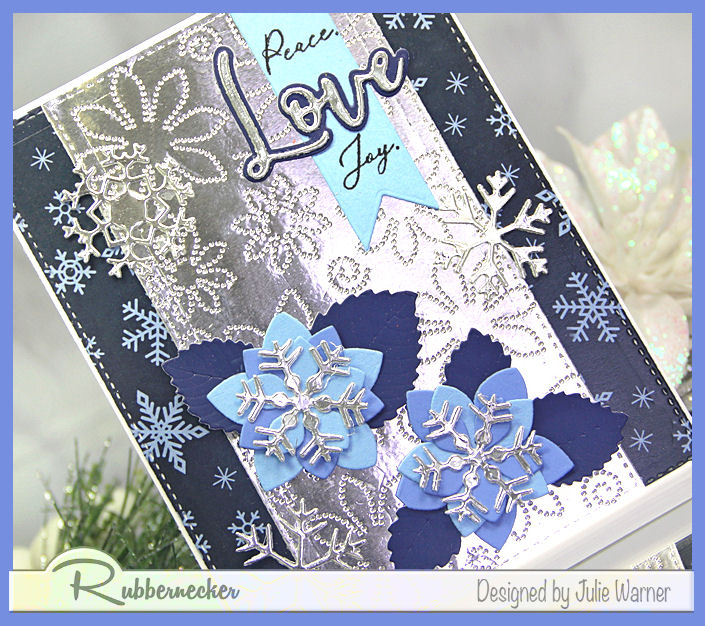
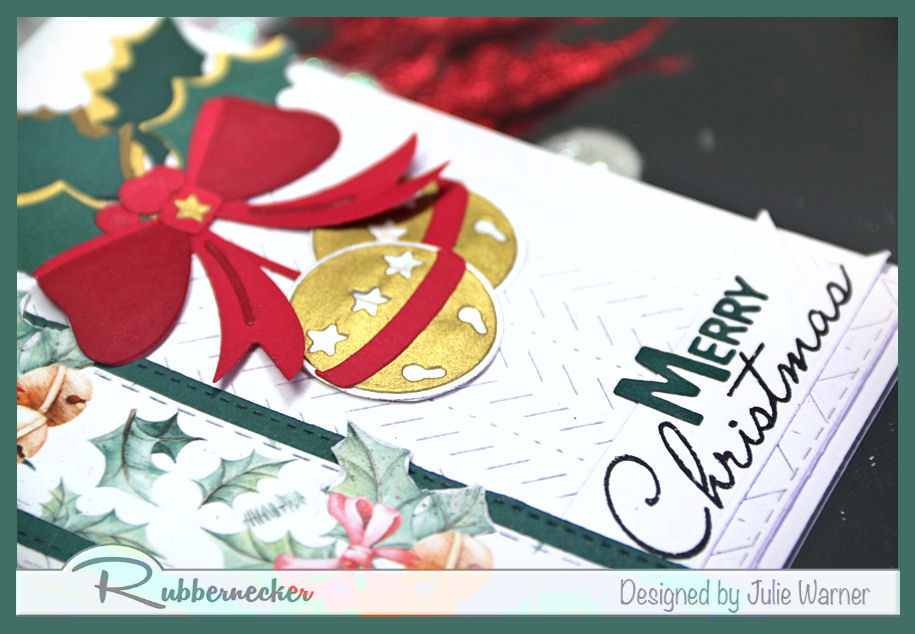
After I die cut the bells, bow & Merry part of the greeting, I used a circle die to cut the pearl shimmer paper behind the bells then put them together. The Christmas word was stamped onto a flag w/ the Merry attached above it. The white background was die cut w/ a stitched rectangle, then I used a background cover piercing die that reminds me of herringbone. For the side strip I used just a section of designer paper w/ a mini slimline die & used my out of the box method to cut the part w/ just the bells. I also resized this die to make it narrower. I used the same die to cut the pine green layer behind it.
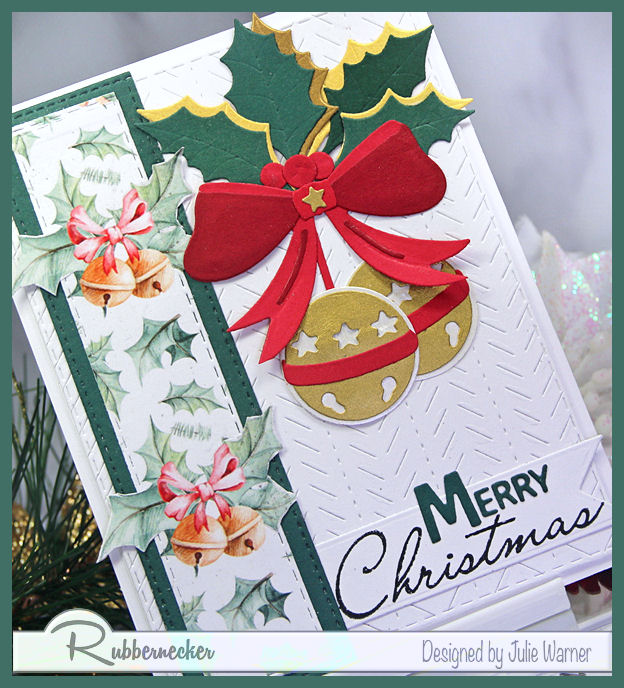
Since the bells were die cut out of brushed gold, I used that & a light gold for some of the holly leaves. A darker gold & 2 shades of pine green were used for the topmost holly leaves.
Thanks so much for stopping by!
![]()
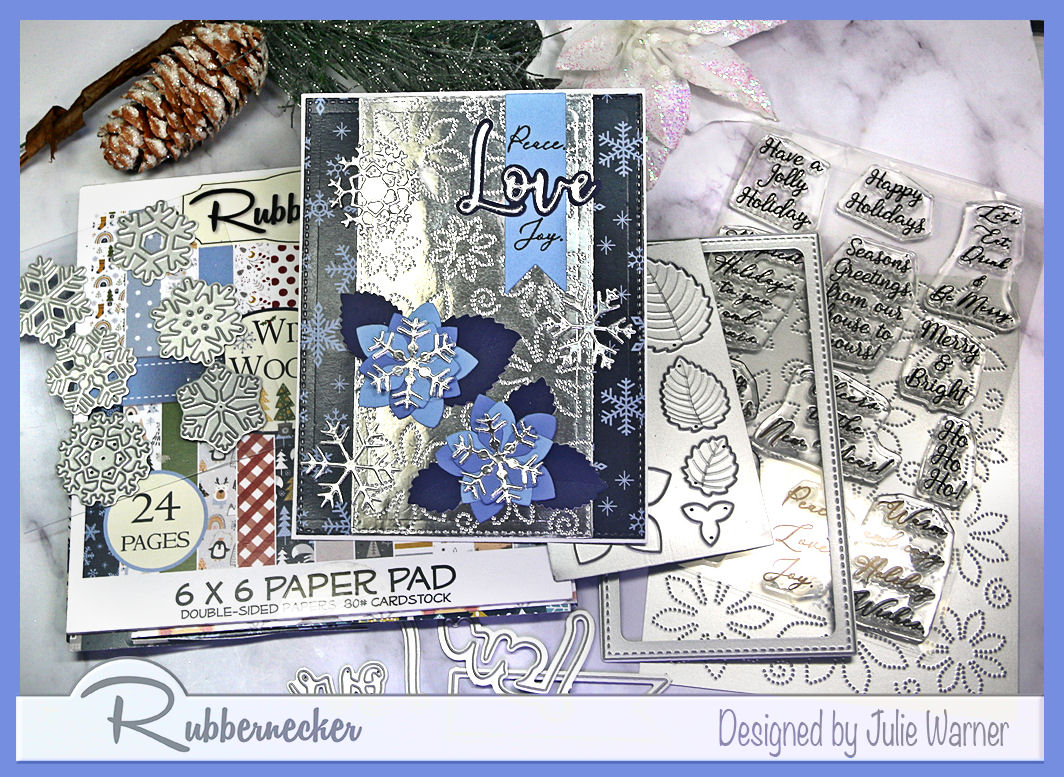
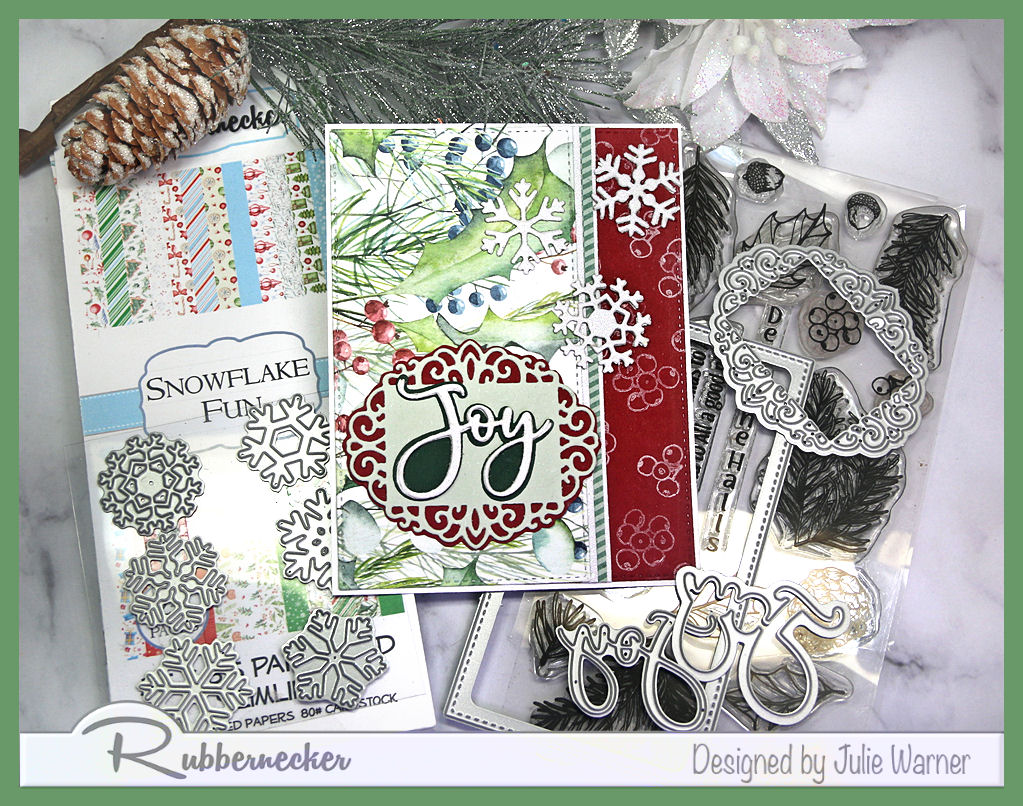
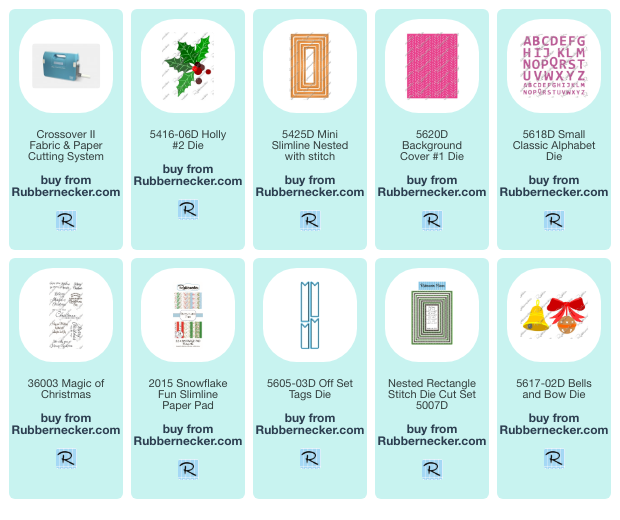
Supplies:
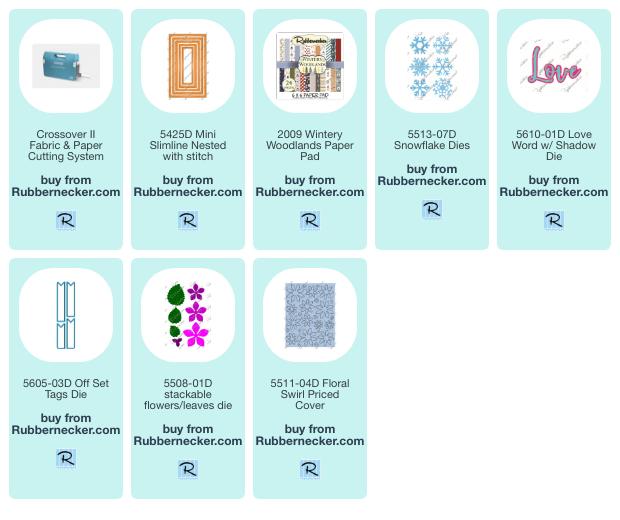
| Stamps: Rubbernecker Stamps: Magic of Chrismtas |
| Paper: Staples 110# white, 2 shades of pine green, 2 shades of red, 2 shades of brushed gold, Rubbernecker Stamps: Snowflake Fun Slimline paper pad |
| Ink: Memento tuxedo black |
| Accessories: Rubbernecker Stamps: Mini Slimline w/ Stitch, Rectangle Stitch, Circle, Holly #2, Off Set Tags, Bells & Bow, Background Cover #1, Small Classic Alphabet dies, Crossover II, MISTI |

|

|

|

|

|
You might also like: