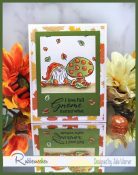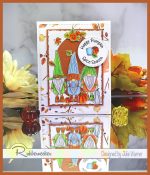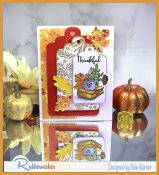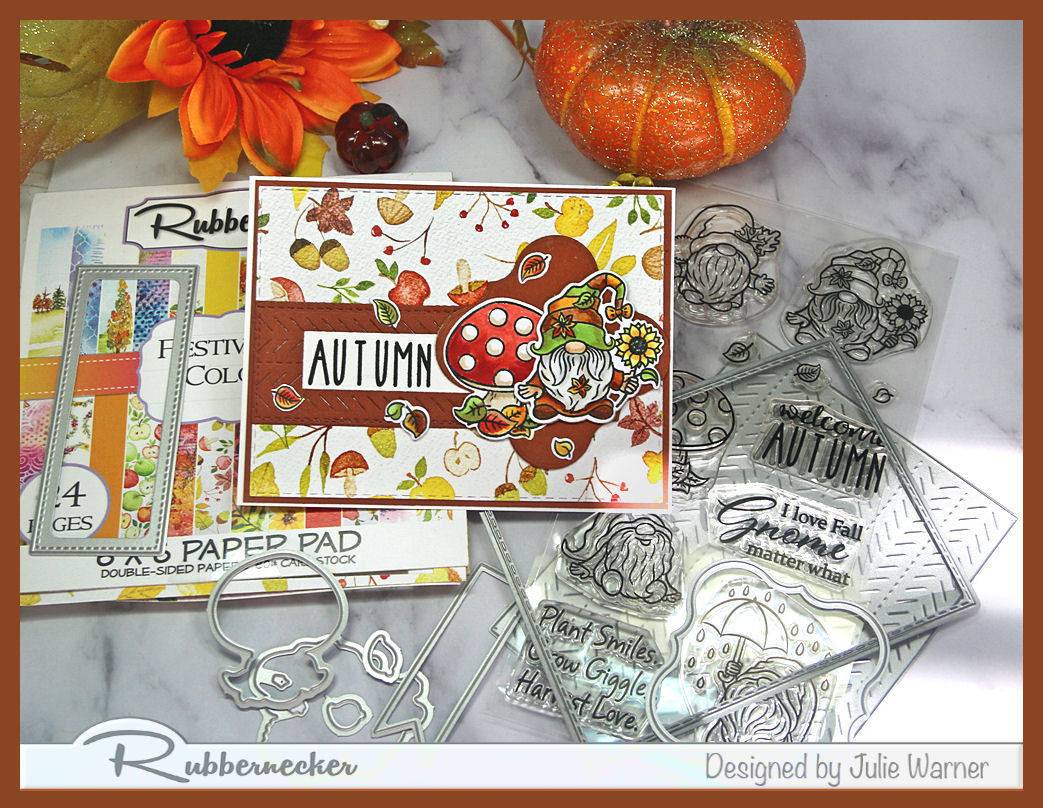
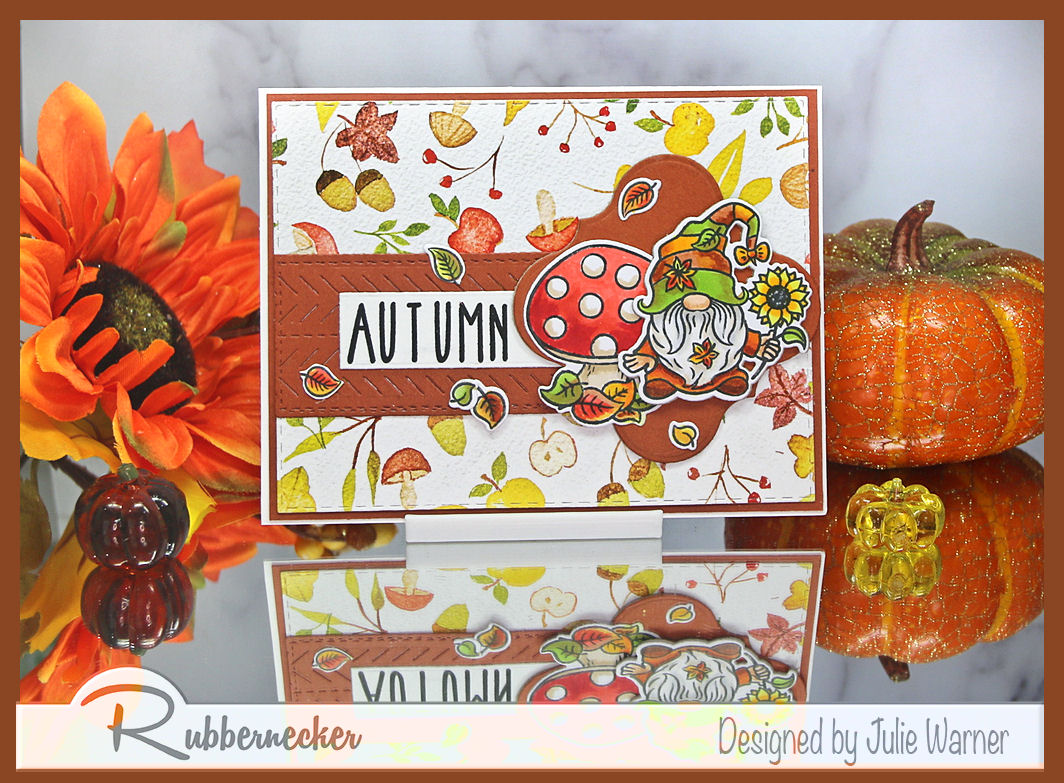
A fall card using some beautiful autumn paper and an adorable little gnome along side a big toadstool. Easy to make..the paper does most of the work & the matching dies for the images do the rest. Just add color to the images & change it up to match your paper.
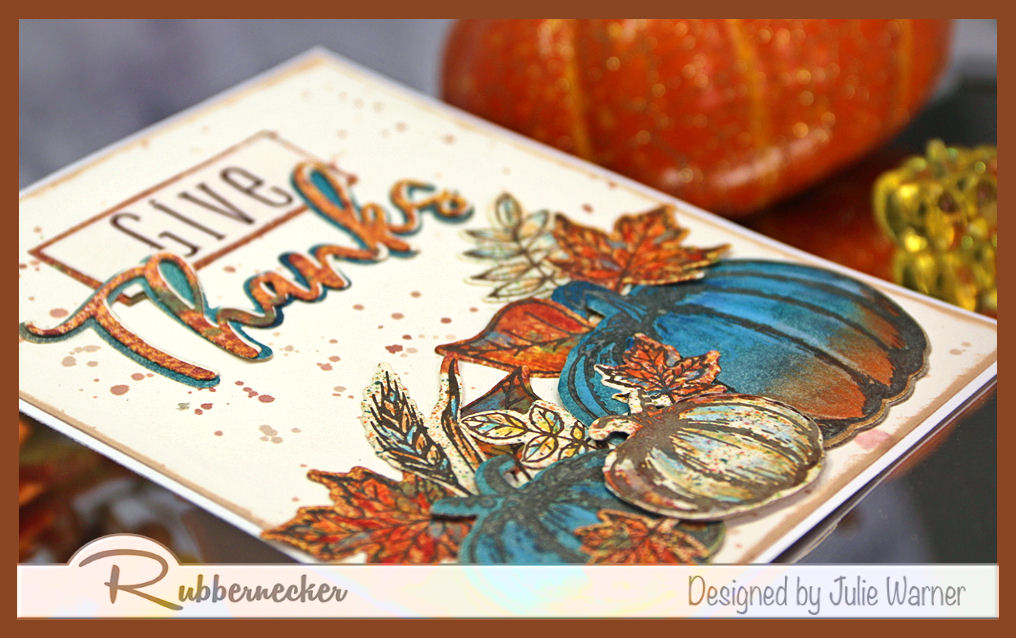
A big congrats to Netta, the newest Featured Stamper (FS869). She has a sweet little gallery & I chose THIS card to case. I kept the layout, but changed it from Christmas to autumn, used different images, colors & dies.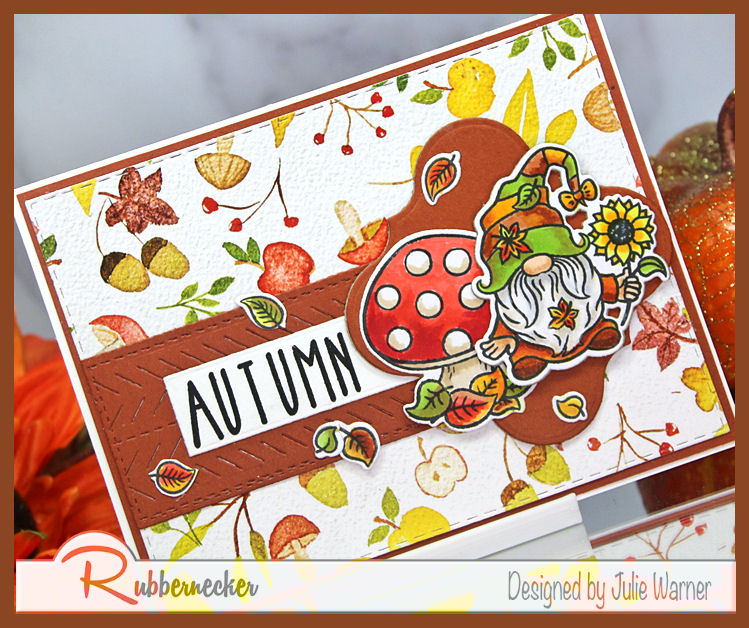
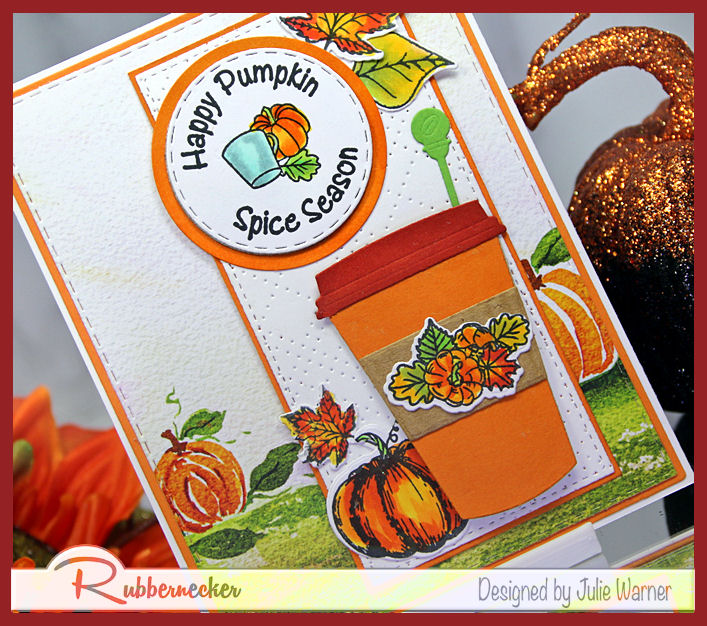
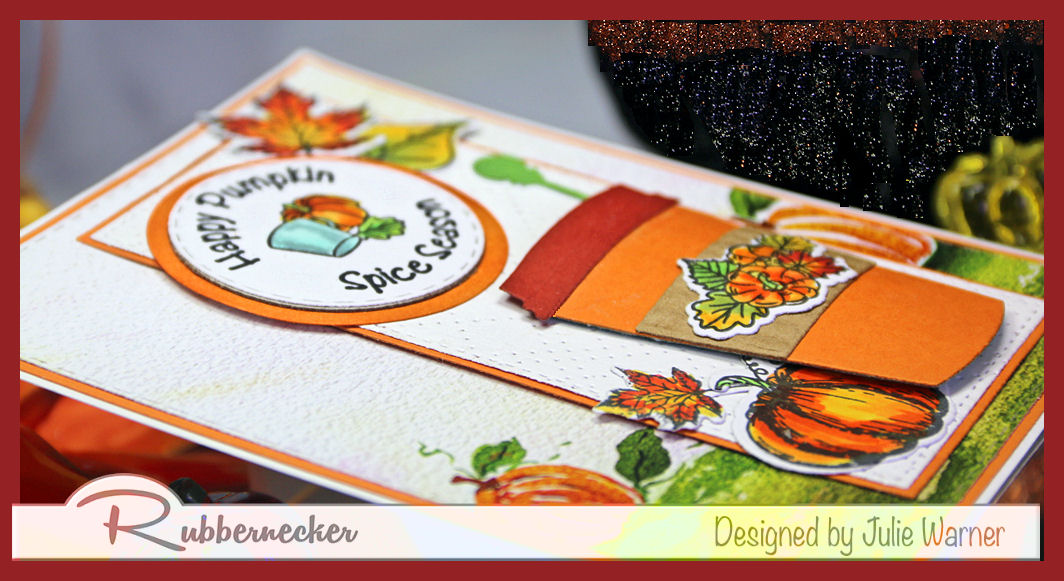
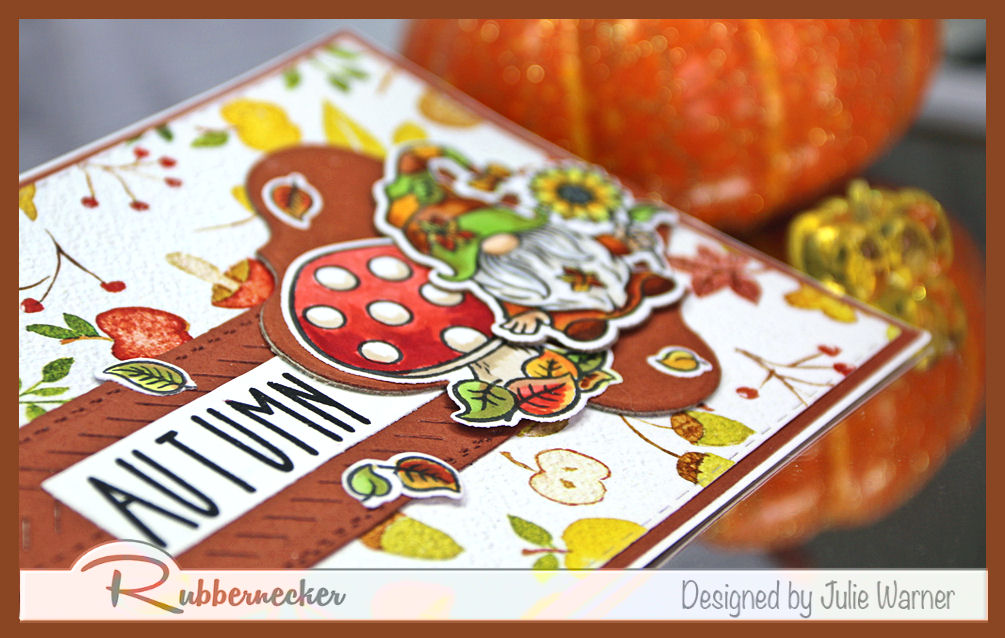
My cute little gnome & toadstool were colored w/ Copics & die cut. The rust colored band was die cut w/ a mini slimline die, then a herringbone looking piercing die to give it some texture. The Autumn was cut w/ a tag die & I stuck the pointy ends under the rust panel. The main rust panel & the gnome were popped up a bit.
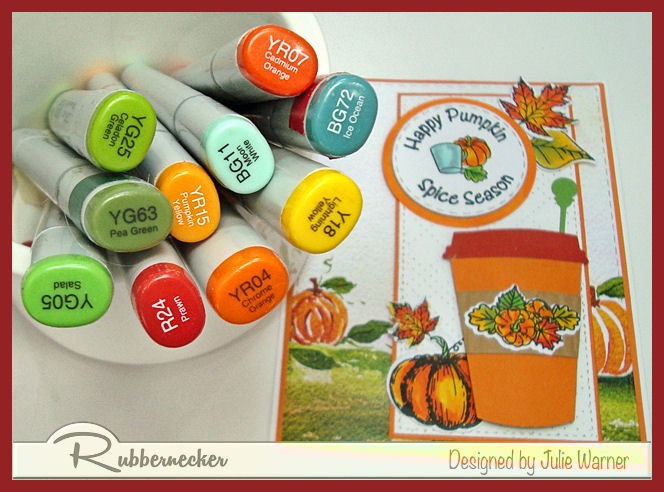
Here are the Copics I used:

Thanks so much for stopping by!
![]()
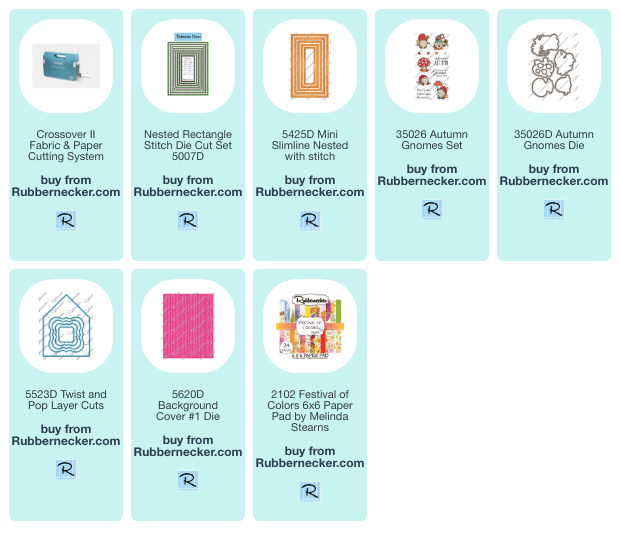
Supplies:
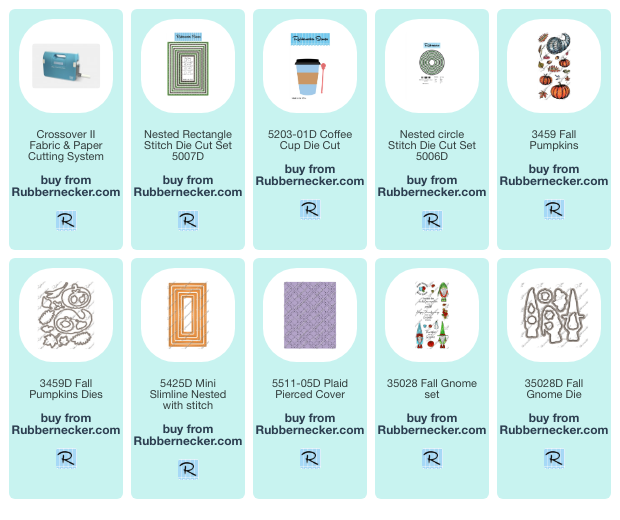
| Stamps: Rubbernecker Stamps: Autumn Gnomes set |
| Paper: Staples 110# white, rust, dp (Rubbernecker Stamps: Festival of Colors) |
| Ink: Memento tuxedo black |
| Accessories: Rubbernecker Stamps: Stitched Rectangles, Mini Slimline Stitch, Twist & Pop, Autumn Gnomes, Background Cover #1 dies, Crossover II, Misti, Copic Markers |

|

|

|

|

|
You might also like: