• Tag Archives trifold card
  • ODBD Sept Release Blog Hop

    Julie Warner - https://thewritestuff.justwritedesigns.com

    Welcome to Our Daily Bread designs September Release Blog Hop! If you arrived here from the blog of the fabulous Betty, then you are in the right place. If not, you may want to head over to the ODBD Blog and start from the beginning.

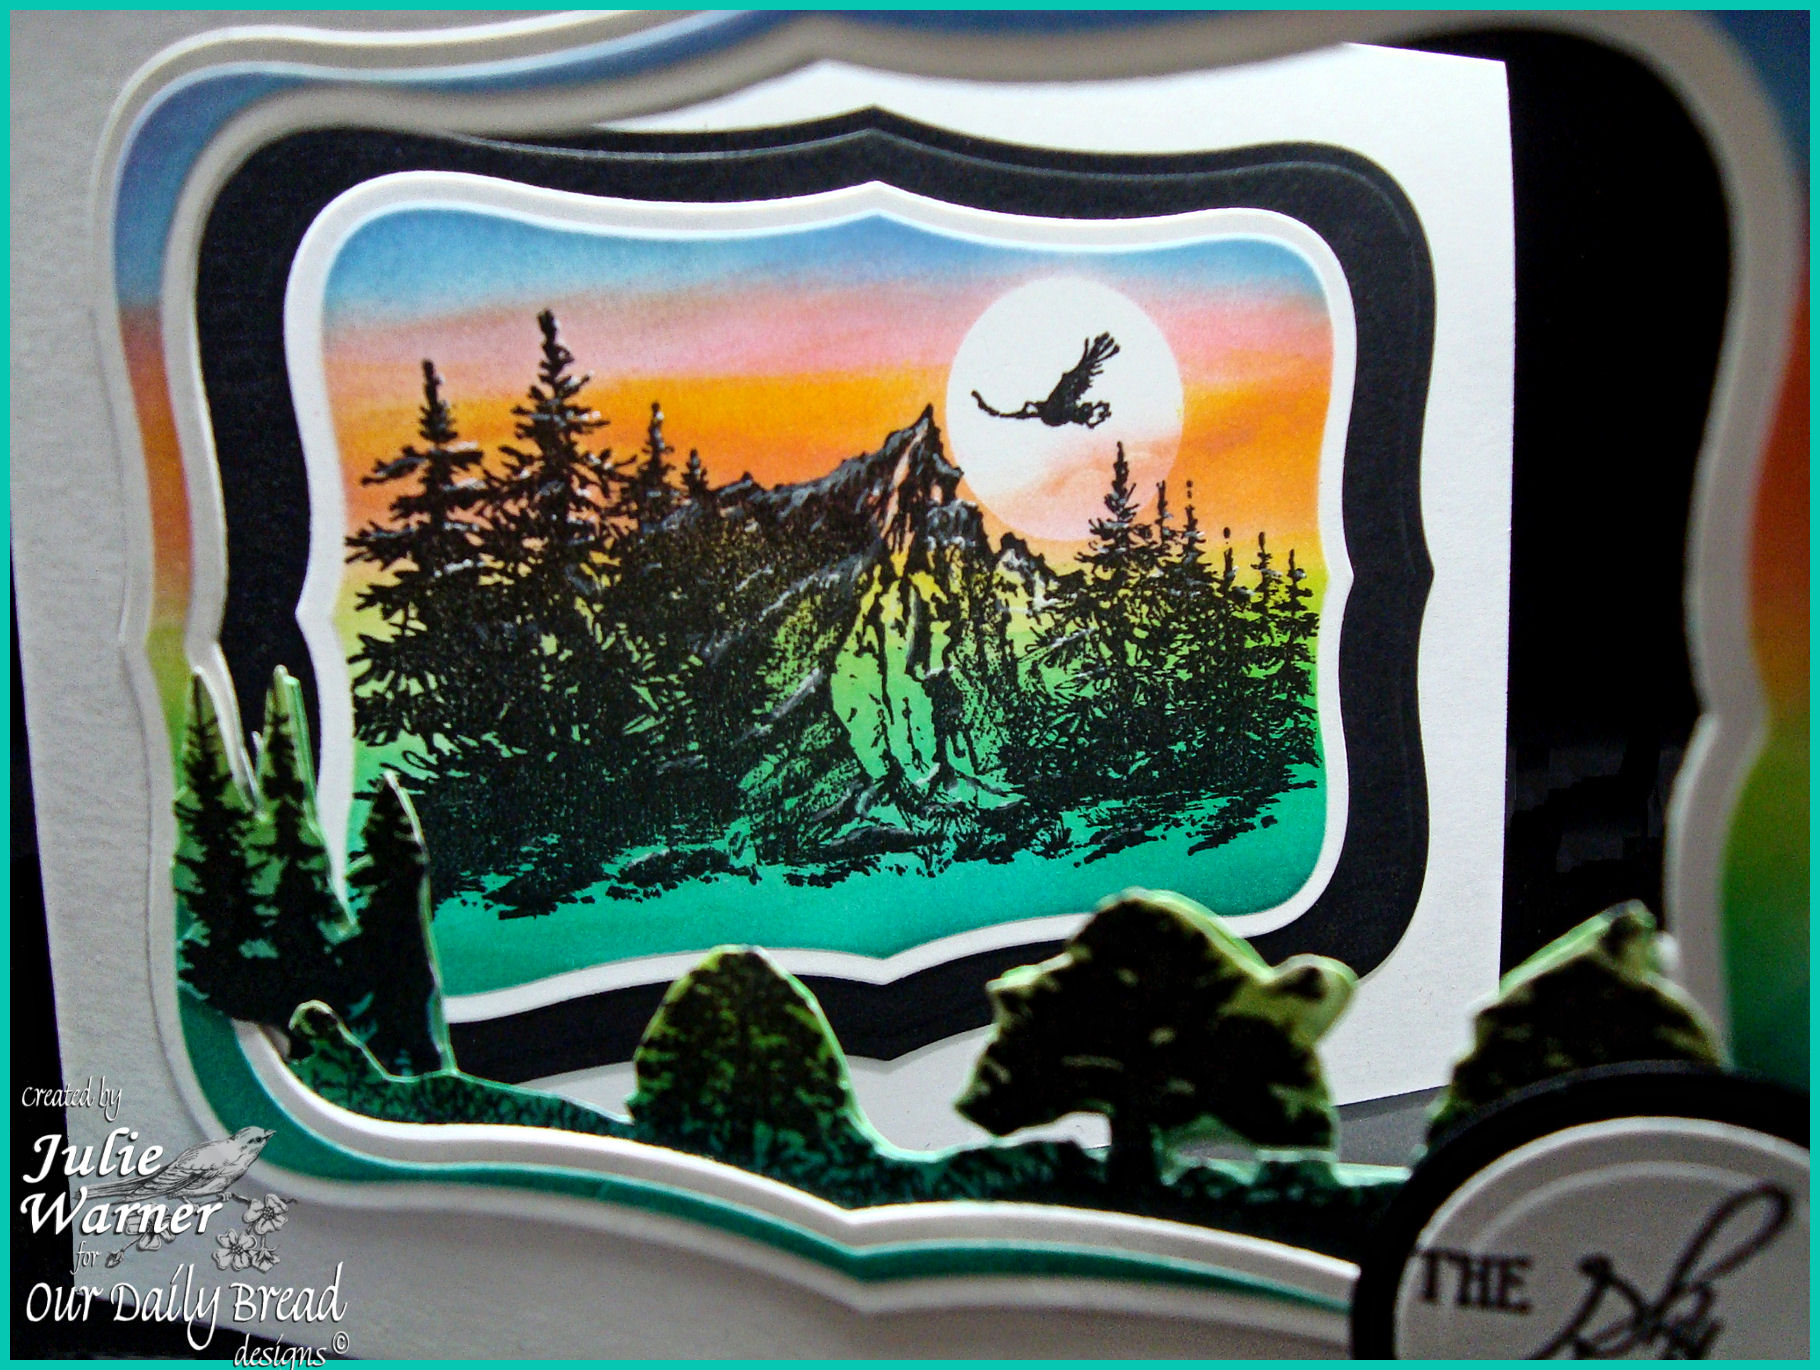
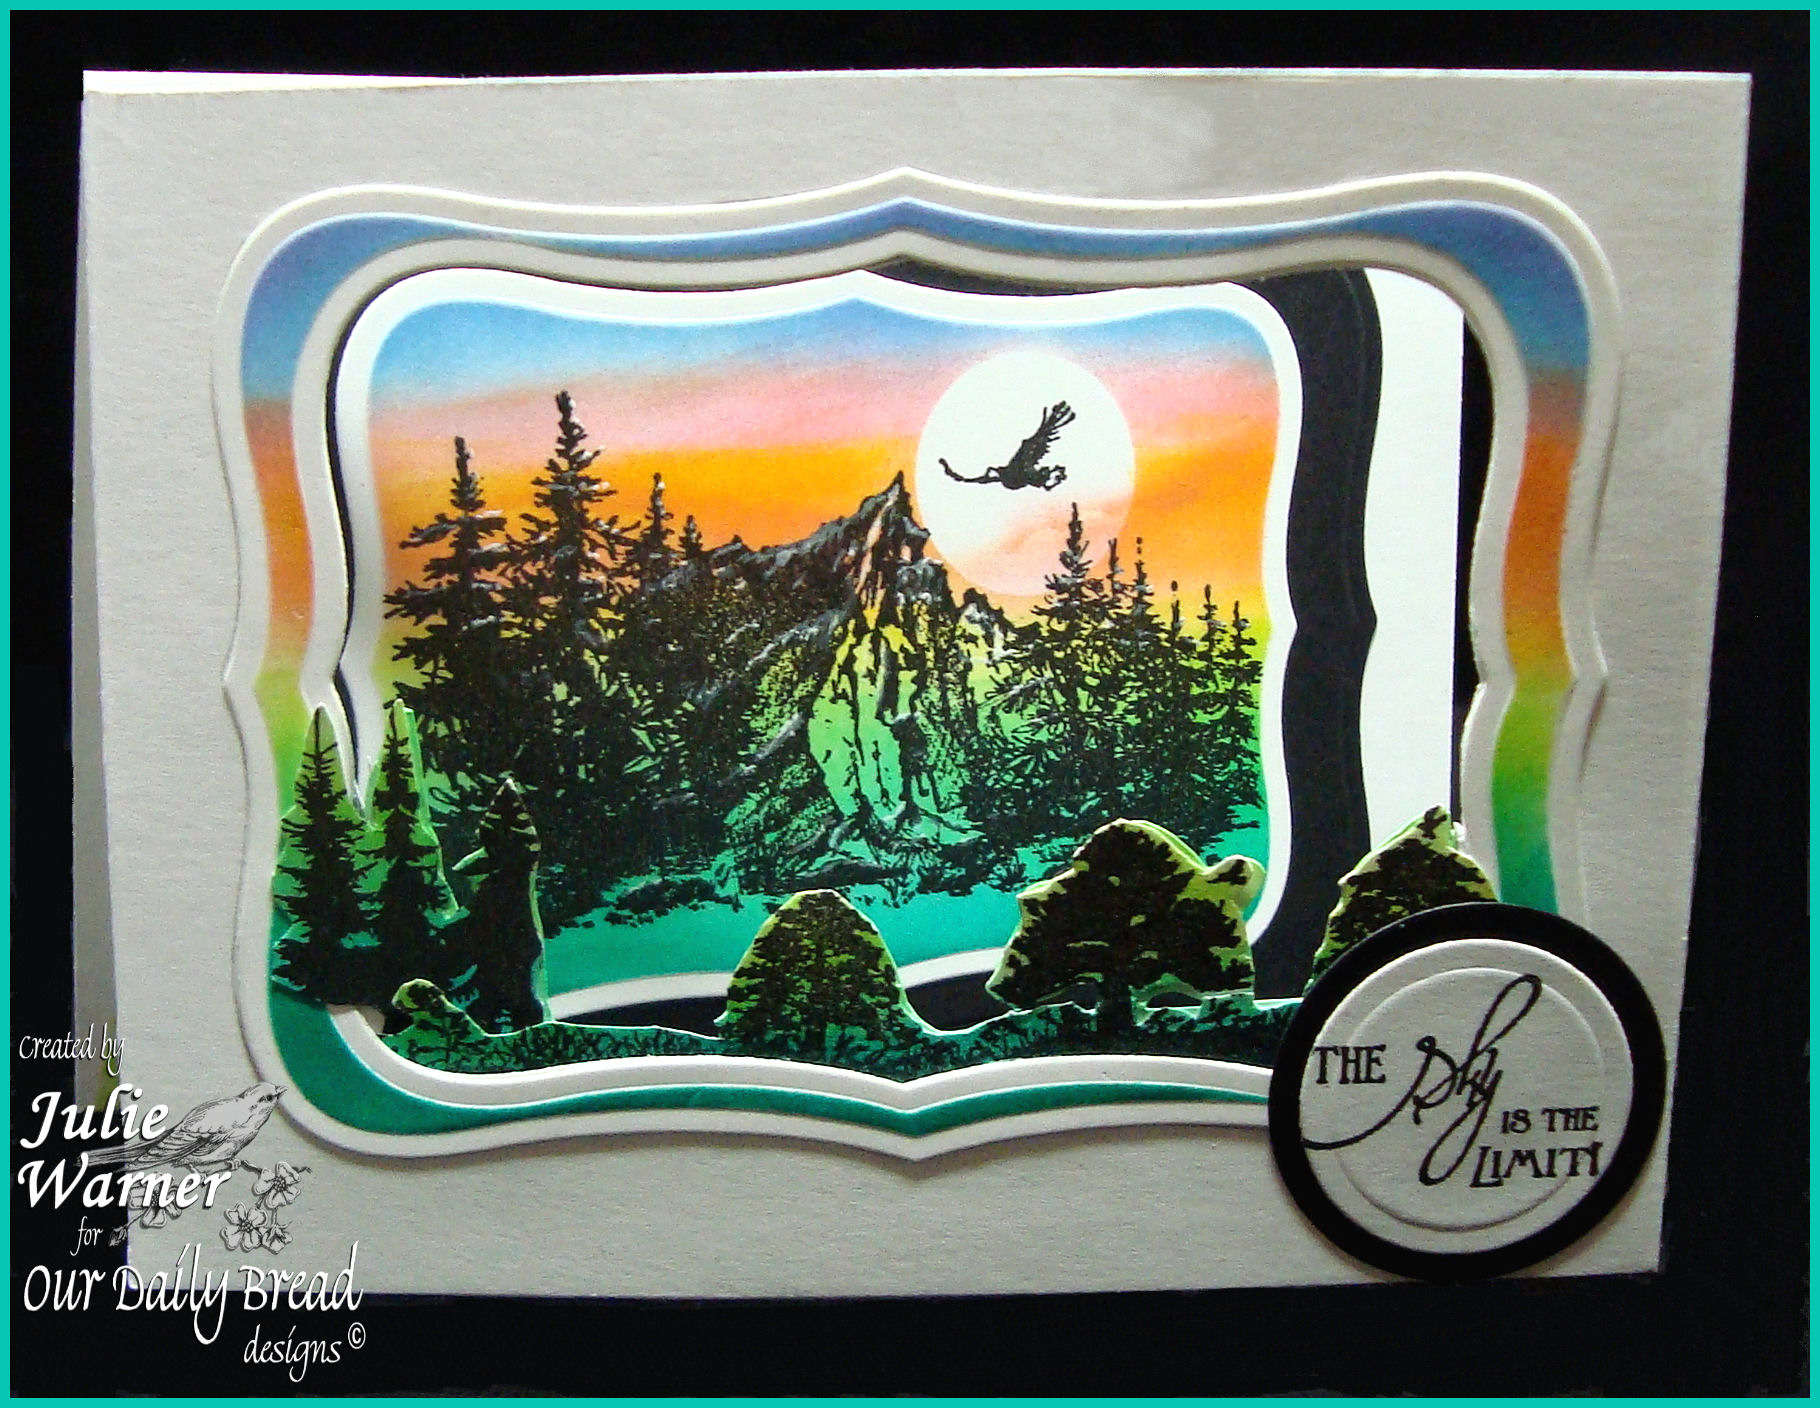
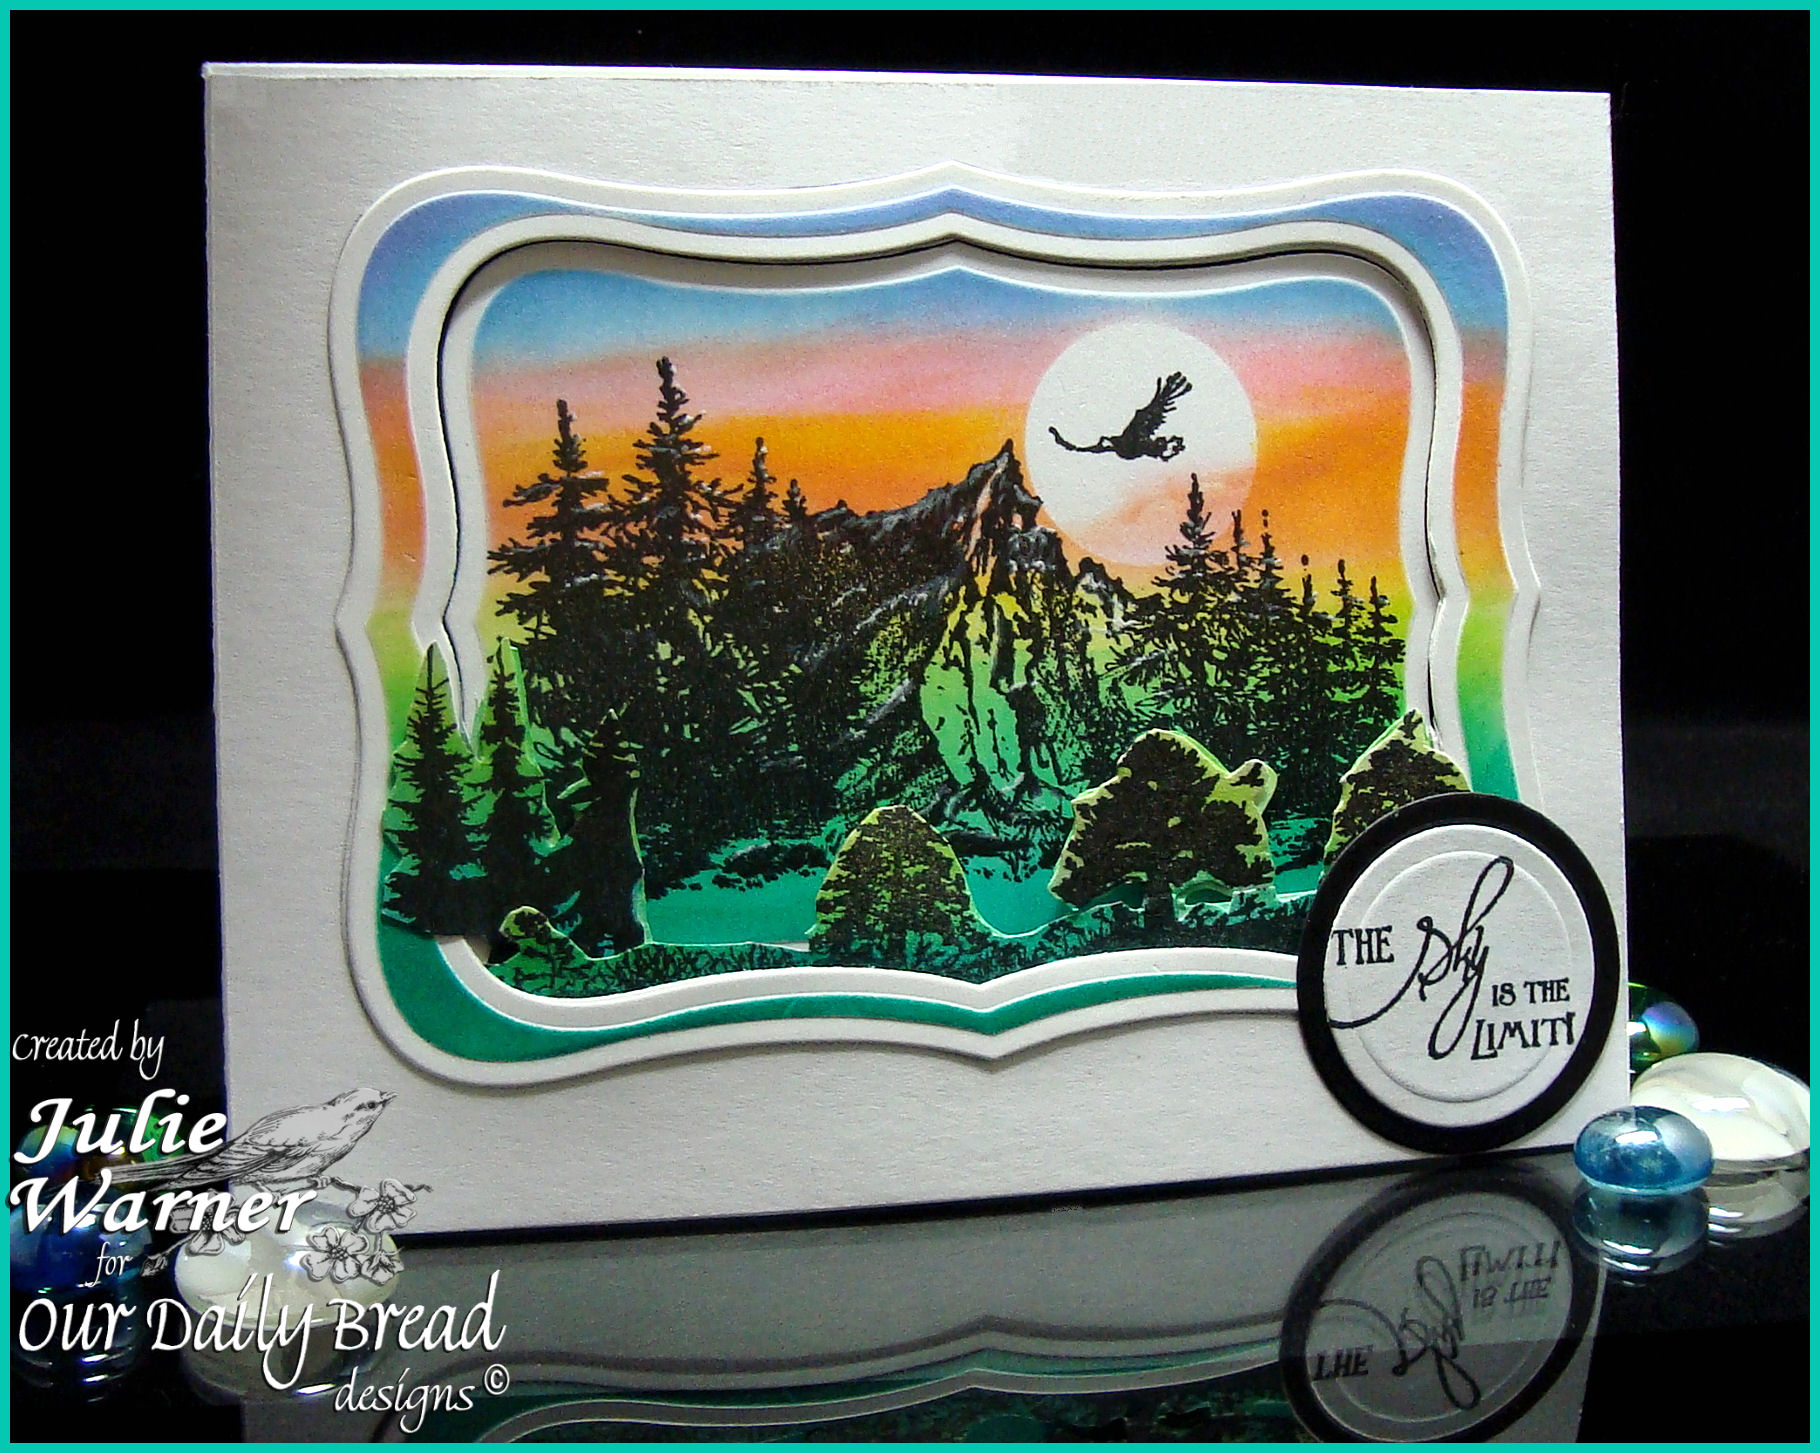
    For my card, I’m using the fabulous, Keep Climbing set! I also used a portion of last month’s Bookmarks-Trees set for the front window. I just love this mountain scene and the fonts are beautiful in all of this month’s sets.


    Julie Warner - https://thewritestuff.justwritedesigns.com

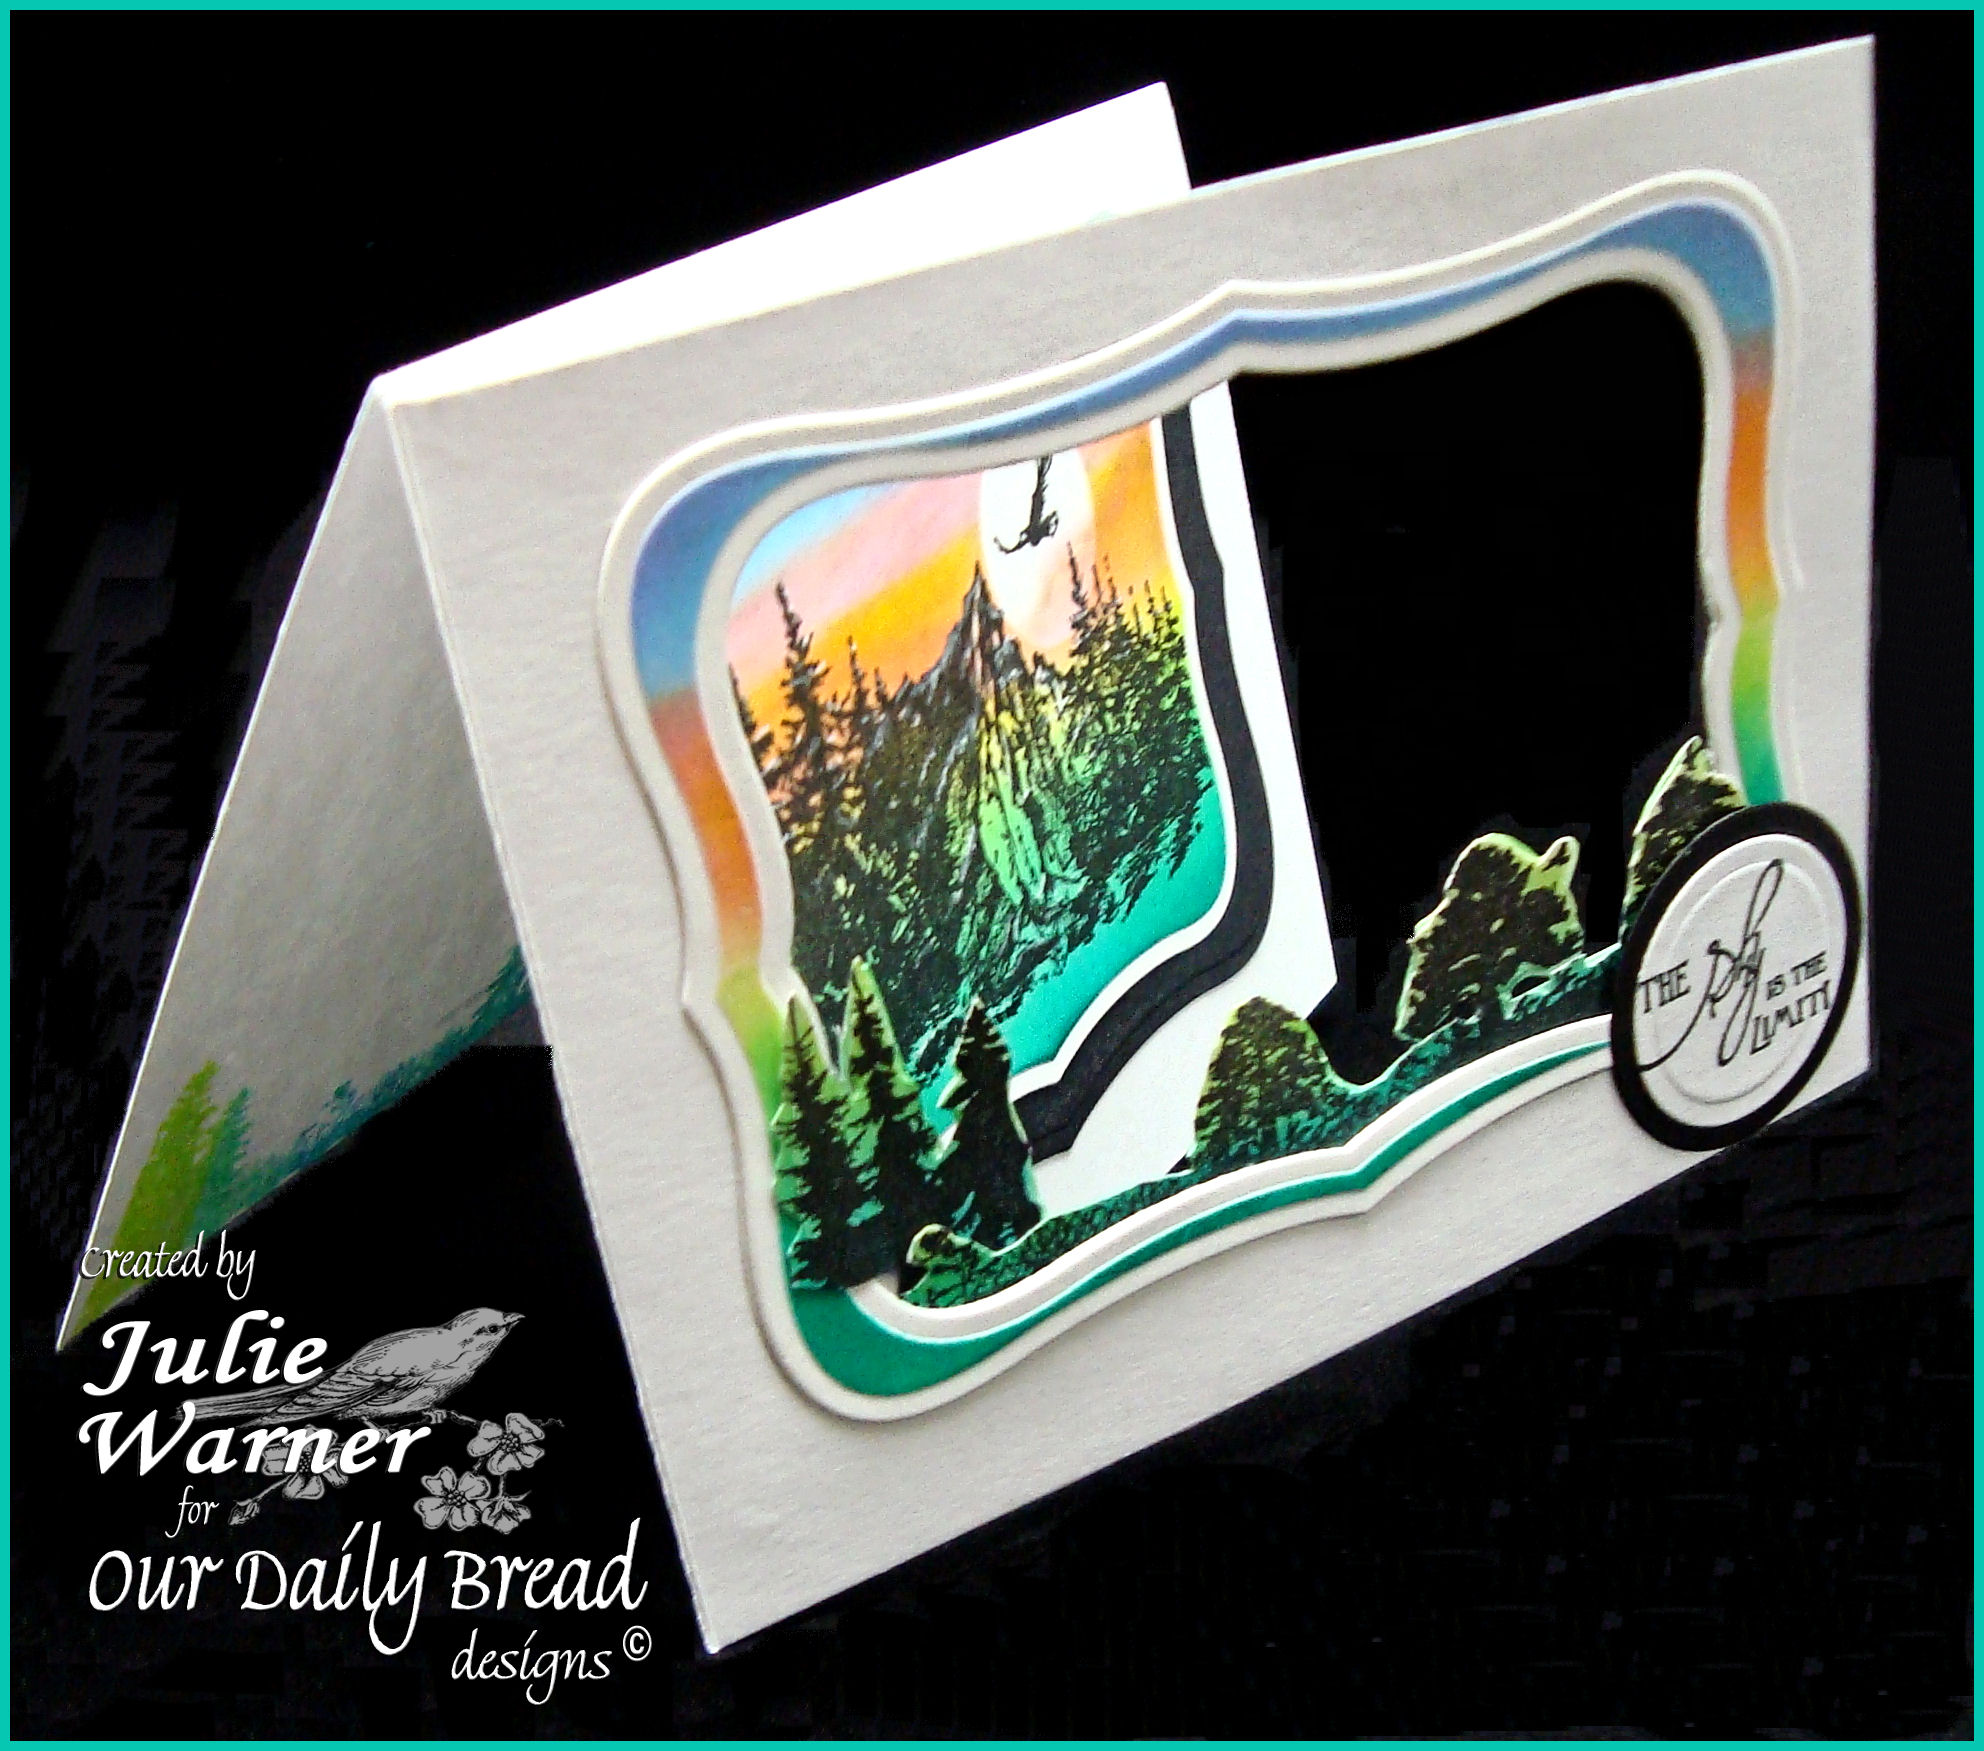
    My card is variation of a trifold, with the front fold being an open window. For the main panel and die cut frame on top, I die cut the panel first using the Spellbinders Labels 8, left the dies in place, put a small circle mask for the moon and sponged on the colors with ink from 2 different Kaliedacolor pads. After removing the mask, I stamped the mountain scene then removed the dies. The largest one became my frame and the smaller one is my main panel. I used the smaller labels 8 to die cut the opening in the top section of my card (to make the window opening) and attached my frame on top.

    Julie Warner - https://thewritestuff.justwritedesigns.com

    I stamped the trees from the Bookmark-Trees set on a separate piece of card stock which was also sponged w/ the green inks, and cut around the top of the trees. I attached this mostly to the inside of my window but let the edge trees come out of the opening. So the inside would look neat, I die cut another piece of white card stock w/ the same size label 8 and attached it to the inside of the window. I also added a circle die cut sentiment on the front lower corner, matted on a larger black circle. The finished card is 5.50 x 4.25.

    Julie Warner - https://thewritestuff.justwritedesigns.com

    Hopefully, you are able to see how it works a little better from this pic, but just in case, here’s a super short (like 17 seconds) video showing how it opens and folds. Sorry about the annoying little ads, but whatcha gonna do? It’s You Tube, so just hit the little x to close them. I’m sure there’s a way to bypass them, but I haven’t figured it out yet.


    Thanks so much for stopping by!


    Supplies:

    Stamps: Our Daily Bread designs –  Keep Climbing, Bookmarks-Trees
    Paper: Neenah white, black
    Ink: Ancient Page coal, Kaliedacolor Riviera & Pastel
    Accessories: Spellbinders labels 8 & circle dies

  • ODBD Feb Release Blog Hop!

    Julie Warner - justwritedesigns - https://thewritestuff.justwritedesigns.com

    Welcome to the Our Daily Bread designs February Release Blog Hop! If you came here from ODBD Blog , you are in the right place. If not you might want to start at the Our Daily Bread designs Blog and start from the beginning. If you get lost along the way, simply return there, where the entire hop is listed with links.

    Julie Warner - justwritedesigns - https://thewritestuff.justwritedesigns.com
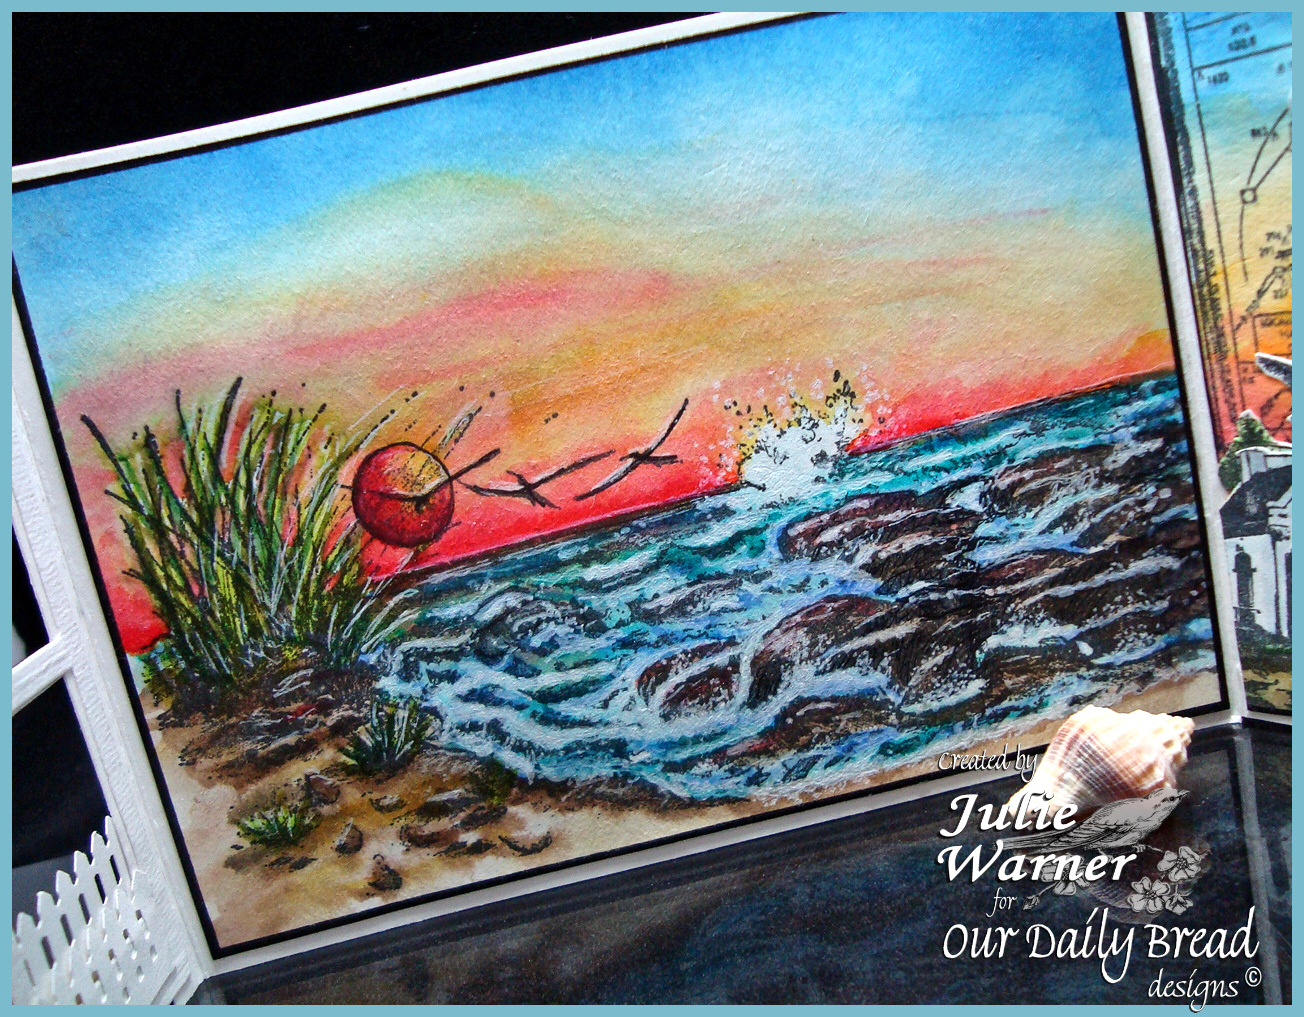
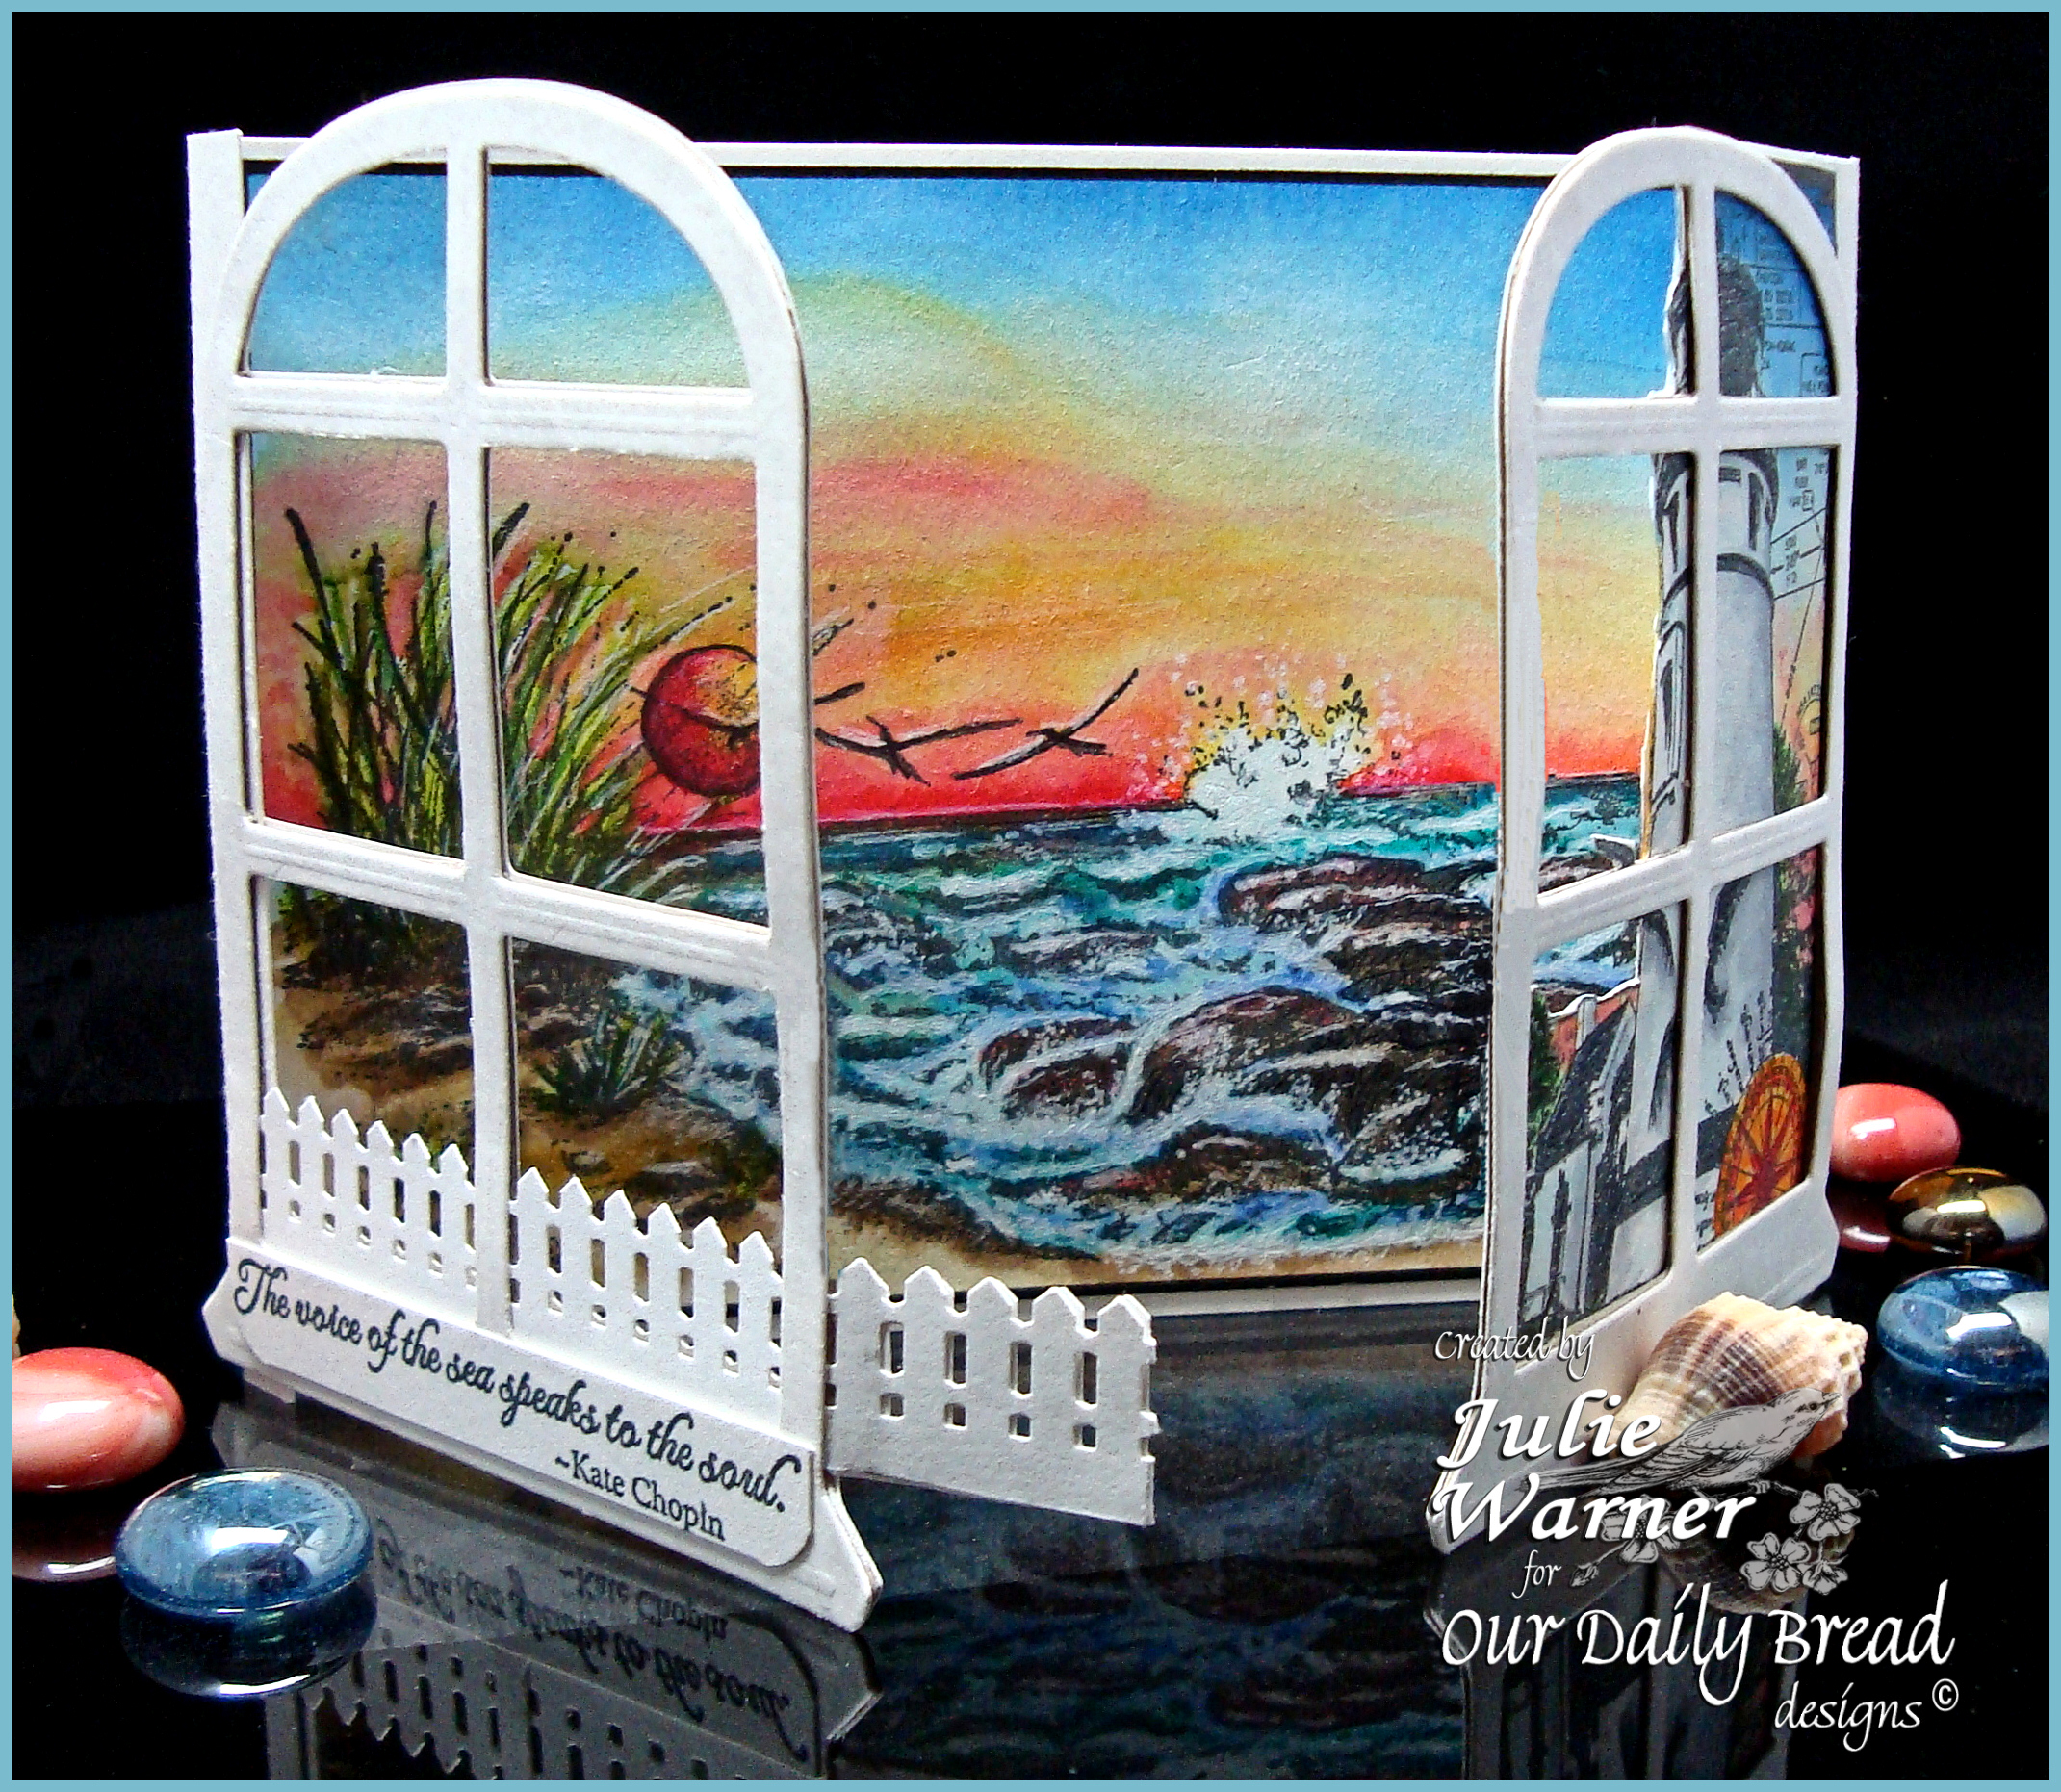
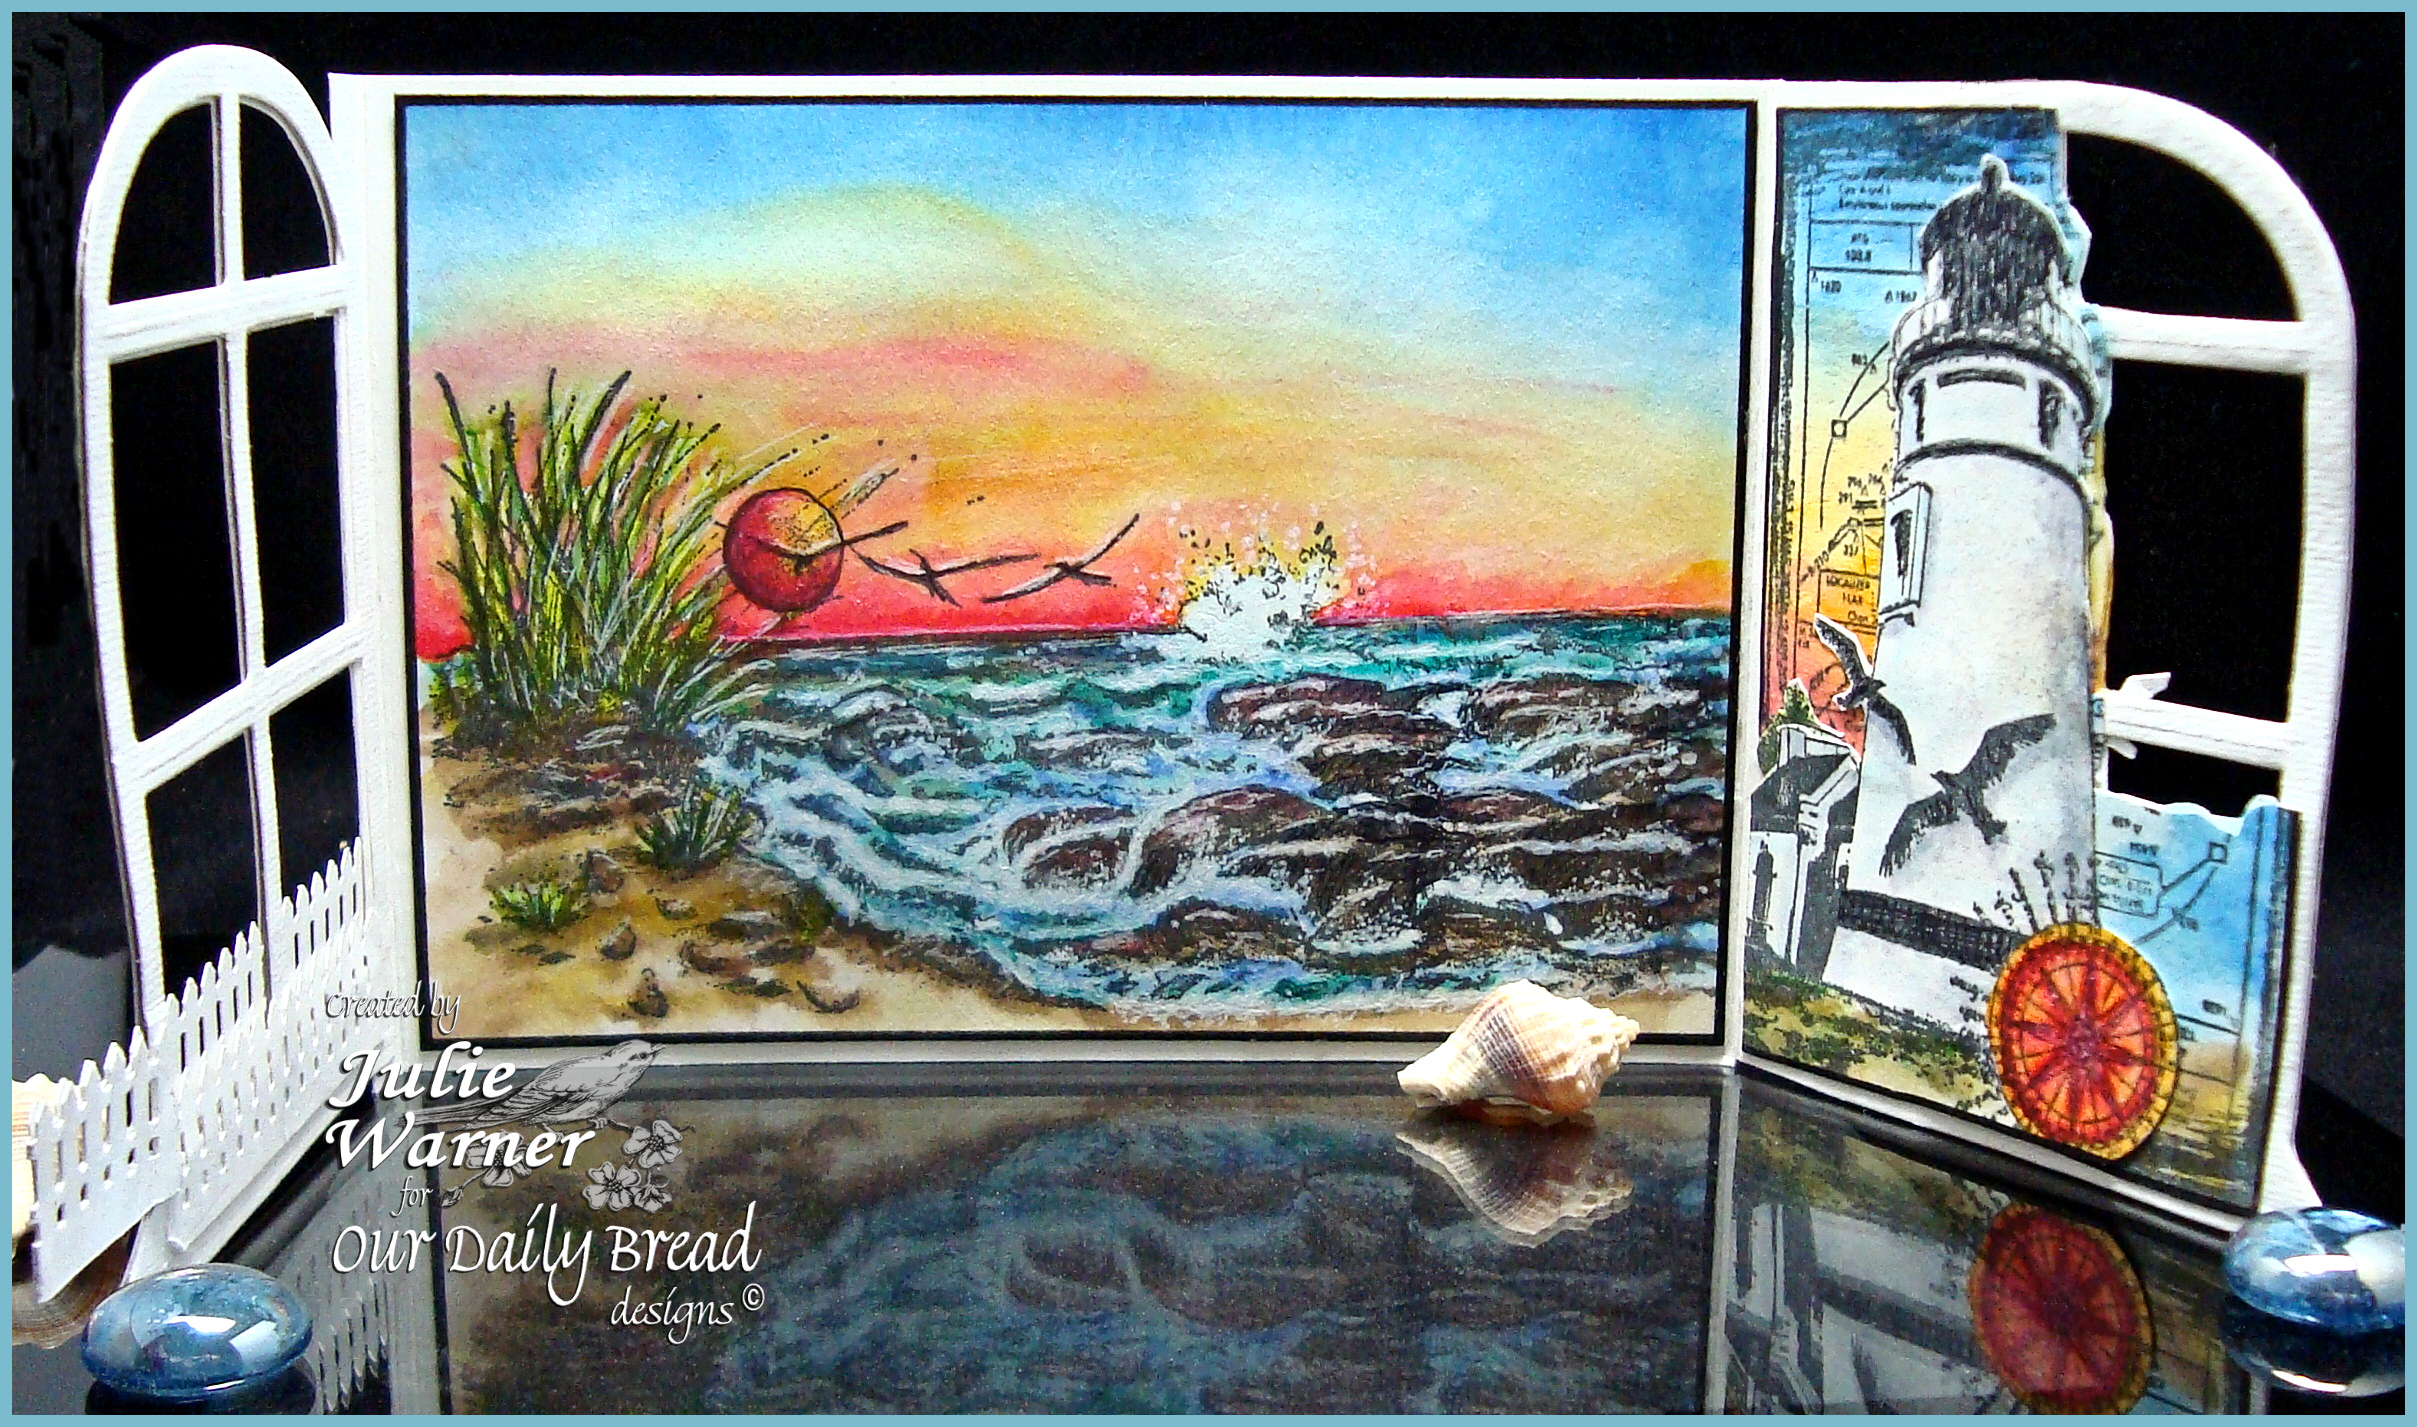
    Isn’t this a wonderful seascape? When I first saw it, I knew right away I wanted to water color it and pair is somehow w/ this lovely lighthouse image I have. I stamped the Mighty Sea onto water color paper, masked the right side and stamped a partial right side of it again. It still wasn’t quite long enough for my 6.25 x 4.50 (A6) card size, so I used some black and gray drawing pens to extend the scene on the right side by about another inch. It was painted using Peerless water colors and a couple of water brushes. The lighthouse image was done the same way on a separate piece of w/c paper and I trimmed it to fit. I used a white gel pen to add highlights and spray from the surf to the rocks.

    Julie Warner - justwritedesigns - https://thewritestuff.justwritedesigns.com

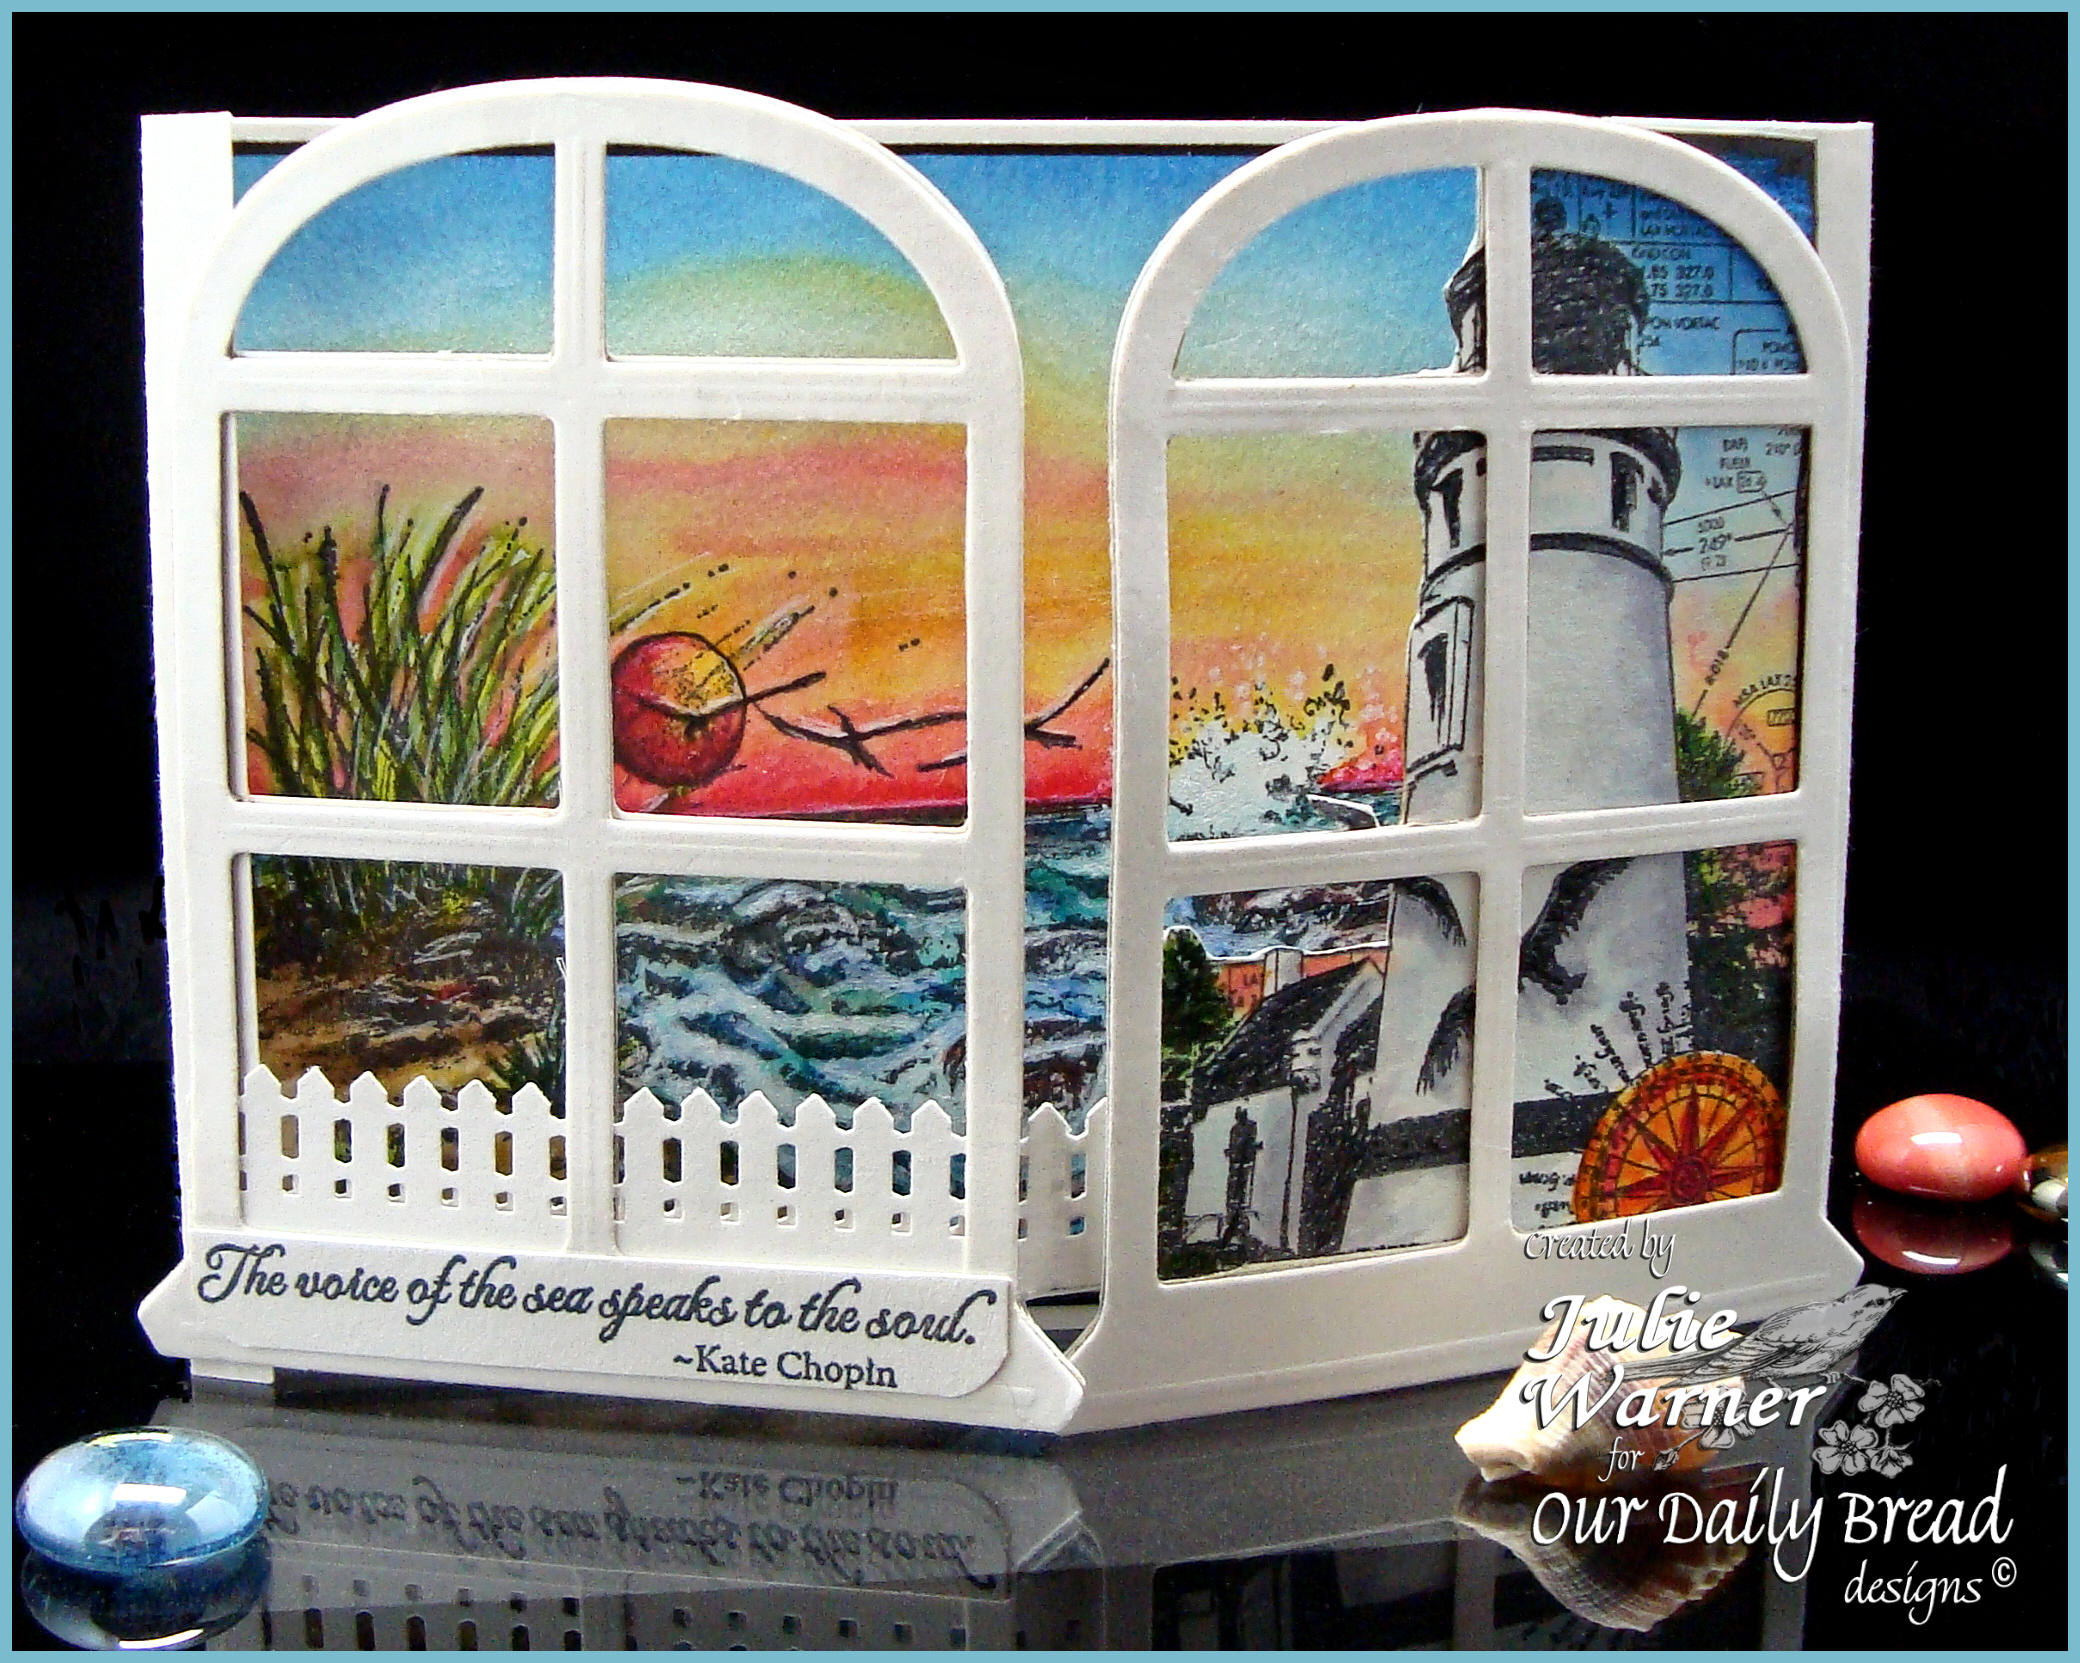
    For the window segments, I die cut 4 windows out of the same water color paper. I used w/c paper since it’s a little heavier than c/s and the open windows would need all the support they could get. I also die cut 2 pieces of cardboard for the windows. The cardboard was used to sandwich in between the other two layers to give a little more stability. Since I knew I wanted to make a trifold card, I determined that with the windows on either end, I could make my card base out of a regular piece of 8.50 wide piece of c/s. I cut the height  to 4.50 then scored in 1.25 from each end along the 8.50 width. The top pair of windows were attached to their matching pieces of cardboard. On the right I attached this on top of the lighthouse then attached one of the two single windows on the back side. Since the lighthouse is a pretty symmetrical image, I stamped, colored and cut out a second image and attached it on top of the inside window.

    Julie Warner - justwritedesigns - https://thewritestuff.justwritedesigns.com

    On the left, I trimmed off a little of the hinge before I added a punched fence between the window layers. I left a little tab of fence because it helps to keep the trifold card closed when it’s tucked behind the right side window. The sentiment was trimmed and added on top of the window frame.

    Now I’ll send you on your way to the next stop…the Fabulous Dawn Lusk! I know she’ll have something amazing to share!

    Thanks so much for stopping by!


    Supplies:

    Stamps: ODBD – The Mighty Sea, The Sea,  Keep My Lamp Burning
    Paper: water color
    Ink: Ancient Page coal
    Accessories: Peerless water colors, water brushes, ODBD Window die (by Spellbinders),  Martha Stewart fence border punch, small corner rounder, white gel pen