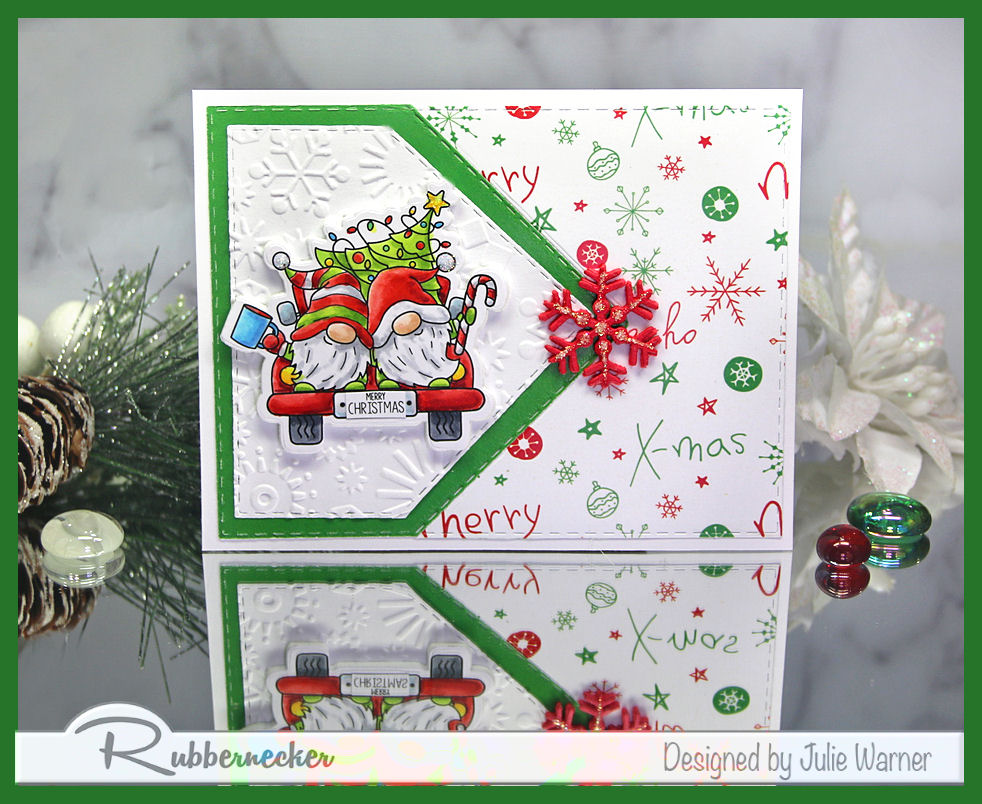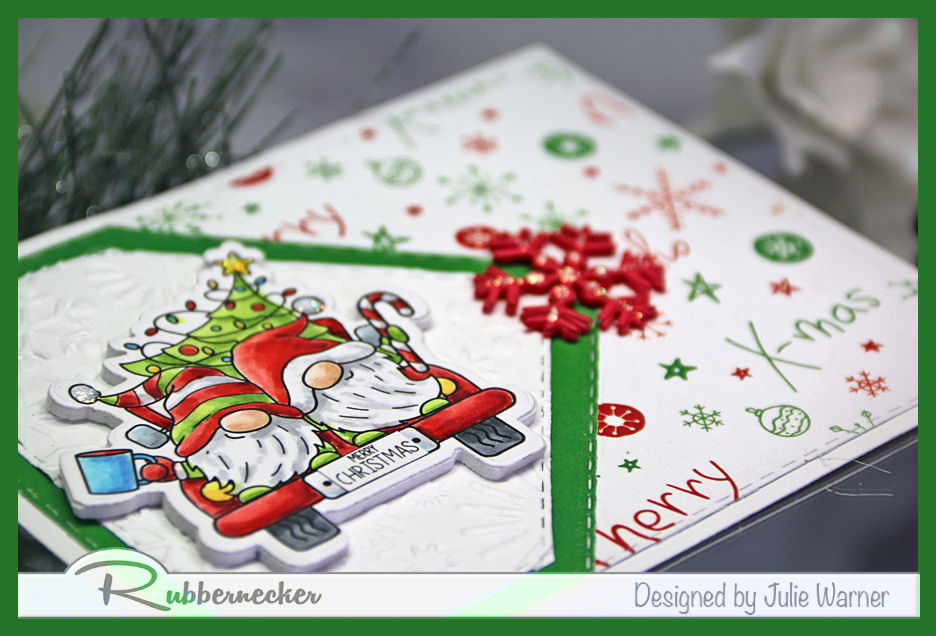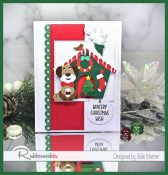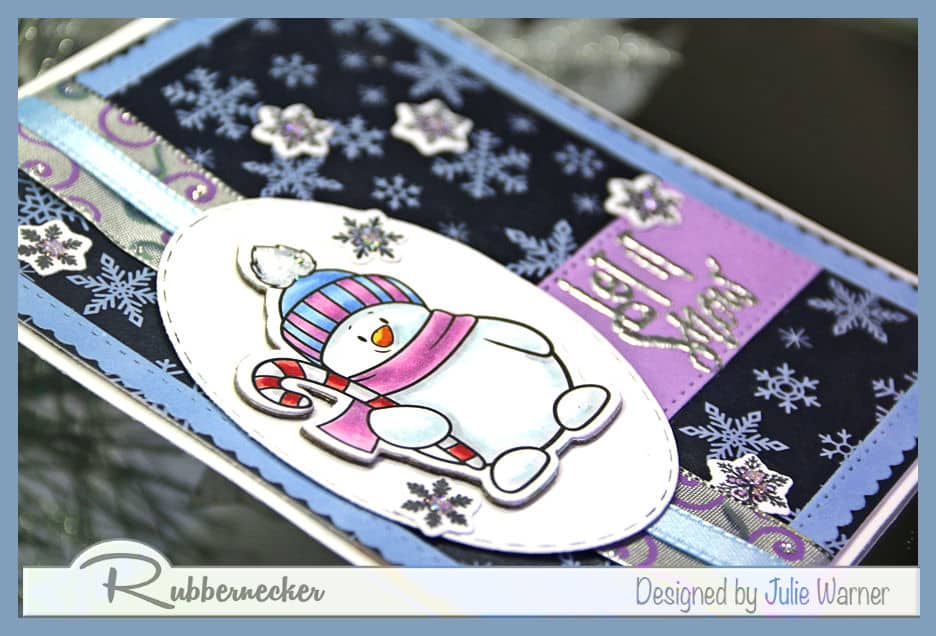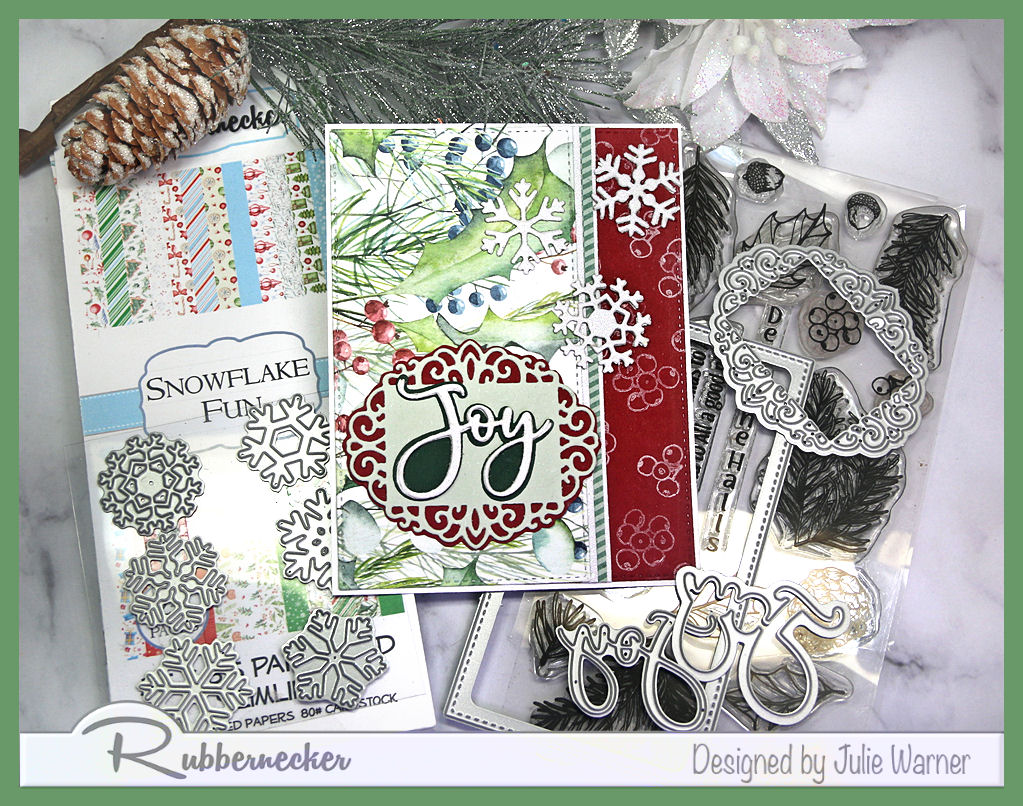
An A2 sized Christmas card made using one of a mini slimline set of dies. Add some lovely paper, some die cut snowflakes & Joy on a fancy oval & you have a beautiful card!
A big congrats to Jennifer, the newest Featured Stamper (FS860)! She’s a scrapper w/ a lot of beautiful pages. After much browsing, I chose THIS page to case. I kept the Christmas theme & most of the layout, but changed it to an A2 card, used different paper & dies & simplified it to fit the space.
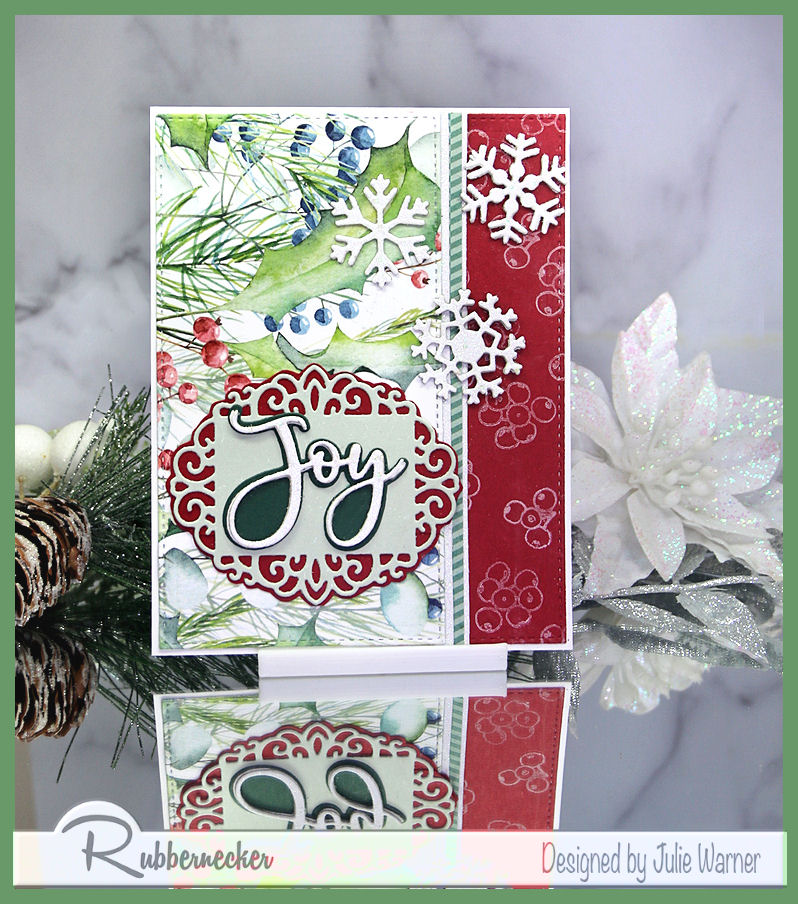
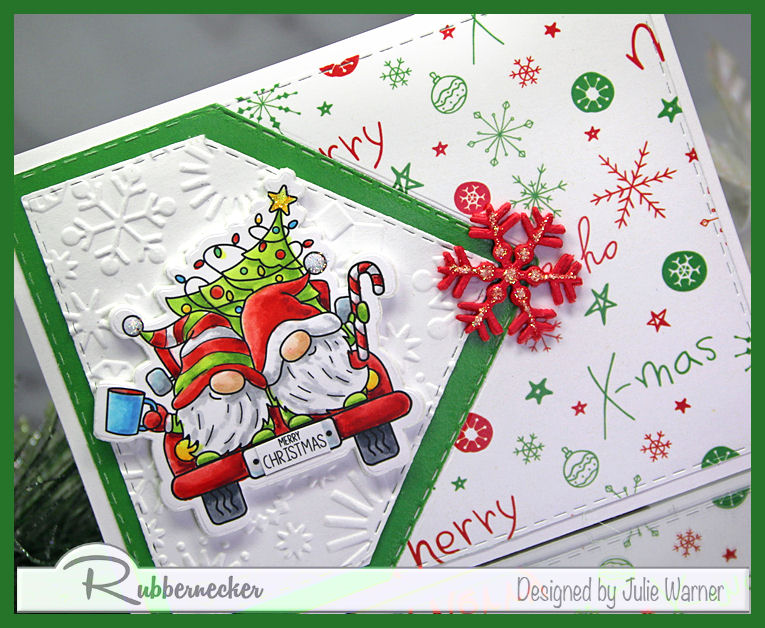
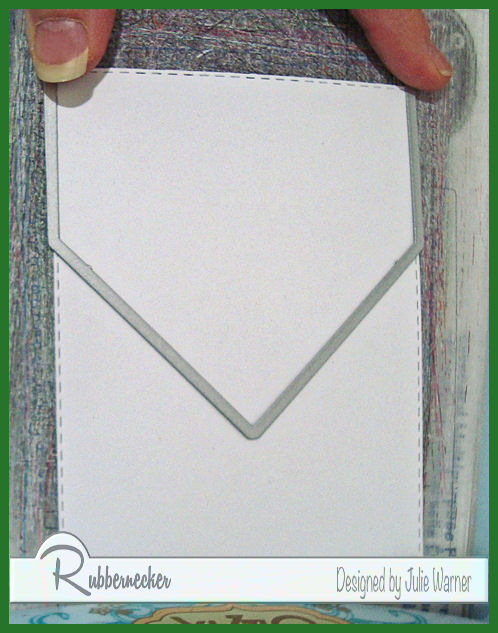
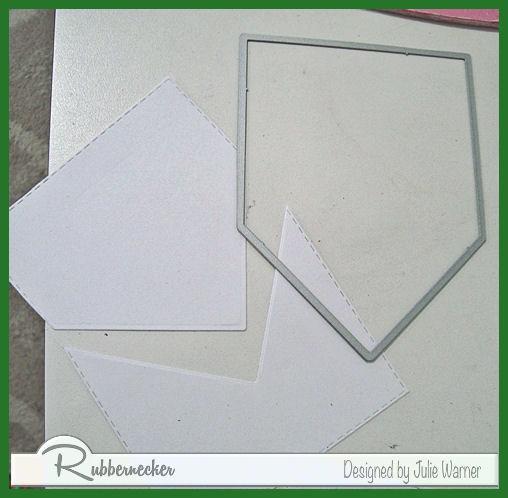
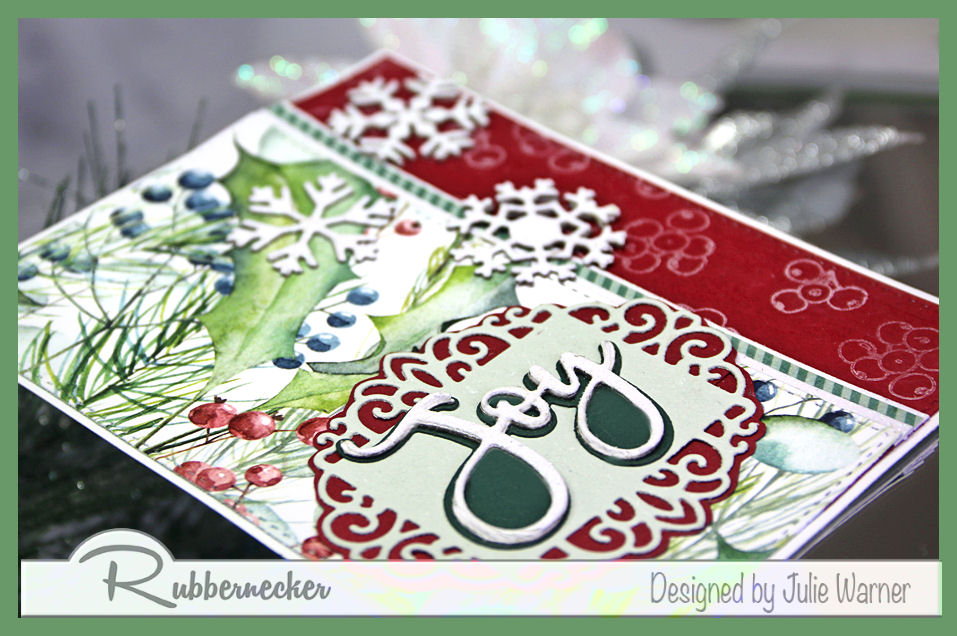
For my card, I used a mini slimline die to cut the lovely holly paper and also the wine red piece. On the red, I stamped some holly berries w/ Brilliance moonlight white ink. I used this ink because it dries faster than my pigment ink & it’s also not quite as bright. I really didn’t want the berries to stand out that much. A leftover diagonal strip along w/ 2 white glitter strips were added in between the red & the holly paper. A fancy oval die was used on the sea green & I fussy cut a red layer to go behind it. The Joy was die cut out of white glitter paper as were the 3 snowflakes.
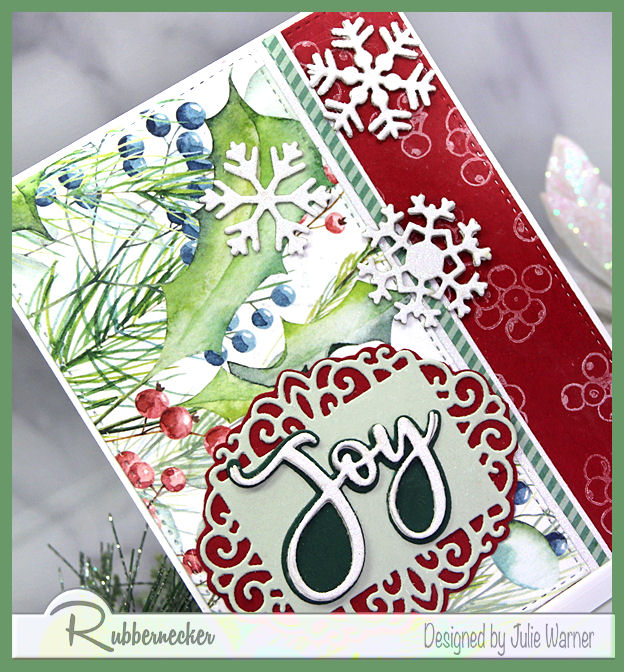
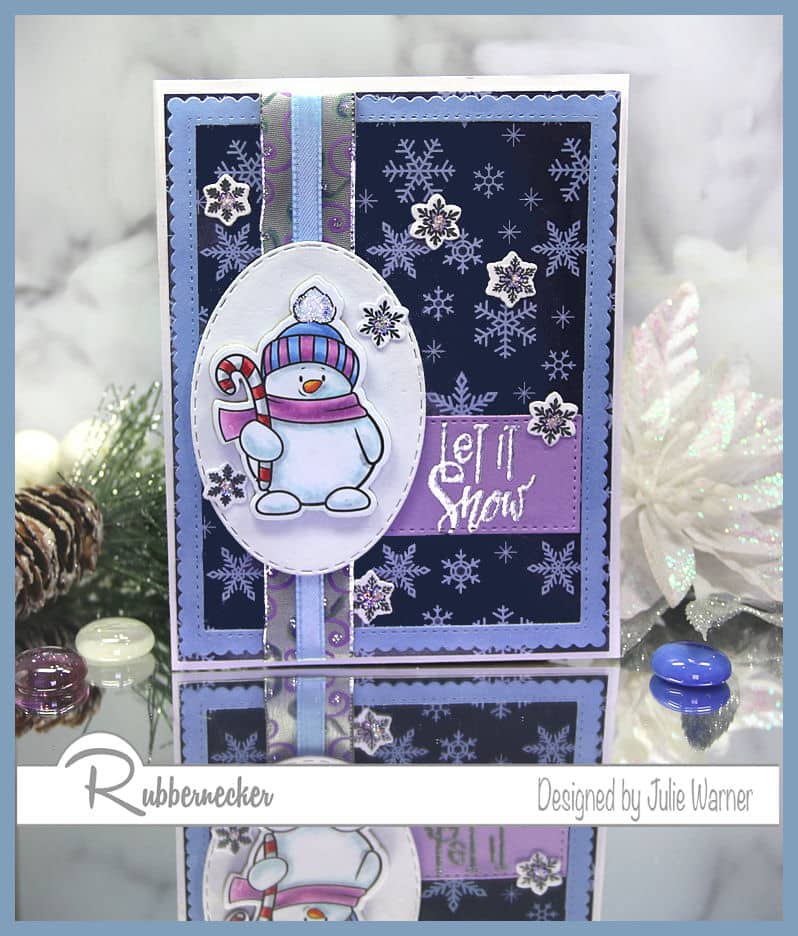
The Joy was popped up as were the snowflakes to give them a little dimension.
Thanks so much for stopping by!
![]()
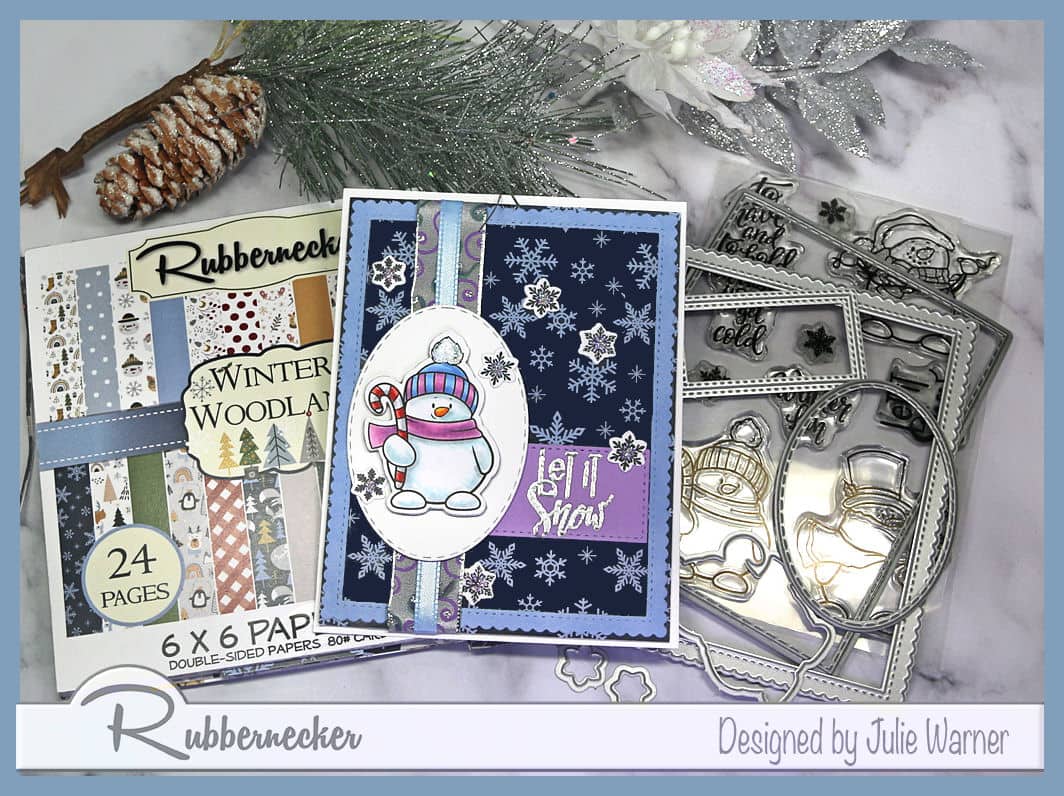
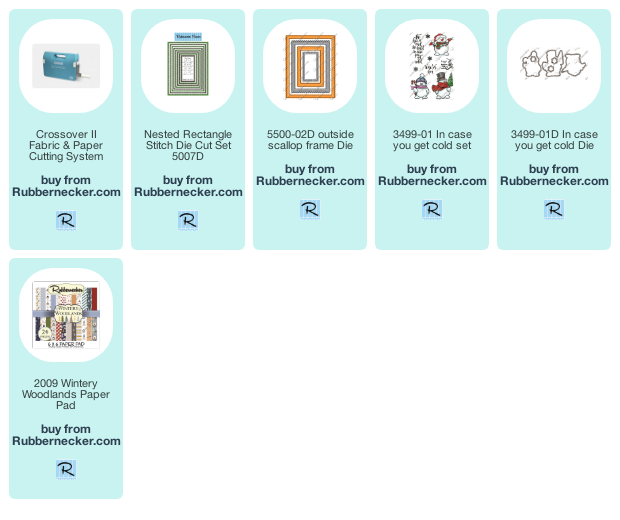
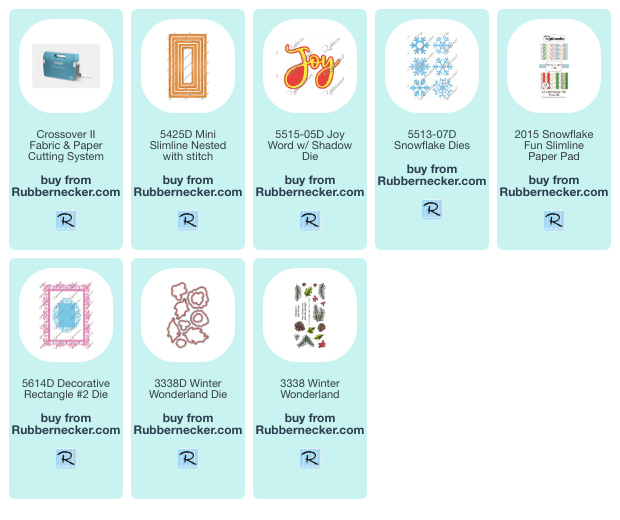
Supplies:
| Stamps: Rubbernecker Stamps: Winter Wonderland set |
| Paper: Staples 110# white, wine red, sea green, pine green, white glitter, Rubbernecker Stamps: Snowflake Fun paper pad |
| Ink: Brillance moonlight white |
| Accessories: Rubbernecker Stamps: Mini Slimline, Snowflakes, Joy w/ Shadow, Decorative Rectangle #2. Winter Wonderland dies, Crossover II |

|

|

|

|
|
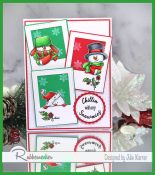
You might also like:
![]()