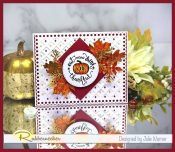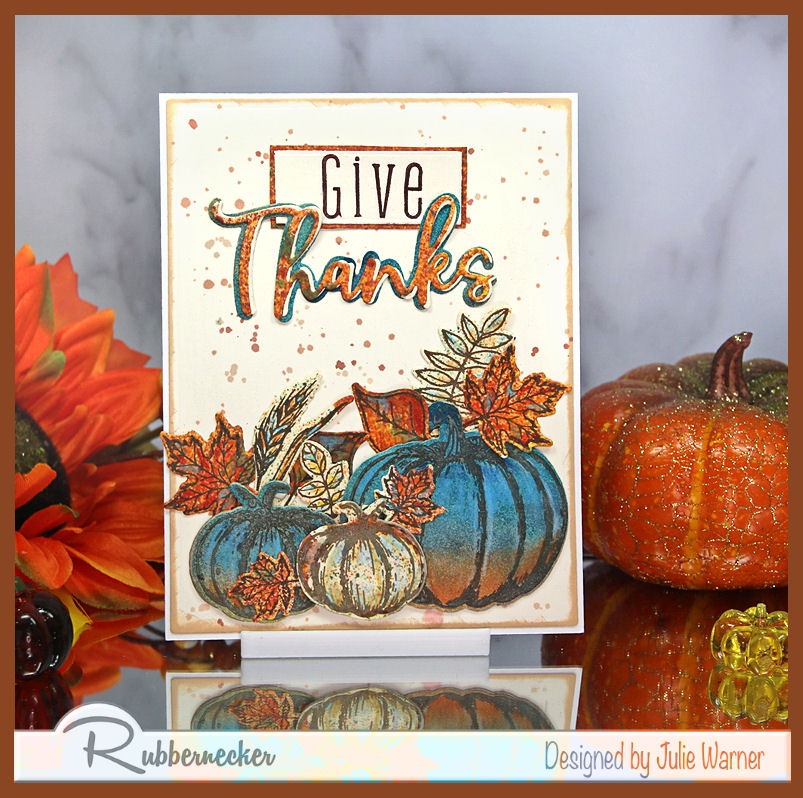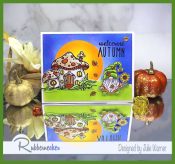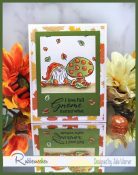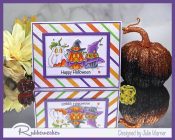
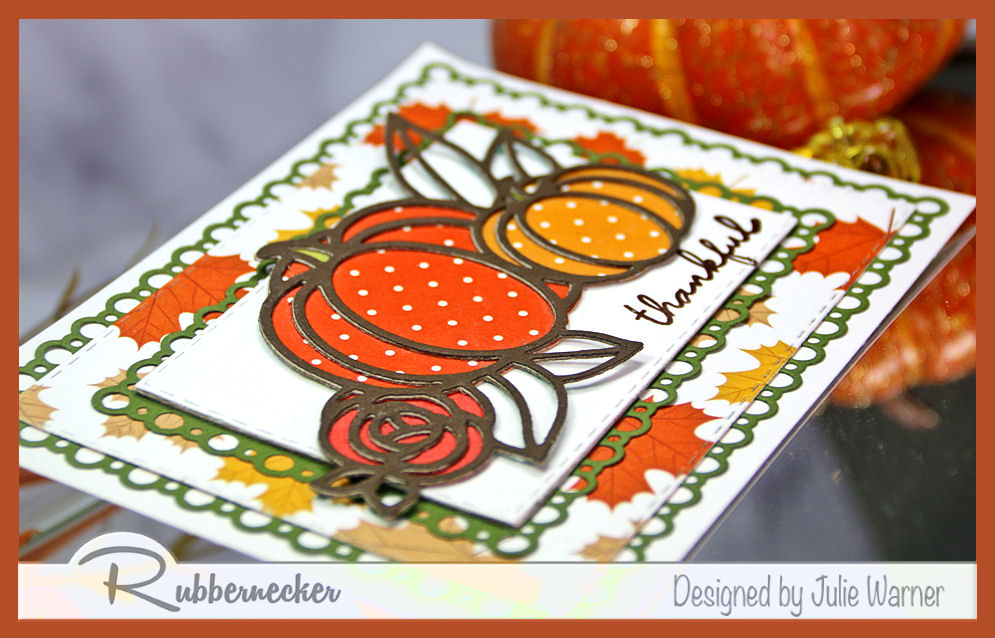
An easy to make Thanksgiving card using some brand new dies. Just add some fall paper and assemble. Love the outline pumpkins..so fun to try it out using a variety of colors or papers & the bubble border dies add a special touch to the layers.
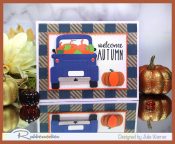
A big congrats to Raye Lynn, the newest Featured Stamper (FS870). She has cute little gallery & I chose THIS card to case. I know it doesn’t look very similar, but things happened. I started to make a little window like hers, but my die cut was too big so I put a layer on top. Then it looked kind of plain, so I added the designer paper. Then I wanted some more color so I added the bubbly green border layers. And the die cut would only fit horizontally, so I turned my card. Otherwise, it’s identical.
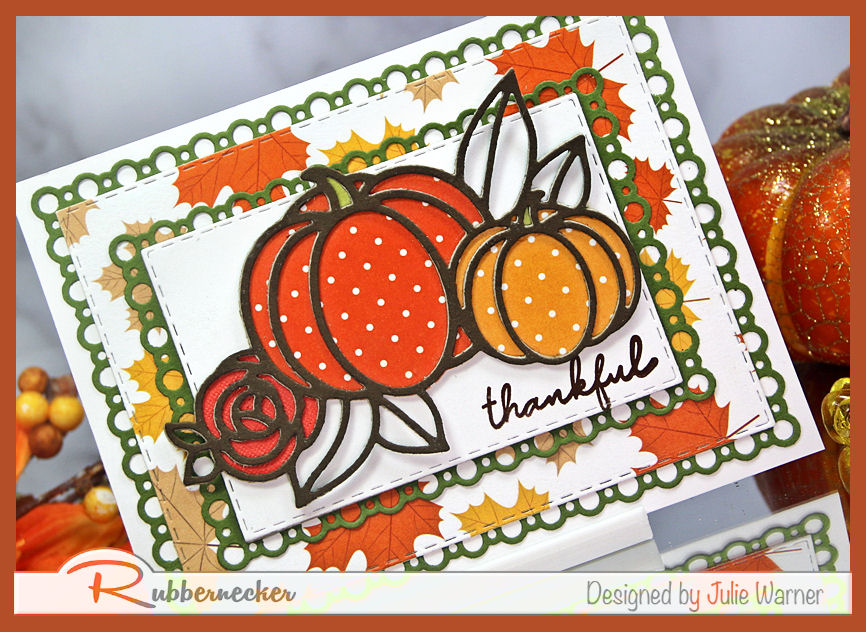
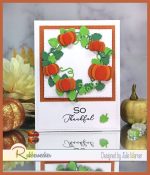
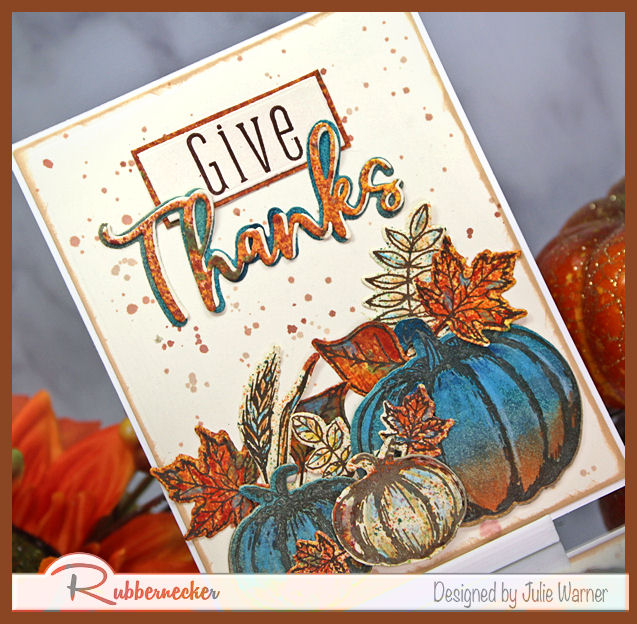
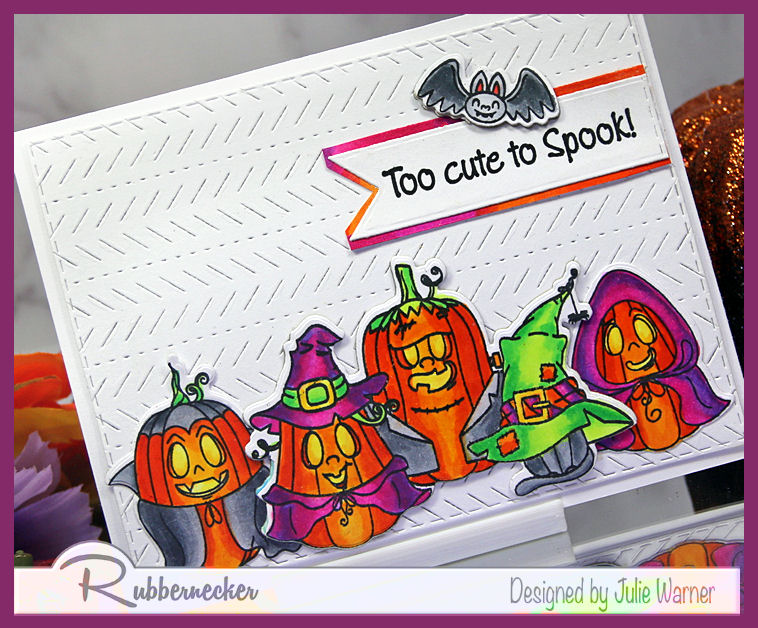
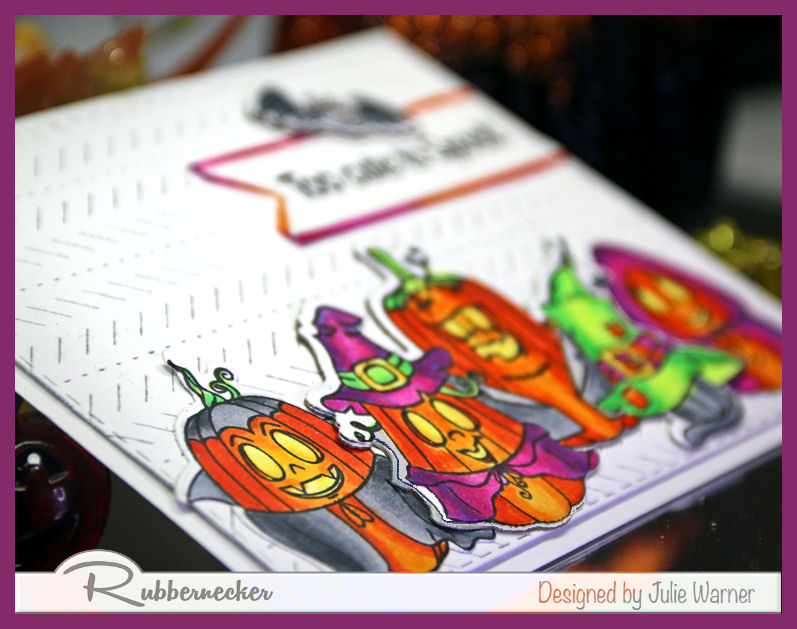
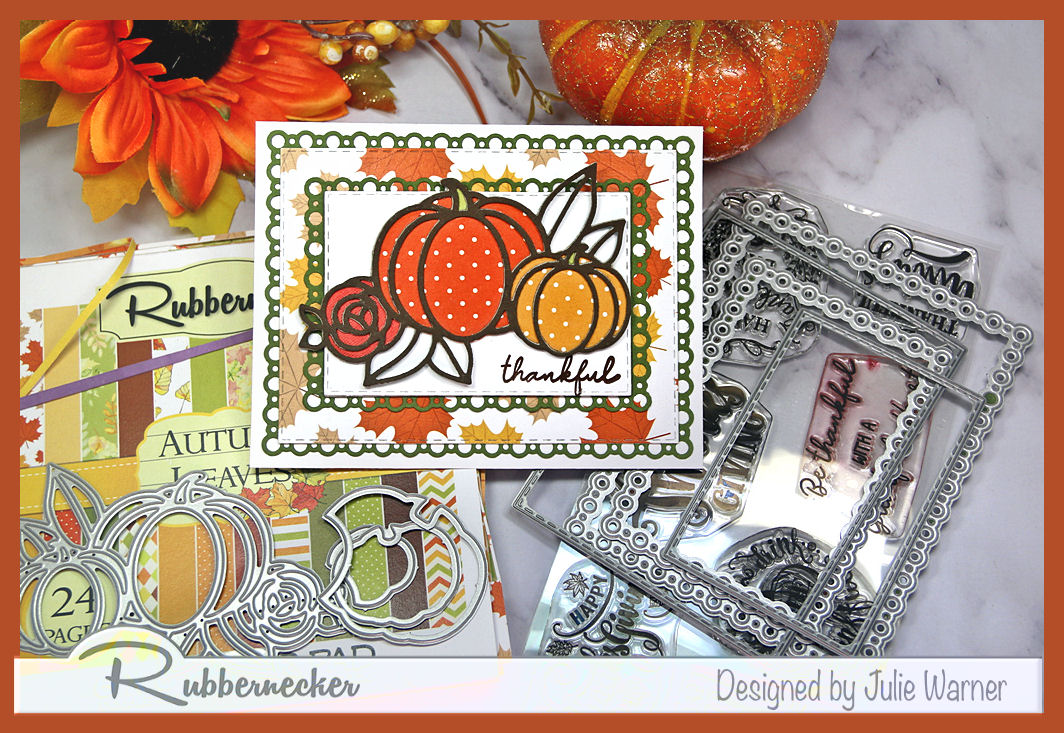
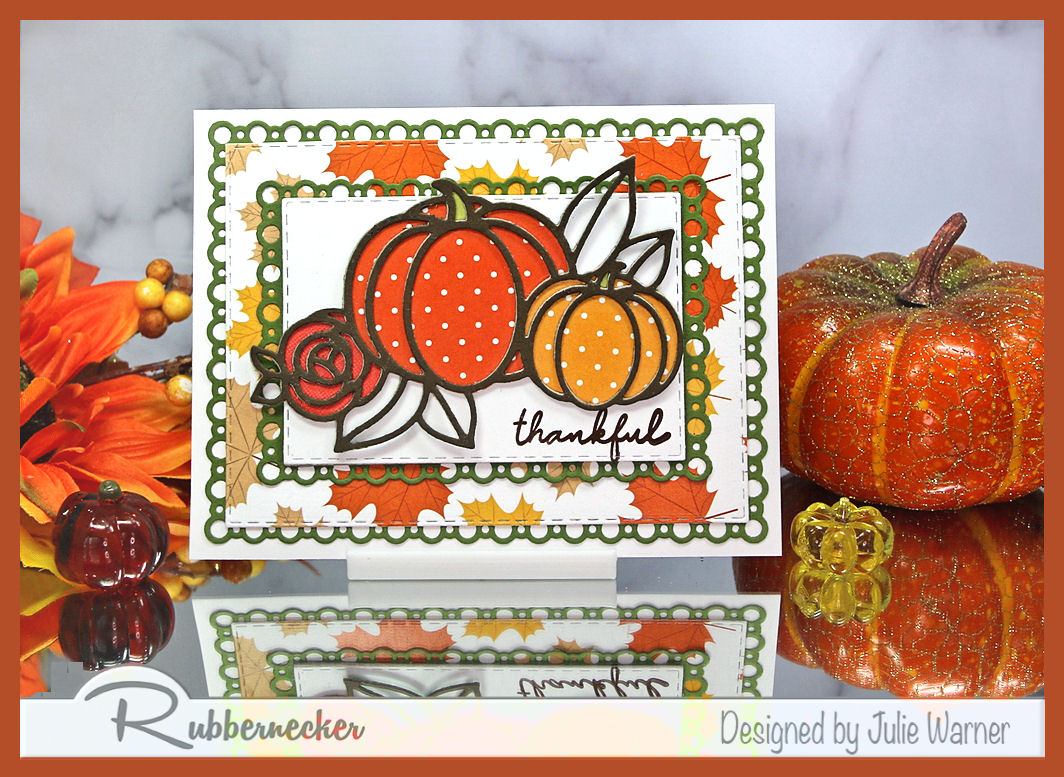
The outline part of the pumpkins was die cut out of dk brown & I added a stiff cardboard to the back to pop it up & give it stability. The dies for the pumpkin inserts were cut out of dotty paper from the same pack as the leaf print. Then I attached all the layers. It was then I noticed I had a spot just big enough for the ‘thankful’ word. Thank goodness for the Misti, so I could stamp it more than once, since my layers were already put together.
Thanks so much for stopping by!
![]()
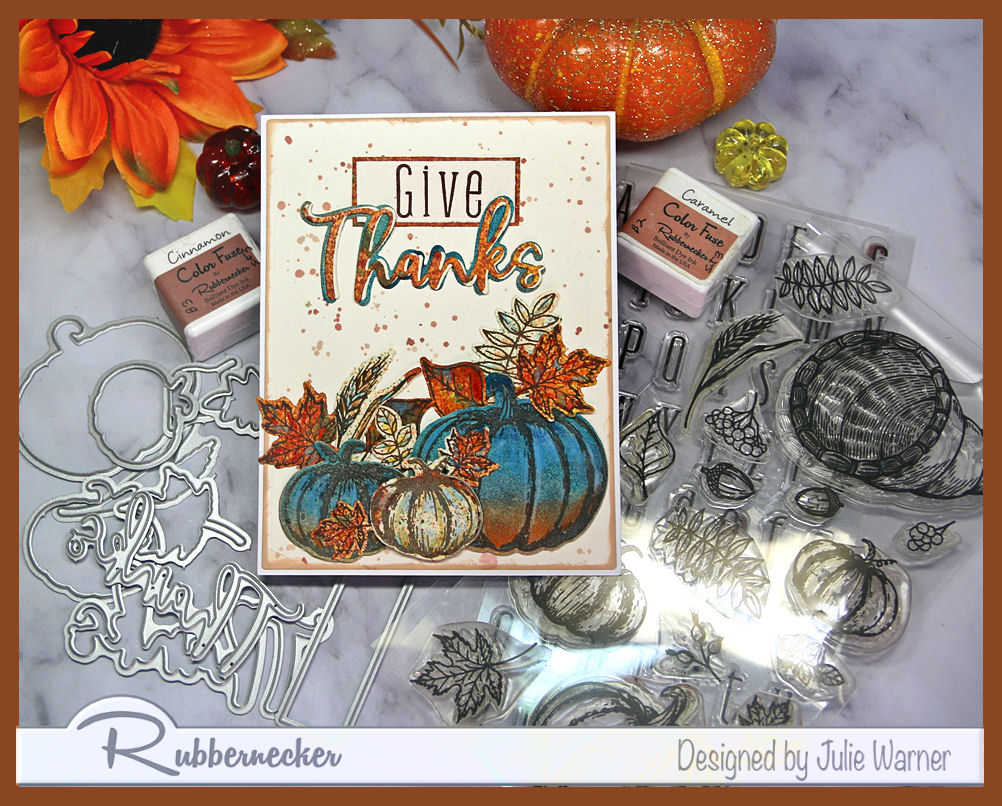
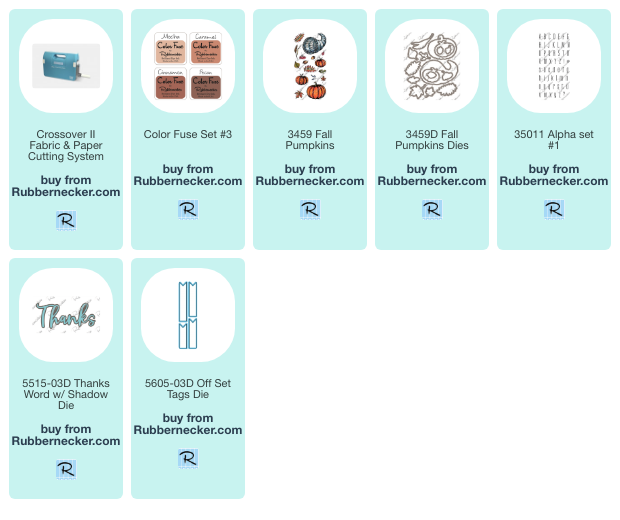
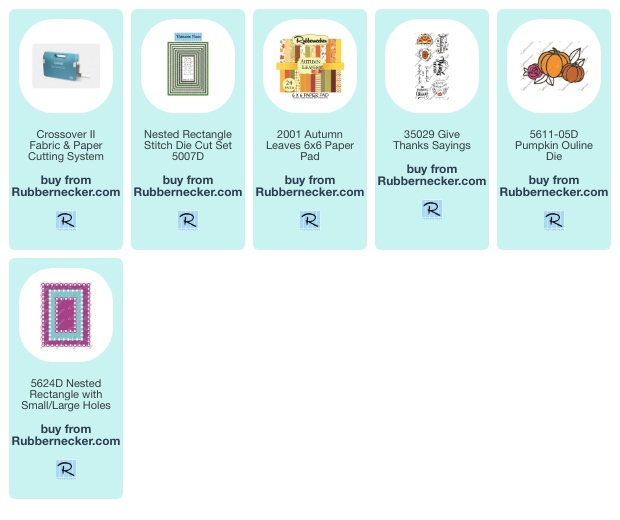
Supplies:
| Stamps: Rubbernecker Stamps: Give Thanks Sayings |
| Paper: Staples 110# white, dk brown, olive green, (dp Rubbernecker Stamps: Autumn Leaves paper pad) |
| Ink: Versaclair Pine Cone |
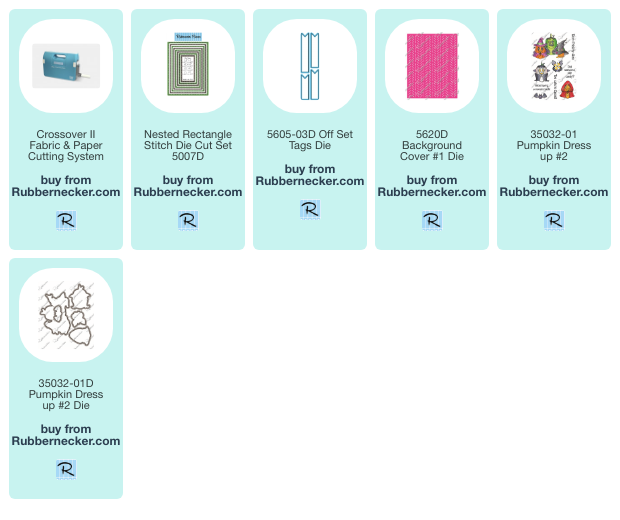
| Accessories: Rubbernecker Stamps: Rectangle Stitch, Nested Rectangle w/ Lg/Sm Holes, Pumpkin Outline dies, Crossover II, Misti |

|

|

|

|

|
You might also like: