 x2
x2
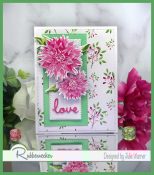
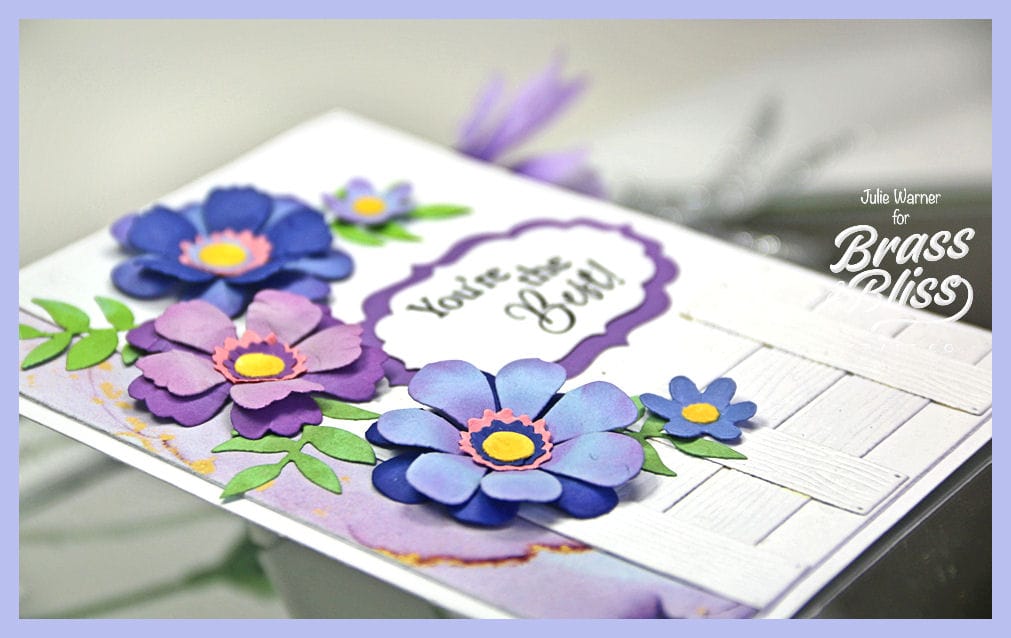
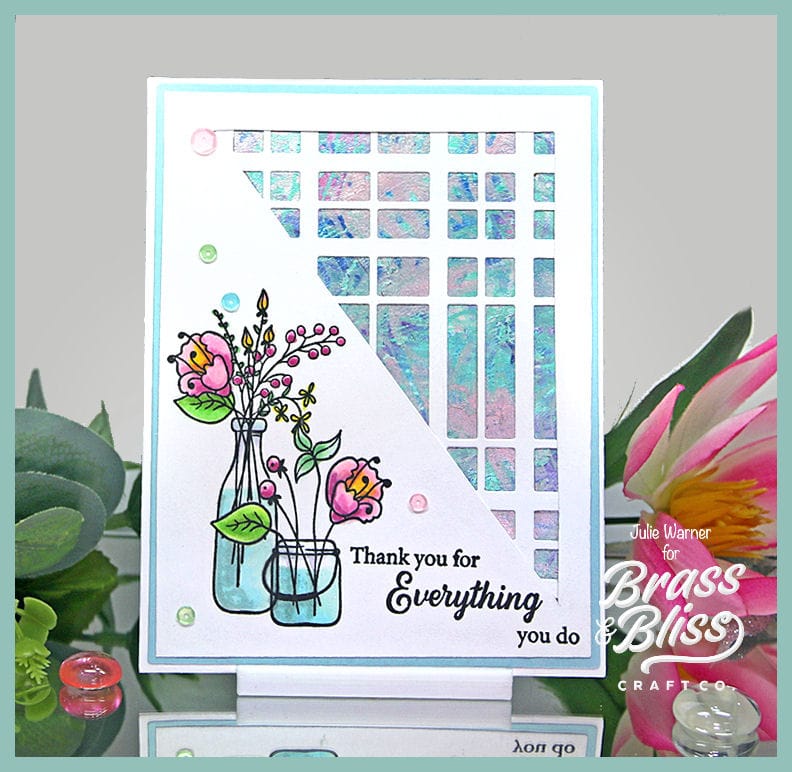
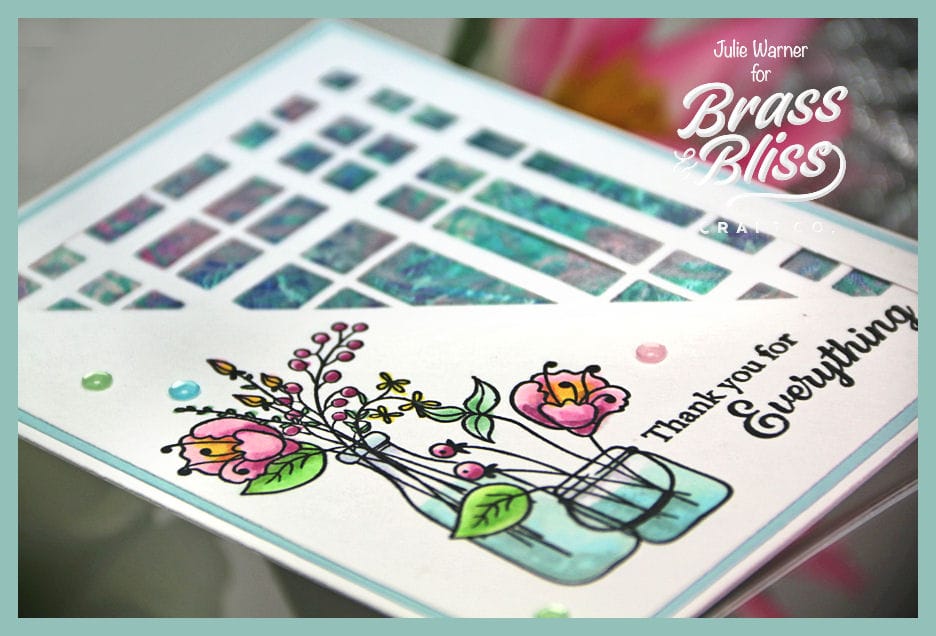
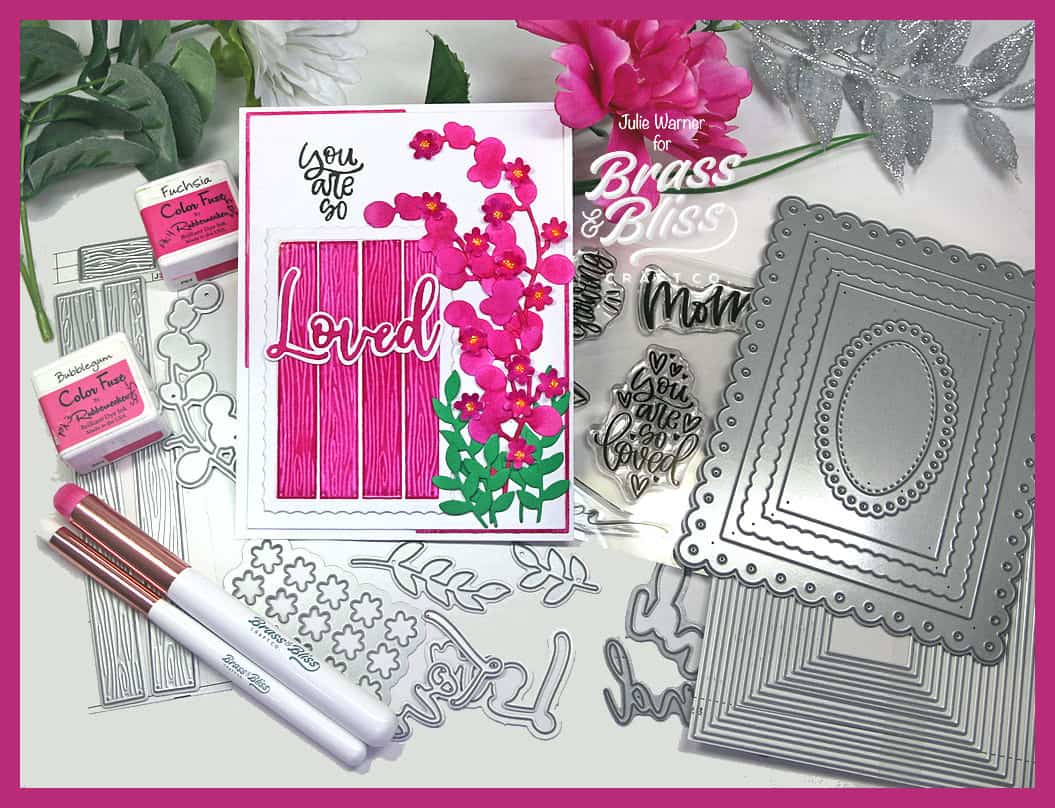
A bright, flowery card perfect for Mother’s Day, an upcoming graduate, birthday or just to say you are loved. Two pink inks were used to get this super bright bougainvillea color that jumps off the page.
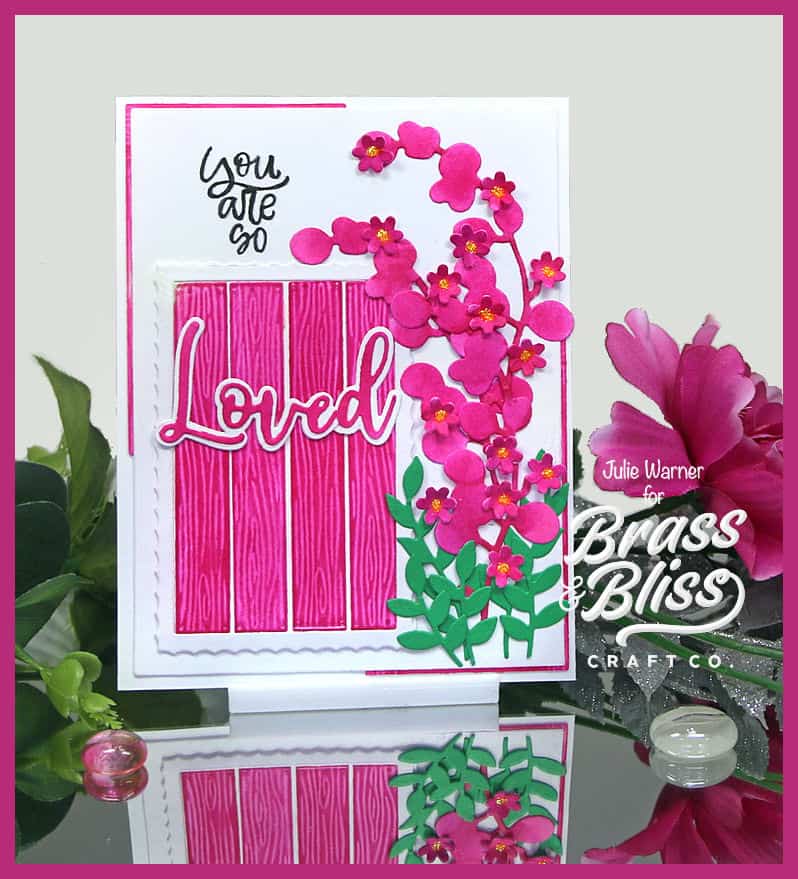
For the Inspiration Challenge, we are visiting A Beautiful Mess & their Pinterest Board where I saw THIS lovely picture. I adore the bright color so I went about trying to recreate it on my card.
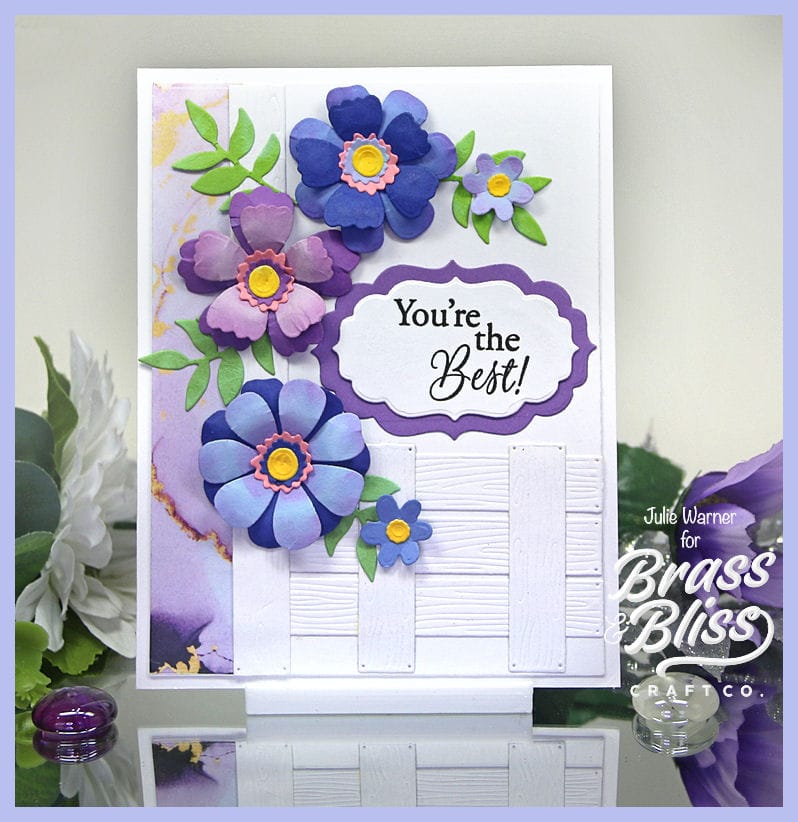
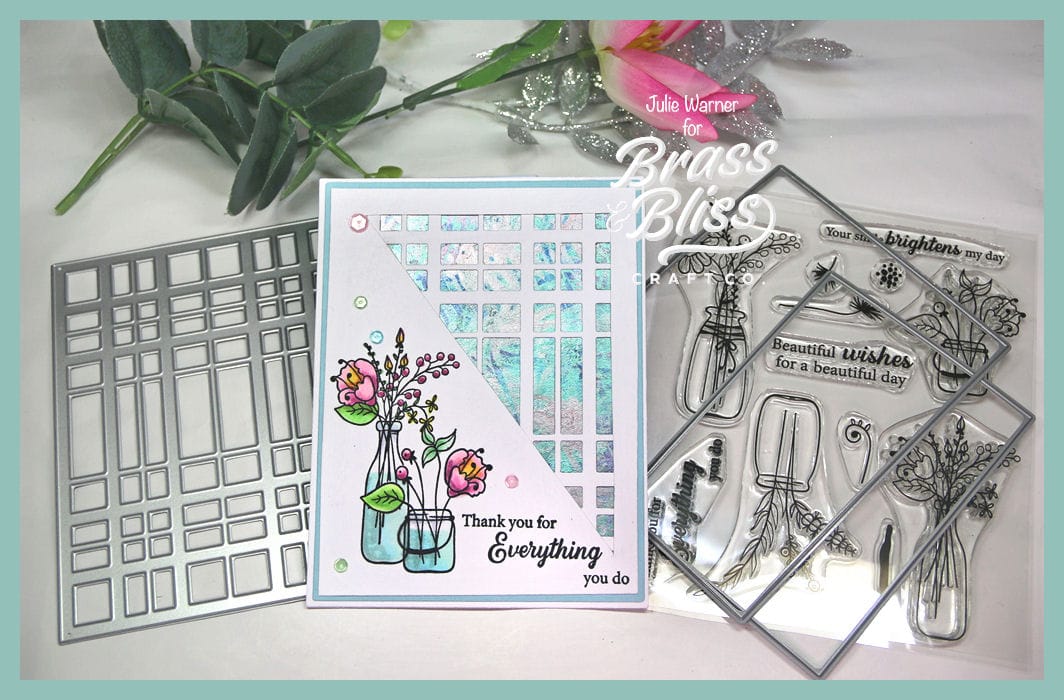
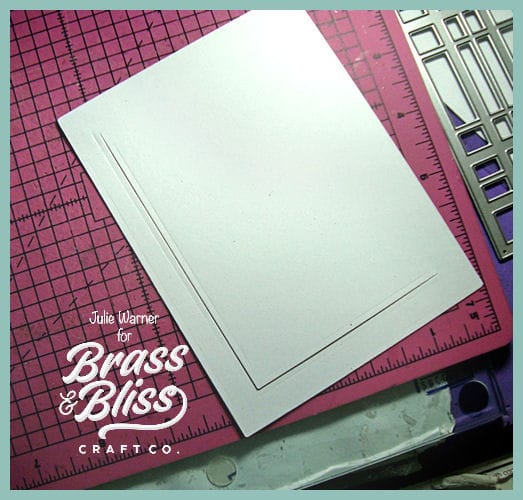
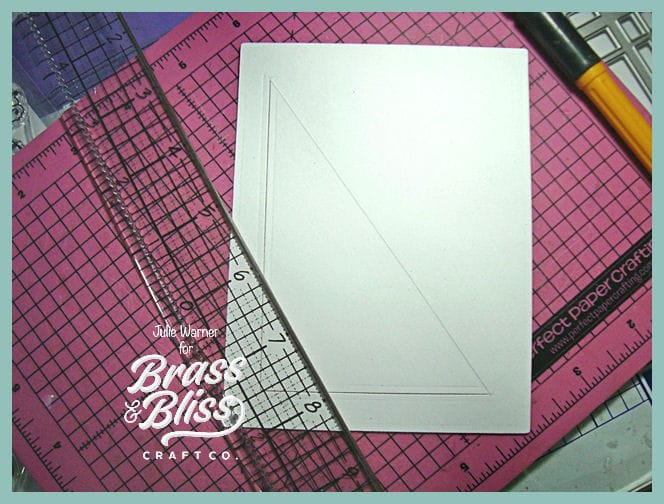
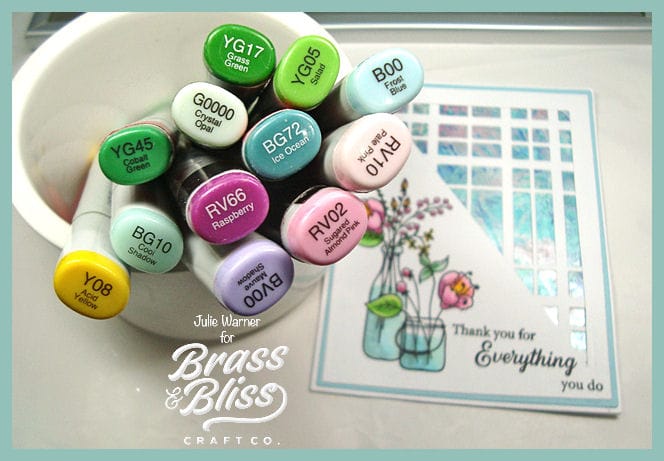
After a couple of attempts, I arrived at a very close match for the color, by using 2 of the Color Fuse inks in set #5. After die cutting the Bunch of Blooms stems, I used the detail brushes to add the ink color to them. The wood planks were die cut & just to make sure the woodgrain was raised, I ran them thru w/ the embossing mat, too. Then I used the lighter of the two inks & brushed that across the entire areas. I used the darker pink pad to rub directly over the planks & I love how it just hit the high spots giving me a two tone effect. The planks were attached to a white rectangle, then bordered w/ a scallop edge rectangle.
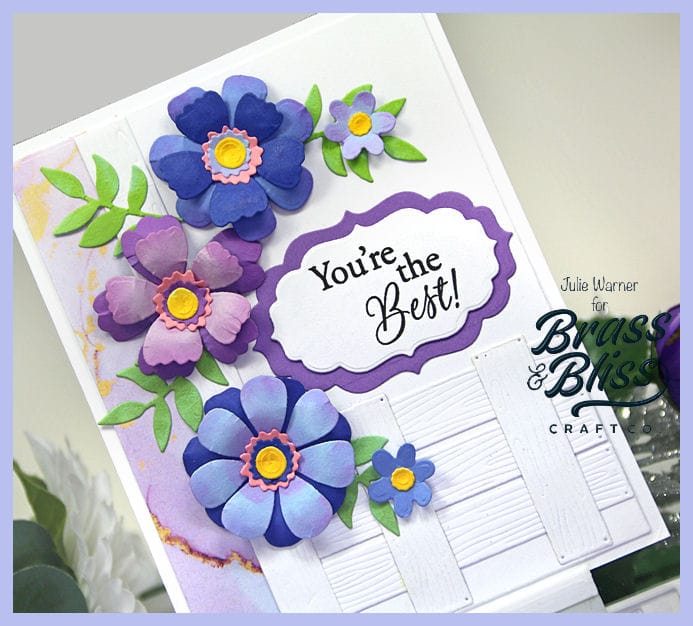
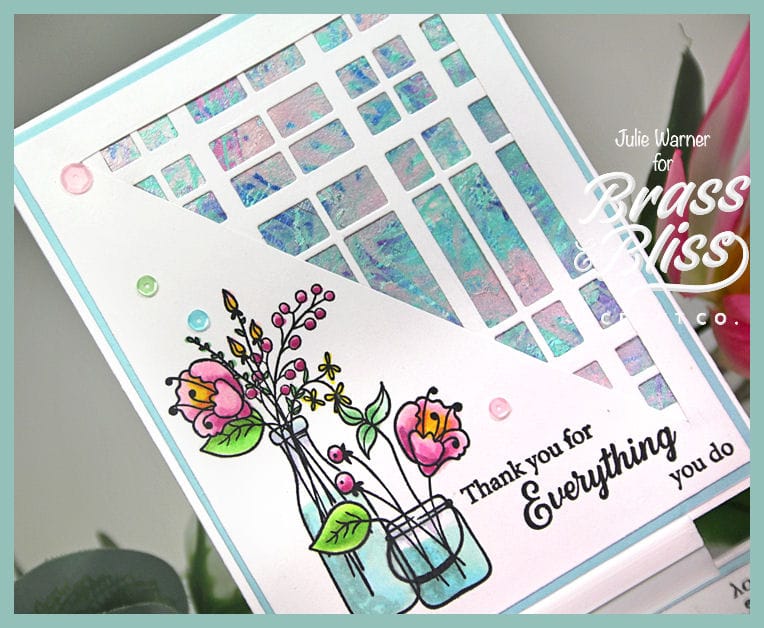
I brushed the ink over the little die cut flowers before shaping them & attaching them. A little yellow stickles was added to their centers. For the greeting, I took part of the So Loved & stamped it, masking off the part I didn’t want to stamp. The die cut Loved is actually 2 word w/ shadow dies..the Love & the d from Friend. It wasn’t hard to combine the two.
Thanks so much for stopping by!

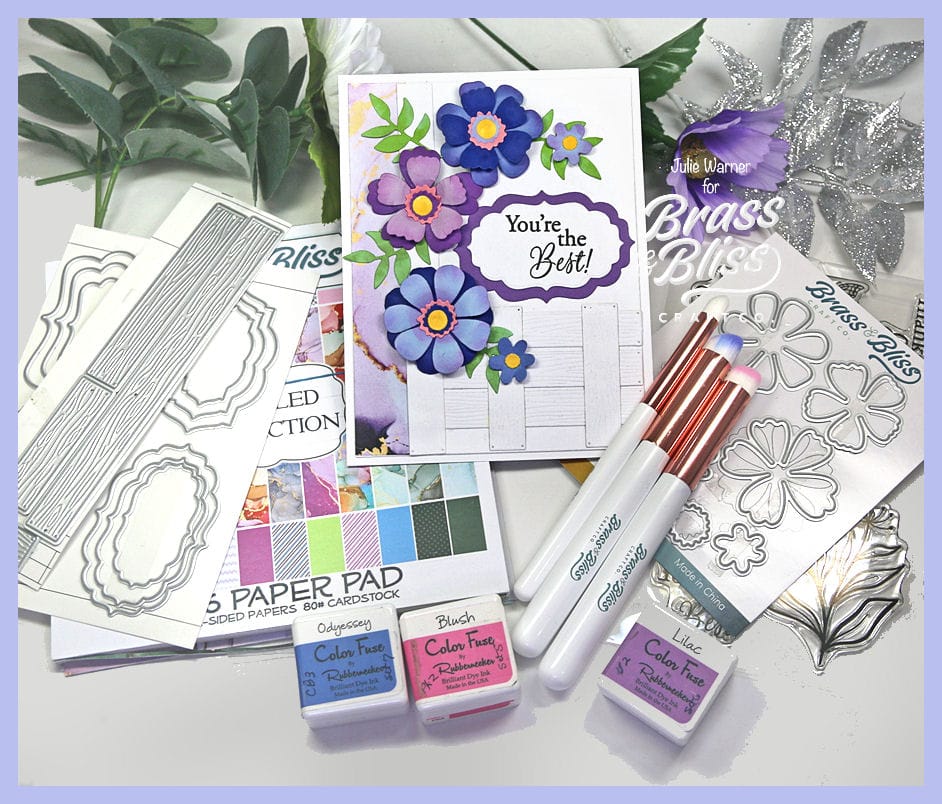
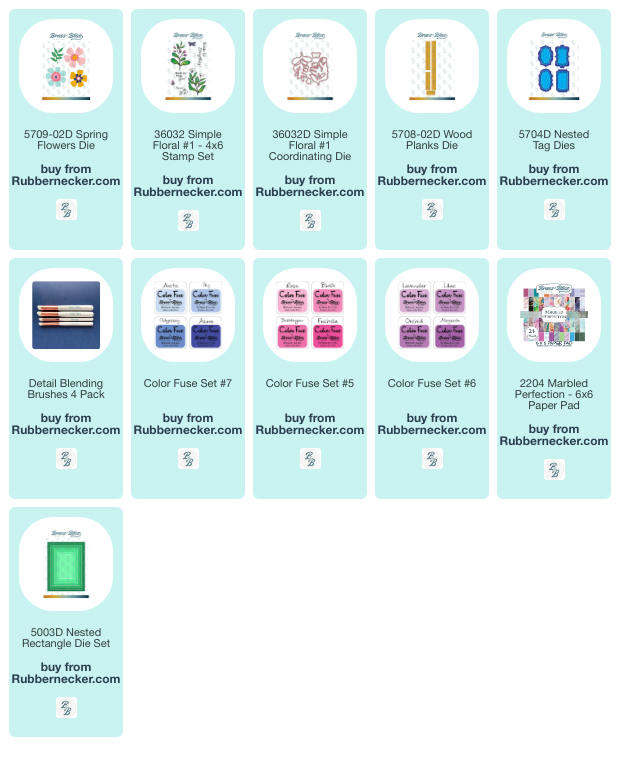
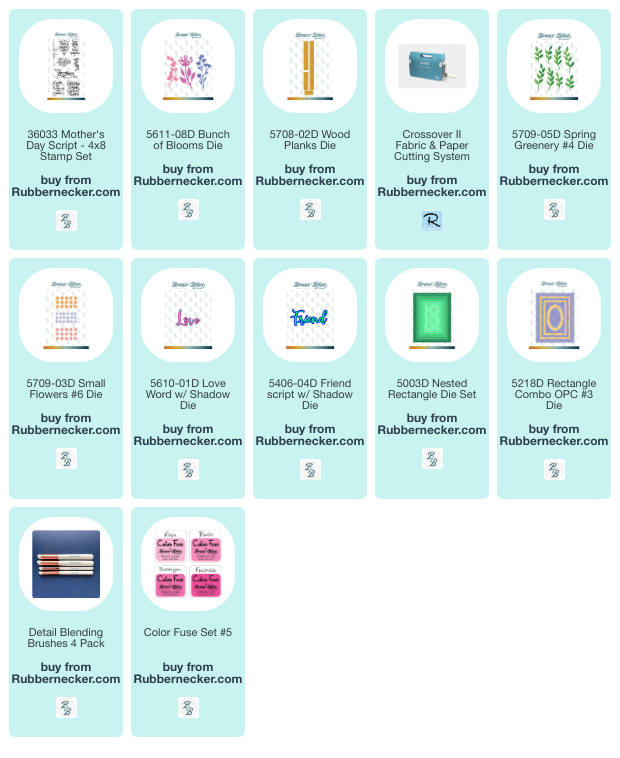
Supplies:
| Stamps: Brass & Bliss: Mother’s Day Script |
| Paper: Staples 110# white, grass green |
| Ink: VersaClair nocturne, Brass & Bliss/Rubbernecker Stamps: Color Fuse ink set #5 |
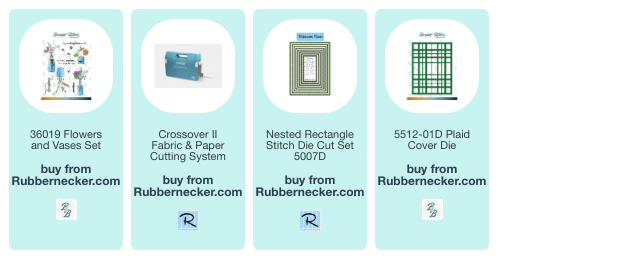
| Accessories: Brass & Bliss/Rubbernecker Stamps: Rectangles, Rectangle Combo OPC #3, Small Flowers #6, Wood Planks, Bunch of Blooms, Spring Greenery, Love w/ Shadow, Friend w/ Shadow dies, Detail Blending Brushes, MISTI , stickles |

|

|

|

|

|

|
You might also like: