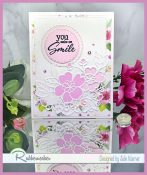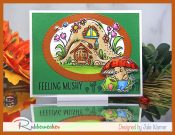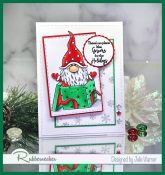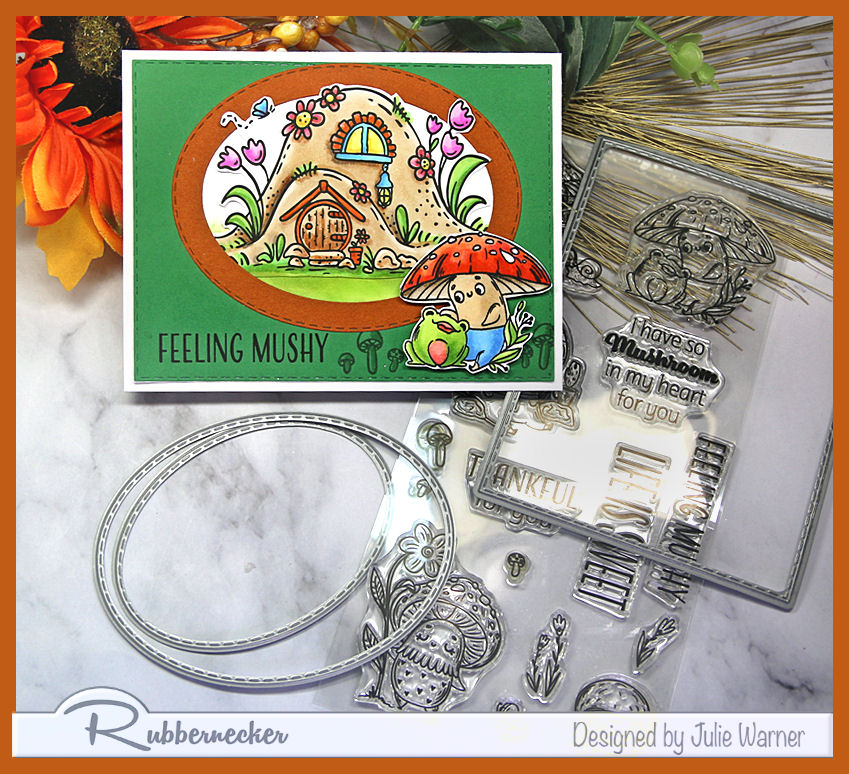
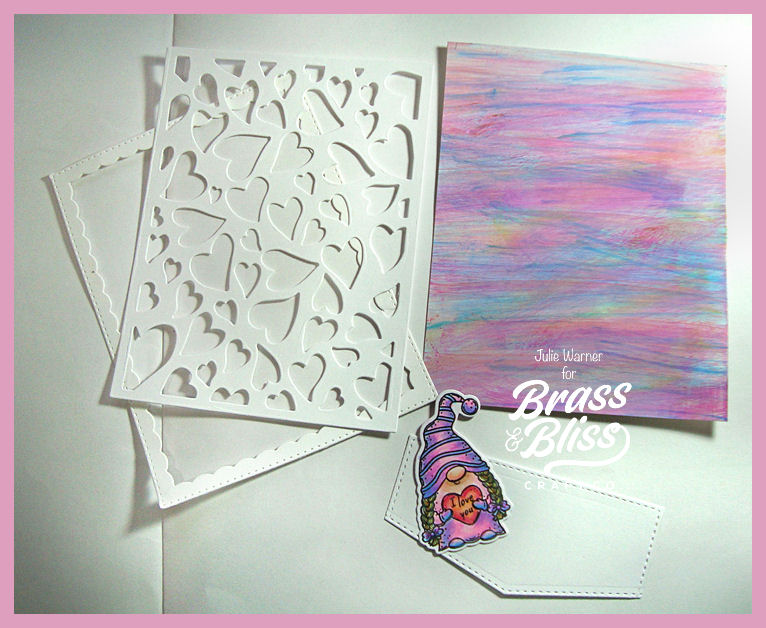
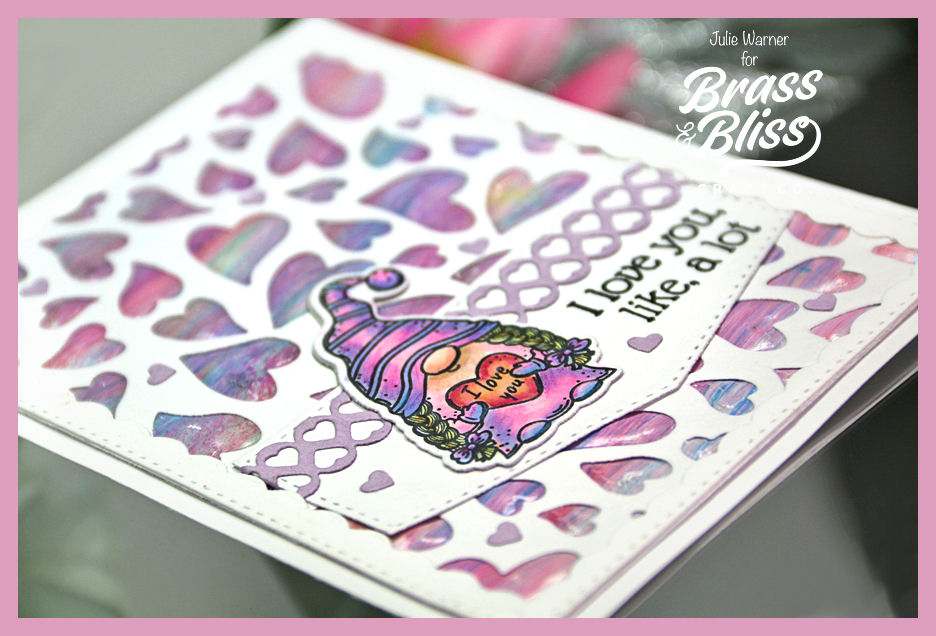
Cute little gnome girl on a background of dry embossed hearts. Perfect for a Valentine, Anniversary, Birthday or Mother’s Day. Extra pictures to show how the hearts were pushed out and the double heart border was used to create a lacy strip.
For the Inspiration Challenge (IC950) we are visiting All Paint by Numbers and their Pinterest Board. THIS was my inspiration picture.
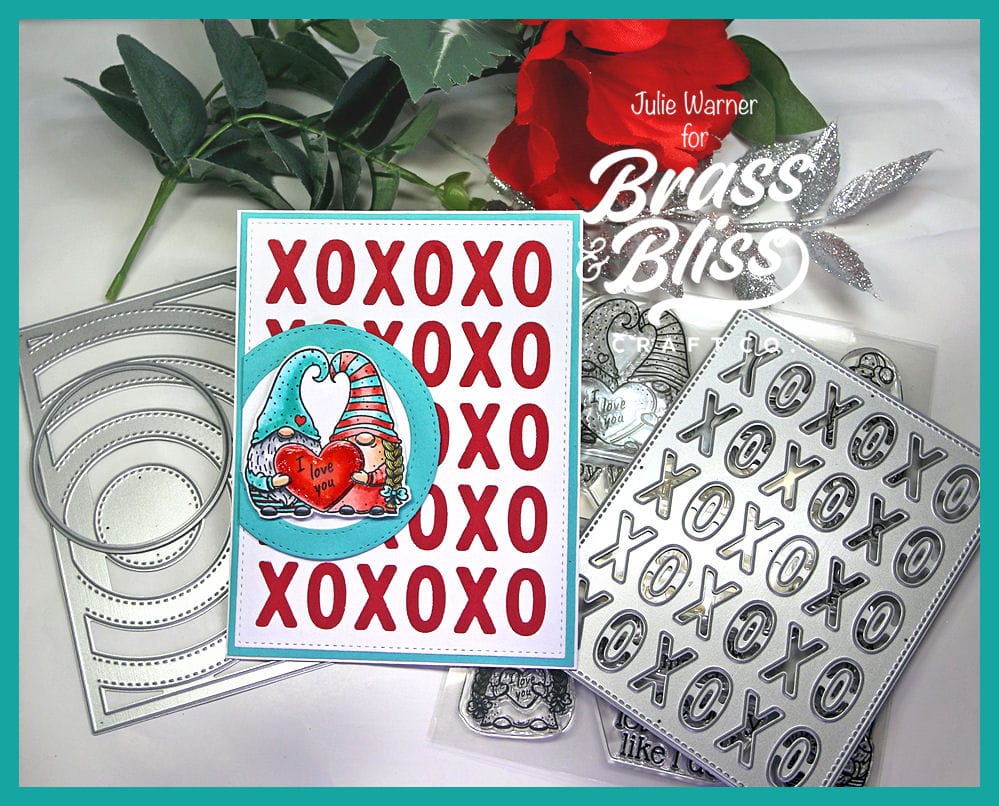
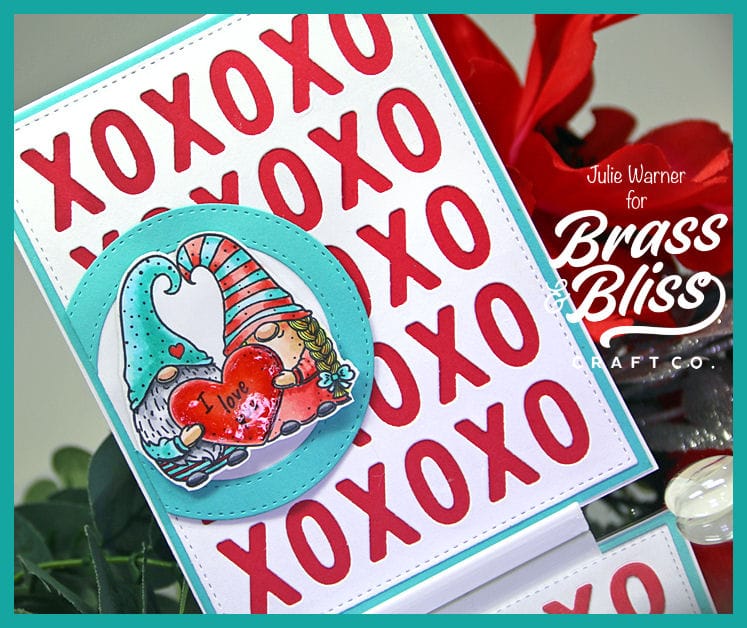
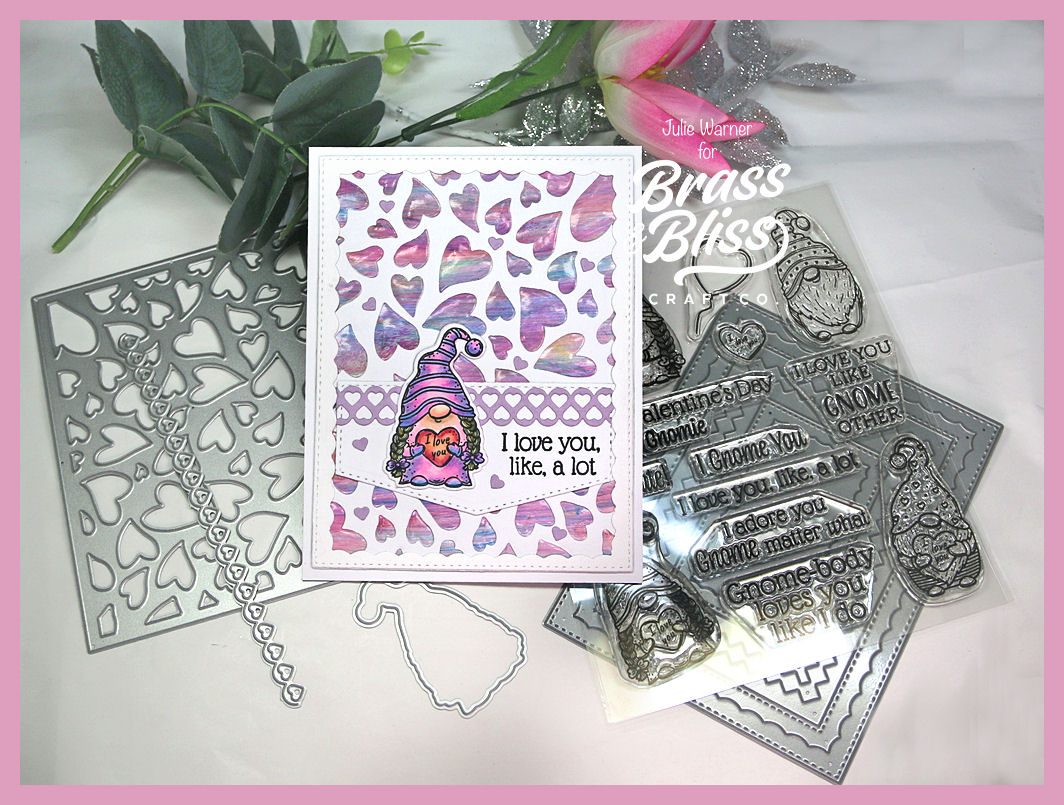
My card started with the cute little gnome girl. After coloring & die cutting her w/ the coordinating die, I hunted around in my stash of backgrounds & found this baby wipe technique background (tutorial HERE) w/ similar colors. This is what the bg looked like, along w/ a die cut heart bg & inside scallop frame (from the OPC Combo #4). The pocket flap looking piece was die cut using part of the Twist & Pop die.
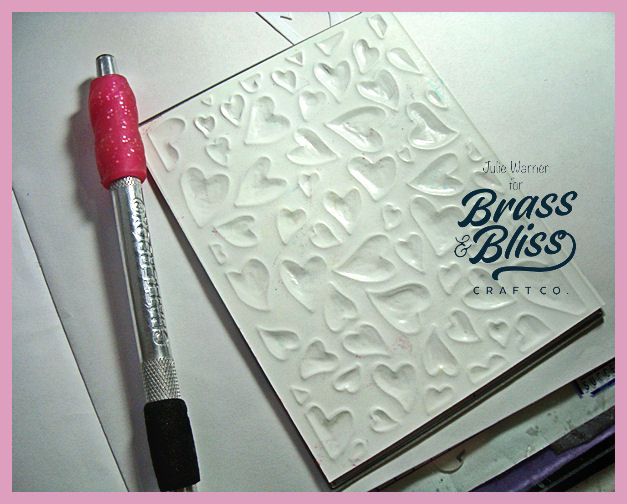
Instead of using the heart background die to cut the baby wipe bg, I placed it on the rubber embossing mat & embossed the hearts instead. I wanted them to look puffed up so I put the die back onto the embossed bg, lightly rubbed a piece of wax paper over it, then used an embossing stylus to push the hearts out. Here’s what it looks like from the back side.
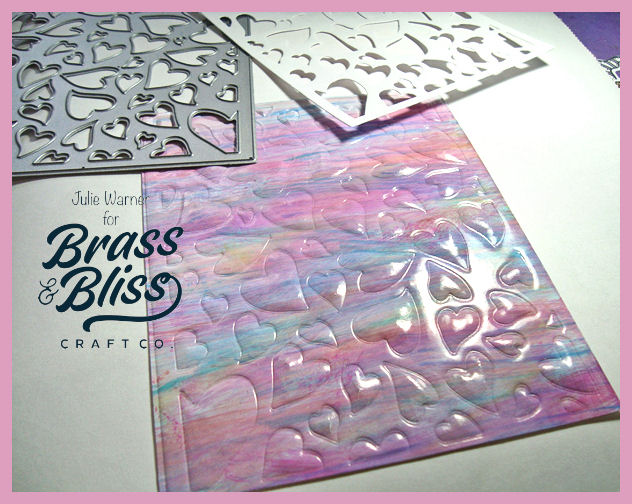
This is what the front of the background looked like after embossing.
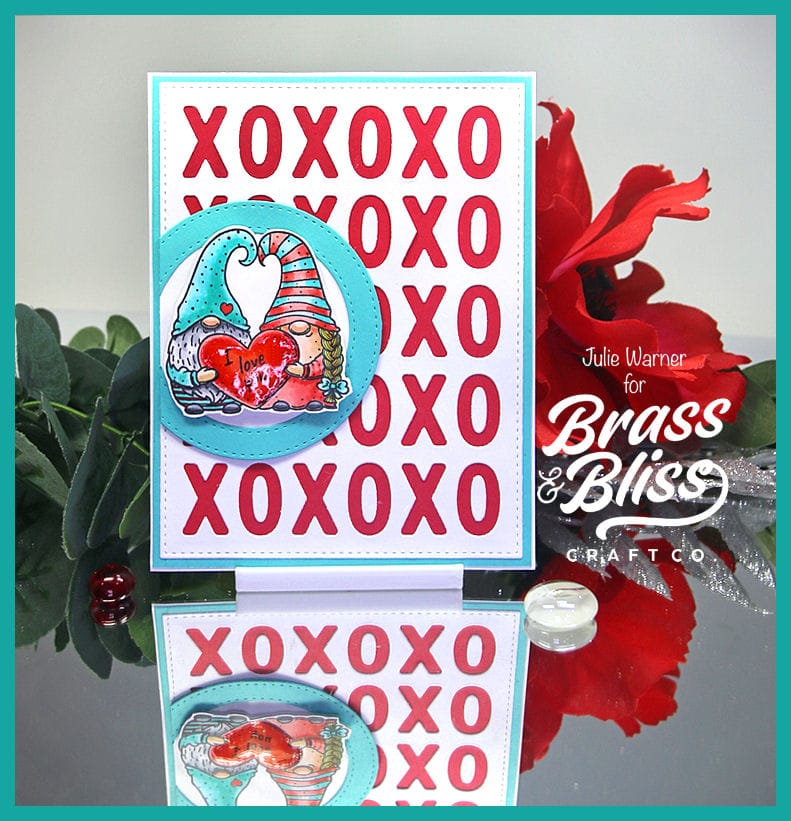
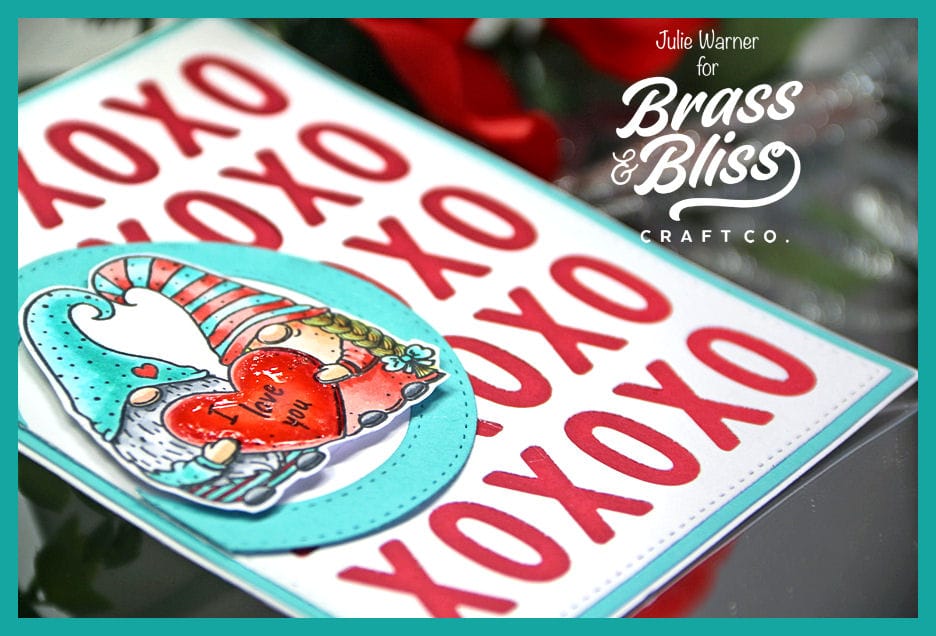
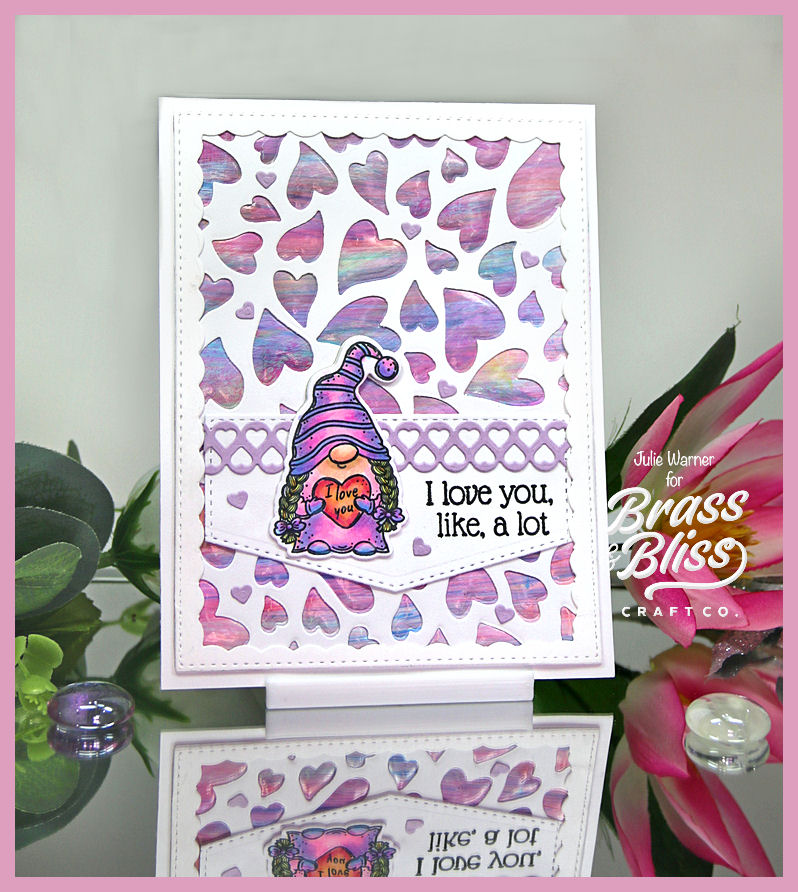
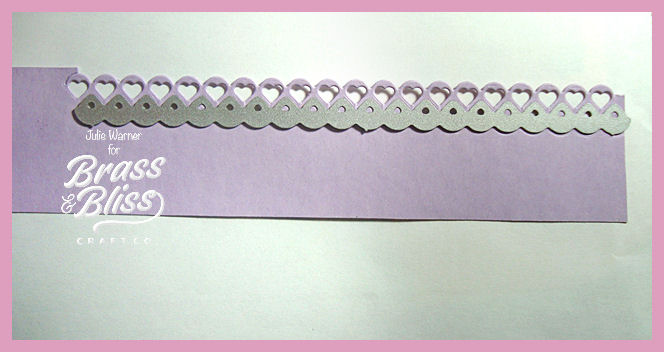
I attached the white die cut hearts bg & the inside scallop frame over it, leaving the sides mostly unattached, where I planned to put the greeting strip. To make the lacy heart strip, I die cut the heart border on one side of a strip of lavender. Then turned the die upside down, matching the points to the indentations on the cut row & cut it again.
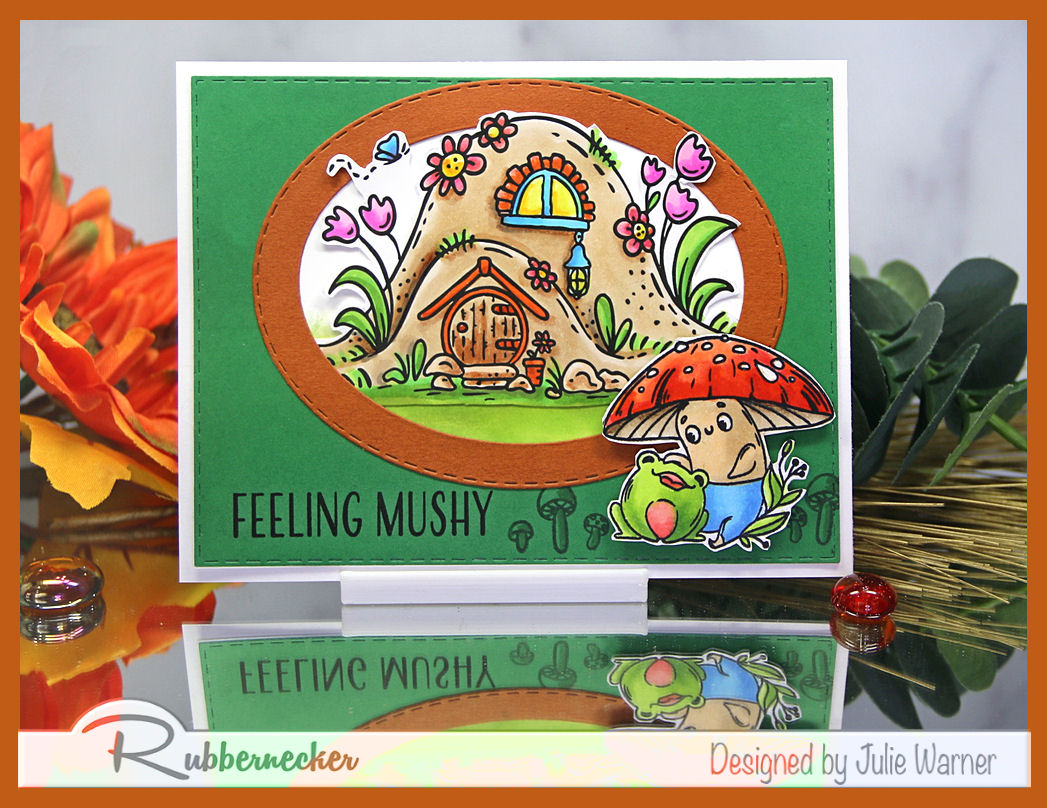
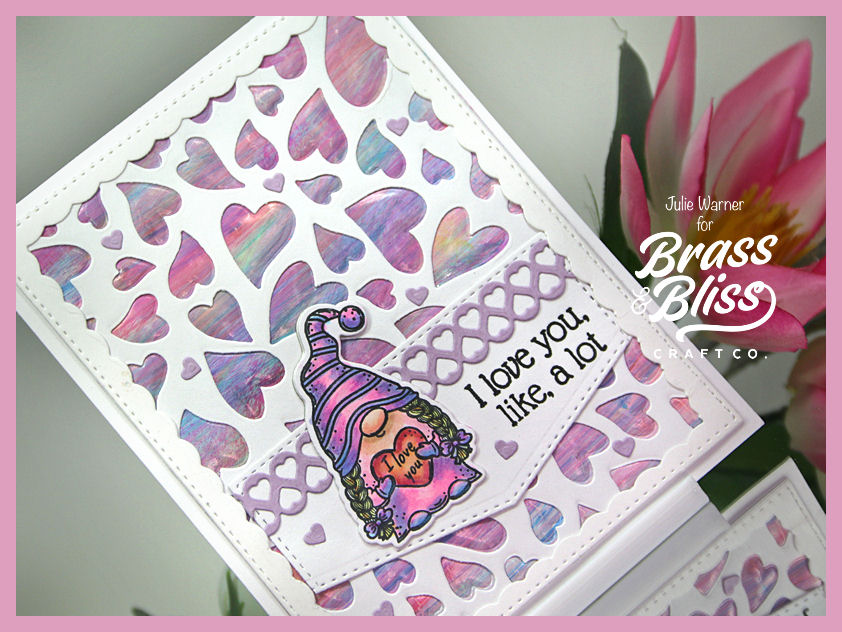
The lacy heart stip was added above the greeting, on the pocket flap piece. The gnome was popped up just a bit to even her out, since half of her hat was on the layer below.
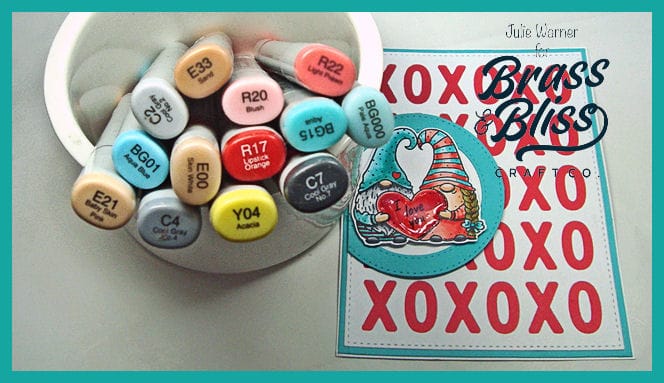
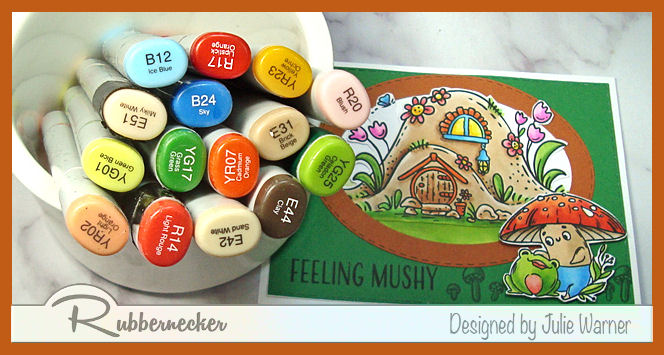
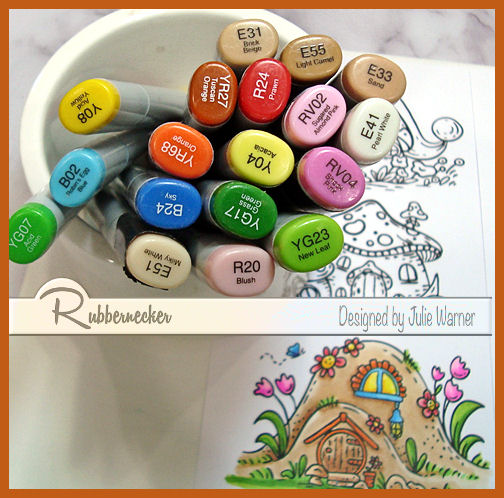
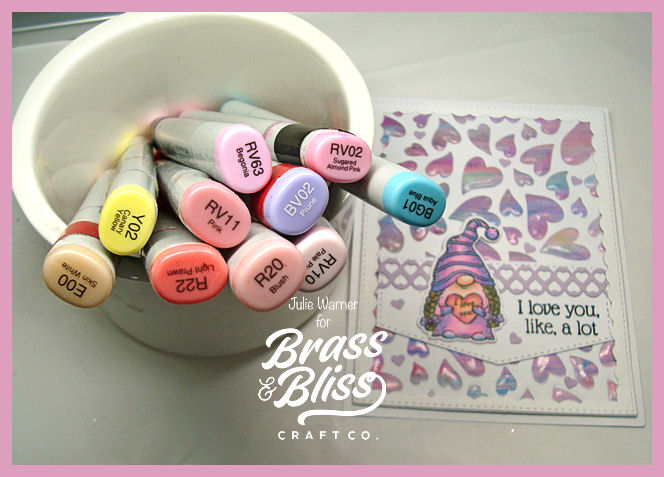
Here are the Copics I used:
Thanks so much for stopping by!

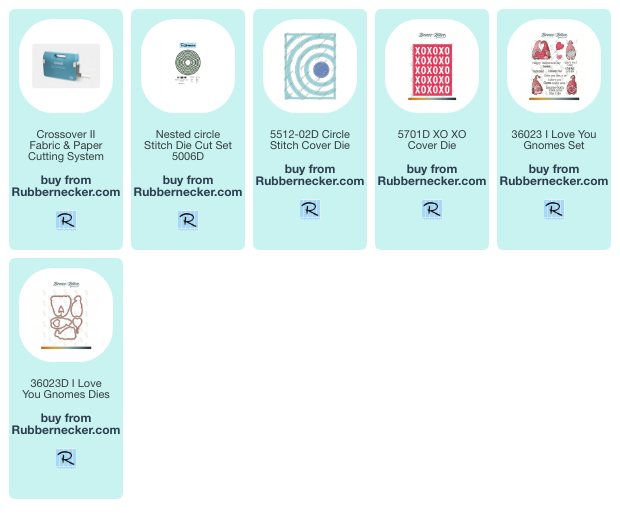
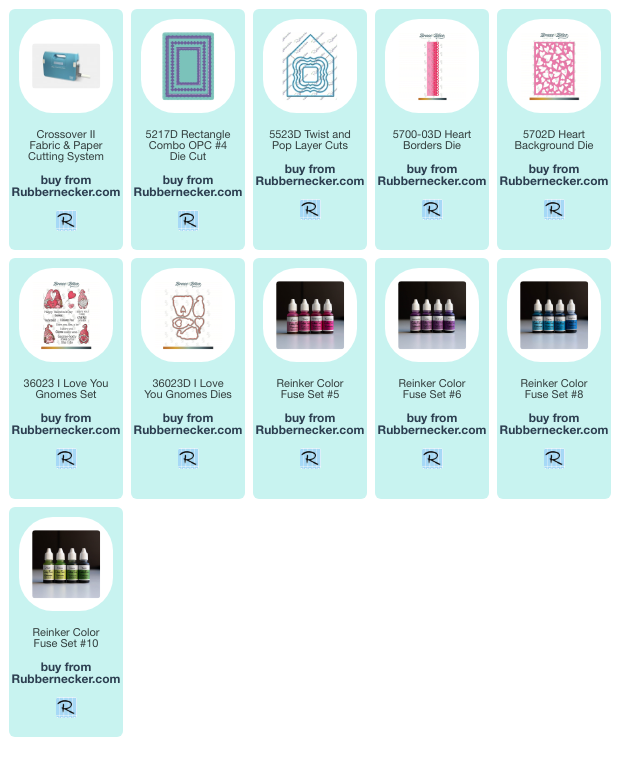
Supplies:
| Stamps: Brass & Bliss: I Love You Gnome set |
| Paper: Staples 110# white, glossy white, lavender |
| Ink: Memento tuxedo black, Rubbernecker Stamps/Brass & Bliss reinker sets: #5, #6, #8 & #10 |
| Accessories: Rubbernecker Stamps/Brass & Bliss: I Love You Gnome, Heart Background, OPC Rectangle Combo #4, Twist & Pop, Rose Border dies, baby wipes, embossing stylus |

|

|

|

|

|
You might also like: