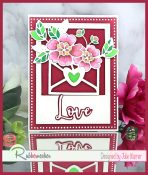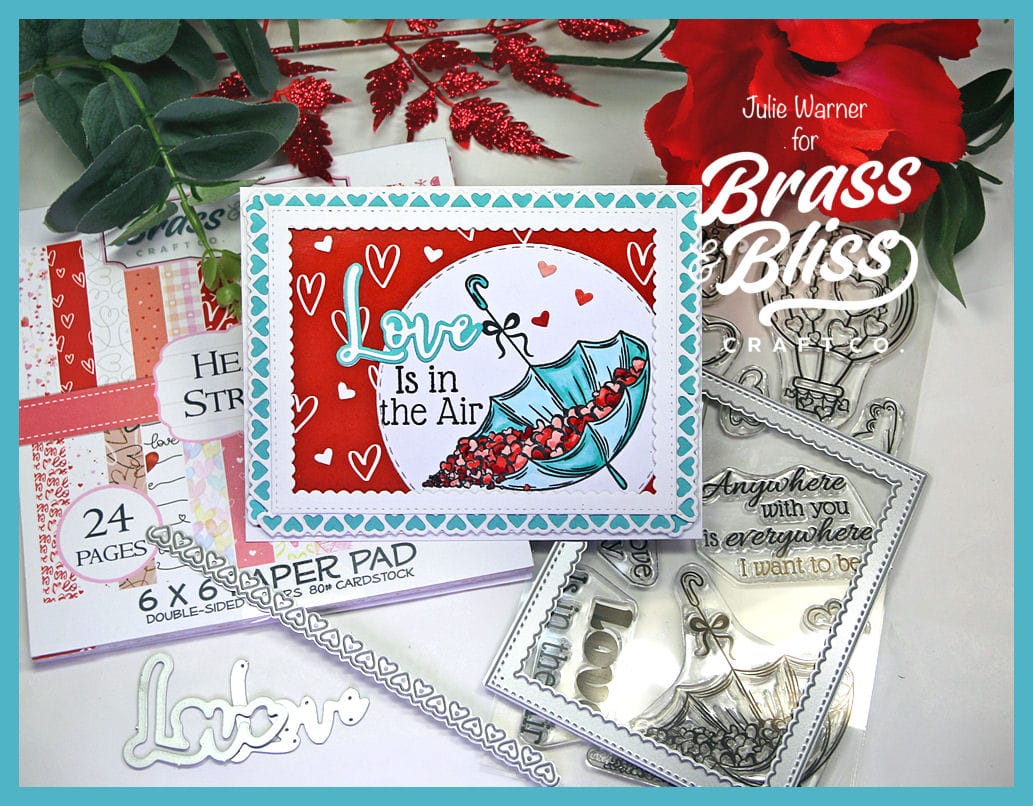
 Come see how to make this card full of hearts & a lovely umbrella. Perfect for Valentine, wedding, engagement or anniversary. Plus another way to use a border die to make a frame.
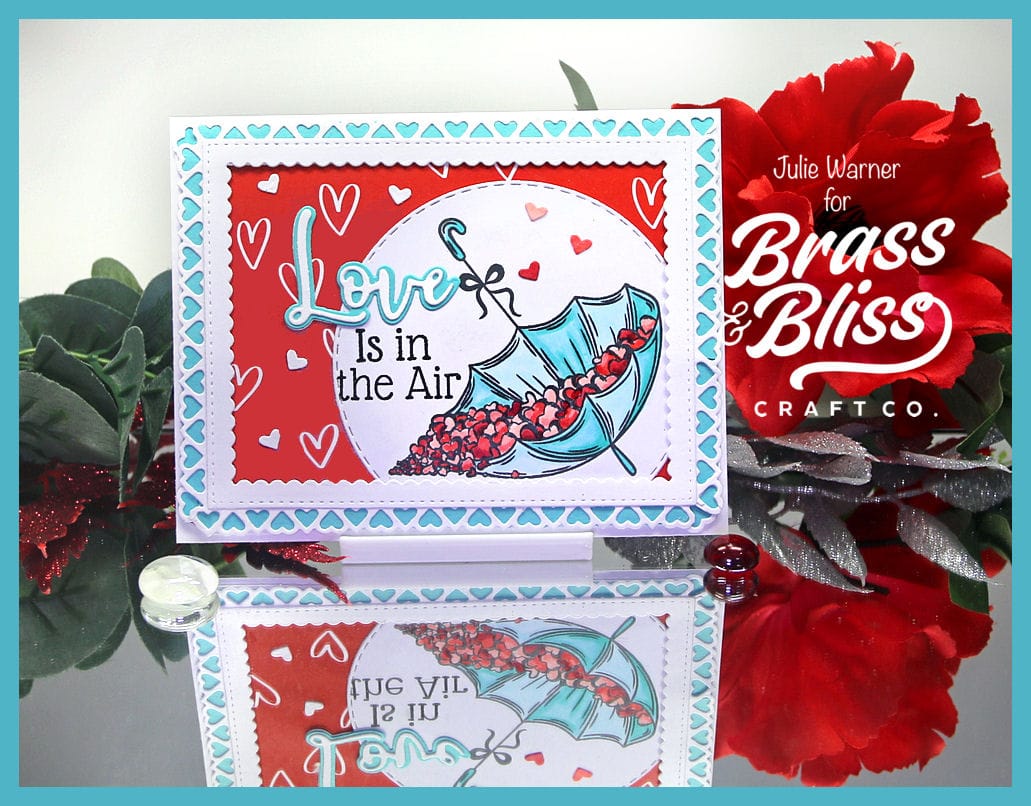
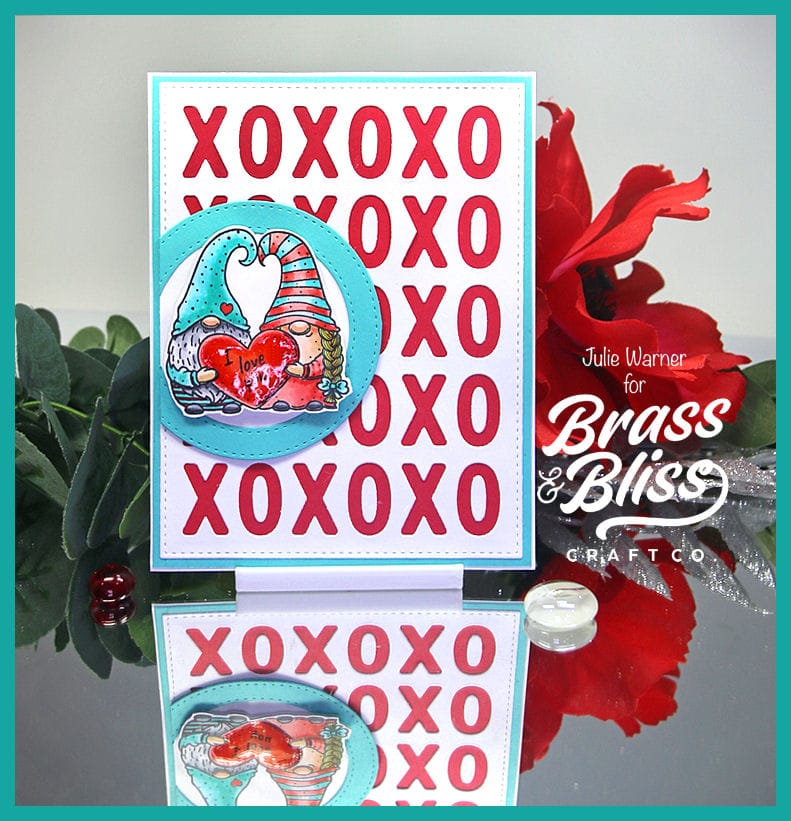
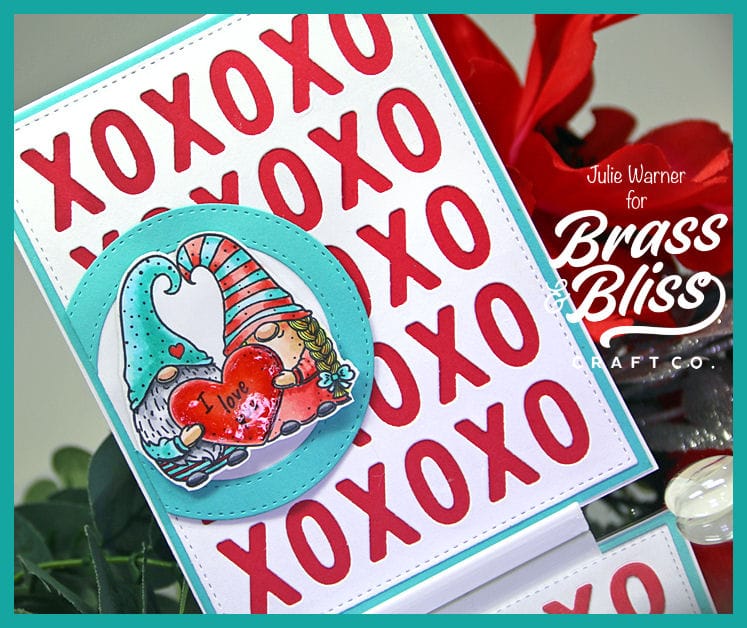
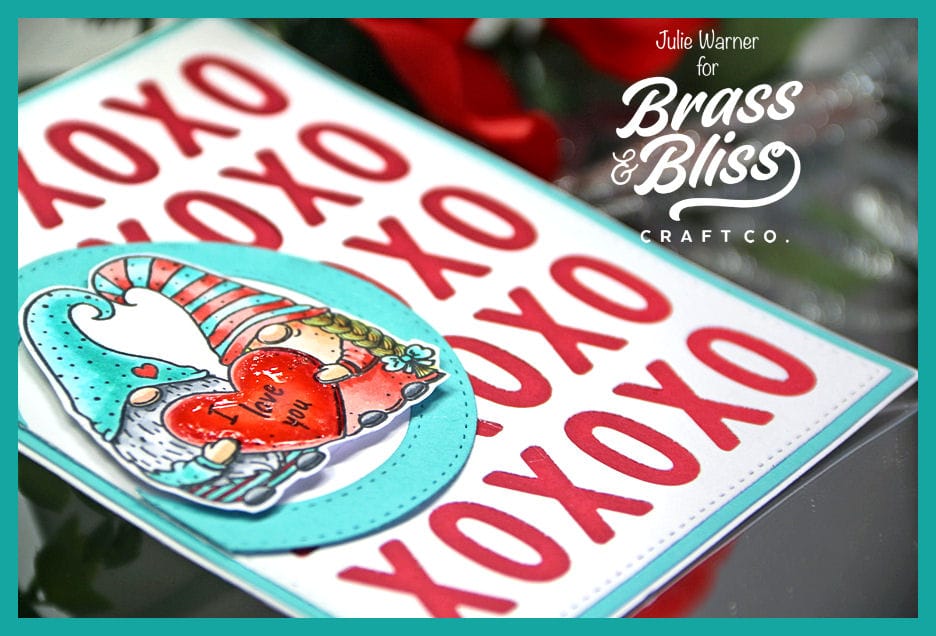
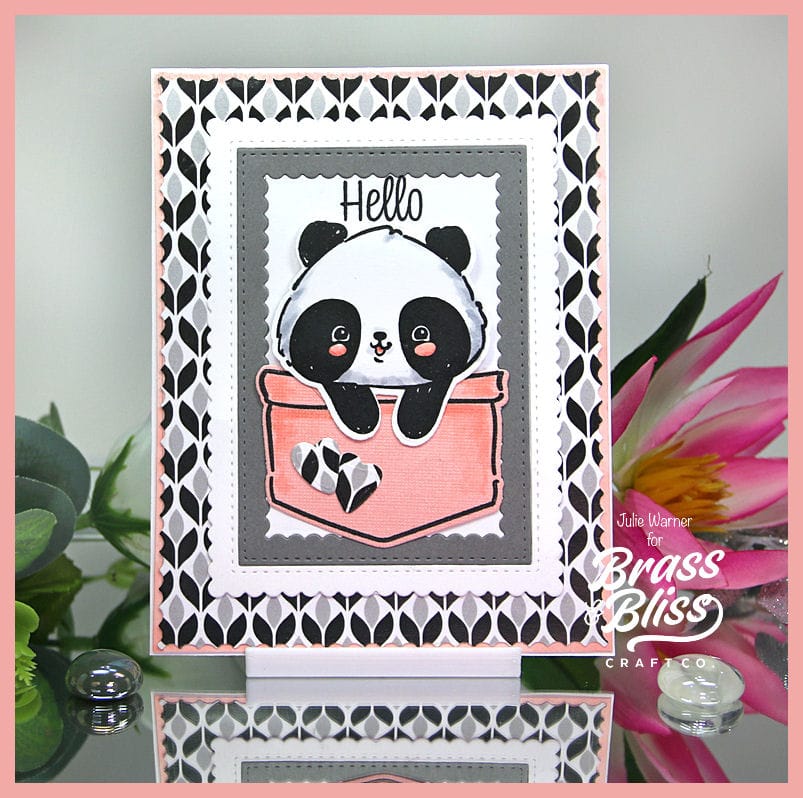
For the Splitcoast Inspiration Challenge (IC949) we are visiting RealFabric & their Pinterest Board where I found THIS piece of fabric to inspire my card. After die cutting the red w/ white hearts paper, I die cut an inside scallop frame out of white to go around it. For the bidirectional heart frame, I cut a piece of white to 4.25 x 5.50 inches then cut it one side at a time, trying to evenly space the hearts. To make it more aesthetically pleasing, I cut a little extra of the border, trimmed out 4 hearts & placed them in the corners before backing it w/ a strip of turquoise paper.
The umbrella full of hearts was colored & die cut w/ a large stitched circle & placed in the right corner under the frames. The last half of the greeting was stamped (I used a Misti to rearrange it a bit) & the Love w/ Shadow die was used to replace the Love in the greeting. A few of the little white hearts from the border were colored pink & red before adding them above the umbrella.
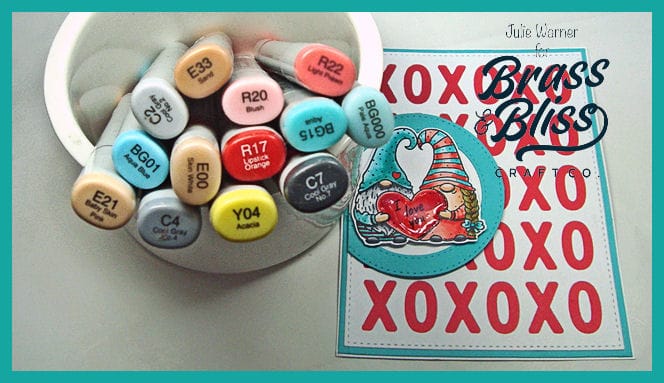
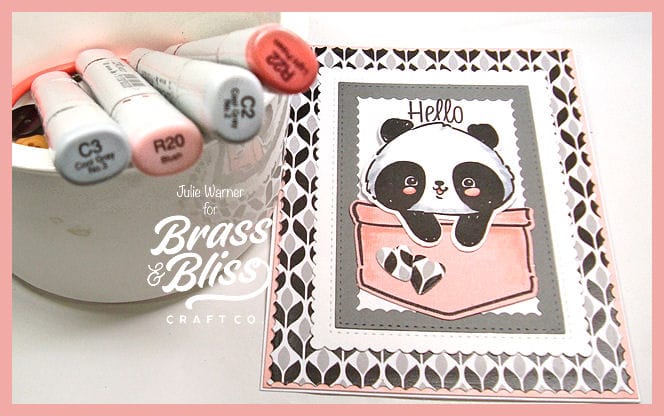
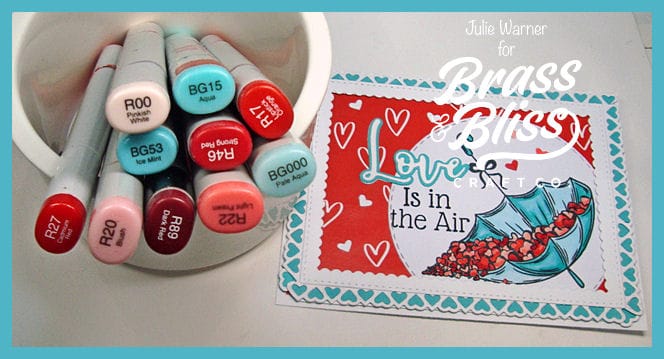
Here are the Copics I used:
Thanks so much for stopping by!

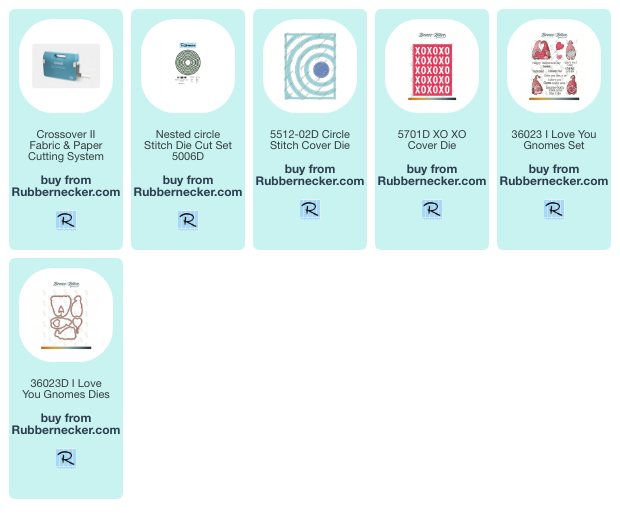
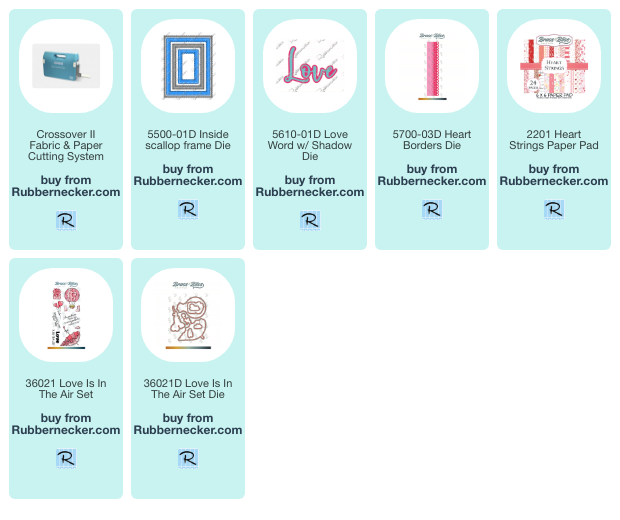
Supplies:
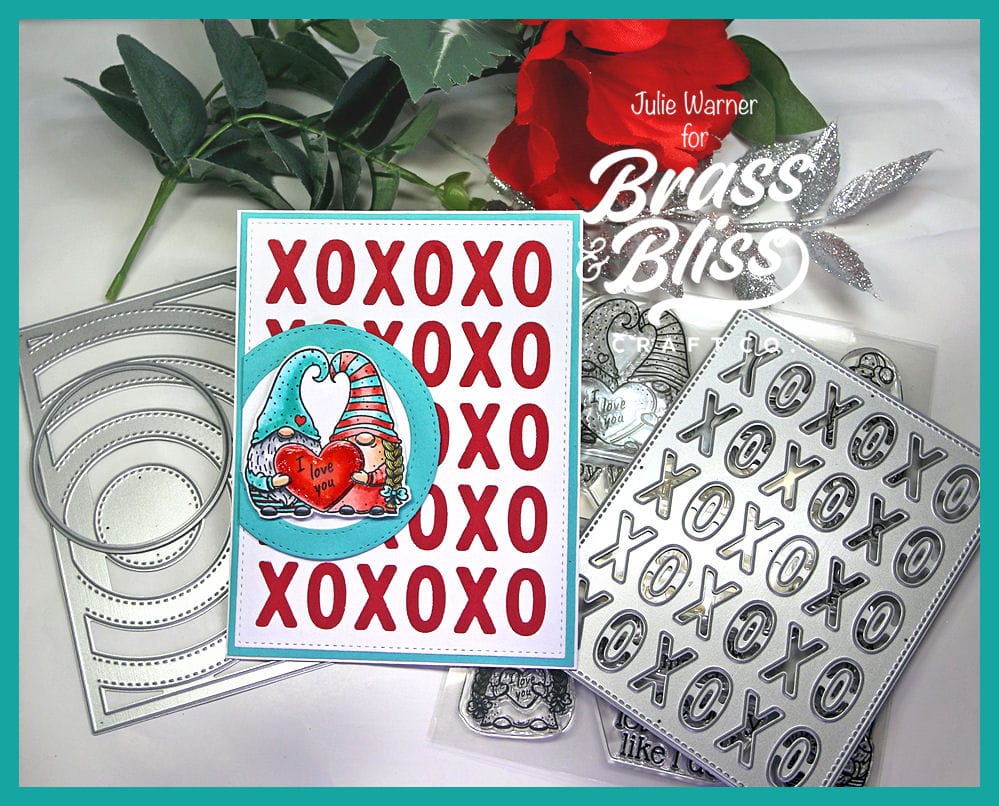
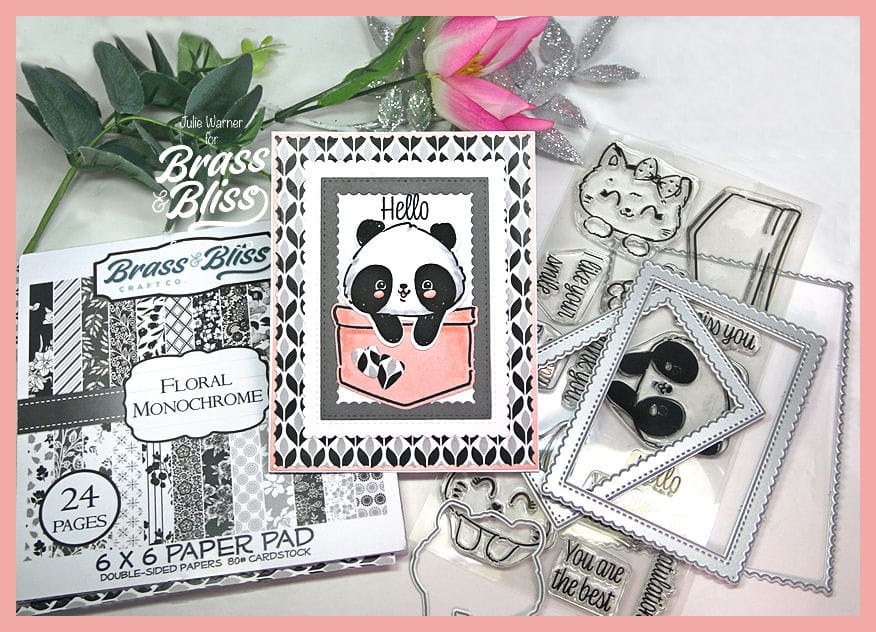
| Stamps: Brass & Bliss : Love is in the Air set |
| Paper: Staples 110# white, red, turquoise, Brass & Bliss: Heart Strings paper pad |
| Ink: Memento tuxedo black |
| Accessories: Rubbernecker Stamps/Brass & Bliss: Love is in the Air set, Circle, Stitched Circle, Inside Scallop Frame, Heart Borders, Love w/ Shadow dies, Copic Markers, Misti |

|

|

|

|

|
You might also like: