 X 2
X 2
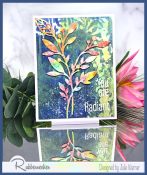
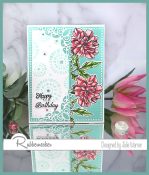
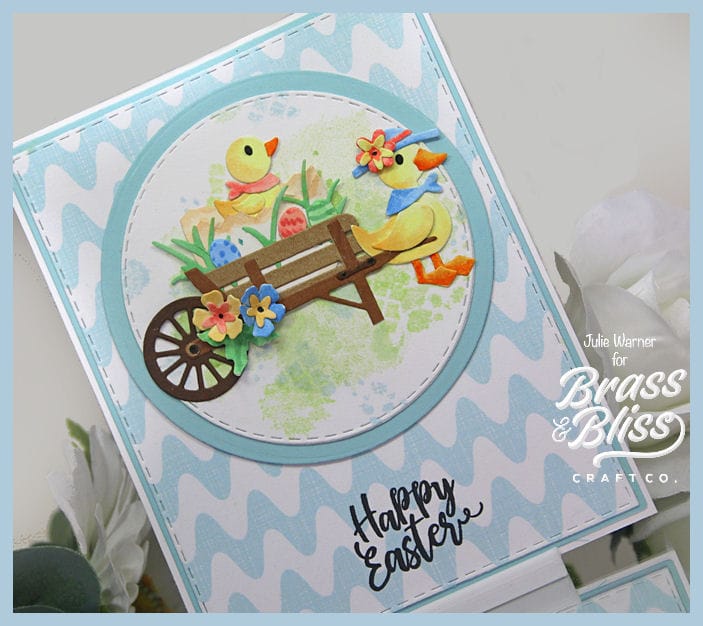
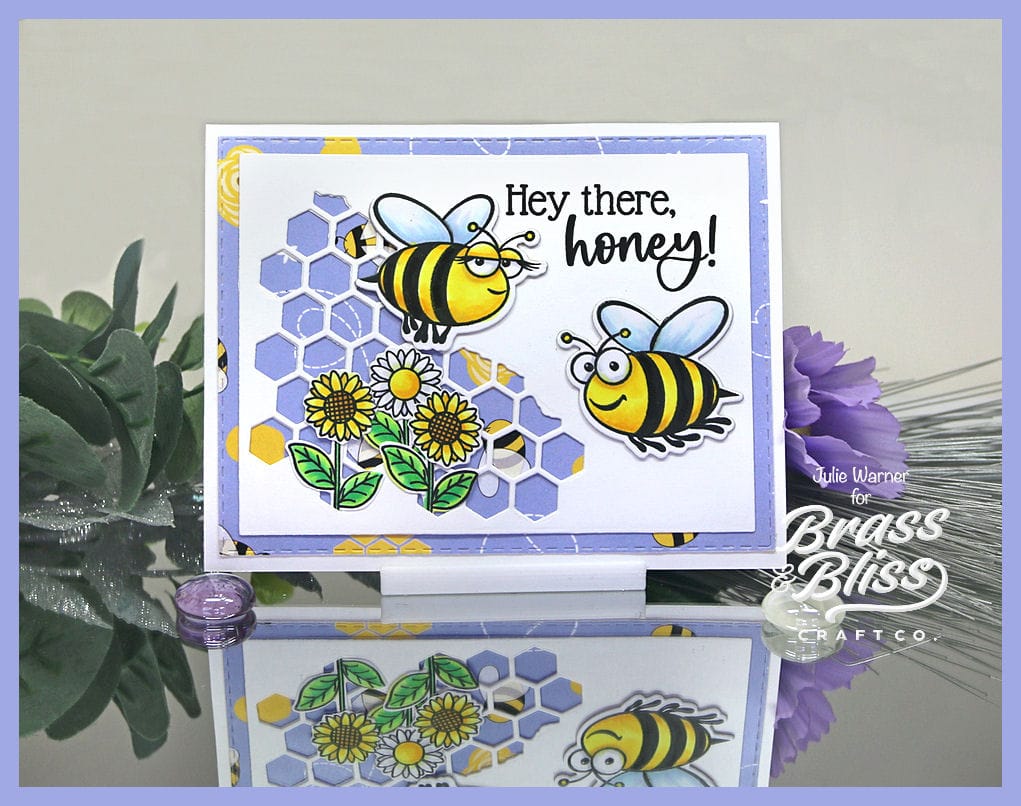
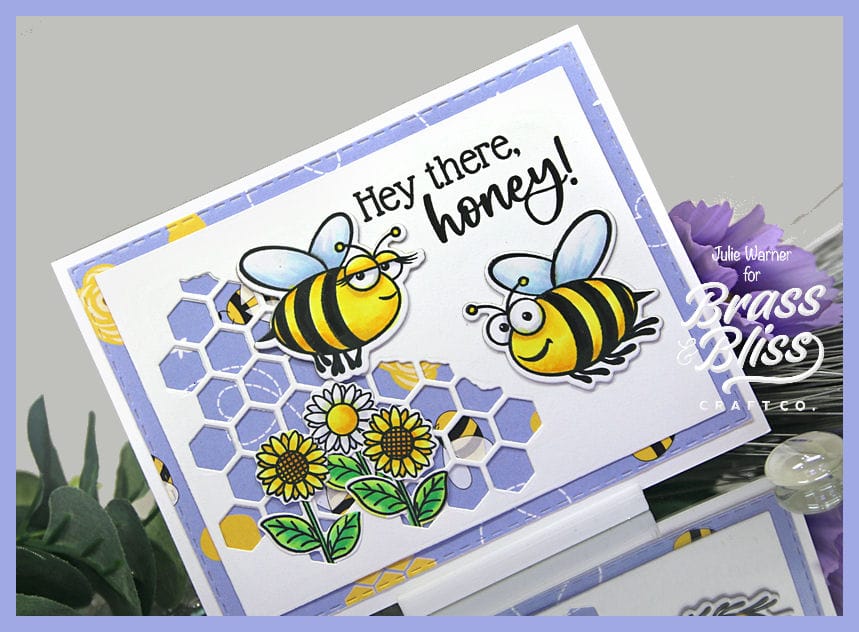
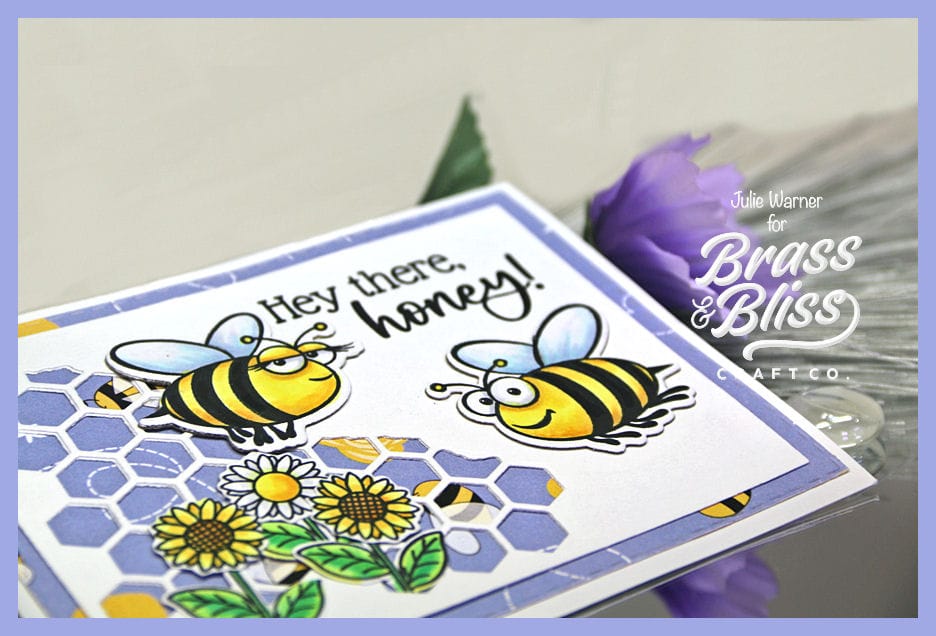
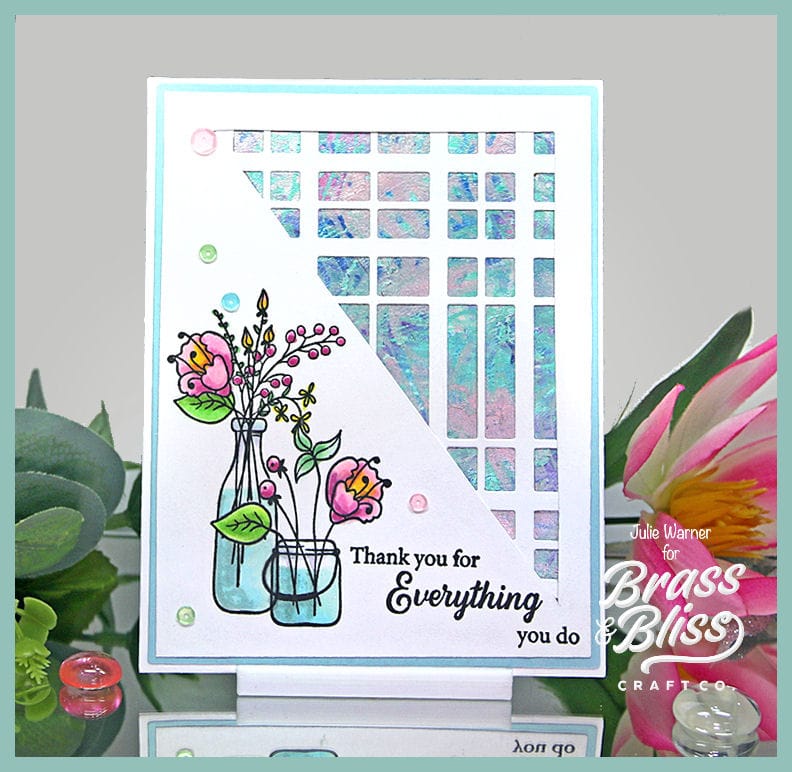
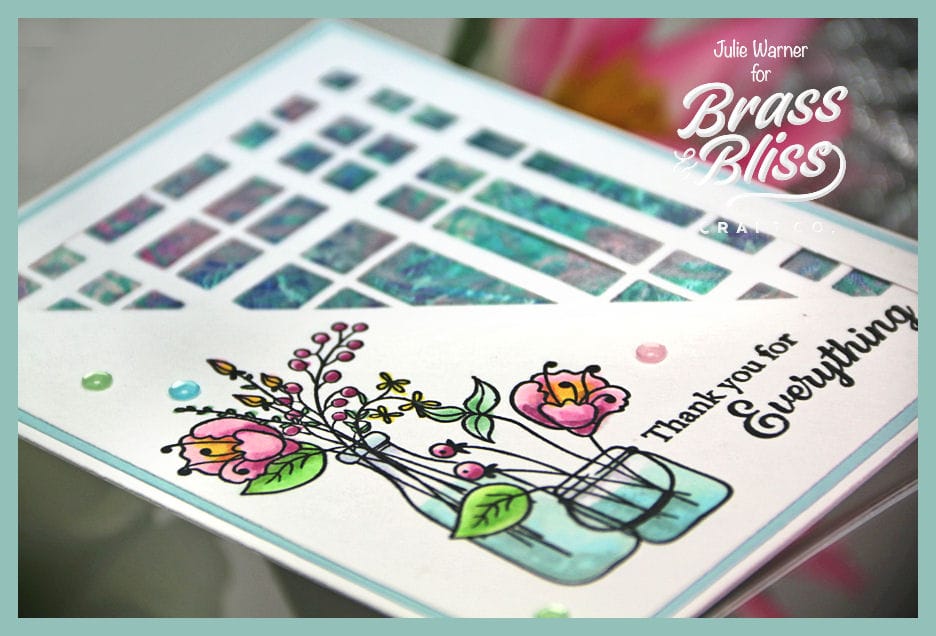
A flowery card for Mother’s Day, birthday, or a thank you to someone special. The top layer w/ the diagonal cut is not as hard as it looks, so I took extra pics to show the steps.
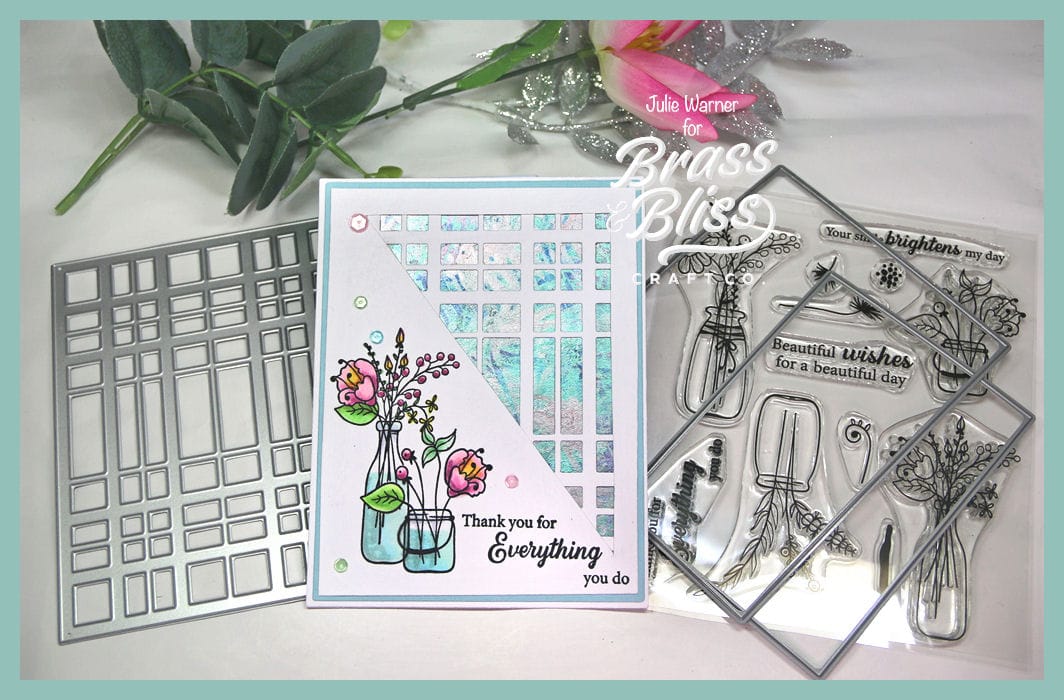
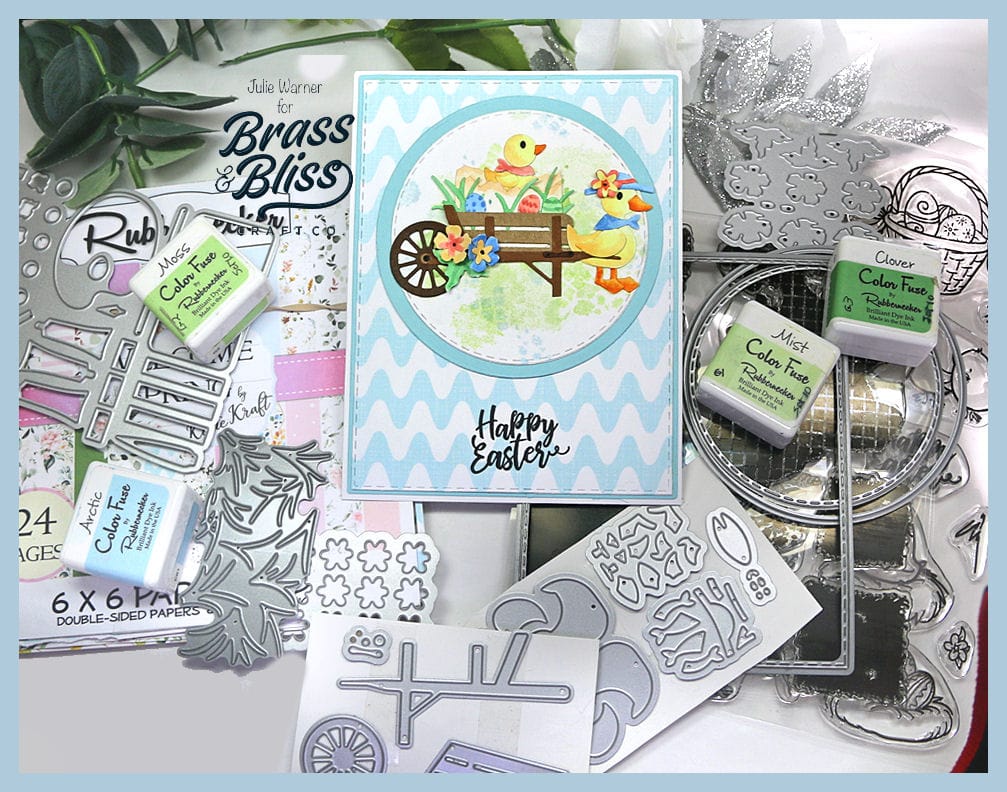
It’s my turn to host the Splitcoast Inspiration Challenge (IC957) & I chose On Sutton Place & their Pinterest Board where I found THIS lovely picture.
The top white panel was cut before I stamped the flowers. Since I was trying something new w/ the dies, I didn’t want to have to start over w/ coloring the flowers if it didn’t work out. Here are the instructions for how I did the diagonal half cut background.
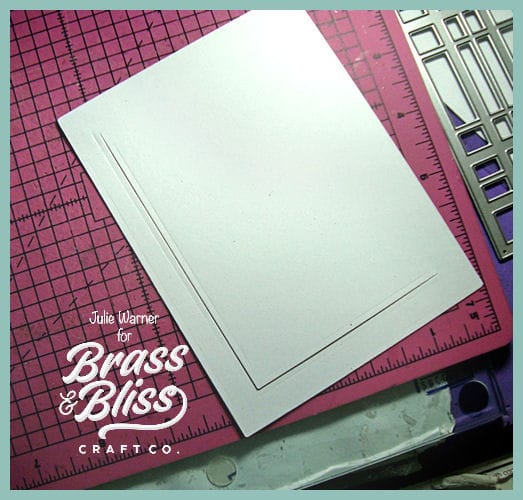
After I used the largest rectangle to cut the entire front, I placed the smaller rectangle evenly on top. Then I used a smaller top cutting plate, placed it diagonally from corner to corner, and ran it thru the machine. Since only half of die was covered by the top plate, it only cut that half. Above pic is how it looked after cutting only half.
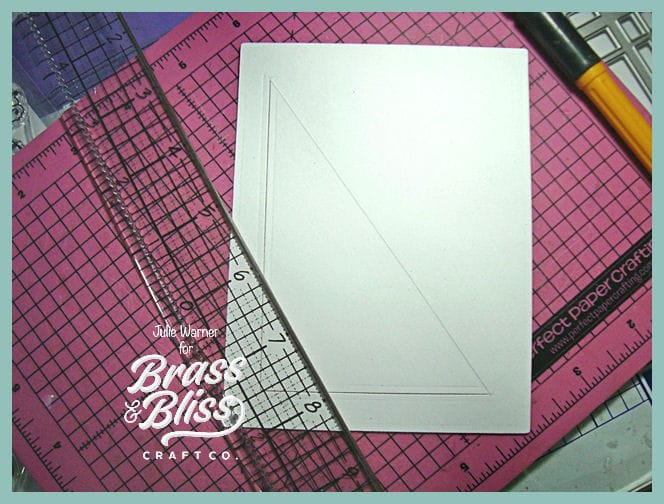
I took a ruler w/ a metal edge, placed it diagonally from corner to corner of the cut, and used a craft knife to cut the diagonal.

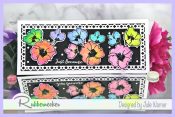
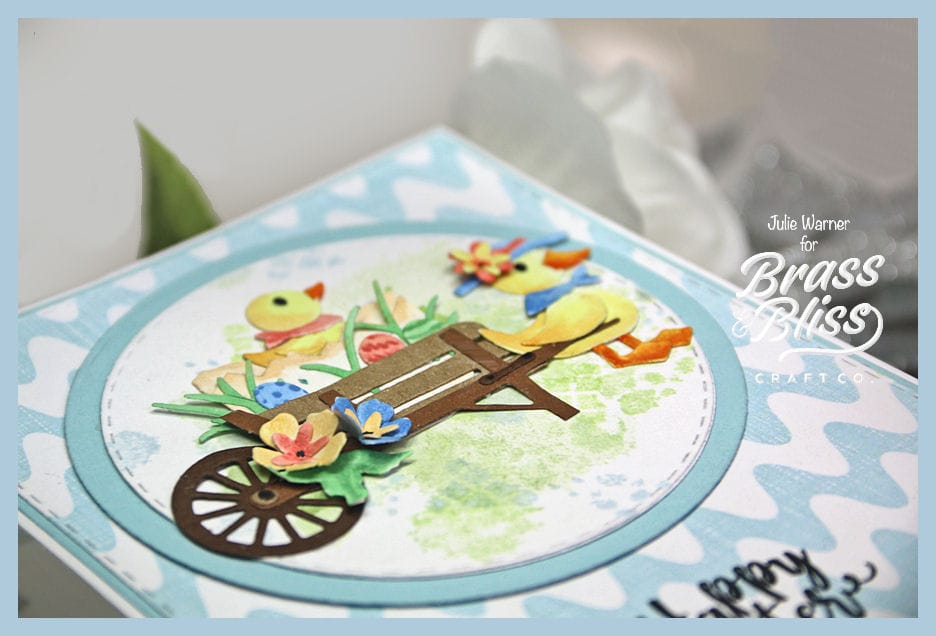
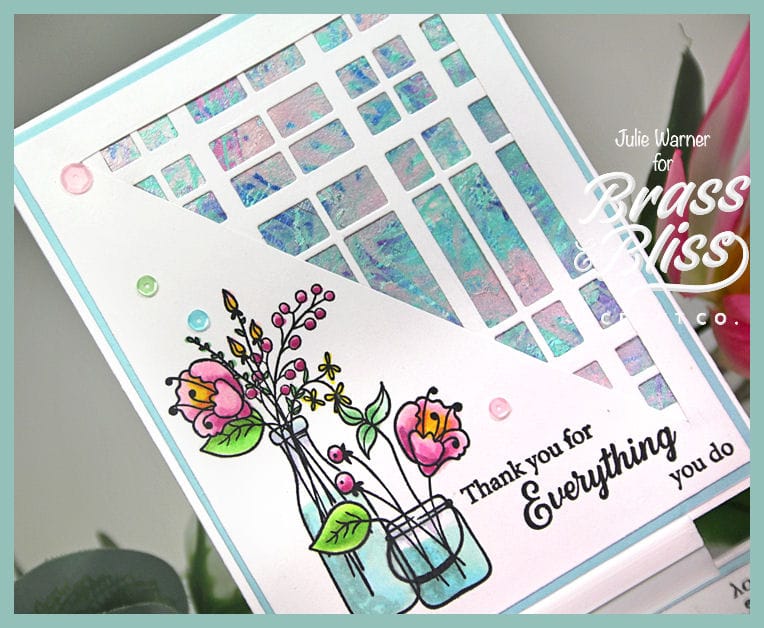
Yay! It worked perfectly. Then the flowers & greeting were stamped on the uncut diagonal half. I masked the short jar of flowers then stamped the tall one behind it. All except the edge of the tall one on the right. Since they’re both glass, you’d still be able to see that edge thru the top jar. I placed the plaid cut background behind the opening, then the scraped acrylic paint background under all of it. This is a background I made a long while back. Basically, you put drops of acrylic paint on card stock, then scrape across the paint w/ a tool. I used a credit card & metallic shimmer acrylic paint.
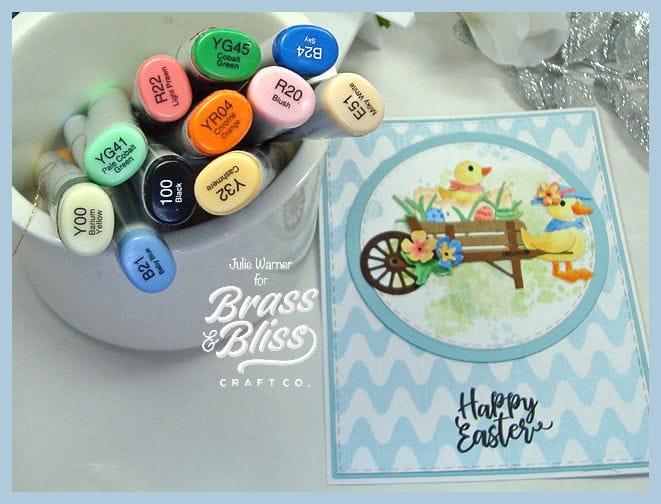
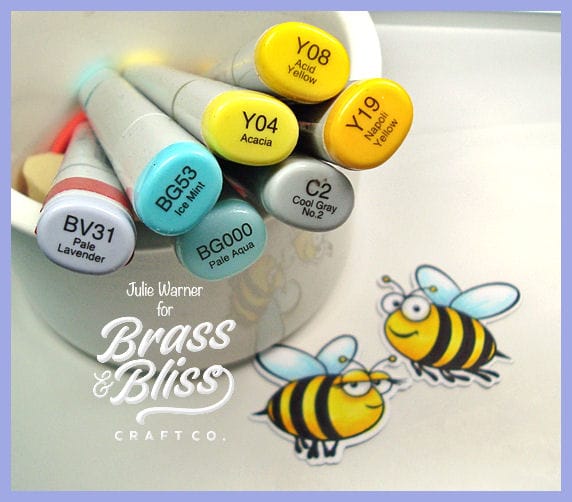
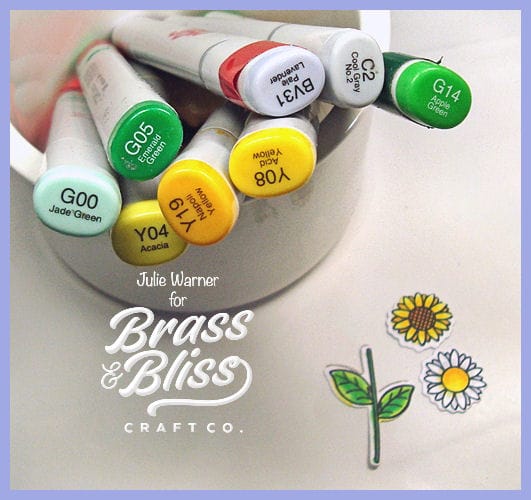
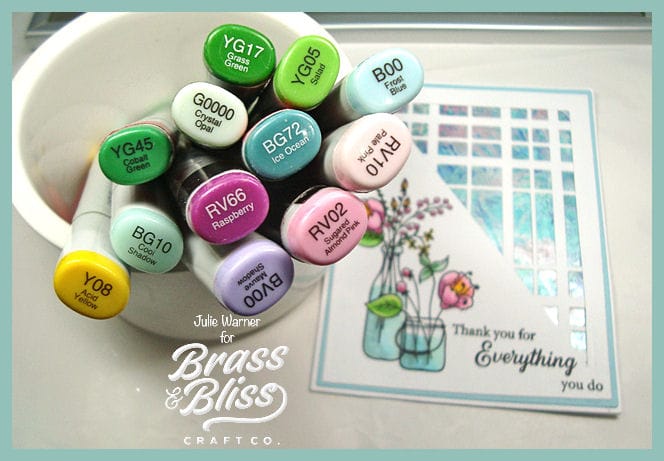
Here are the Copics I used:
Thanks so much for stopping by!

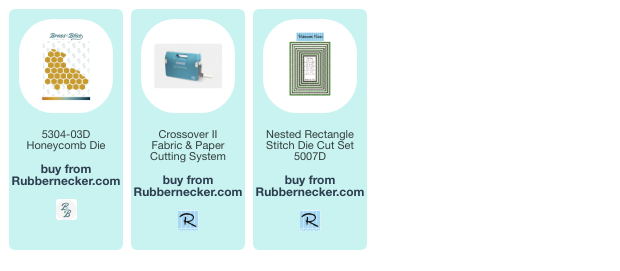
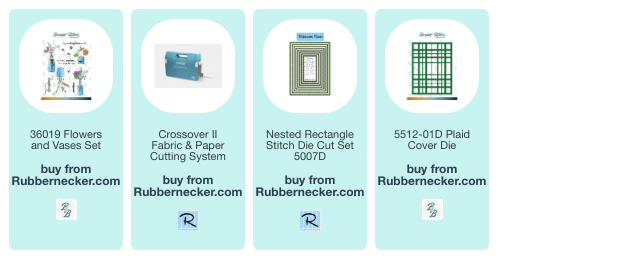
Supplies:
| Stamps: Brass & Bliss: Flowers & Vase set |
| Paper: Staples 110# white, lt blue |
| Ink: VersaClair nocturne, Memento tuxedo black |
| Accessories: Brass & Bliss/Rubbernecker Stamps: Rectangles, Plaid Cover dies, MISTI, Copic Markers, sequins, metallic shimmer acrylic paint |

|

|

|

|

|

|

|

|

|
You might also like: