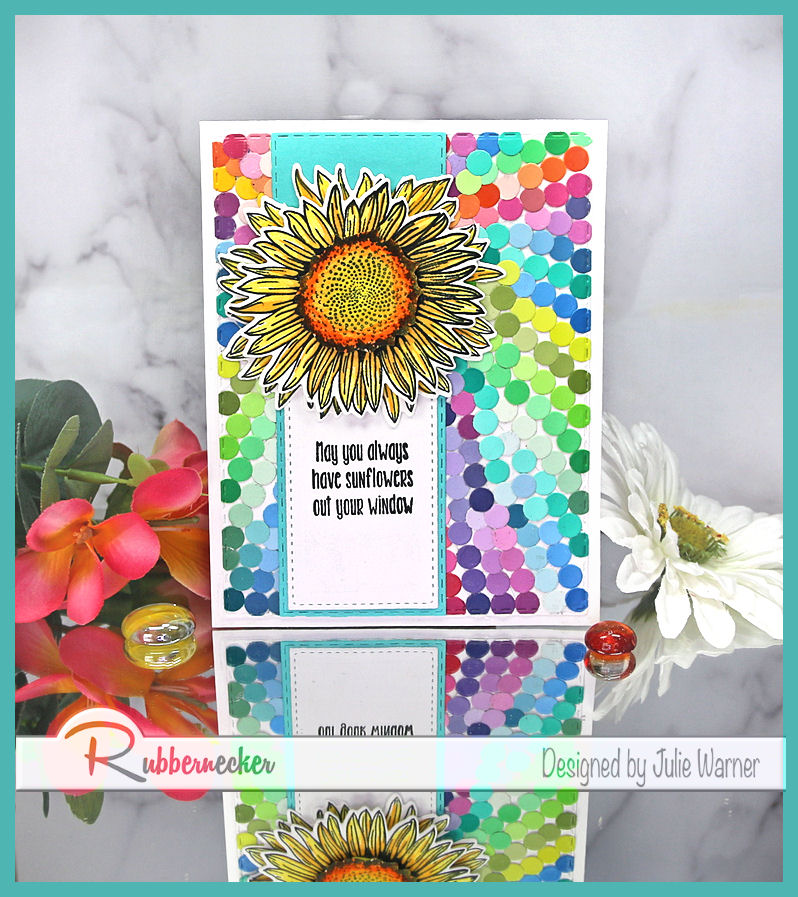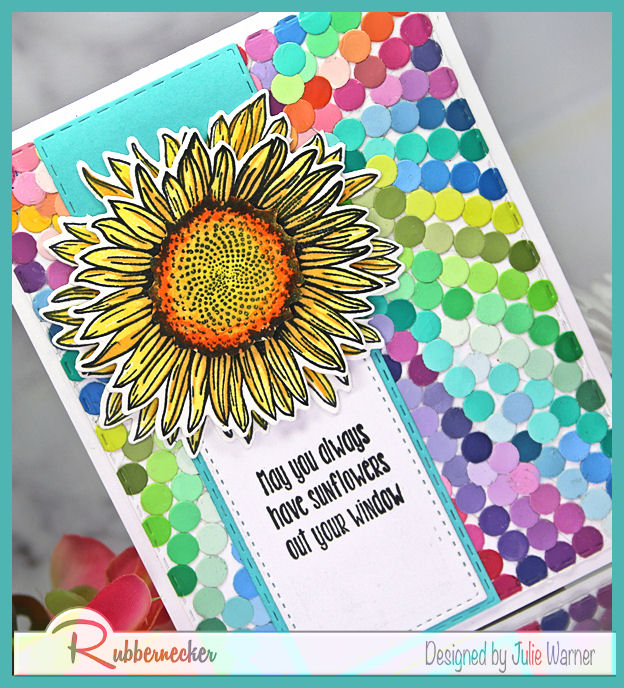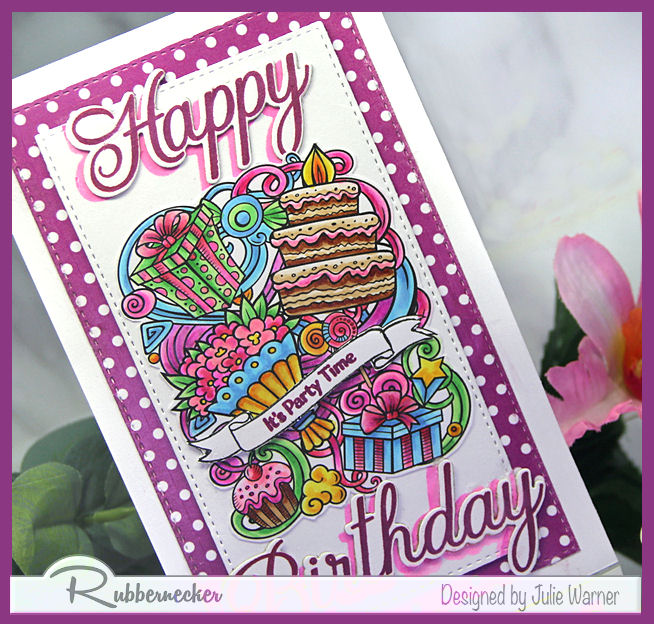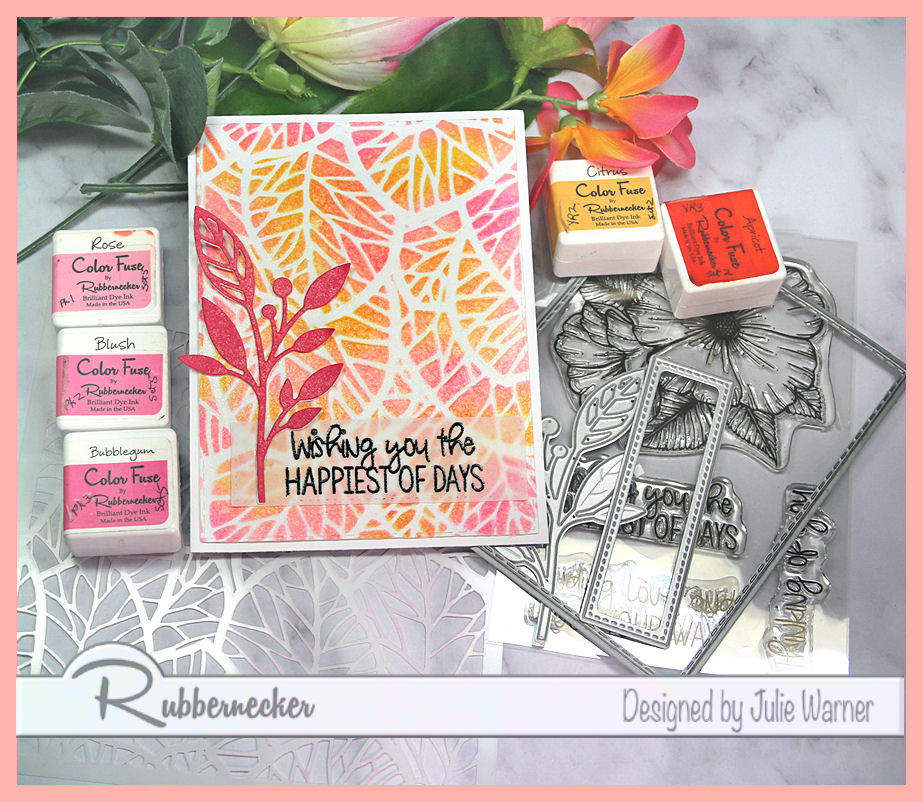
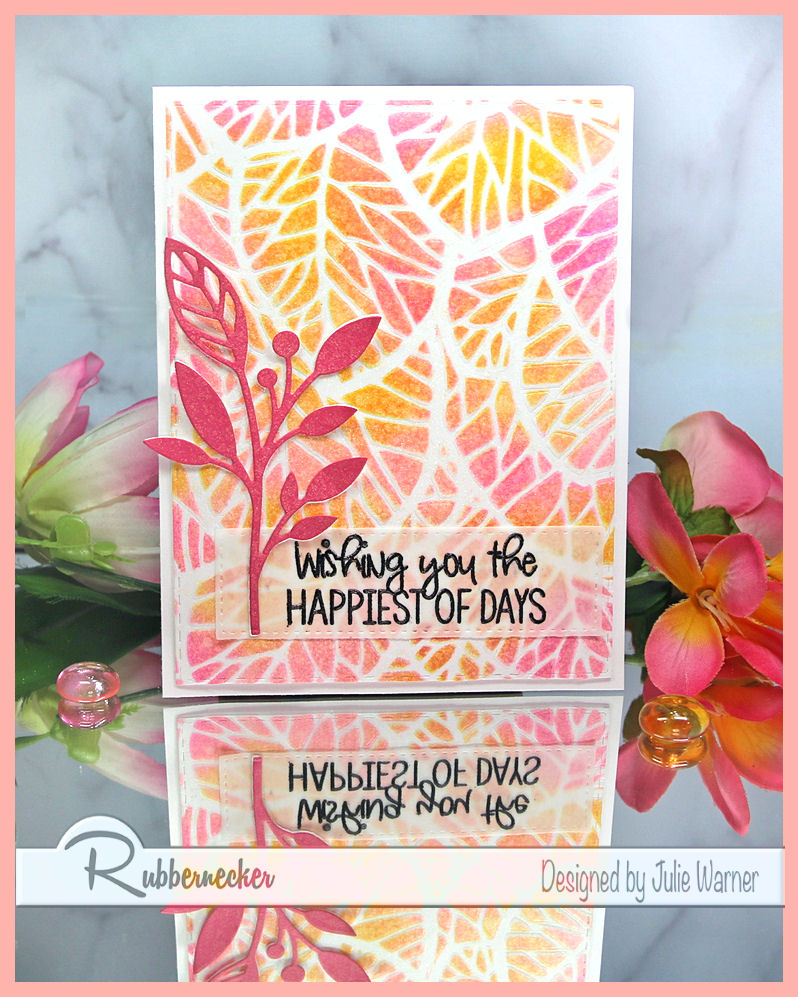
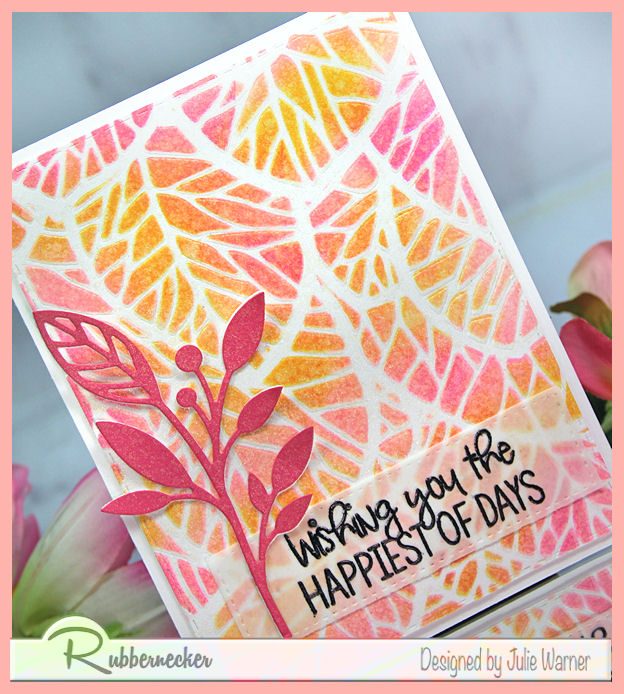
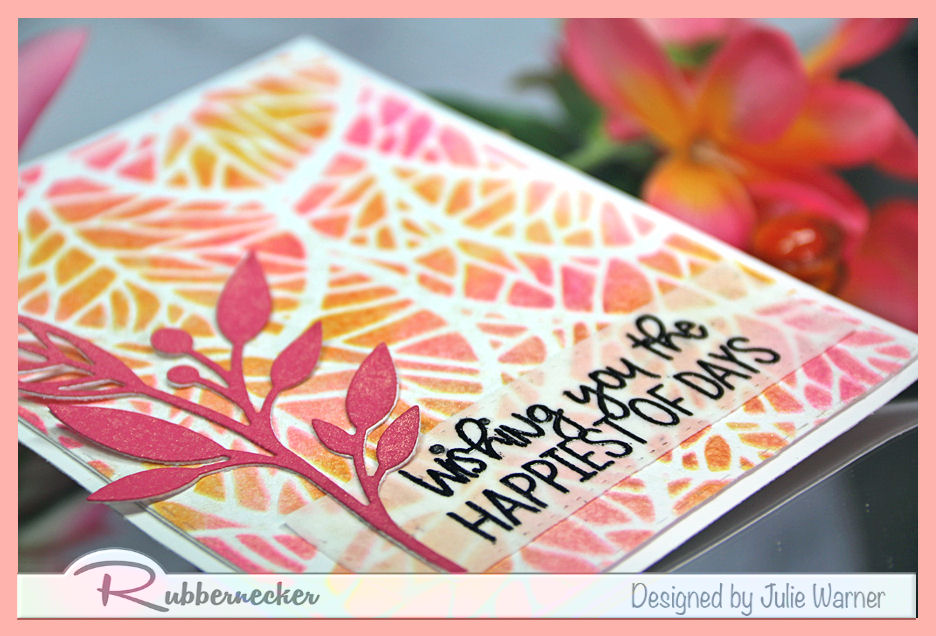
An easy, colorful card to wish someone a happy day. The stencil used on the background was not only sponged for the color, but I actually embossed w/ it. Check out the mini tutorial to see how.
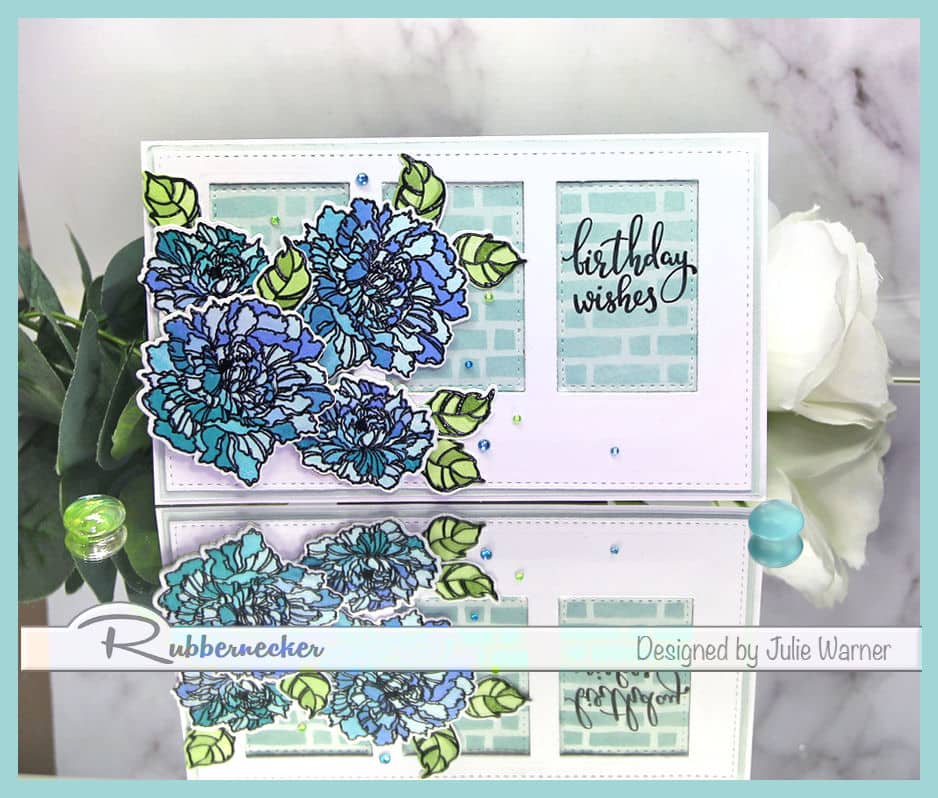
It’s my turn to host the Splitcoast Featured Stamper Challenge (FS847) so a big congrats to Imke, the newest Featured Stamper! Imke has such a lovely gallery & after much browsing, I chose THIS card to case. I liked the colors & layout so I kept those, but I used different images, dies & instead of emboss resist, I used a stencil for my background.
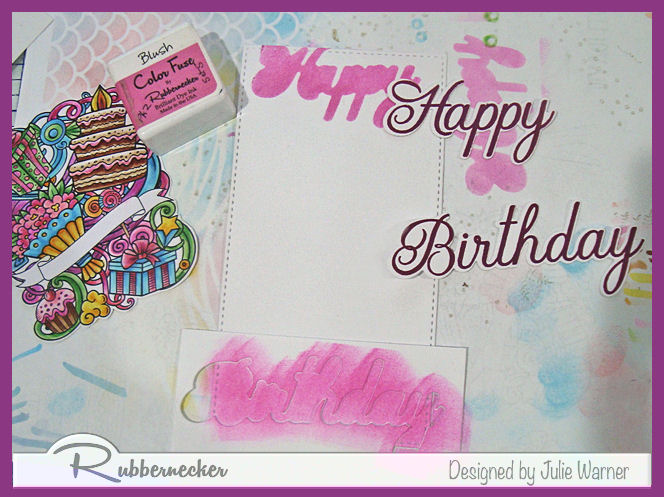
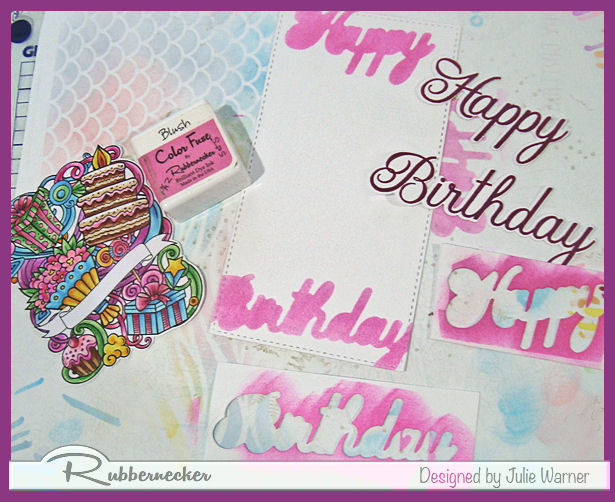
My card was pretty simple. After placing the stencil on a piece of white card I had already die cut, I sponged on the various yellow-orange & pink inks. I wanted a little sparkle so I spritzed on some transparent sparkle/shine spray. After die cutting the dk pink leaf branch, I spritzed it, as well. The greeting was heat embossed onto a die cut piece of translucent vellum.
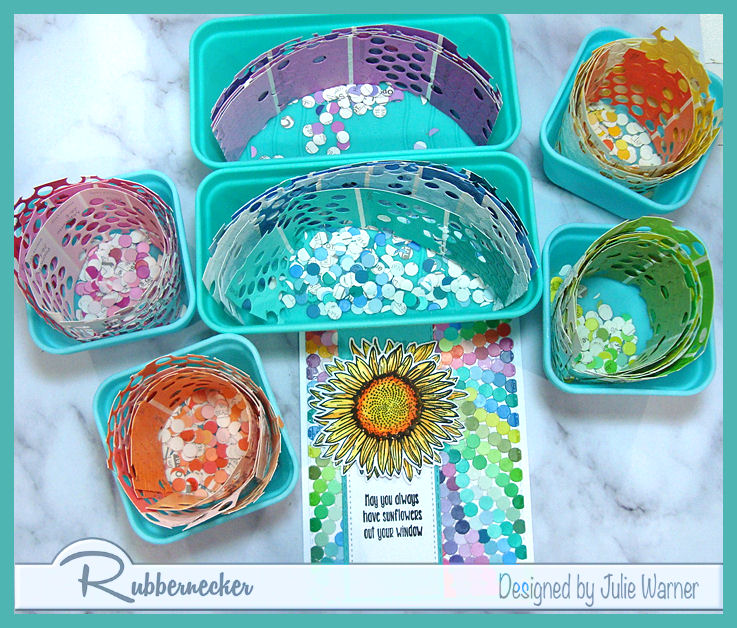
Here’s the fun part in a mini tutorial. I also used the stencil to emboss the background. This is how I did it:
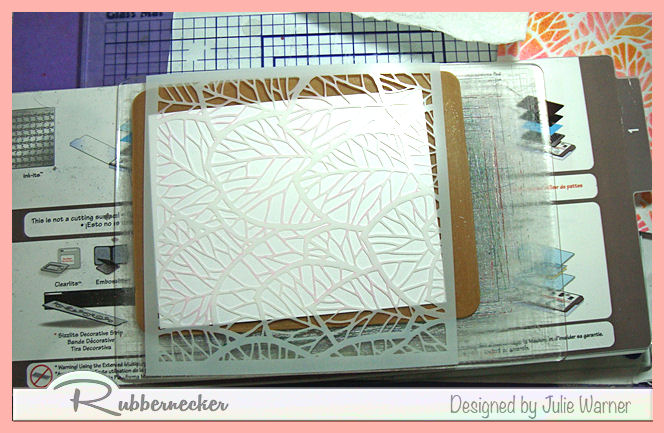
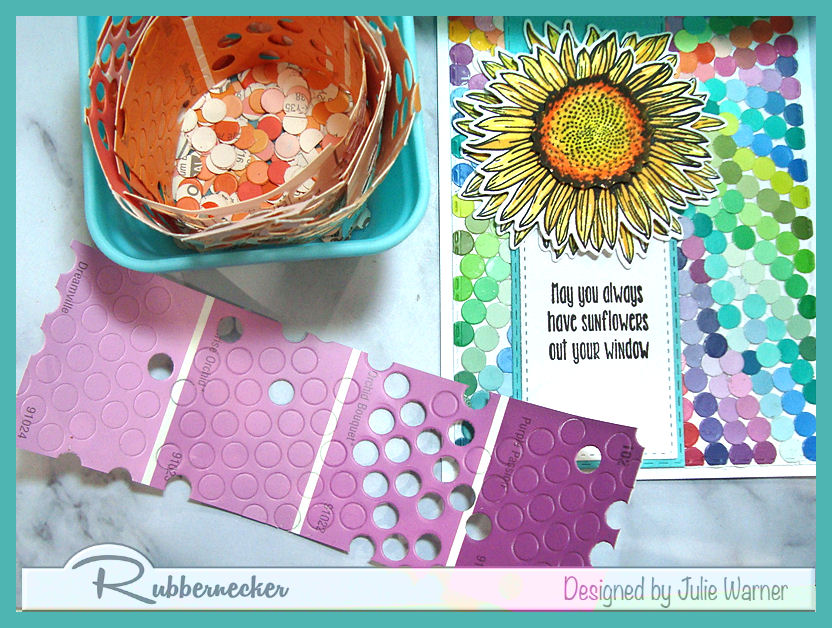
I used my Big Shot to demonstrate this so it would easy to see. I opened the first tab on the platform, placed the bottom plate on Tab 1. Then I placed the thin embossing mat w/ the stenciled paper on top. I lined up the stencil where it needed to go, then put a thin plastic shim on top.
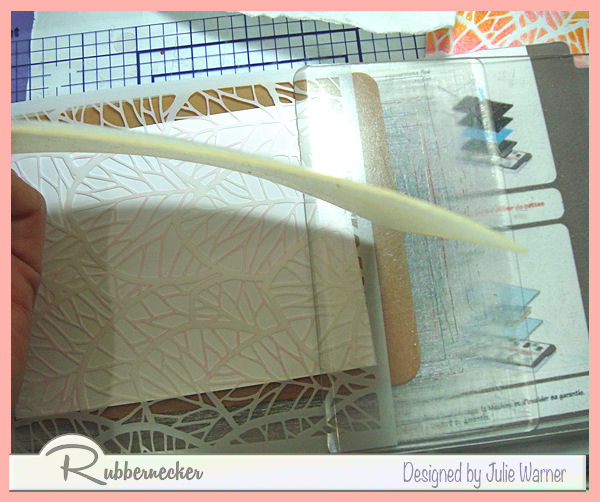
I’m holding it sideways so you can see it’s fairly thin. The final layer in the sandwich is the clear top plate.

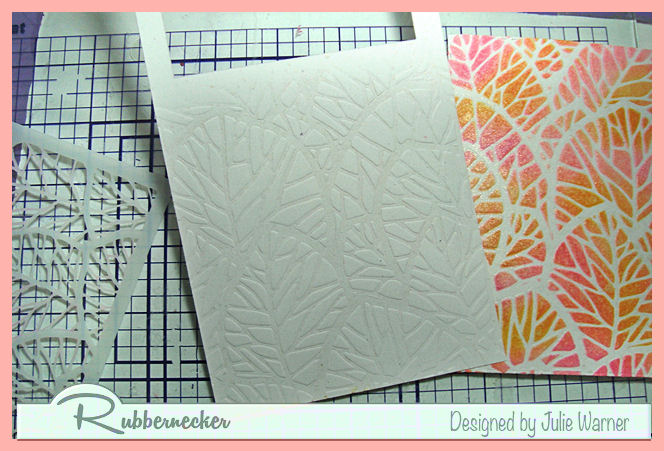
After running it thru, this is what I got. You can really feel & see the embossed lines in person. I also did a plain piece of white so you could see it better. It’s important to note, that the sandwich needs to lie flat & although it doesn’t seem like there’s a lot of pressure on it, it will be enough. Any more & you could break your stencil. You might also try misting your paper lightly for a good impression.
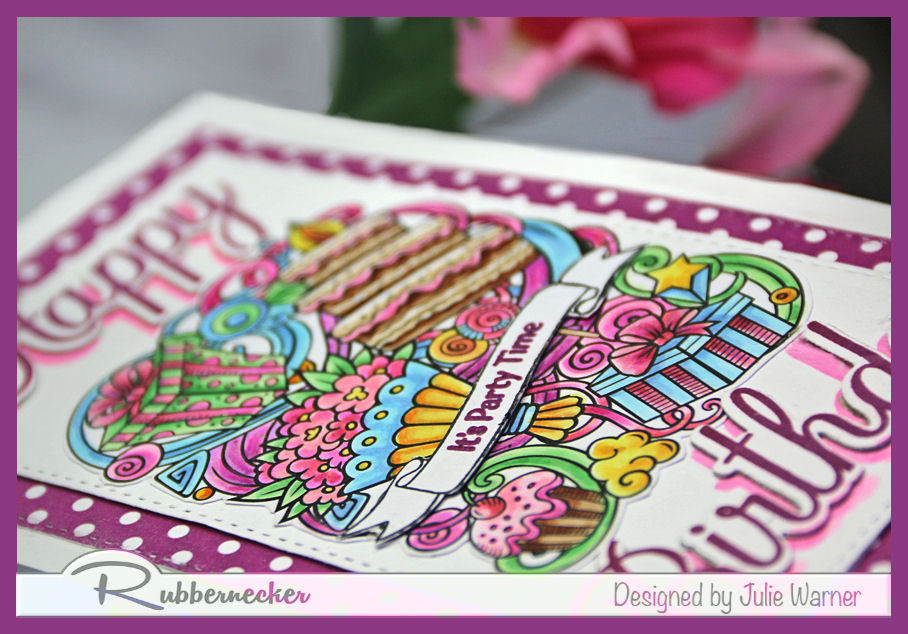
The leaf branch was popped up just bit & the glue tape was strategically placed so it would not show thru the vellum.
Thanks so much for stopping by!

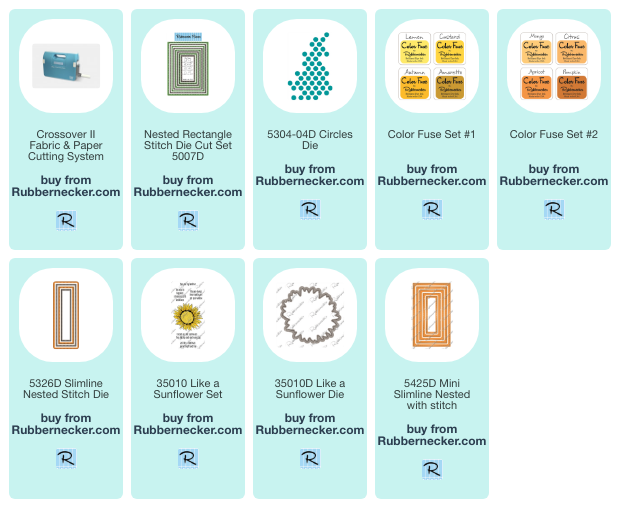
Supplies:
| Stamps: Rubbernecker Stamps: Hugs Your Way set |
| Paper: Staples 110# white, translucent vellum |
| Ink: VersaClair nocturne, Rubbernecker Stamps: Color Fuse ink set #2, set #5 |
| Accessories: Rubbernecker Stamps: Rectangle Stitch, Mini Slimline Stitch, Open Greenery #1, dies, Veined Leaves Stencil, MISTI, clear embossing powder |

|

|

|

|

|
|
You might also like: